Floating Picture Frames
VIDEO:
In this project, I’ll show you how I made some simple, floating picture frames. Watch the video and follow along to see just how I did it and why I did what I did:
BACKGROUND:
My niece painted these little scenes on some tiny canvases. She wanted to give them as gifts, but wanted to dress them up a bit with some frames. She asked if I could help make the frames, and we decided to go with this floating look. These frames just sit on a desk or dresser, so there is no need for a stand or hanging material on the backside.
TOOLS & MATERIALS: (affiliate links)
ColorShot spray paint - https://amzn.to/2IXAERB
Table saw - https://amzn.to/2C11FzS
Miter saw - http://amzn.to/2GxJbX4
Air Compressor - https://amzn.to/2WbFdeM
Nail gun - https://amzn.to/2C191n7
18 ga nails - https://amzn.to/2pN38CV
Wood Glue - https://amzn.to/2XVcefw
Homeright sprayer - https://amzn.to/2y5yUPI
STEPS:
GATHERING MATERIALS:
One of the first things that must be done with any project is to gather the materials you will need, and asses whether you have enough, or if you need to make any design changes based on the materials you have. I often build with leftovers or scraps, so this is a consideration that I must take into account. For instance, if I wanted these frames to be a particular thickness, but the material I had would not allow for that, I must make that change or else go pick up some new materials. It’s that adaptation of the materials on hand to the project that keeps it pretty interesting for me. I like figuring out that puzzle…of what materials on hand will make this project that I’m wanting.
PREPARE YOUR STOCK:
The scraps I had leftover were poplar, and they were already milled square and flat. I didn’t have to do any of my normal milling operations when using stock in a more finished state like this.
I just cut the pieces to rough length, and ripped off a rabbet that some of them had on the edge. That way, they were all consistent with each other, and I could start cutting the miters for the frames.

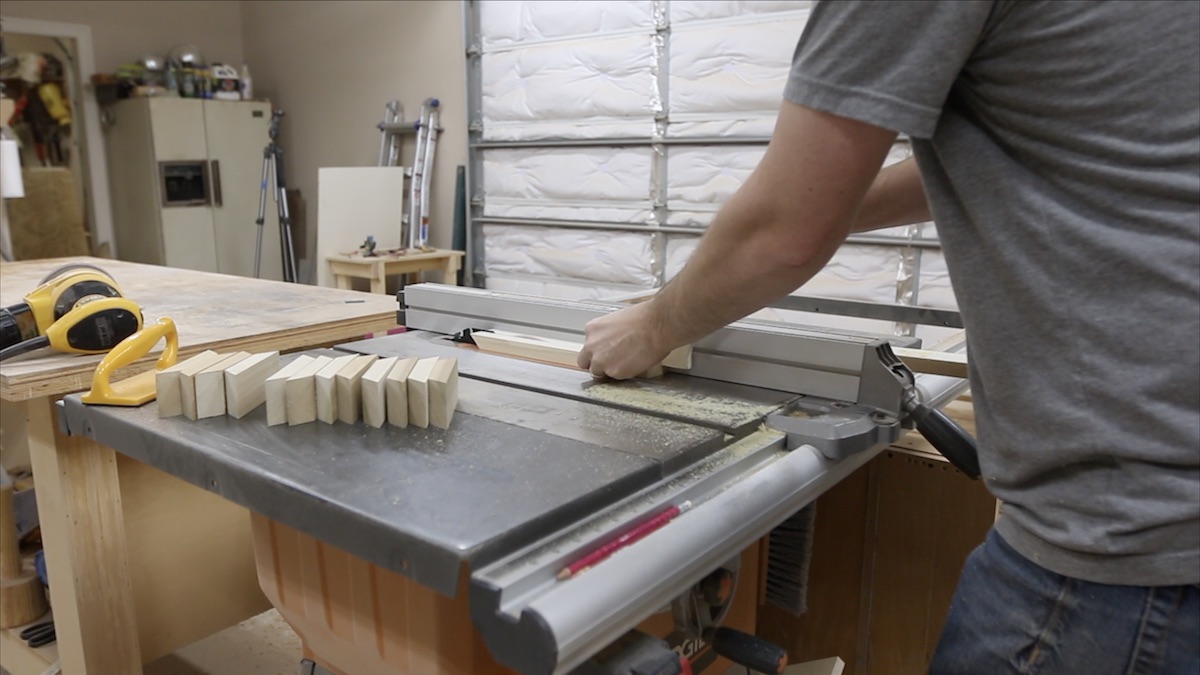
CUTTING THE MITERS:
I used the miter saw to cut the miters in my pieces. I actually needed twice the pieces than you would think. The way these little frames would work is to have the picture frame on the outside, and then to have a smaller picture frame on the inside of that, just to hold the artwork from falling through the back. I suppose you would not have to make another picture frame with miters on the inside, since we will be painting that black later in the project, but that’s how I built these. It would be sufficient to just have a square piece fit in there, so long as it would hold the art properly and not show.


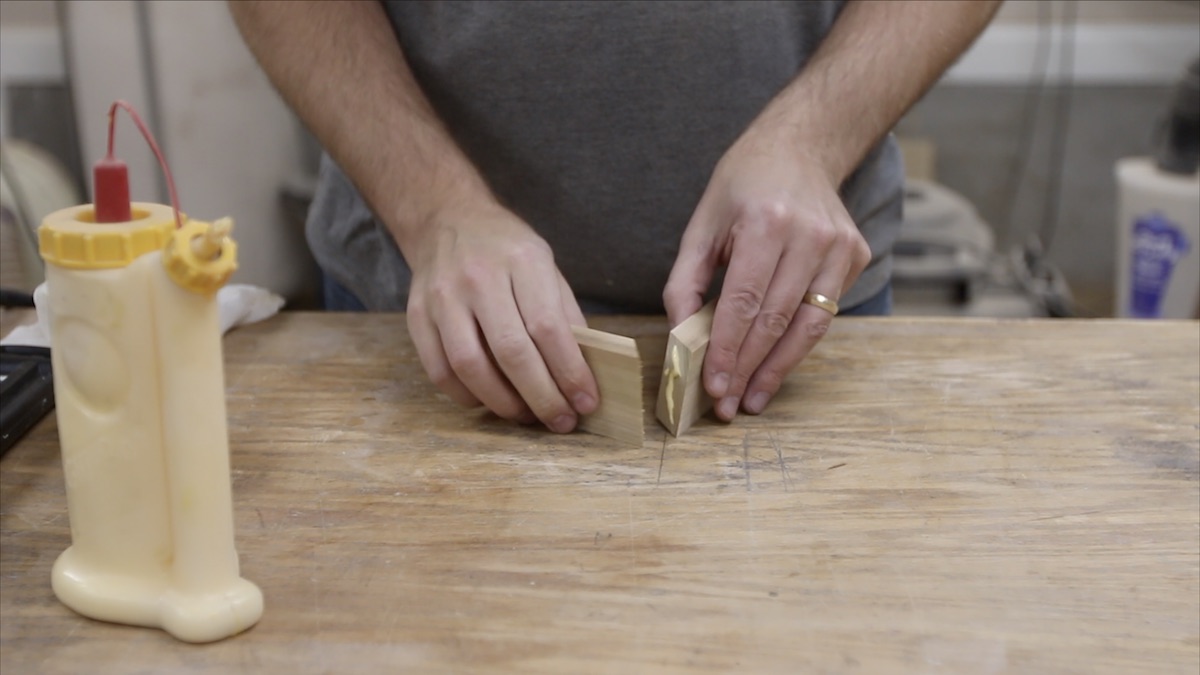
ASSEMBLE THE FRAMES:
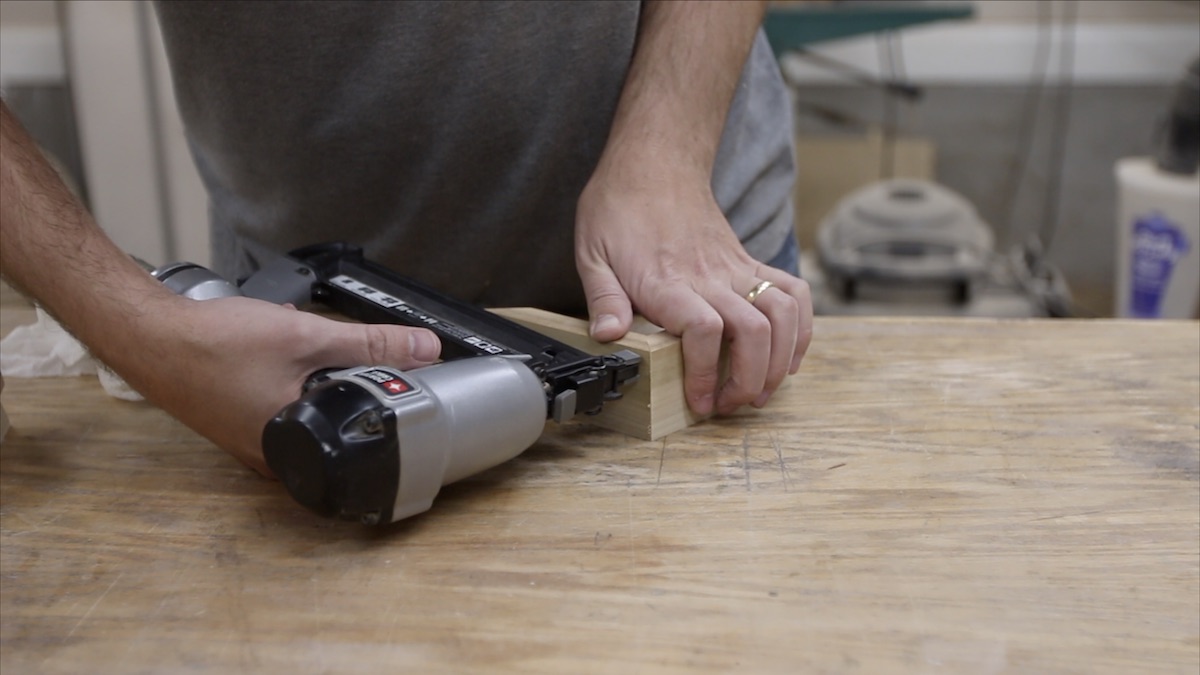
To assemble the frames, I just put a little wood glue on the mitered ends, squished them together, and shot a couple of finish nails in the end. Be sure to keep your fingers away from here, since a stray nail can curve through the wood and end up in your finger. I didn’t do that on this project, but I have before, and it is not fun.
Keep making your way around the frame, adding one side at a time, until you’ve completed the frame.


CLEAN OFF EXCESS GLUE:
Be sure to clean off any excess glue at this point, before it dries. I try to keep a damp paper towel or rag near when I’m doing assemblies like this. It comes off very easily with a damp rag.

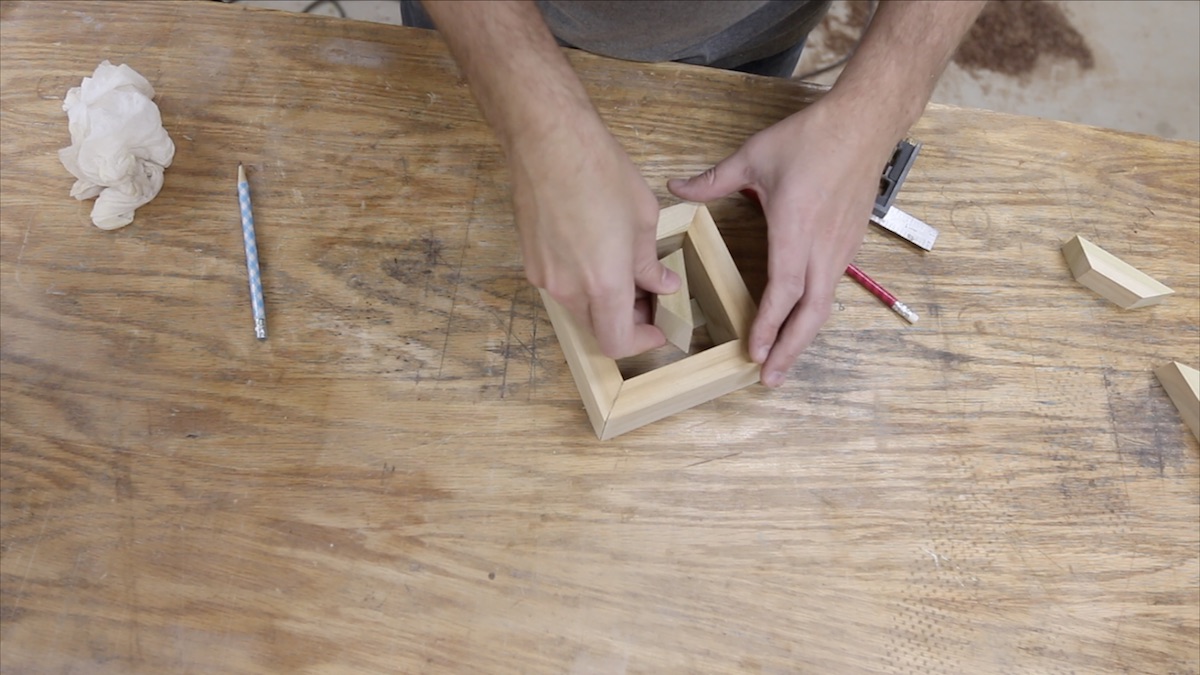
ADD INSIDE FRAME:
The inside frame will be what holds the artwork inset from the face of the frame. I chose to cut another set of miters for this inside frame as mentioned above, but you could just as easily add a square block in there, since it will not be seen.
I just used a spacer block to prop the inside miter at the right height. That way, I could ensure that all of that inside frame was holding the artwork back from the face of the frame at precisely the right spot.

FILLING HOLES
To fill the nail holes and any gaps in the frames, I just used some joint compound like you would use on drywall. It is cheap, and when you’re painting after, it sands well and works really well. Sometimes, it might take a couple of coats, but just sand thoroughly until you get a surface that is smooth and that you’re happy with.


PAINTING
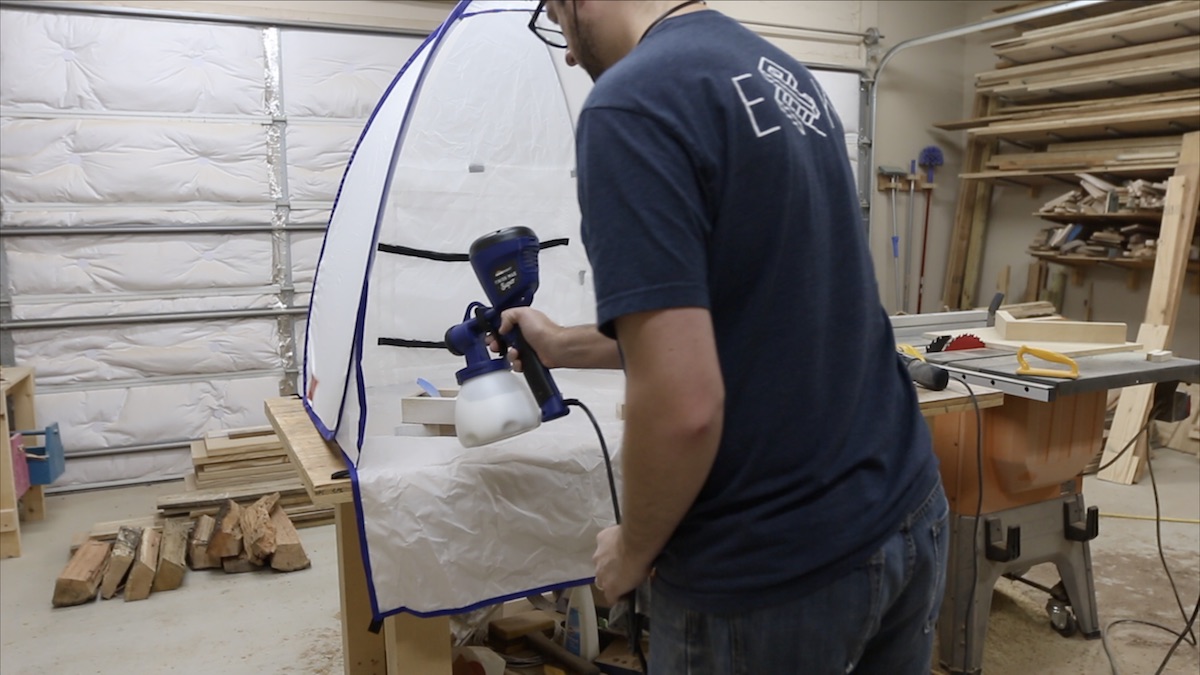
Painting these frames was a two-part process. First, I painted the outside of the frames in white. I used my Homeright Super Finish Max paint sprayer for the outside of the frame. There was no need to mask off the inside since I was using black paint on the inside next. I put on two light coats of some matte white exterior paint, and the sprayer did a fine job with it, even without thinning the paint first. It was straight out of the can!
For the inside of the frame, I went with Colorshot spray paint. This is a really high quality spray paint that I would equate with Montana Gold that you’ve probably heard about. They sent me a few cans of paint for this project, and a few others, and the dry time is super fast. Check them out if you want to be able to put on two coats of spray paint in under 30 min. Be sure when you spray the inside that you get the inner sides of the main frame too, since this will help everything look like it is floating.
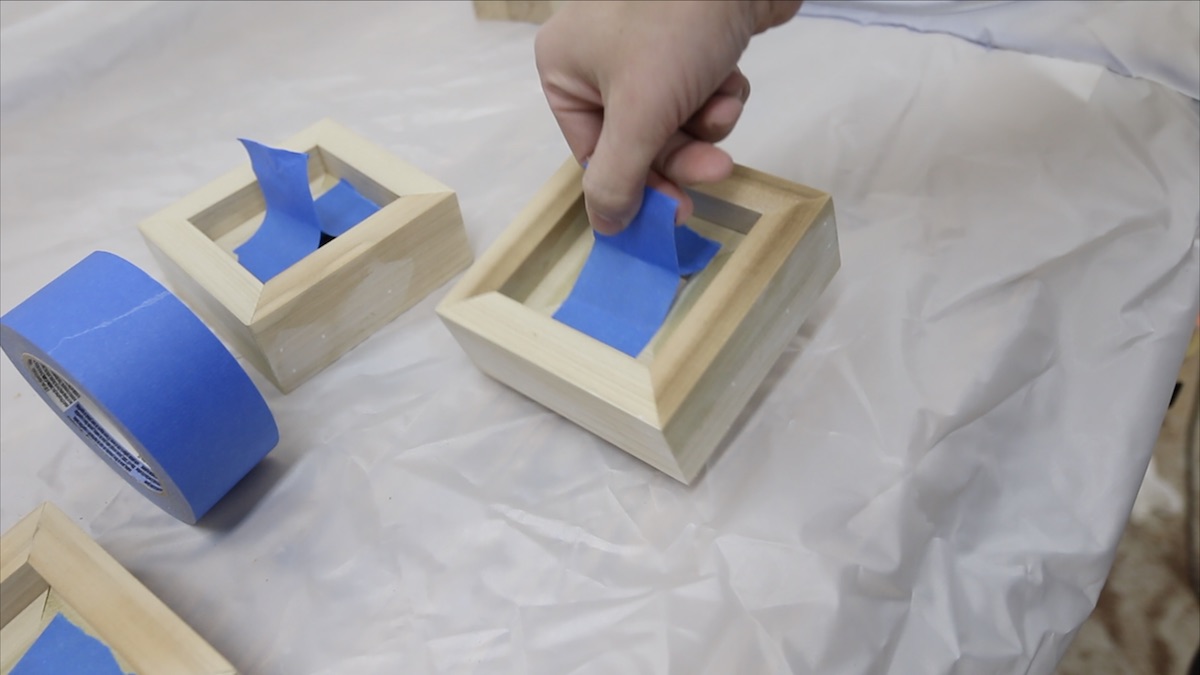
I had to let the paint on the outside and face of the frame dry enough that I could add some painter’s tape to it. That way, it would mask the white that I just spent time on from getting black overspray on it.
After I finished both coats of the matte black Colorshot paint on the inside, I peeled off the tape and it looked really good! I had some nice, crisp lines.


ATTACHING THE ARTWORK
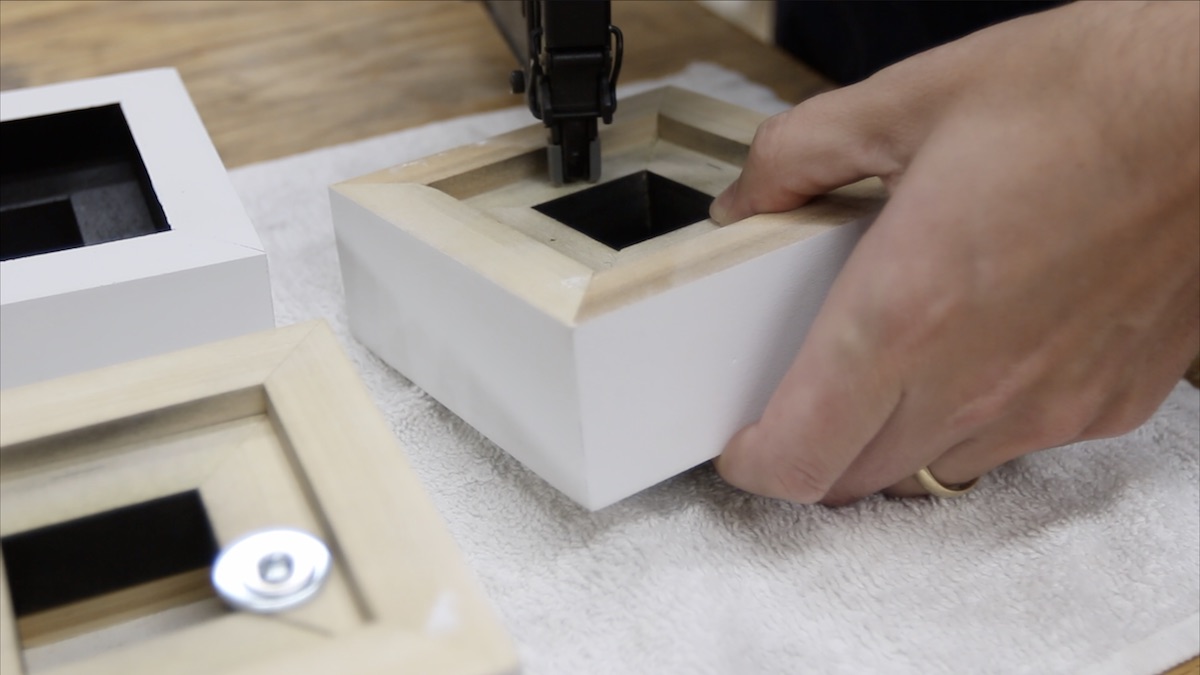
Finally, it was time to attach the artwork. These particular paintings were just on canvas stretched across a wooden frame. Many paintings are like this, so if you’re careful, you can use that wood frame to nail or screw into. That’s precisely what I did. I grabbed some screws I had on hand, and some washers, and pre-drilled a small hole from the back. As I was hand tightening with a screwdriver, the head of the screw popped off! I guess they were really bad screws.
The next thing I tried was to get my nail gun and shoot a few brad nails in through the back. Be sure sure sure to check the length of your nails, because if you accidentally shoot too long of ones in there, they’ll come right through your painting!

CONCLUSION

I really like how these frames turned out, and more importantly, so does my niece. It was kind of challenging for me to work on something so small. I think that make it more difficult than larger frames, since everything was in close quarters.
I will be using this technique again with the matte black on the inside. I love how that looks, since the inside of the frame pretty much disappears. I will probably try to use some metallic paint on the outside frame for the next batch. I have some silver, gold and copper that would all look pretty good as the outside frame color.
Thanks for following along with this project and watching the video! If you would, please leave a thumbs-up on the video and share it with your friends. It really helps me out!
Talk soon…


