River Rock Feature
We had a low spot in our yard, and needed a solution to get the water to drain. We wanted something functional, but attractive. We did a river rock feature that worked out great! Check out my video below about it, or keep reading for more details:
BACKGROUND
On the south side of our house, there is this spot in the yard that tends to hold water. That was very evident this winter and spring, because we had an unusually wet spring. Even through June of this year, it was very wet. That spot was wet enough that I could not mow parts of it, even if it had not rained for a week.
Something had to be done.
We have done this in another spot, and erosion was really bad with nothing added back to the trench. That's when we discovered rover rocks. You can get them in multiple sizes and they are relatively inexpensive. Have you ever seen some grayish rocks on the shore of a large lake or reservoir? That's called "rip rap" (not sure where the name came from) and it is to prevent erosion. The idea is that the water moves through the rocks slower since they are at all different kinds of angles. We used the concept of rip rap with the river rocks. And it really works!
TOOLS & MATERIALS
(using these affiliate links helps me!)
Bow rake - http://amzn.to/2tc0sCX
Shovel - http://amzn.to/2tc0ASX
Pick Axe - http://amzn.to/2v1TuNR
Wheelbarrow - sourced locally
Buckets - Lowe's or Home Depot or leftover from paint like me. ;)
River rocks - sourced locally
STEPS
Look at your area and see where the water has already traveled. That is the best location for your trench. Some civil engineers say that "water has memory" meaning that if you try to divert it to another path, it is likely to try to get back to its original path. I know, it sounds weird, but they study this kind of thing. One bonus of following the path the water has already been taking from a visual standpoint is that it will look very organic.
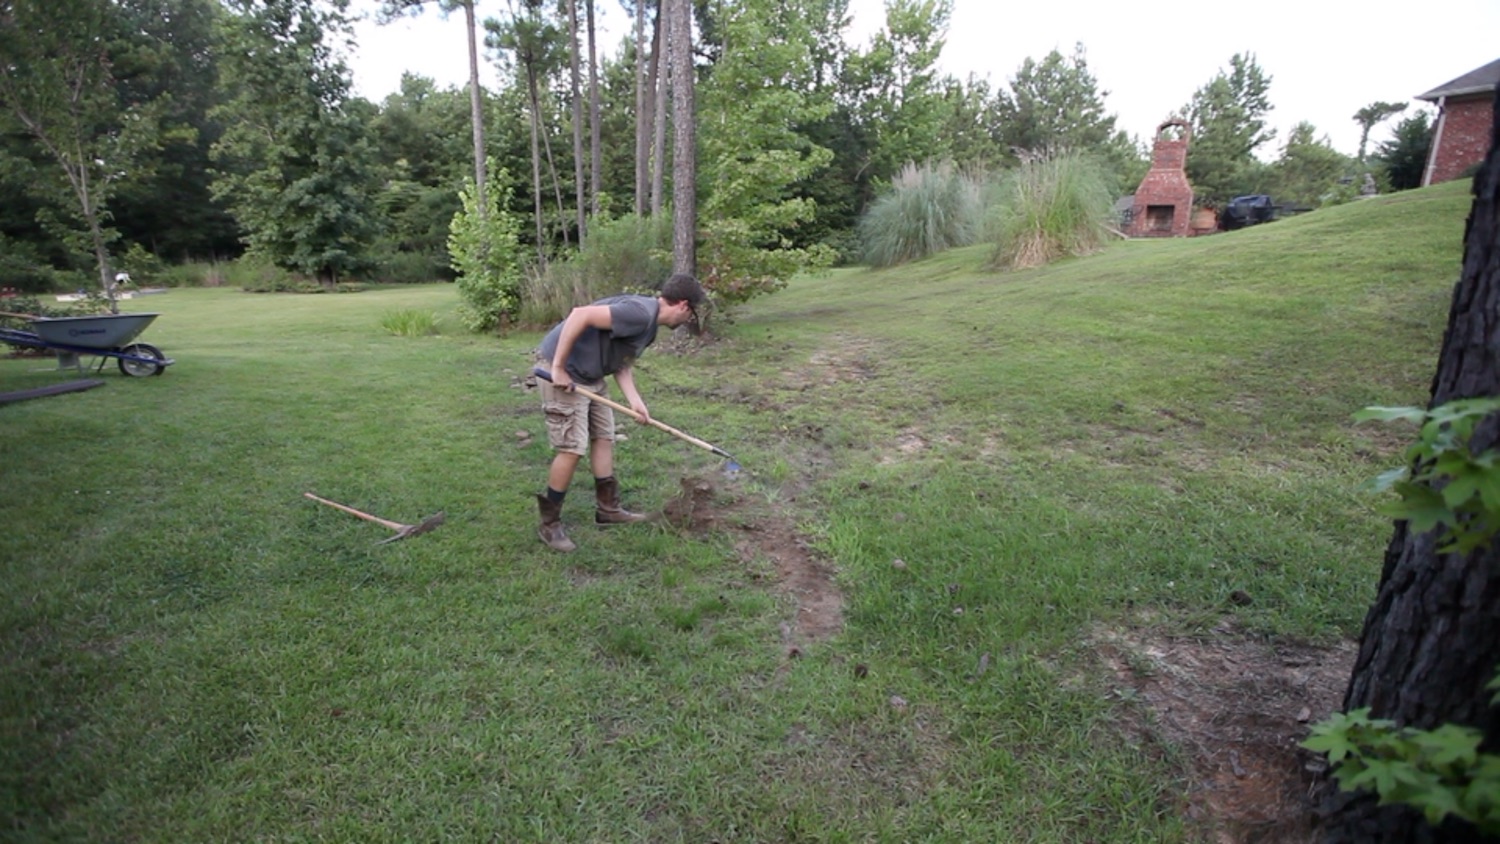
Begin very lightly at first, since you don't need it to be deep right there. Basically, you look at the entire length of the place you need a trench, and figure out how deep you must dig as you go so that all of it will be downhill. And keep in mind, if it is over 25 feet like ours was, by the time you dig about an inch deeper ever foot or two, by the time you get to the end, it will be pretty deep. The aim here is to just be gradual with it, but ensure that the water can actually flow down.
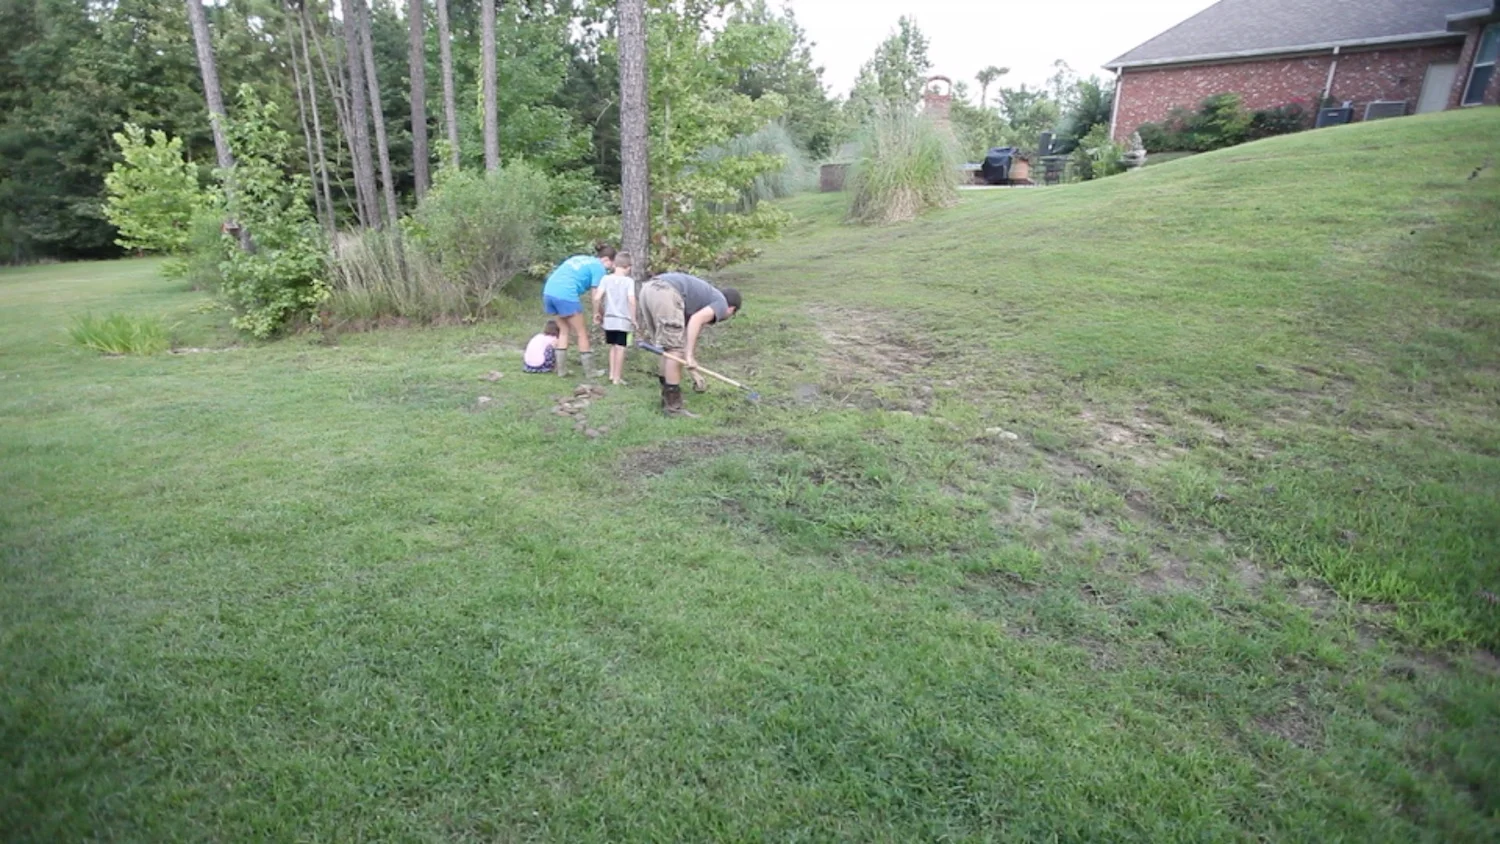
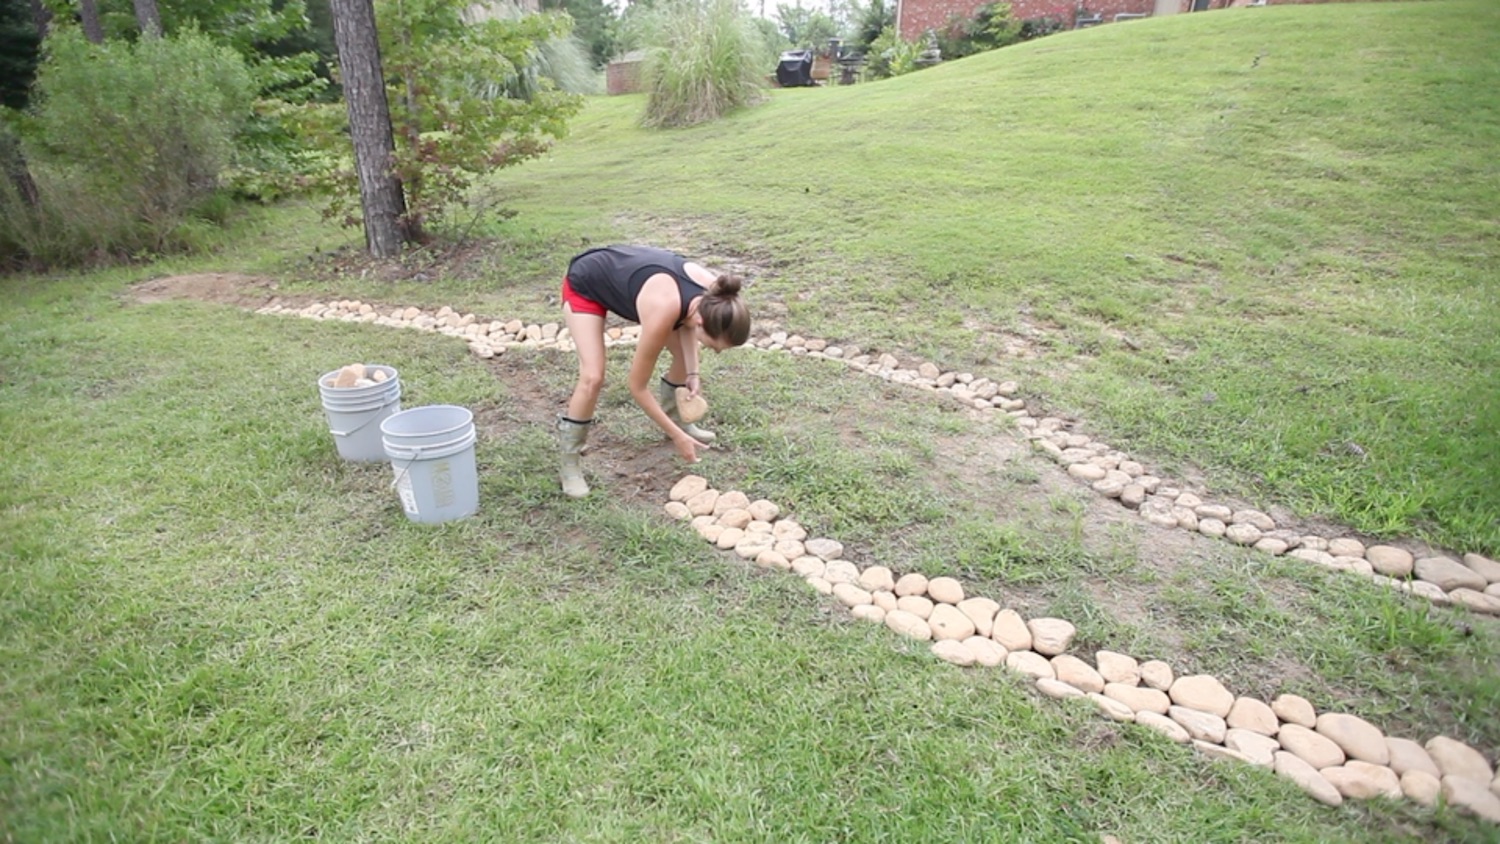
I used a pick axe for most of the actual digging, but if you will notice, I'm not really swinging it like you normally would to dig a large hole. This is because I wanted to shape the ditch kind of like a bowl so that the river rocks would fit in there nicely.

Sometimes, you will run across roots. Most of them were pretty minor, so I just cut them and kept going. If I had come across some really major ones, I would have just tried to dig around them and leave them intact.


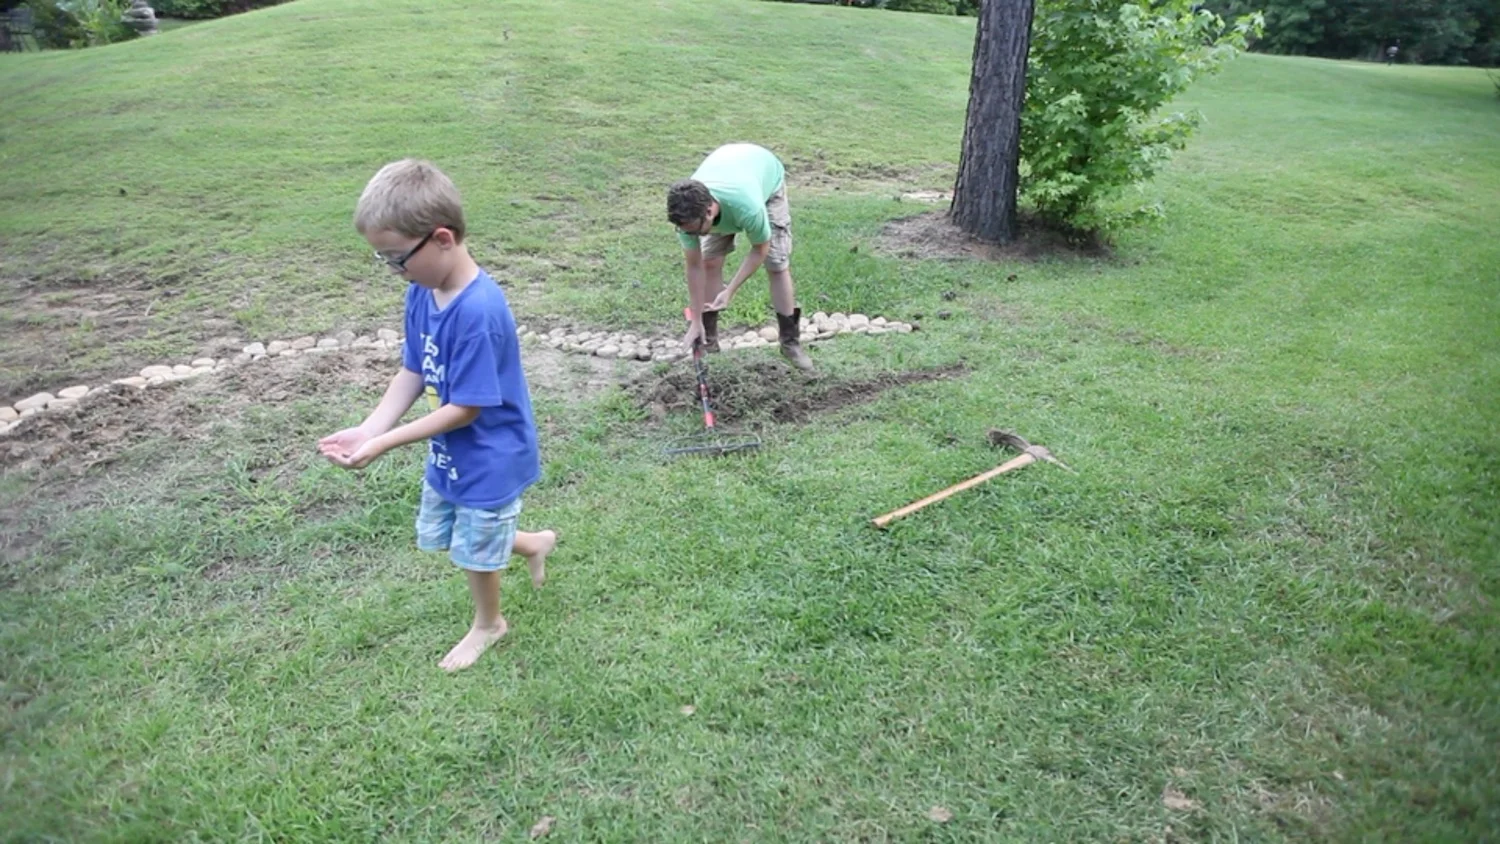
We ran out of light that first day, as we started laying out the river rocks. Stack them like puzzle pieces against one another. Don't leave any gaps, or at least as few as possible. You should have kind of a bowl shape when the rocks are in the trench.

Don't forget to stop for worms. ;)
The next day, we decided to dig a second trench. It appeared that there was another really low spot and that it would seriously help get this water out of this area to dig a second one.

Just repeat those steps of digging the trench, pulling out the excess dirt and putting the river rocks down in a bowl shape.

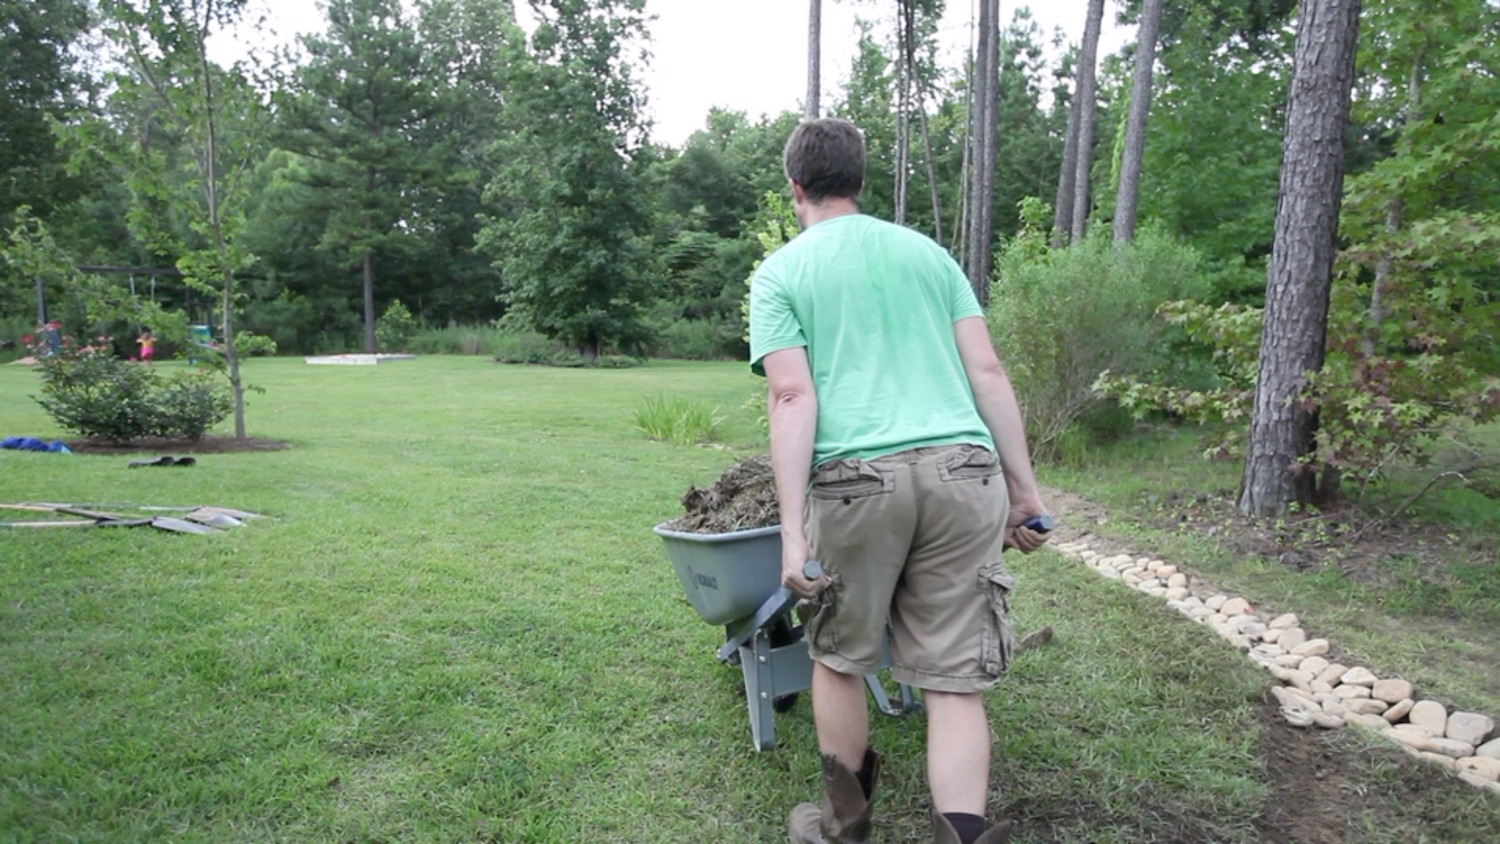
We picked up the excess dirt and dumped it on the back part of our property. There is always a need for some dirt, so I'm sure we will go get some from the pile before too long.

Even little Alexander got in on the wheelbarrow action. This was his first wheelbarrow ride and he loved it.

Since we dug that second trench, we didn't have enough rocks. I headed back to the local stone supplier to pick up another 260 lbs of rocks.

Before we could get everything quite done though, it rained really hard. We decided to just play in it, since there was no lightning.


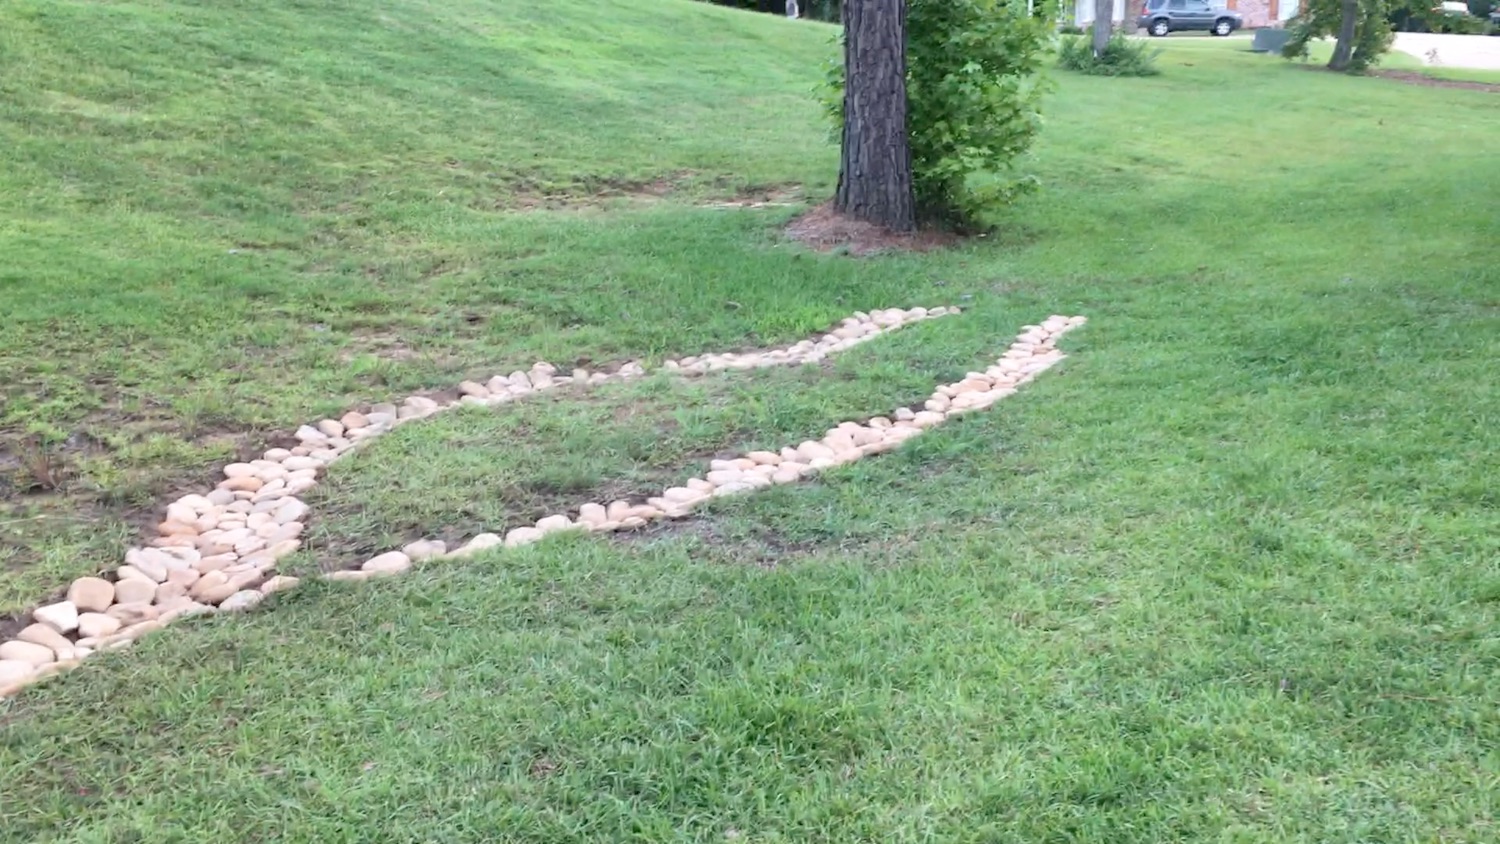
Finally, we laid out the remainder of the river rocks, sat back and enjoyed the beauty that this functional landscaping will provide.
FINAL THOUGHTS
This was very hard work here in Mississippi in July, as it is crazy hot with the added dose of very high humidity. We made it through it and I'm glad we did. We have had a couple of rains since finishing this project, and it seems to really be helping.
I like how it turned out and I really like the organic flow of the trenches. By following the path the water had already taken, it made for a visually interesting addition to our yard.
Do you have a lot spot in your yard that could be improved with a little more drainage? Try this out and don't forget to use some rocks to slow the water a bit and prevent erosion!