Simple DIY Living Room Renovation
VIDEO:
In this project and video, I’ll show how I did a simple diy living room renovation for under $750. Watch the video and follow along as I walk you through the steps:
BACK STORY:
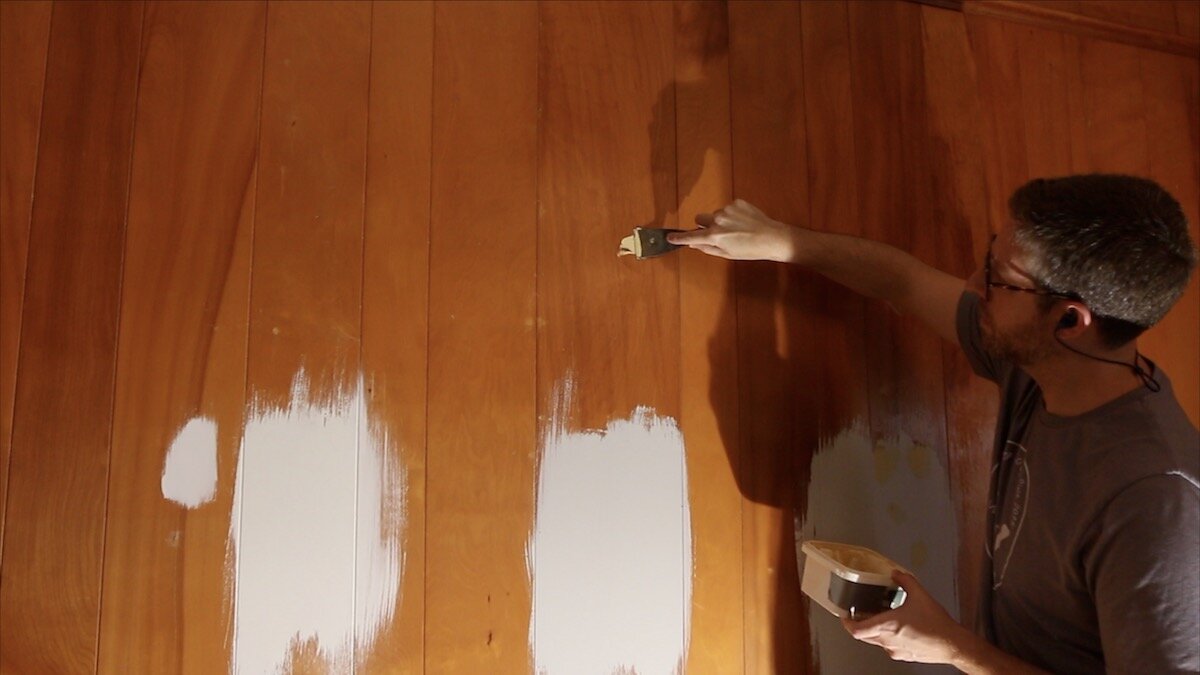
This is not my living room, but rather, my parents’ living room. Their house was built in the mid-1950’s and this room was one of the last ones that needed to be updated in the house. It had some old, ambered paneling that had some kind of a shellac finish on it. It was very dated, and begging for a facelift. So, that’s just what we did.

TOOLS & MATERIALS (affiliate links)
Wagner Flexio 5000 Paint Sprayer: https://amzn.to/3cqSPe9
Cordless Brad Nailer: https://amzn.to/2WiaRsq
Brad Nails: https://amzn.to/2Wrt3RK
3M Pre-taped Plastic: https://amzn.to/3dFmyjP
Gorilla Construction Adhesive: https://amzn.to/2LpHW0r
Heavy Duty Floor Paper: https://amzn.to/3ctZgx3
Miter saw: https://amzn.to/2uC092T
Random orbit sander - http://amzn.to/2GPjaUo
Sandpaper: https://amzn.to/2VJsqkL
Quick Release Clamps: https://amzn.to/2yyFnpq
Tripod I Love: https://amzn.to/2wT3vmk
iPhone Tripod Holder: https://amzn.to/3eyXkFf
Camera: https://amzn.to/2wUxv1b (I have older model of this)
DEMOLITION:
There was a good bit of demolition and prep that had to be done before we could get to the painting, so I'll show you some of those steps.
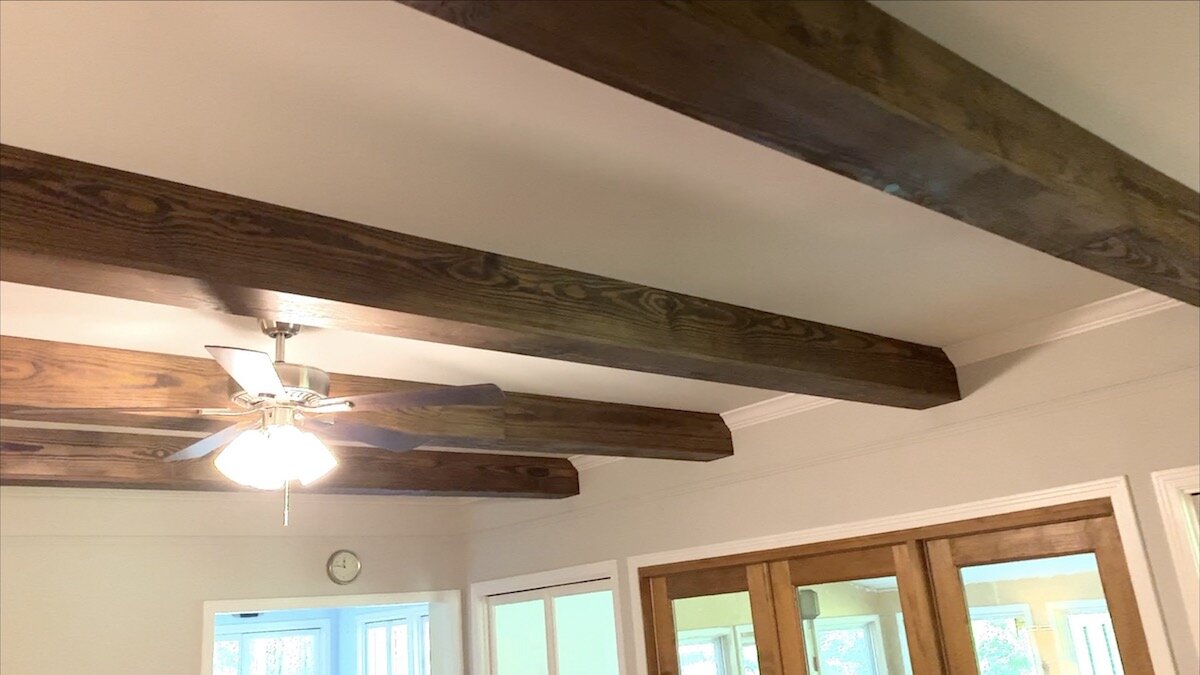
In this room, there were these faux beams in the ceiling that were for decoration. Instead of taking those out, we figured we would use them as an accent and find a way to update them.
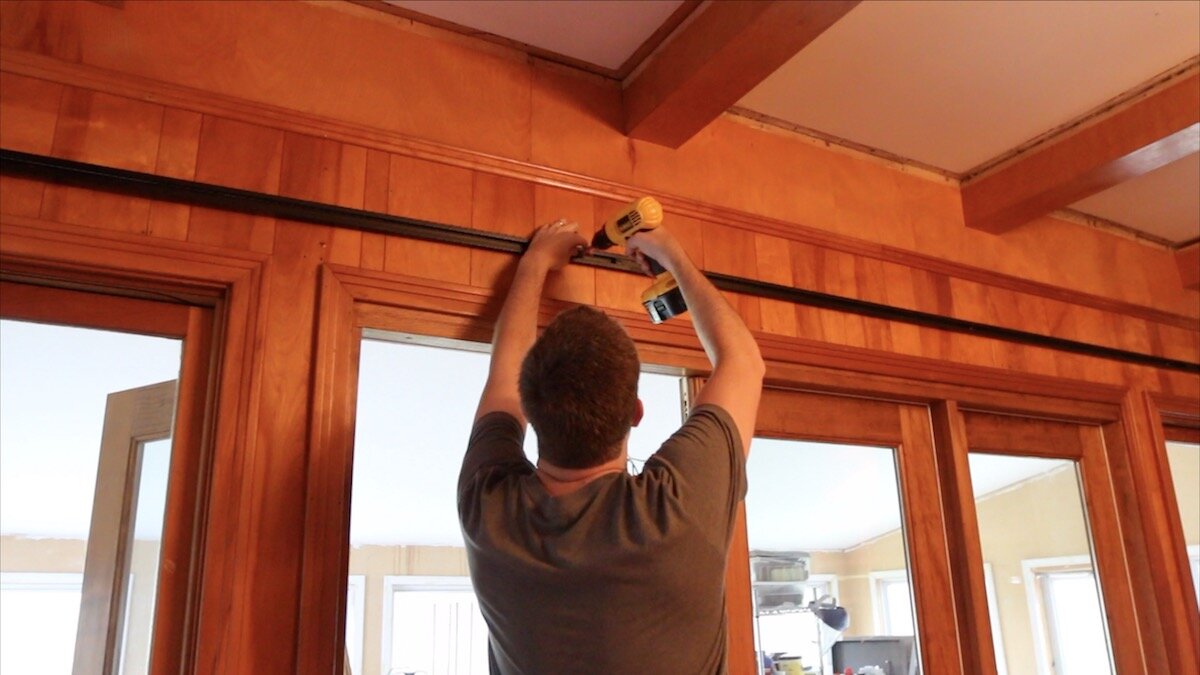
Instead of crown molding, there was a piece of the same amber veneered paneling that made a chamfer between the walls or beams and the ceiling. This had to come down before we could do anything else.
There was some old track lighting that had been added in years past, so we removed it and patched the holes.


The toe molding was perfectly fine, so we were careful when we removed that so it could be put right back down. As you'll see later in the video, we were also able to reuse a lot of the original crown molding from a different part of the house.

LAYING DOWN PAPER TO PROTECT THE FLOORS:
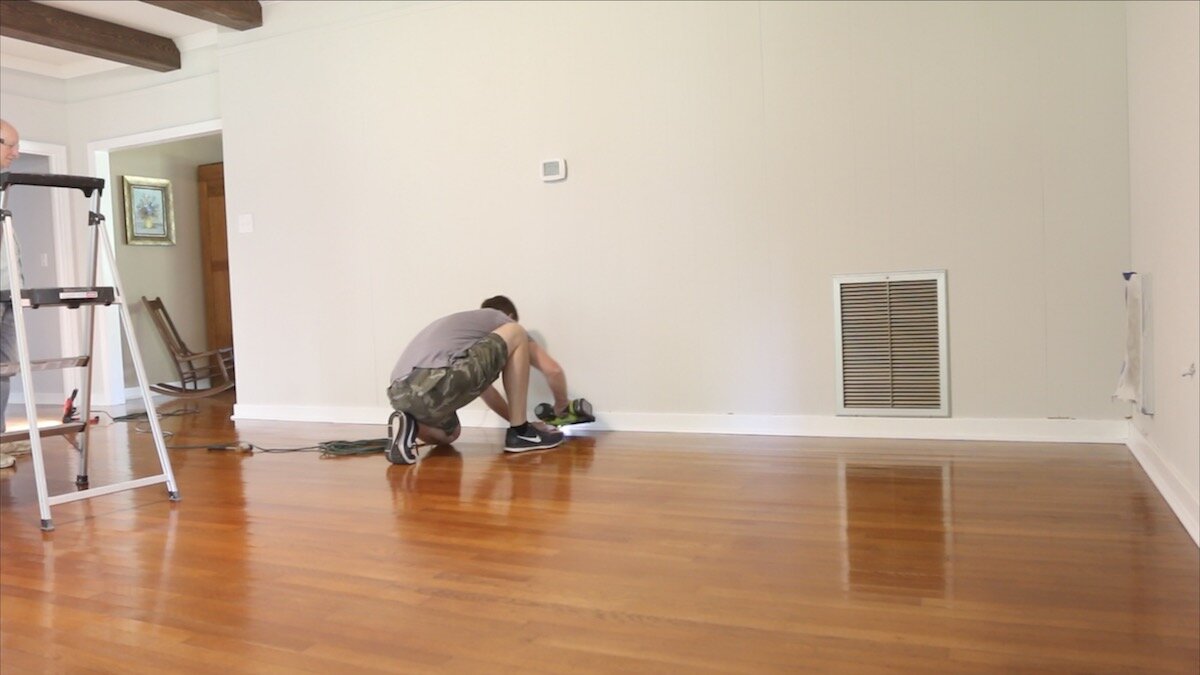
These floors are original to the house from the mid-1950's, so it was imperative to lay down some thick paper before going any further.
Fun Fact: When my parents bought this house in 1986, there was orange shag carpet that was about 2" tall in this room. The whole house was covered in either orange or green shag carpet. Yep...this hardwood floor was waiting underneath.
This paper really held up well. This project spanned over about 7 weeks and the paper lasted through it all. I would recommend spending the little bit of money and time up-front to put this down and save yourself some hassle dealing with paint on the floors later.

PATCHING HOLES:
This next task was tedious. Over the last 60 years, let's just say there were quite a few nail holes to patch. You know, the places where you put up shelves and moved them, art work, etc. That really adds up over the decades. Since we were painting these walls, I had to patch each one of the nail holes with wood putty, and then sand them down flush with the wall. I've seen some people put wood putty in the panel seams, but we decided against that.


REMOVING THE OLD STOVE & FIREPLACE CLEAN-UP:
This stove was really heavy, but we were able to get it out and into my dad's truck without much problem.
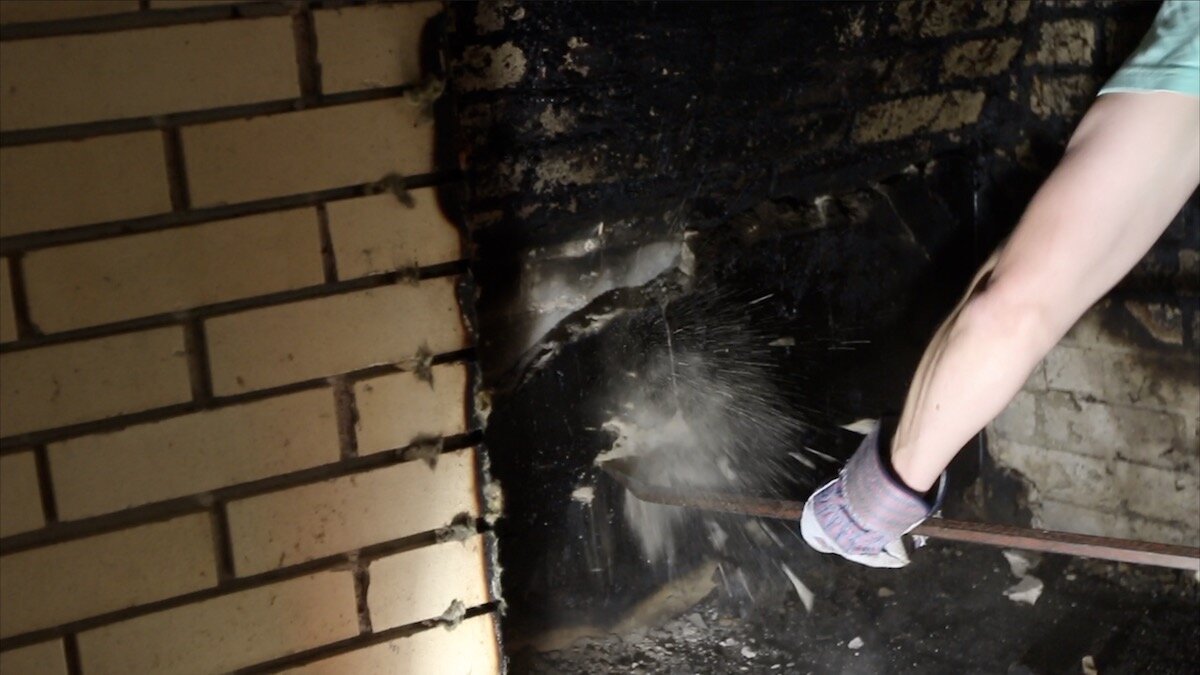
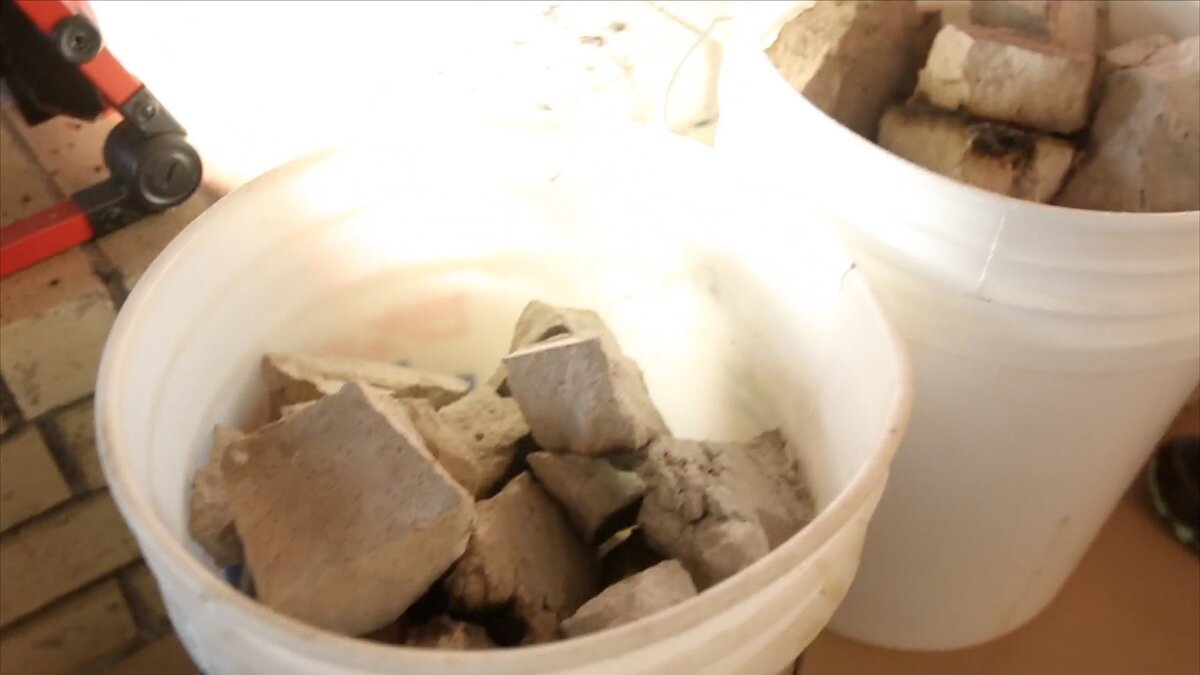
After that, we spent some time cleaning up the mess that was in the fireplace. This fireplace had a lot of spare mortar that had never been chipped off, so we decided to take care of that now. They will possibly be putting in some kind of a decorative, but functional stove (kind of like the old pot bellied stoves) in the future, so we were preparing for that as best as possible.
Then, we just cleaned it up as best we could. They hired someone to inspect and clean the chimney professionally right after this, and then we used some cleaner and wire brushes to remove as much of the loose soot and grime as possible. Once again, having some old 5 gallon paint buckets (or in this case, old laundry detergent buckets) around the house comes in handy more than you would think. I have a bunch of them that I’ve saved over the years, and they get used over and over.


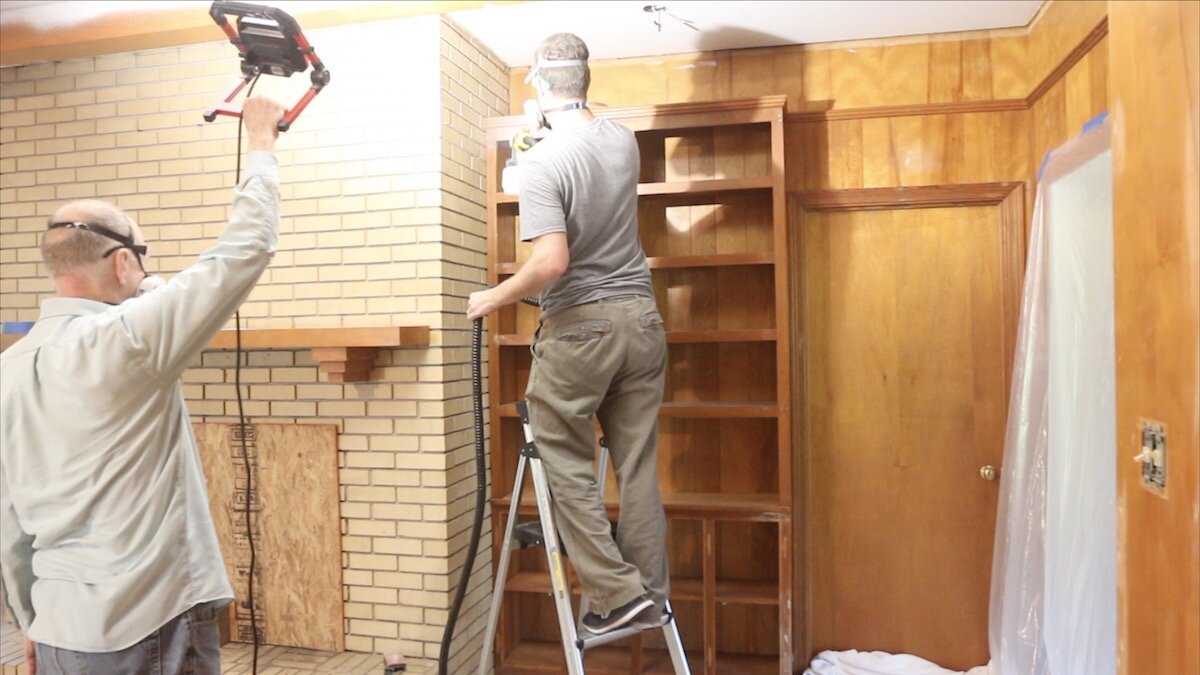
PREPPING THE CEILING FOR PAINT:
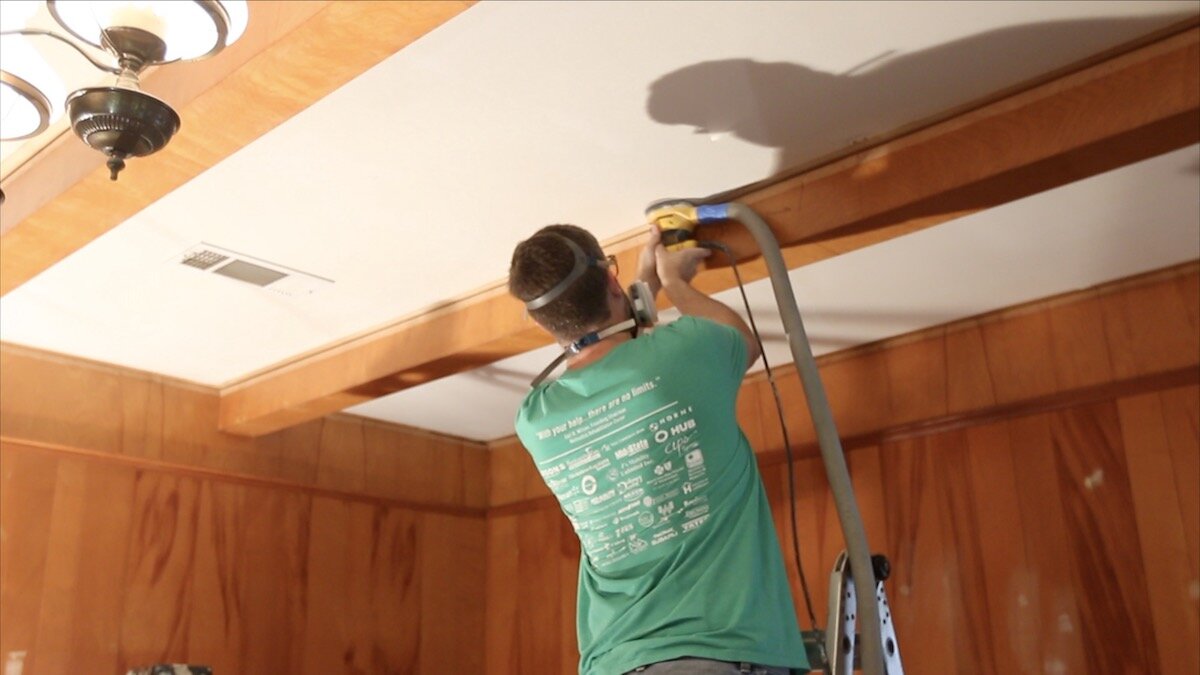
Next, I turned my attention to the ceiling. Where we took those little chamfer pieces off from the sides of the beams, there was a little ridge left in the drywall over the years. I guess they just plastered right up to that point. I sanded them flush with a random orbit sander, checking often to see if the ridge was truly gone. My nephew even got in on the action.
In the places where we removed the trim that spanned between the beams and the ceiling, there was a ridge of plaster left over the years. We needed to sand this down in some spots and then float some drywall compound to even out the ceiling and make it look brand new. We didn’t have to get too close to the old beams, because we will be wrapping them with some other boards to create some different beams. I’ll show you more about that a little later in the project.
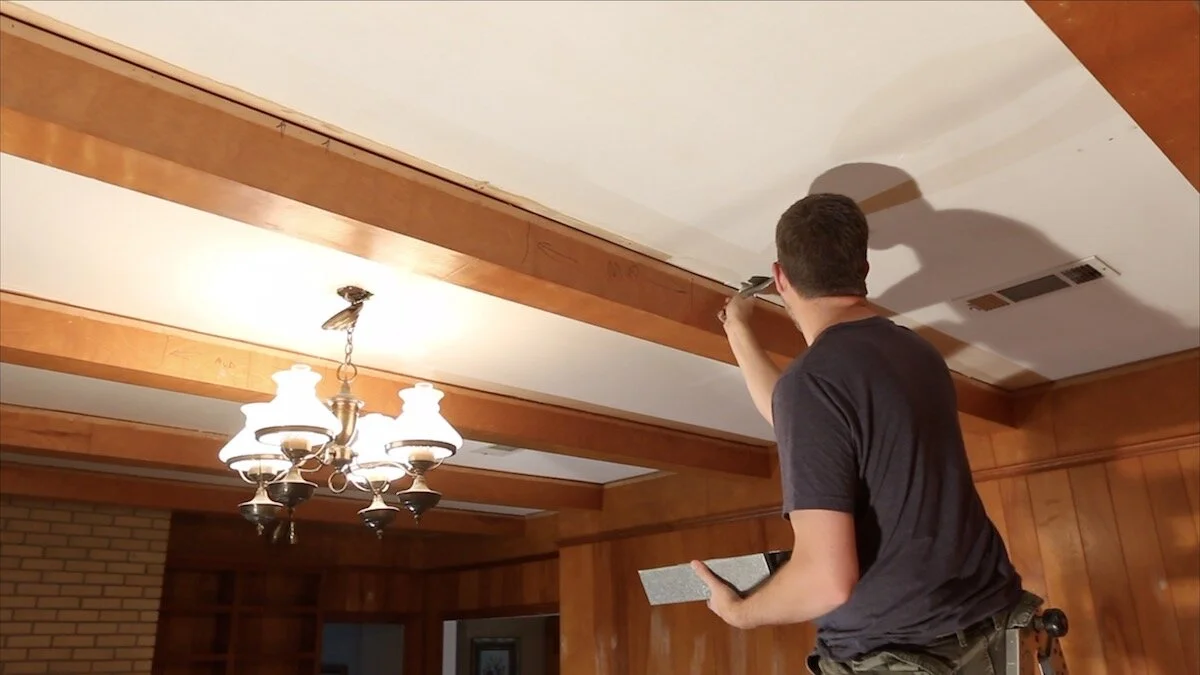
Time for some mud slinging. No, not trash talk. Literally slinging some mud on the ceiling. We were floating where that ridge was earlier, so once painted, it would look perfect. Then, we went around with a light, spotting places were nails were bulging through the drywall, and using a large coal chisel to hammer them back in. That way, we could add some drywall compound to these spots, sand them flush and the ceiling would look brand new.
When you're adding drywall compound, it's always important to remember to use as little as you can to make it look good. Any extra that you apply just means more sanding in the future.

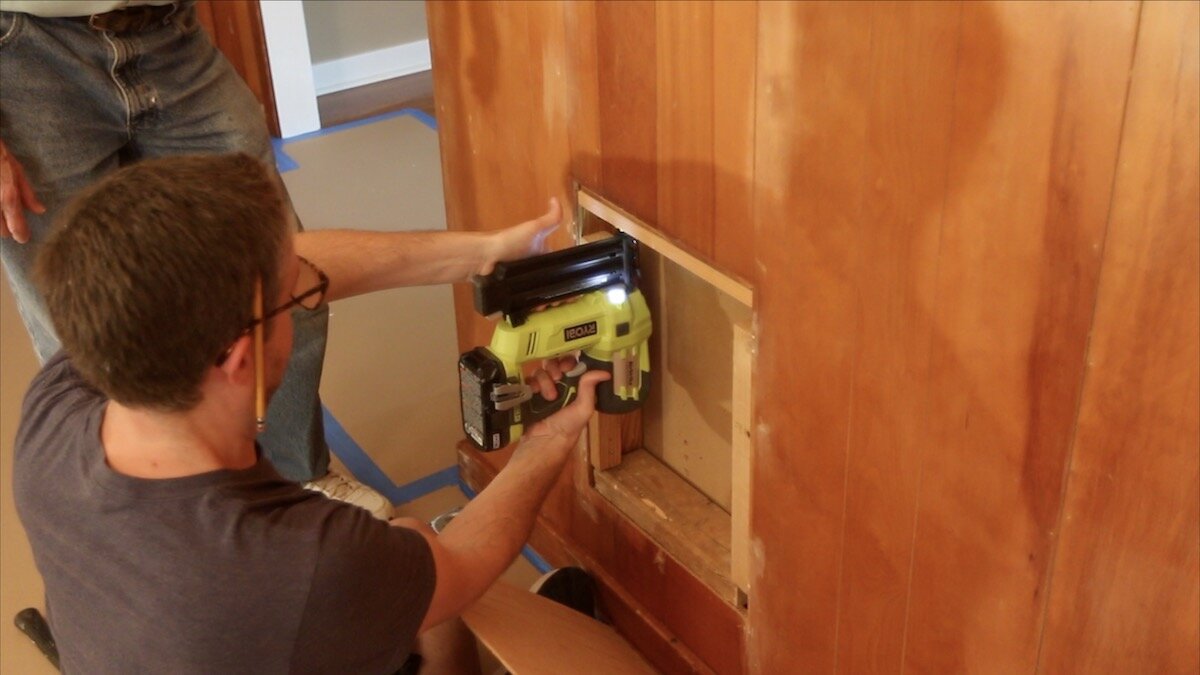
PATCHING A LARGE HOLE IN THE WALL:
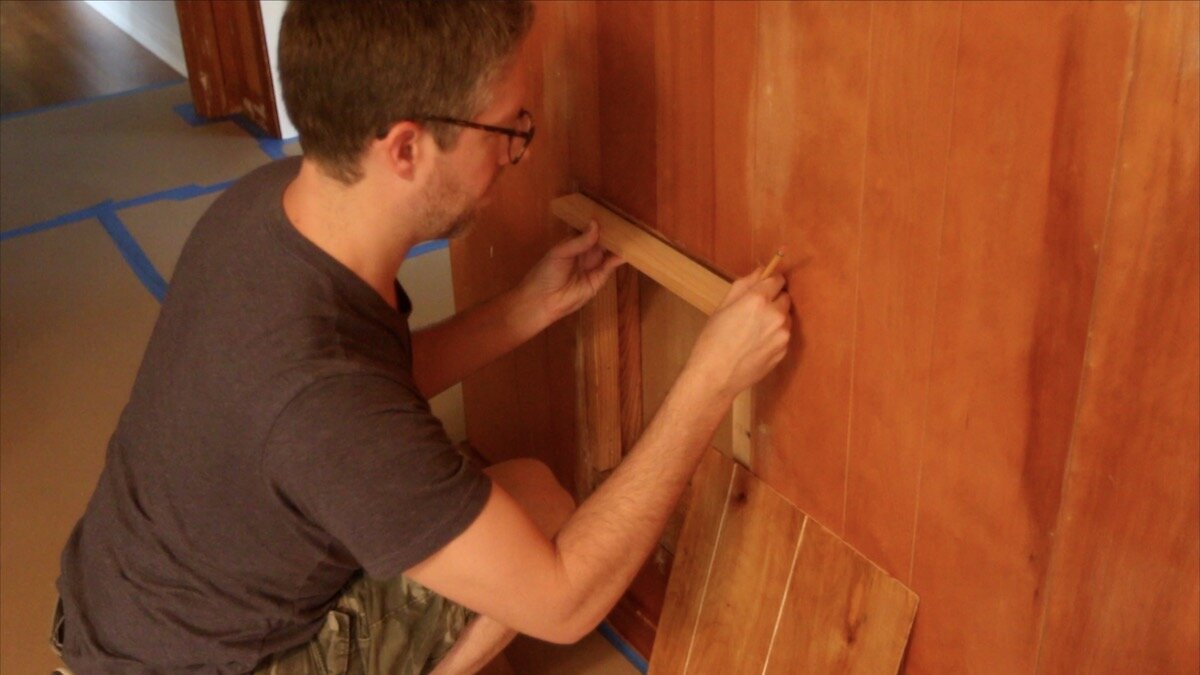
There was a spot where a wall heater used to be years ago, so we wanted to patch up this spot before painting. I created a little shim and then secured the paneling back, before we added wood putty around the seams.
We even got serenaded by my mom on the piano at times. Quite lovely work conditions, if I say so. (watch the video to hear it!)
Then, we vacuumed off the walls and all of the surfaces to remove any dust. This was the last step before paint.


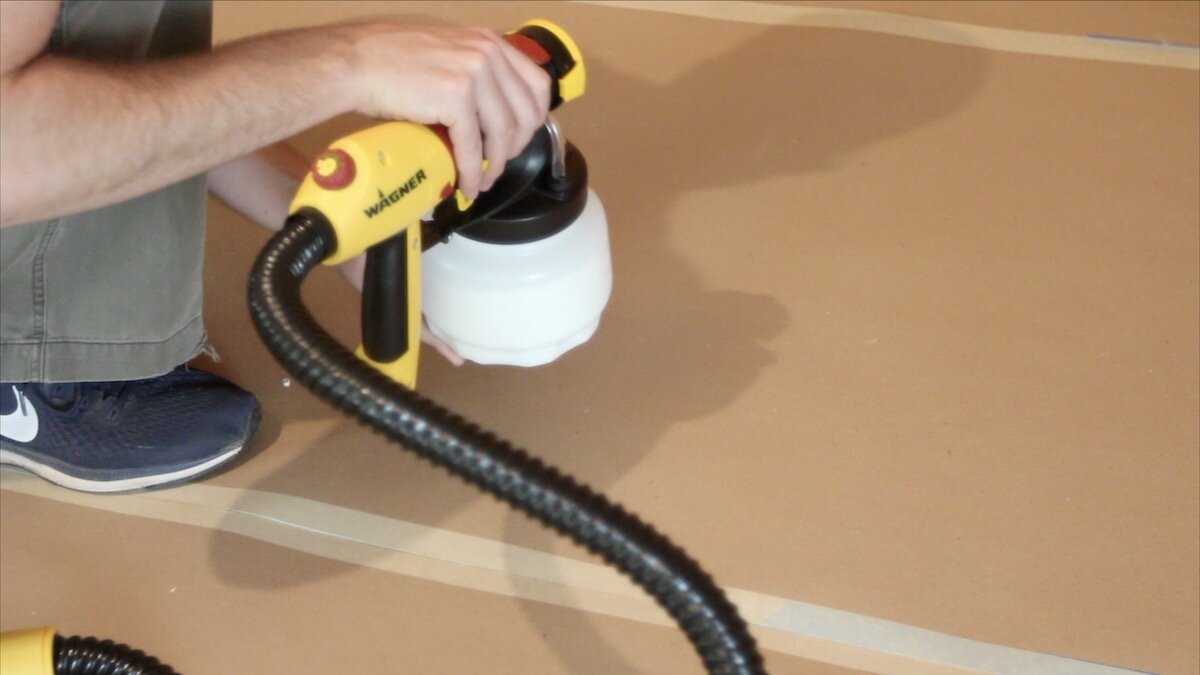
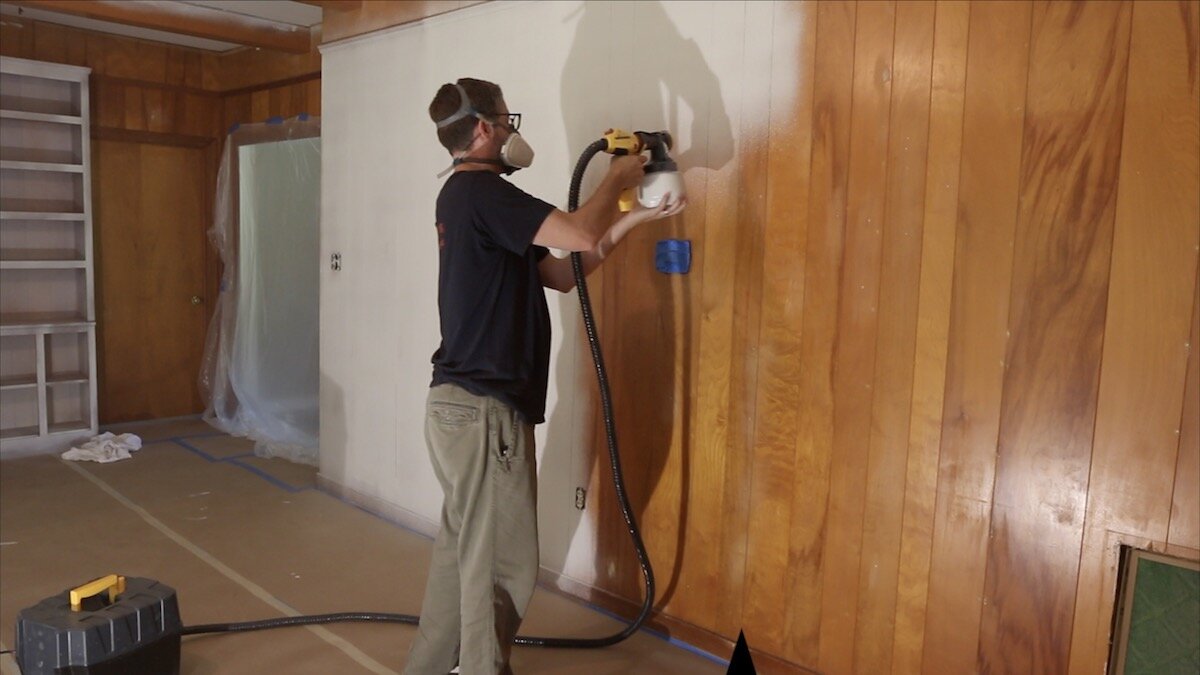
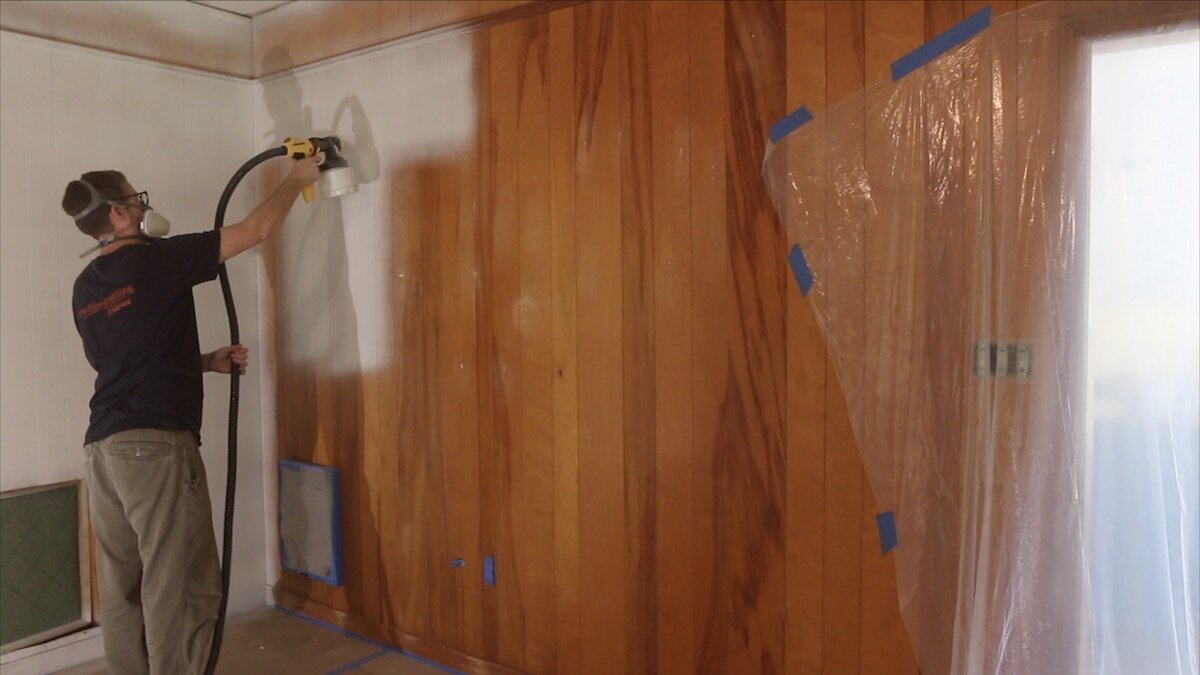
WAGNER FLEXIO 5000 PAINT SPRAYER:
Now it was time to break out the Wagner Flexio 5000 paint sprayer. I was really surprised to find out that everything I needed was contained in this medium tote, including the turbine, two different paint sprayers, the hose and all of the accessories.
The turbine in the case of this sprayer sits on the ground so you’re not holding so much weight. Then, you just turn it on at the turbine, and whenever you’re ready to start spraying, turn it on where your hand is on the sprayer. I liked this part because you could turn the noisy thing off right where your hand was if you needed to take a quick break and not have to go all the way to the turbine and turn it off there.
One thing to note, that container and sprayer gets pressurized when it’s running. if you ever turn it off at the sprayer and you want to set the sprayer down for a break, I found it was helpful to just twist the canister on the sprayer a little to break the seal. This kept paint from leaking out of the nozzle because it released the pressure.


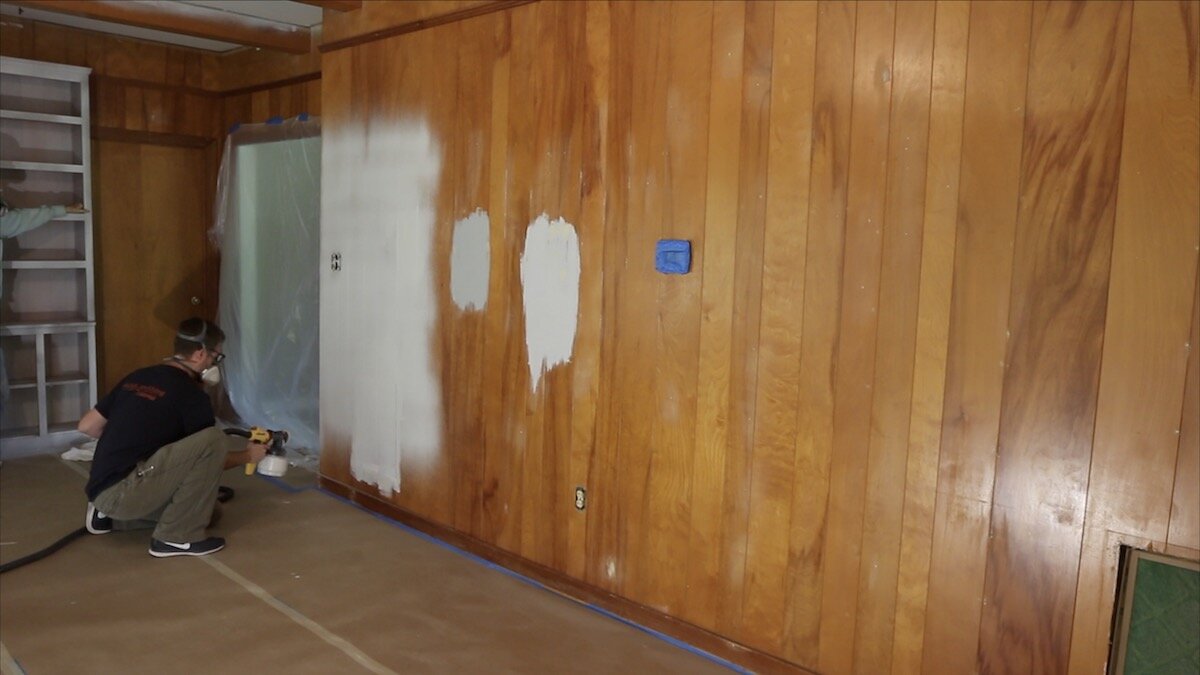
TIME TO START SPRAYING:
I started out doing a few tests with primer on the prepared wall. I wanted to see how this thing sprayed right out of the box, and what all I would need to tweak. I knew I probably wanted the widest amount of spray possible to cover the most wall, but the compressor feed was what I wasn't sure about. I ended up turning it up pretty high and I was getting really good, consistent results.
A few things to note that I picked up pretty quickly:
1. Move a little slower than you think. I was afraid to put too much paint on one spot so I was moving the sprayer really fast at first. When I slowed the pace of my movement down, I started getting even more consistent results.
2. When spraying overhead especially, I actually ended up wearing a face shield that could be washed. I didn't learn this until after this first round of spraying. I figured this kept some of the paint out of my respirator and off of my glasses. Then, I would just wash the face shield with the sprayer when I was done.
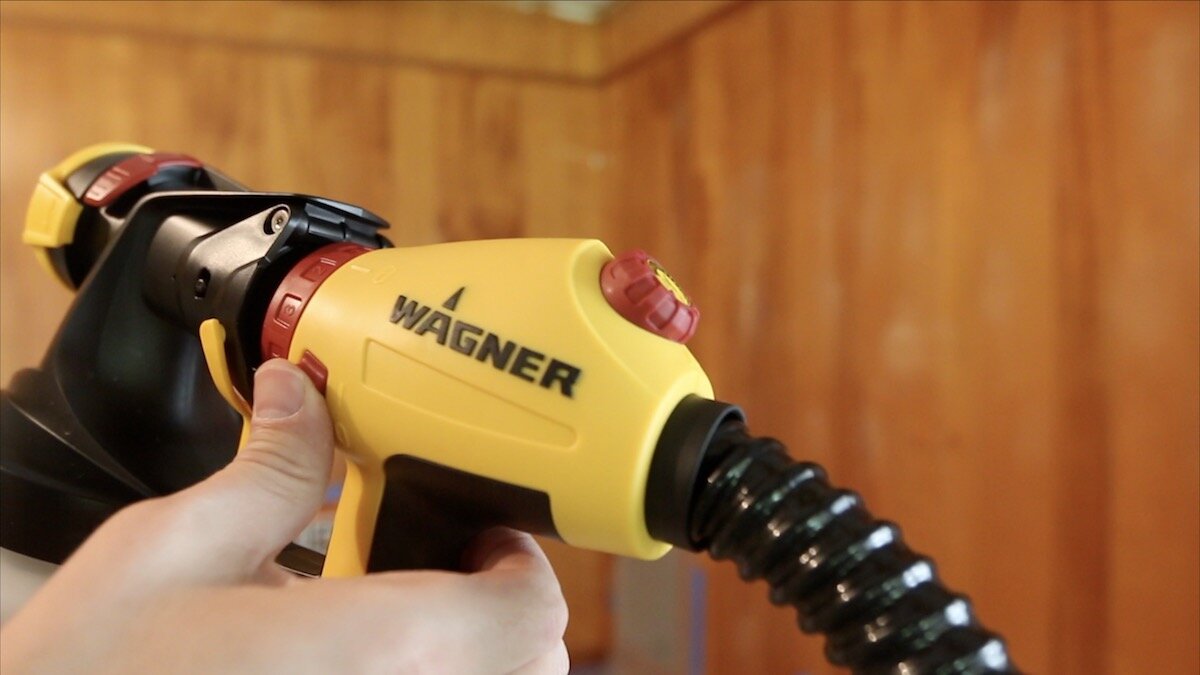
Like I mentioned earlier, this paint sprayer is made by Wagner, the sponsor of this video. This one is the Flexio 5000 and it has a turbine base which keeps the weight on the ground, not in your hand. It has two different nozzles. The iSpray nozzle is what I used most because it's ideal for broad surfaces like walls and ceilings. it also has a detail finish nozzle that is for fine finishing on furniture, cabinets, etc. You can adjust the width of the spray, the amount of pressure you get from the turbine, how much paint is fed out when you pull the trigger and it can spray in both vertical and horizontal configurations. I had not used a "big boy" paint sprayer like this before this project, and it performed quite well. I'll link to this sprayer in the description below so definitely check it out. Thanks to Wagner for supporting my channel!


PICKING A STAIN:
I created a little stain swatch board to make it easier for them to pick the stain color they wanted for the new beams we were installing. I grabbed three stains we had lying around, wiped each one on a board that was similar to the ones we were using for the new beams, and let them choose.

PAINT & STAIN COLORS:
Primer: Kilz 2 tinted with “Eternal Grey,” a Valspar color.
Walls: Valspar Contractor Coat Interior Flat tinted with “Eternal Grey.”
Bricks: Valspar Contractor Coat Interior Flat tinted with “Urban Sunrise.”
Trim: Behr Premium Plus Interior Satin Enamel Ultra Pure White 7050 (non-tinted)
Ceiling: Behr standard ceiling paint (non-tinted)
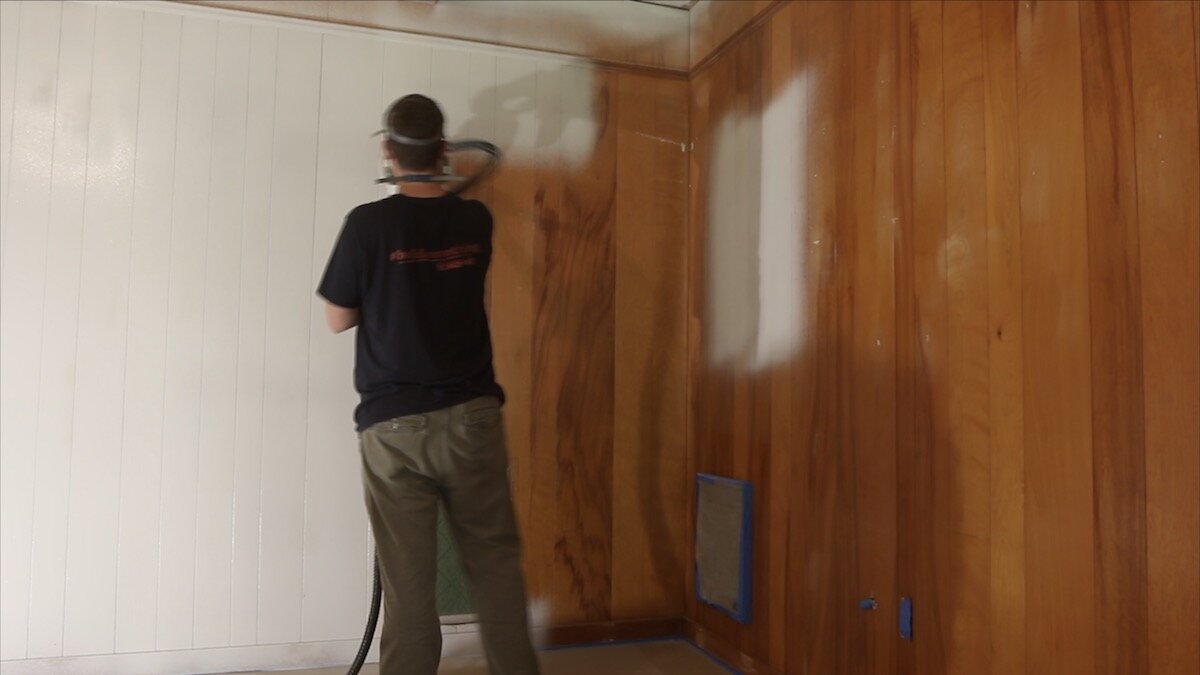
ADDITIONAL COATS OF PAINT:
We used some of this pre-taped painter's plastic from 3M and it worked really well. It was a little tricky to get the hang of at first, but after a couple of pieces, we saw just how useful it was. You roll it out like a piece of foil and tear it across the entire thing, once you have the length you need. It's 4 feet wide and once you stick the tape side down, you can unfold it wherever you need it to go. Another cool thing about it is that it kind of actually clings to your wall or surface once you get it spread out, making it flop around less. How cool is that?!
Now, I'm back to spraying. This time, it's the top coat. you can't really tell it here but this is a very light gray color. When it's wet, it kind of just looks white.
Remember, you still want to do light passes. Never put on so much paint that it starts to run.


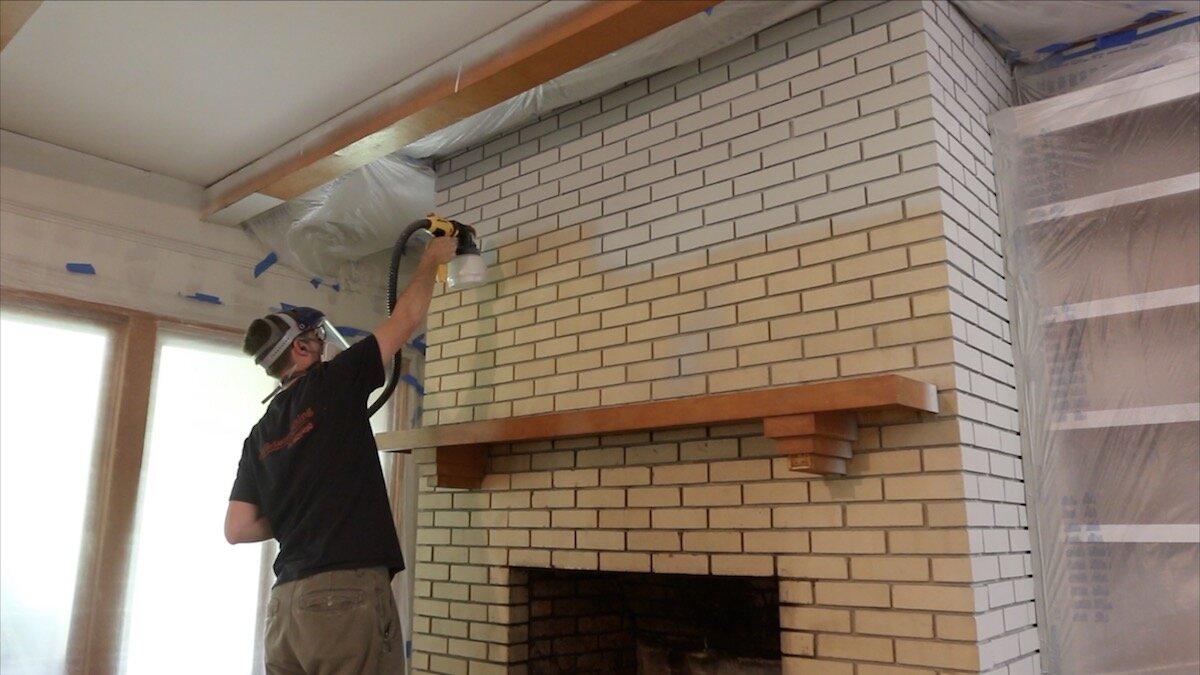
PAINTING THE BRICK FIREPLACE:
Next, we moved on to the brick fireplace. I'm not really going to show all about that process in this project, but will likely be doing a follow-up project about that.

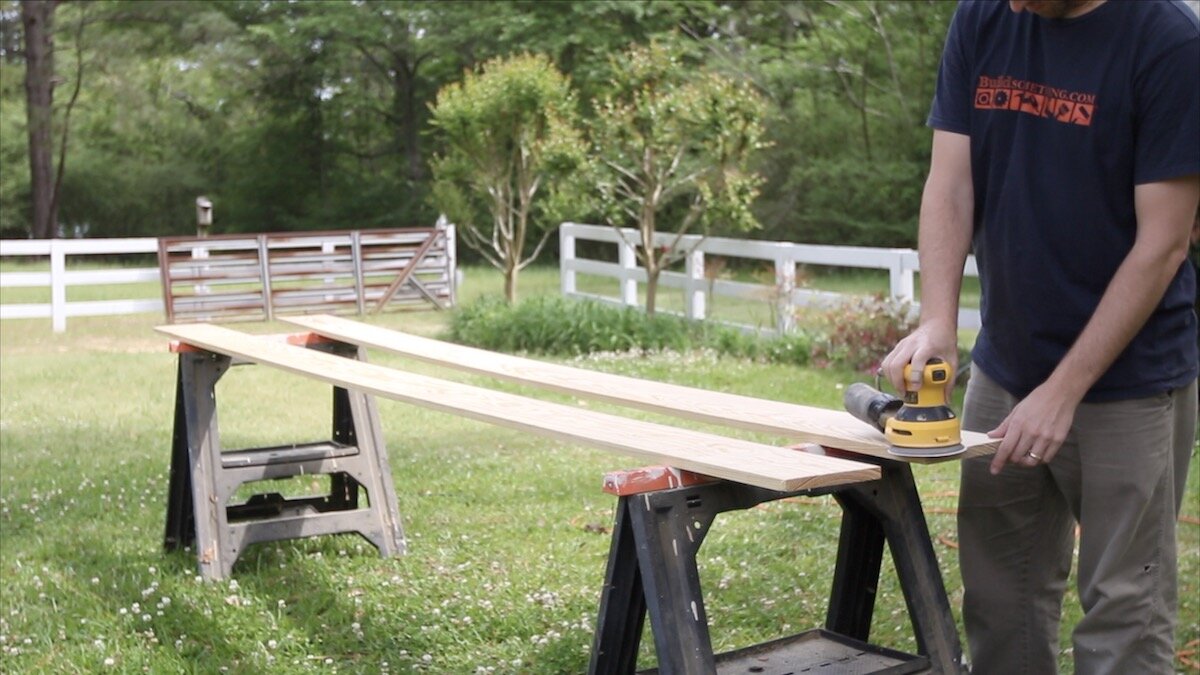
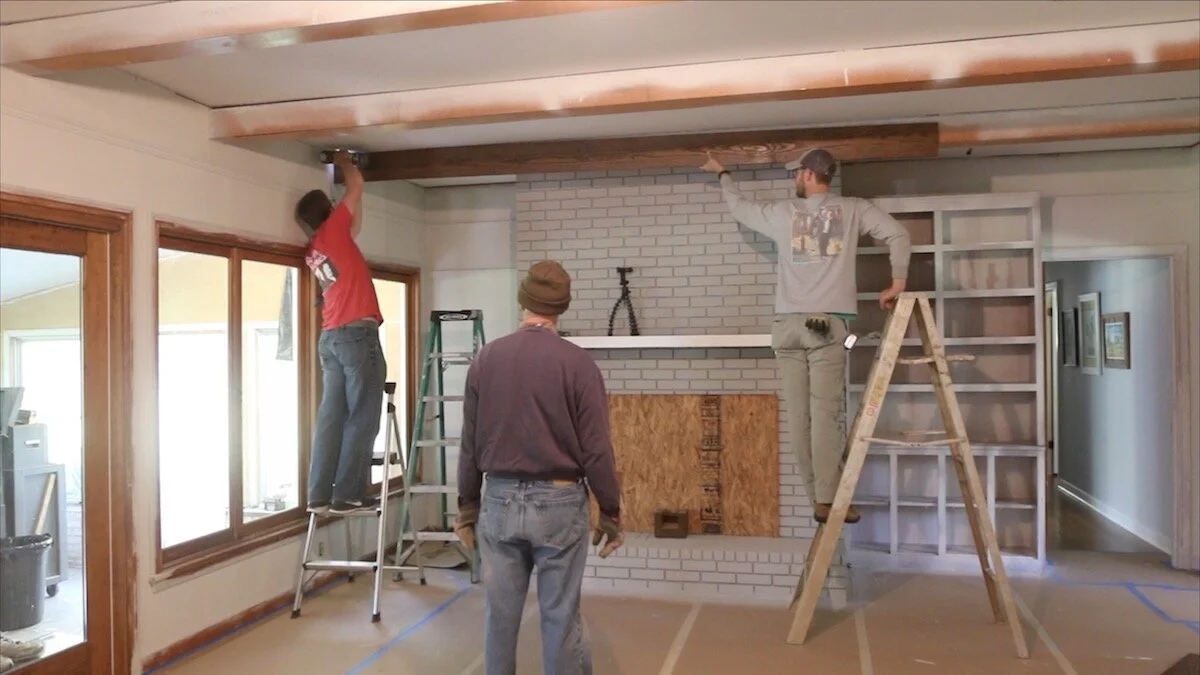
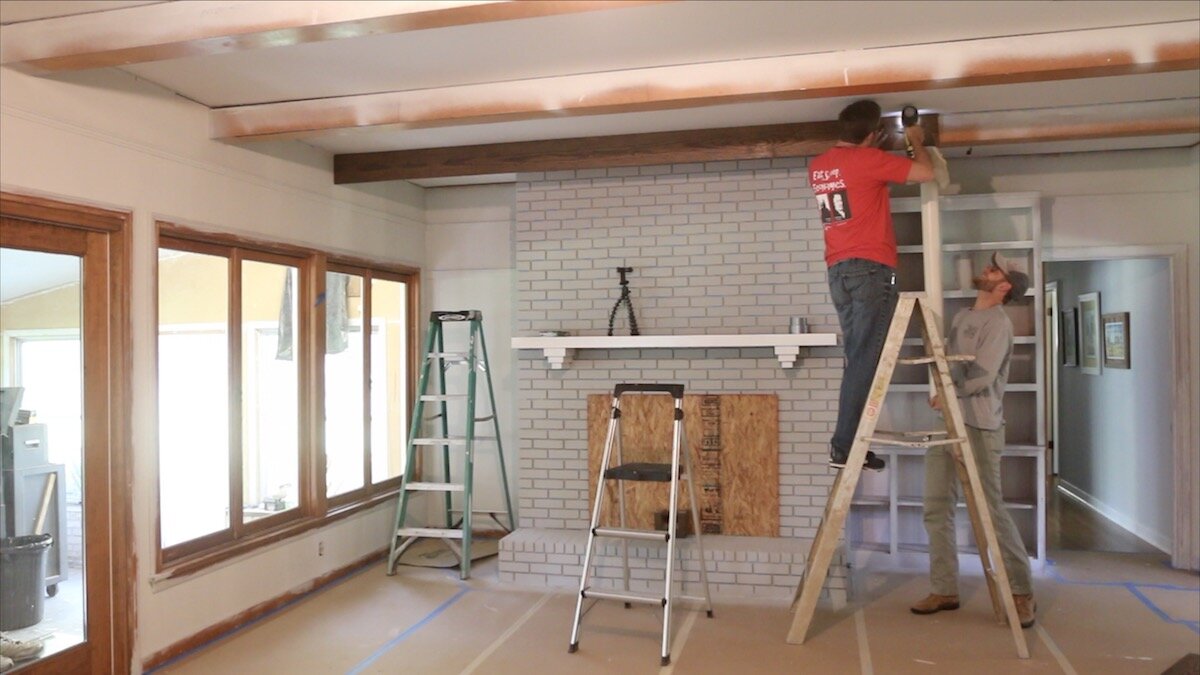
CREATING NEW BEAMS IN THE CEILING:
We all headed back outside to stain the boards that would become the new beams. We just wiped it on, and then removed any excess after a few minutes. Before that though, I gave them all a quick sanding just to even them out.
Also, I used the Flexio sprayer to spray the trim that we removed in an earlier step.
Time to make some beams. For these, we used some C grade 1x8s that we picked up from our local lumber dealer. They have a great price and selection on these.
I bought a cordless nailer just for this project and I'm really glad I did. Not having to lug around a compressor and hoses definitely made this project go a lot faster.
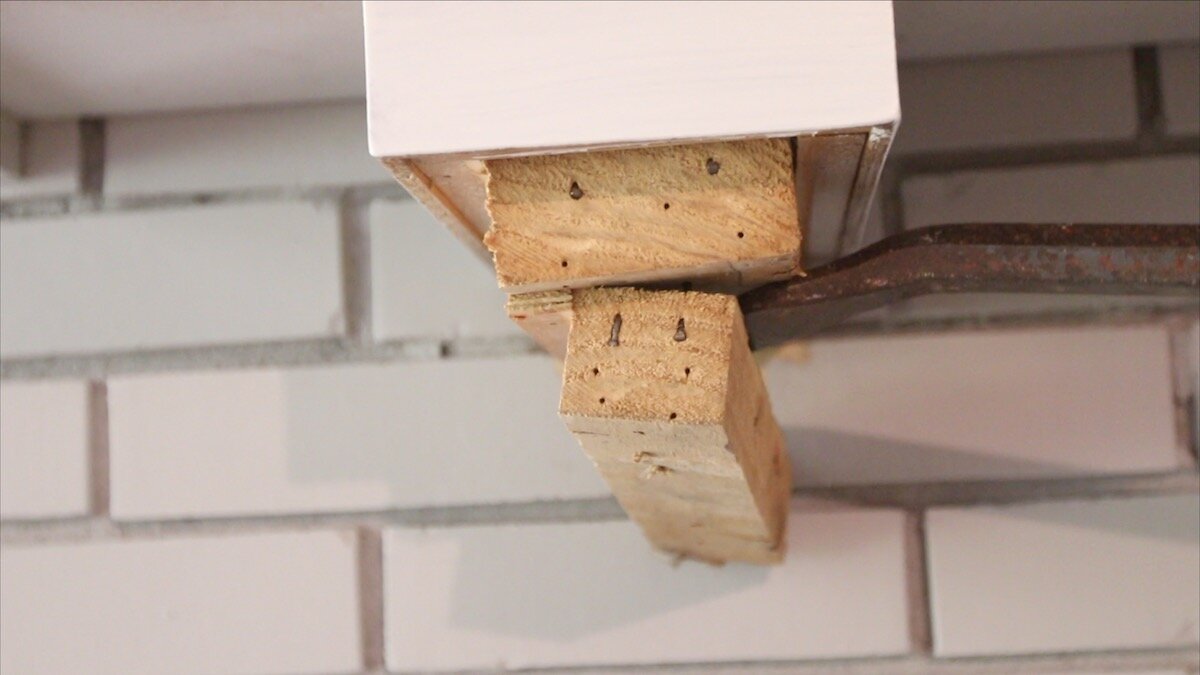
Here's how the process went, we would put up one side piece, just nailing into the previous beams. Then, we would attach the other side the same way. When it came to the flat one that went on the bottom, we would get it flush with one side and nail up into that side board. Then, we often had to use clamps to pull it all together until the other side was flush. We worked our way down the board, nailing as we went.


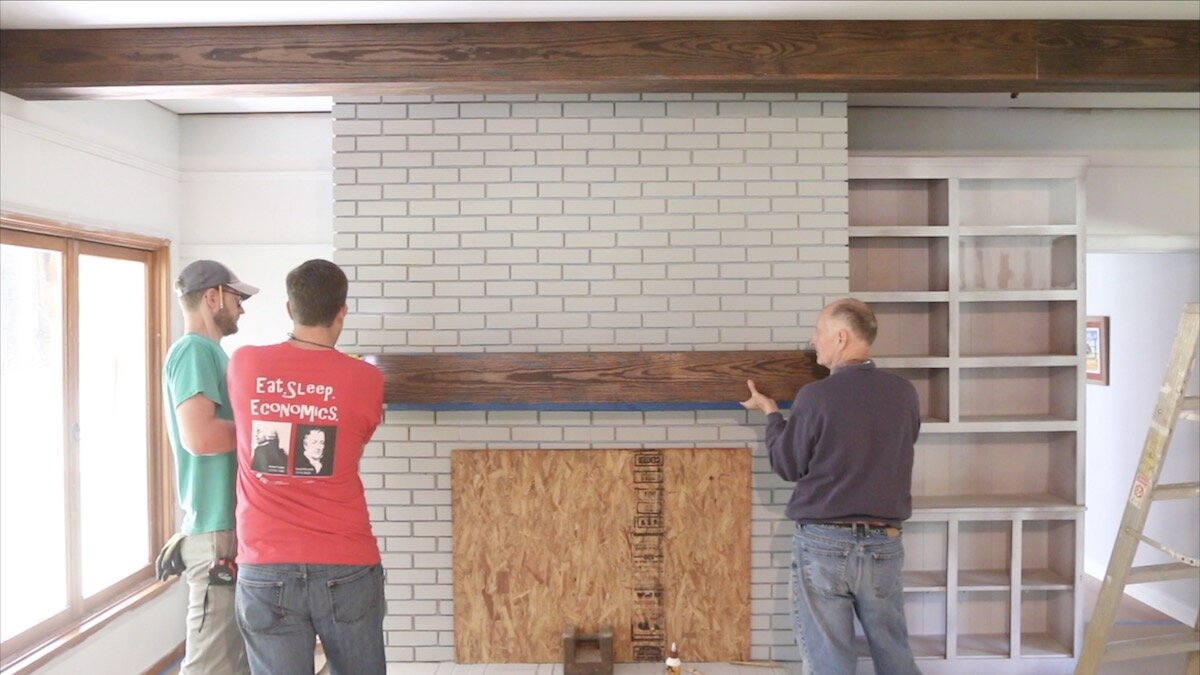
THE MANTEL:
They were testing out the idea of painting this mantel white and just leaving it, but it didn't look right with the rest of the changes being made. We decided to modify this existing mantel and build upon it. I'm not going to go into all of the details about the mantel in this project. I'll do another post about modifying this mantel to look like the beams.
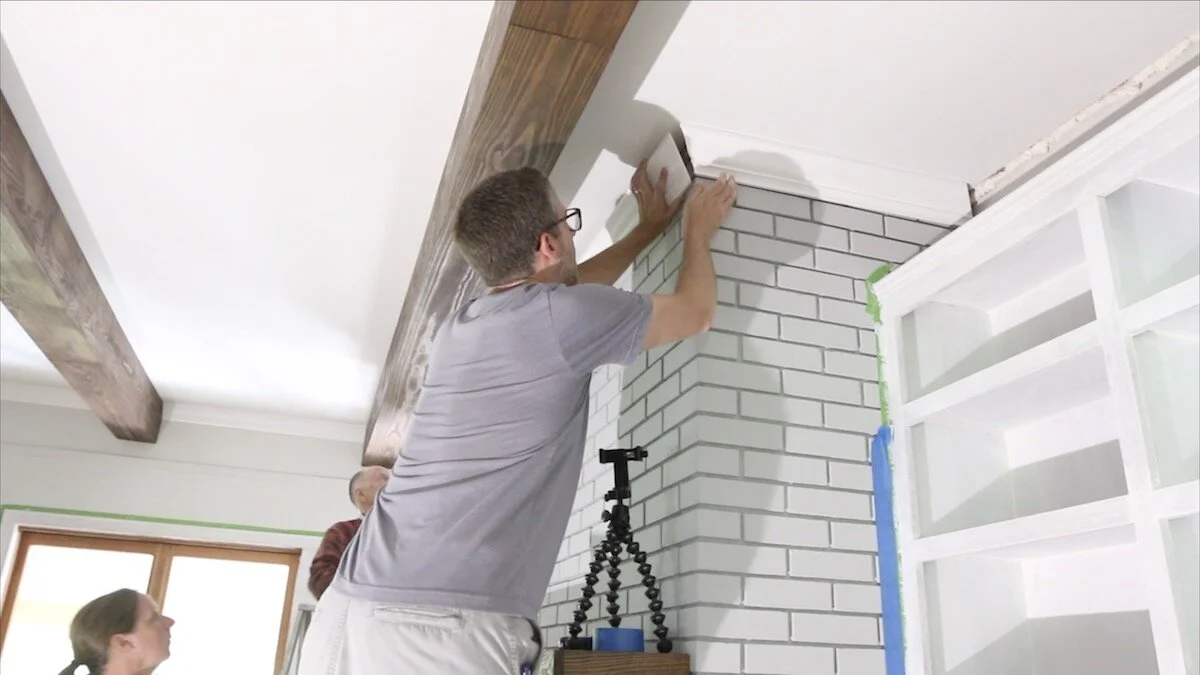
INSTALLING CROWN MOLDING:
At this point, all of the painting is done. It's time to install some crown molding. This is definitely not my favorite step, but we made it work. Everything came together pretty well. It all kind of came back to me and reminded me of the days when I was a trim carpenter over 17 years ago.


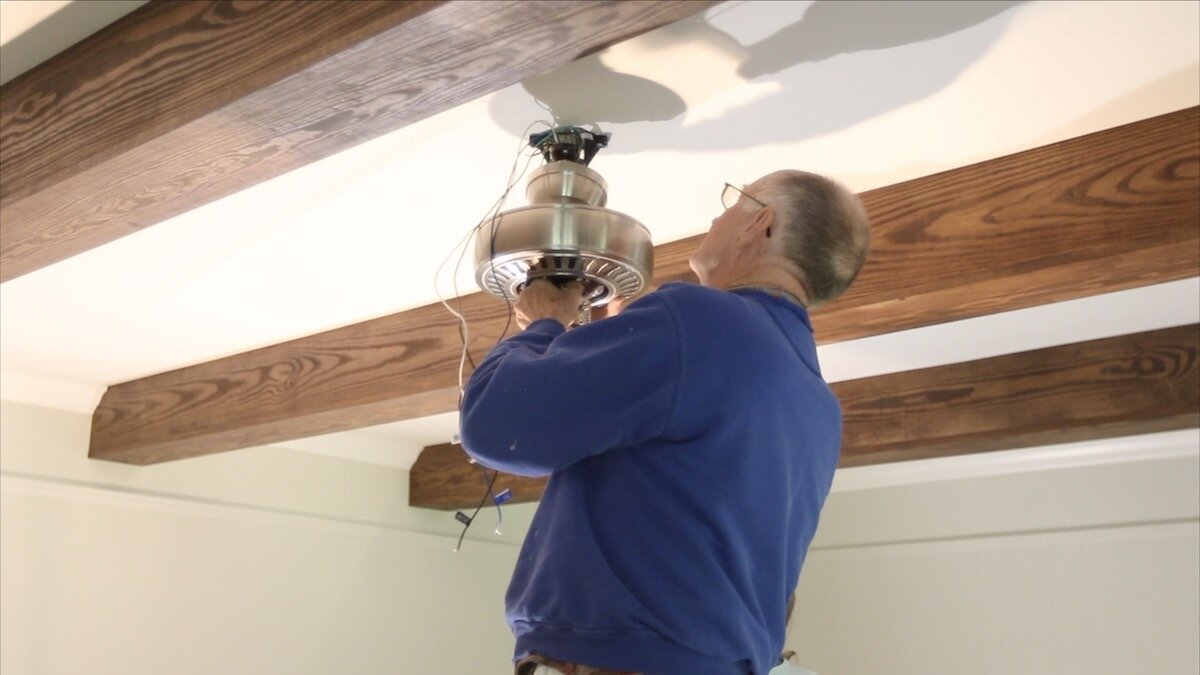
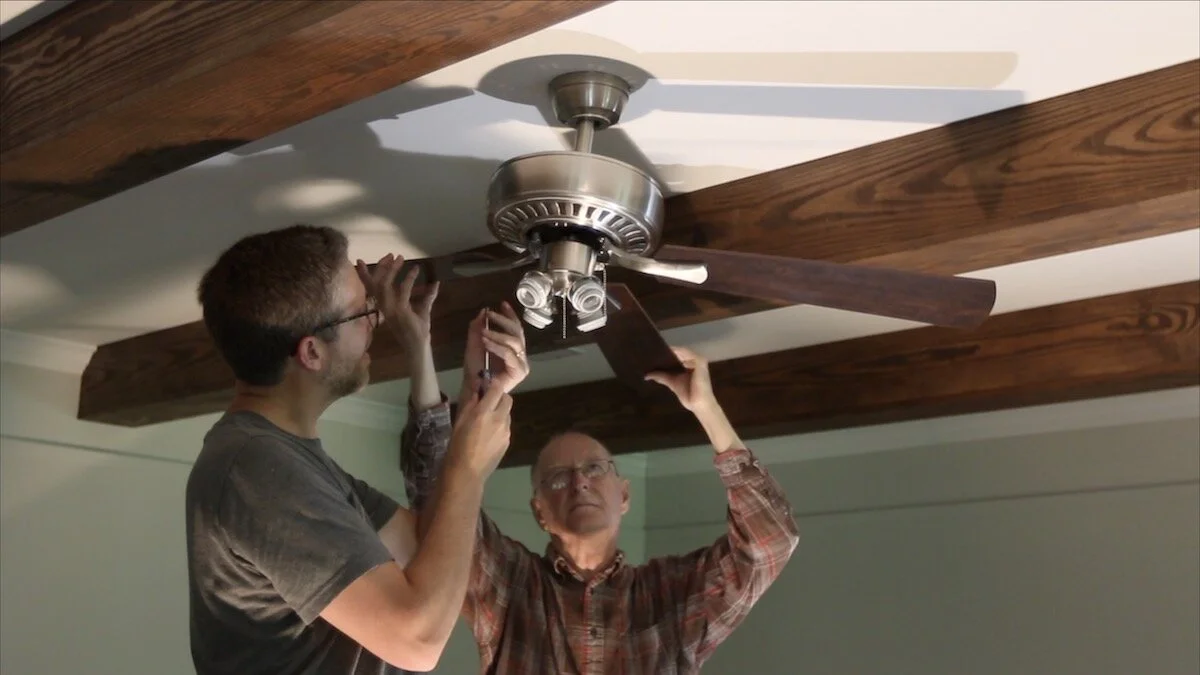
CEILING FAN & DETAILS:
We installed a new ceiling fan where the old light fixture was. It's a good thing we measured because, at first glance, this fan looked like it wouldn't clear the beams. ha ha
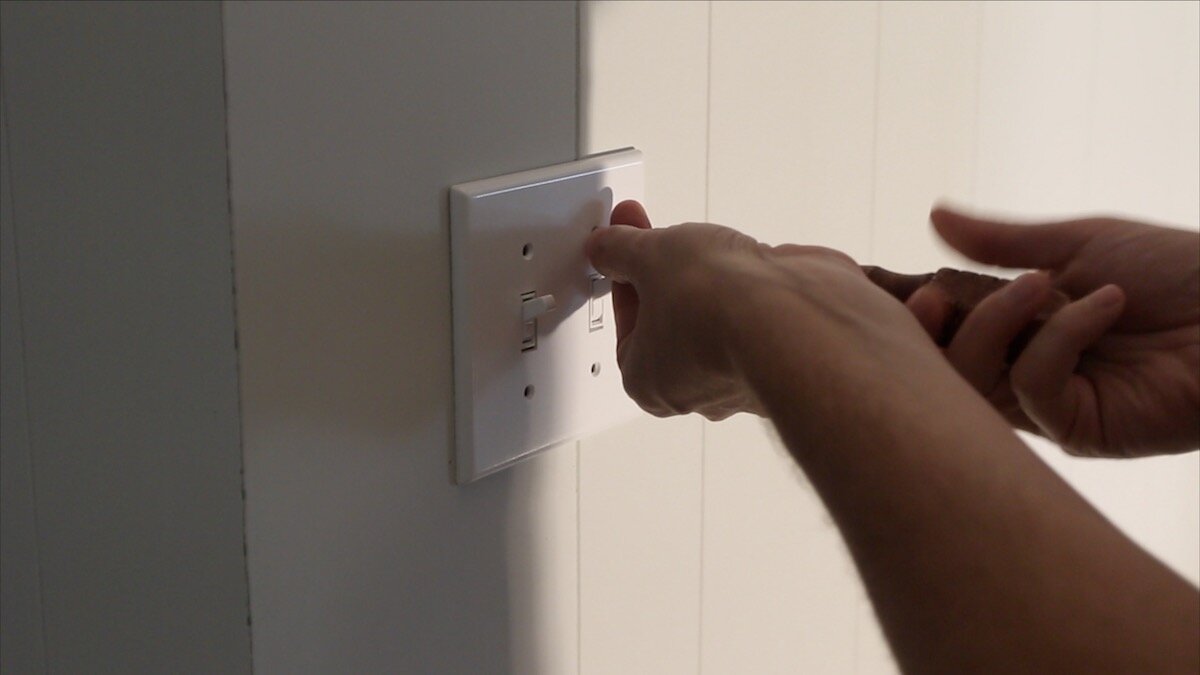
My dad swapped out the switches and outlets off camera and I put on some fresh faceplates.

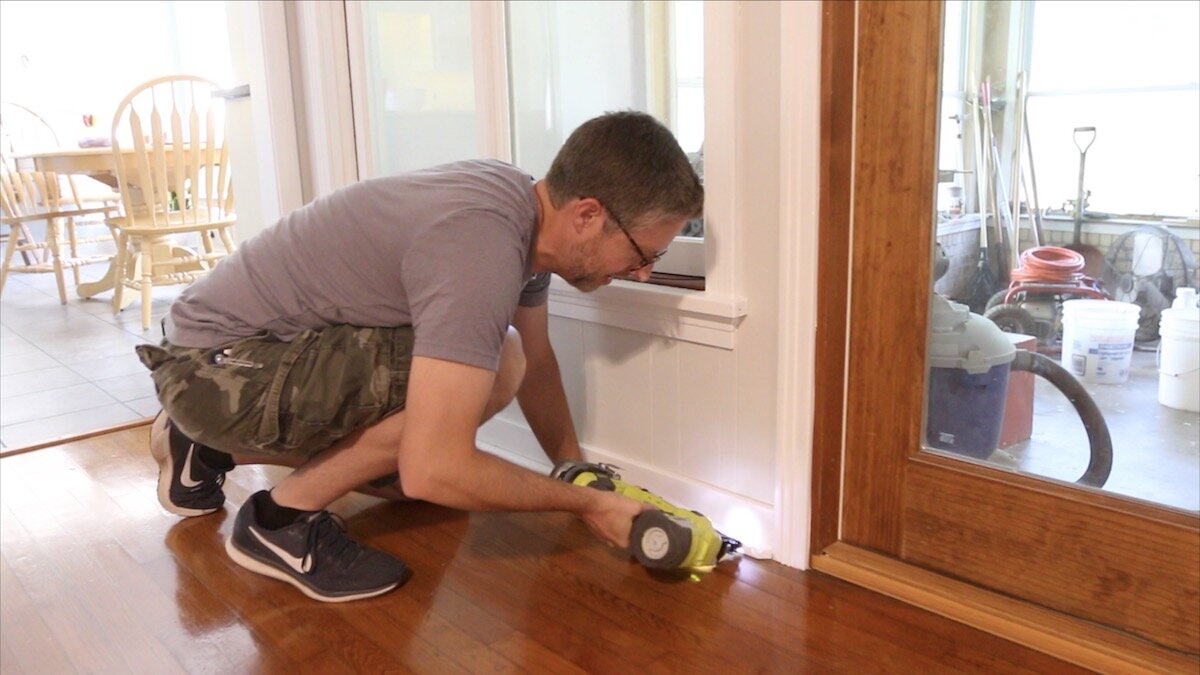
REMOVING FLOOR PAPER & ADDING SHOE MOLDING:
Then, we could take up the paper. Before getting final shots, we wanted to get a couple of coats of wax on the wood floors. It's not every day you have all of your furniture out of a room!
I'm really impressed with this X-Board paper. It really held up well over weeks of walking on it. It did tap out though...I had it down for the count. ;)
I tacked the shoe molding back on with a few brad nails. Then, off-camera we did some touch-up painting after adding some caulking to the crown molding and this project was done!


CONCLUSION:
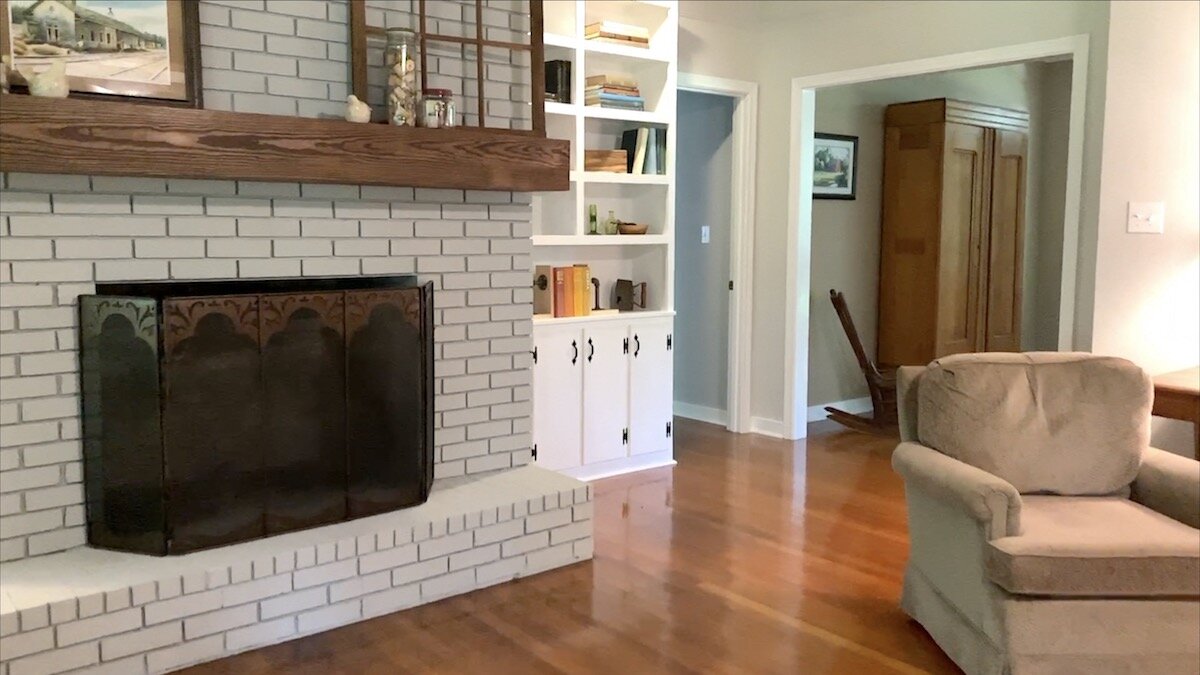
Thanks so much for following along with this project! It was a huge undertaking, but the results are just breathtaking. Do you have any home renovation projects in the works? I’d love to know about them. Leave me a comment and let me know!
The first few photos below are the “BEFORE” and then the “AFTER” shots so you can see the difference.