DIY Upcycled Floating Shelves
VIDEO:
In this project, I’m walking you through the steps of how to install DIY Upcycled Floating Shelves. It’s a simple project, but has a huge payoff! Follow along with the video or the steps below!
BACKGROUND:
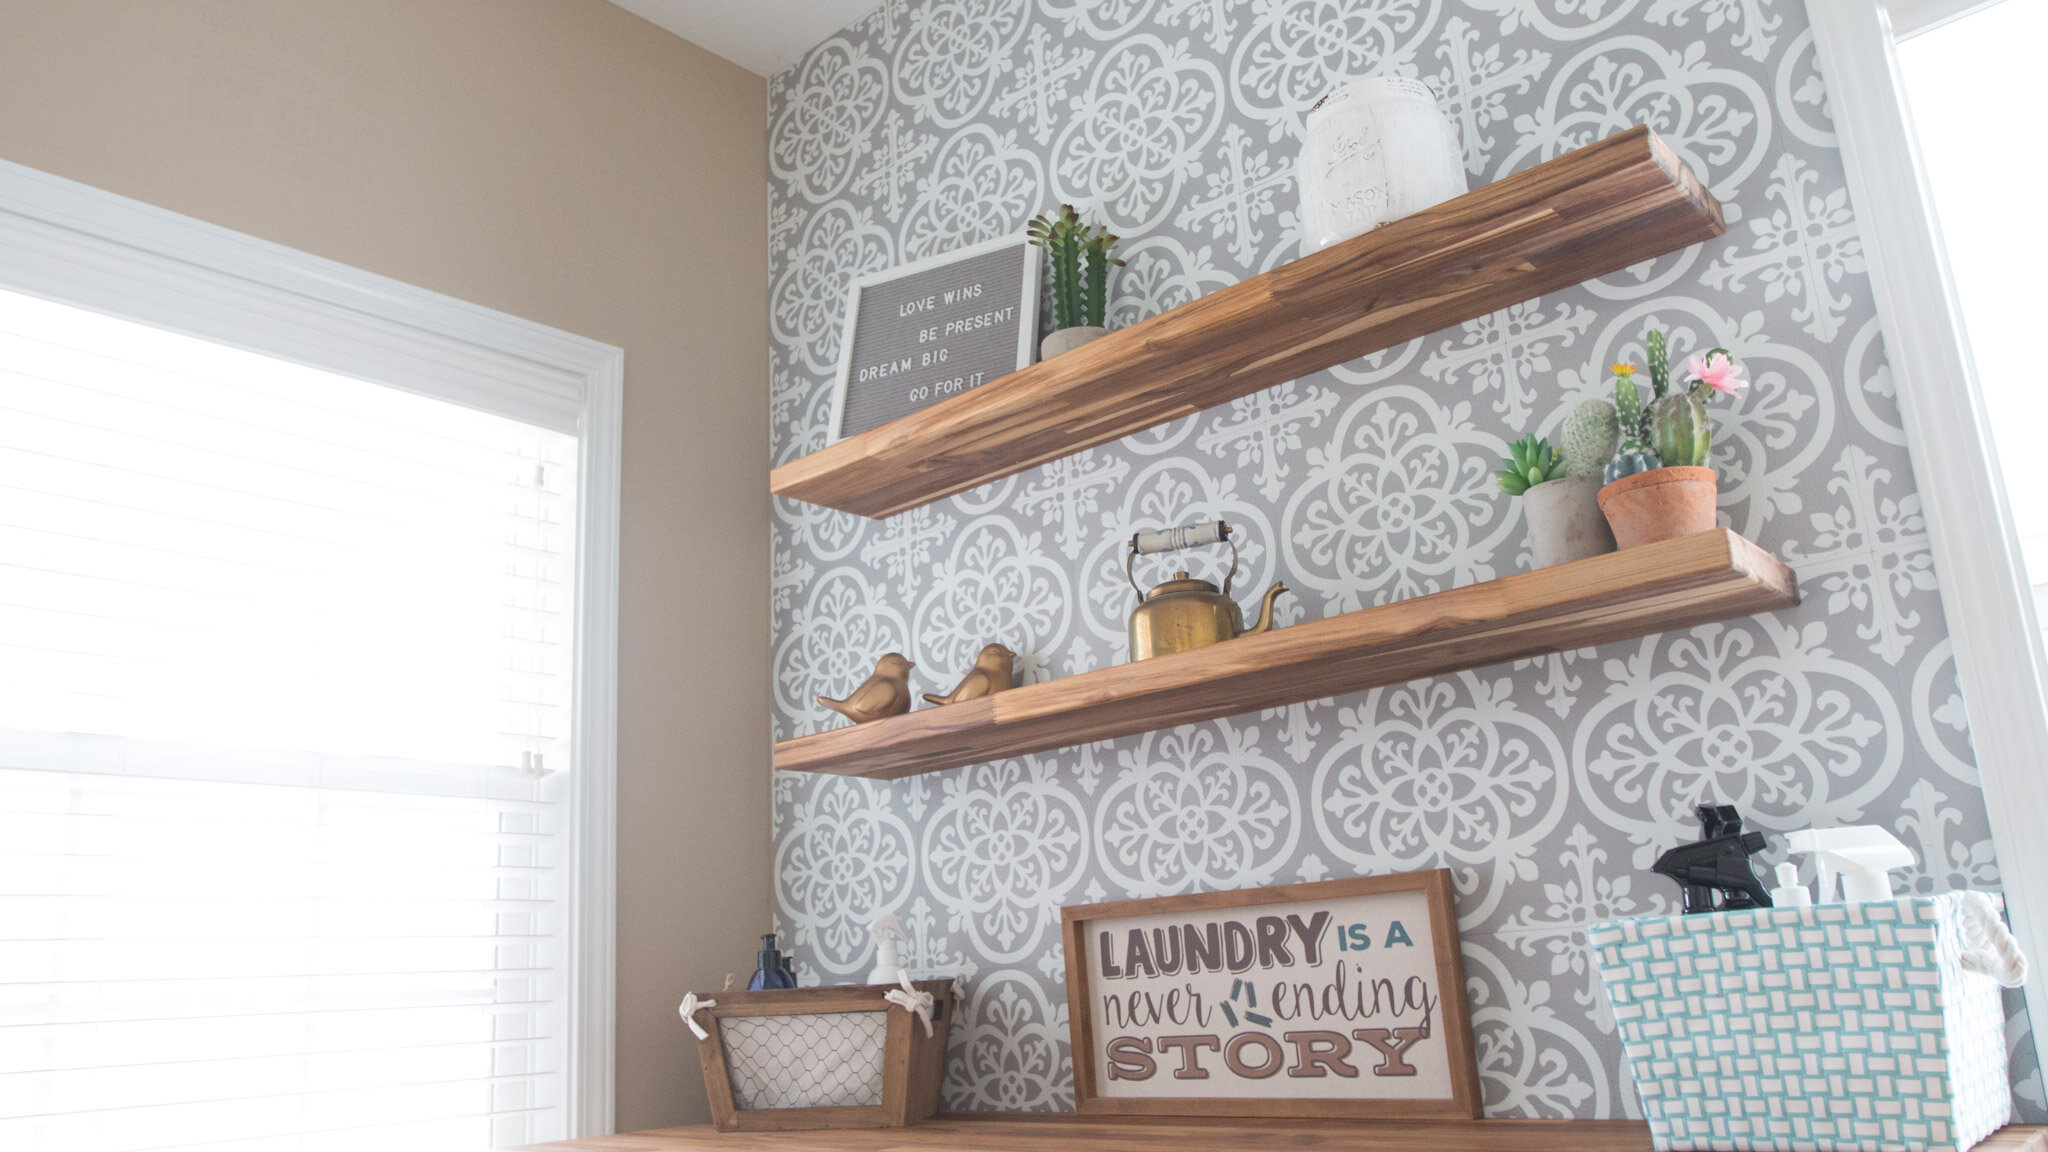
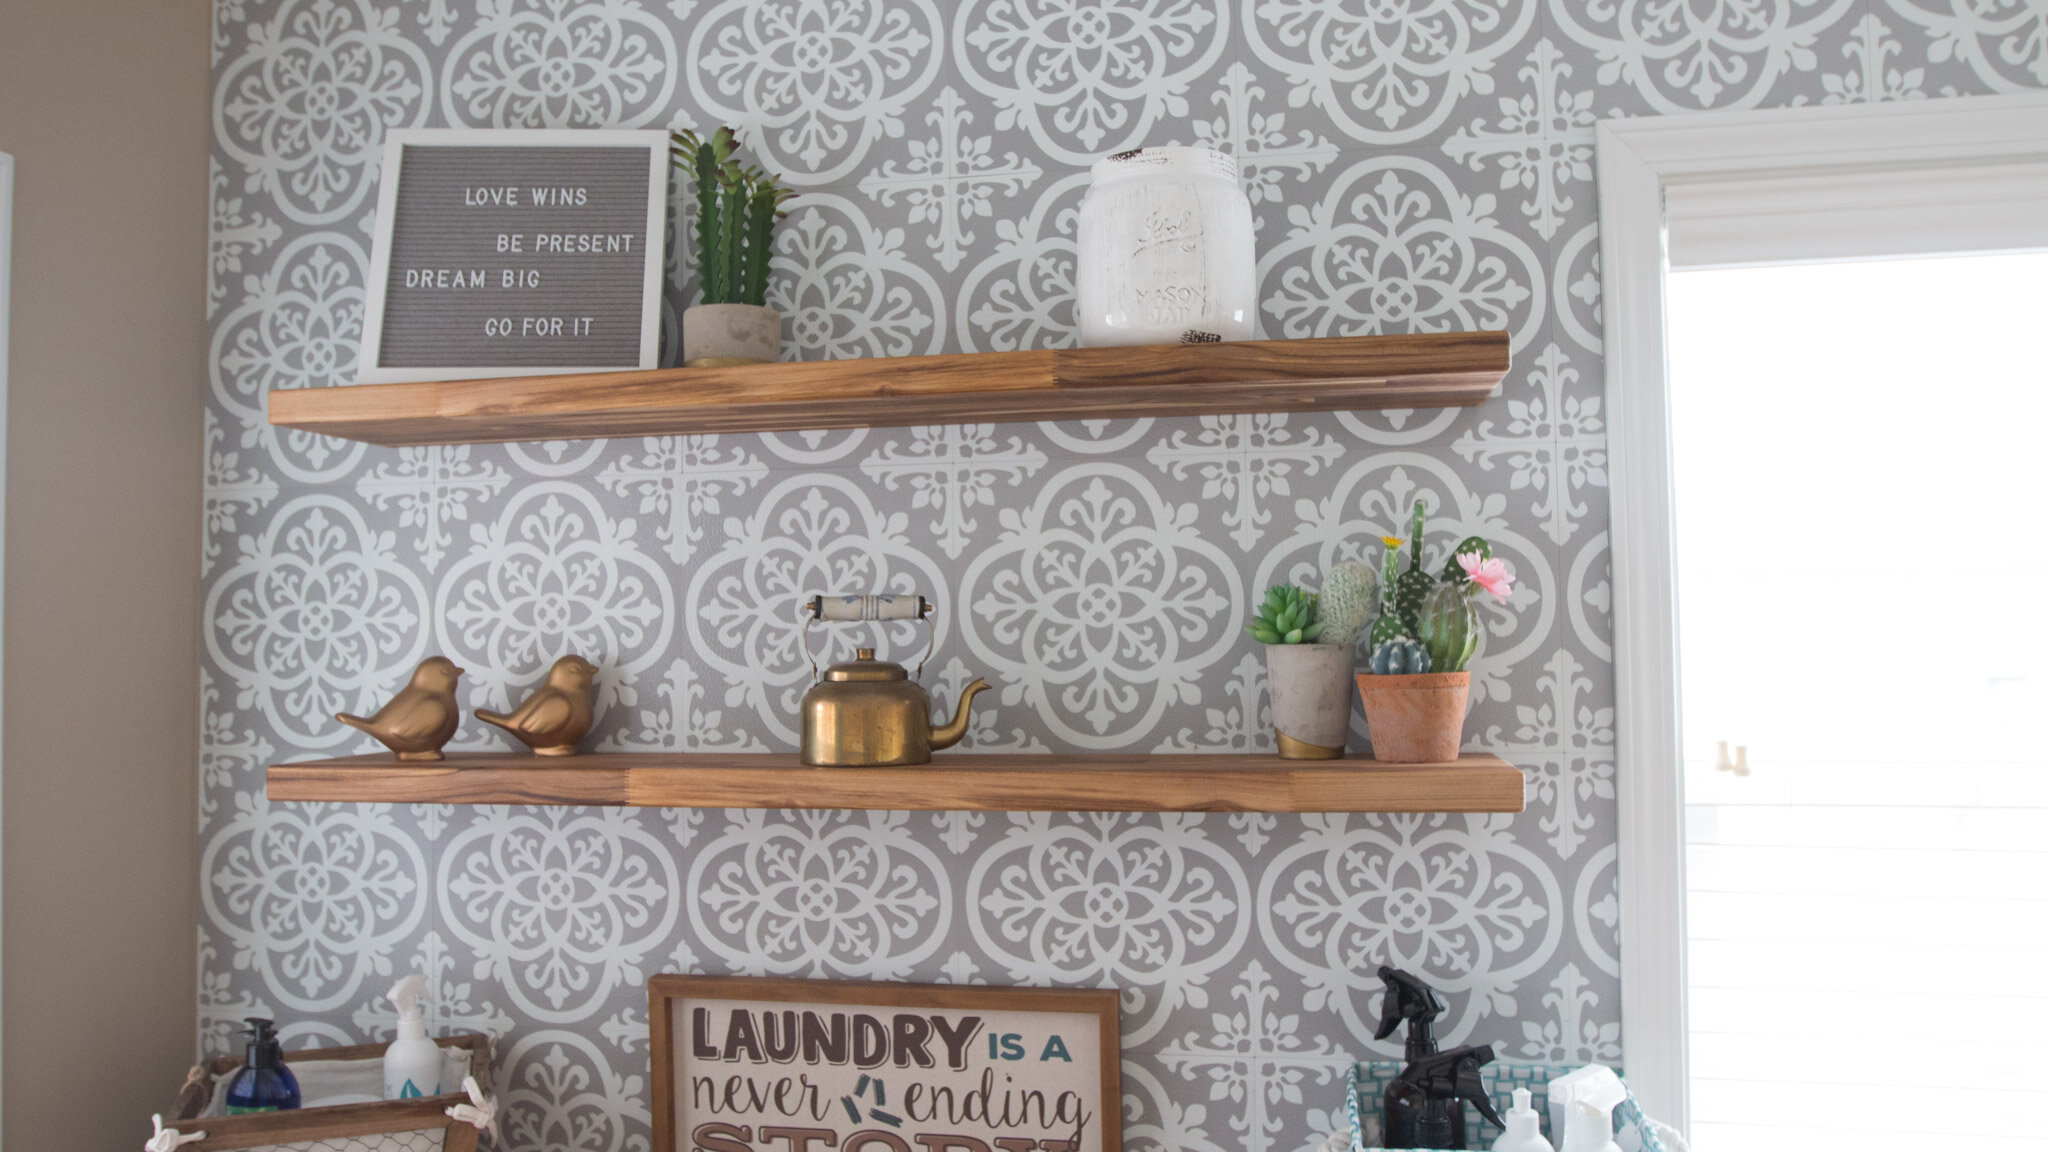
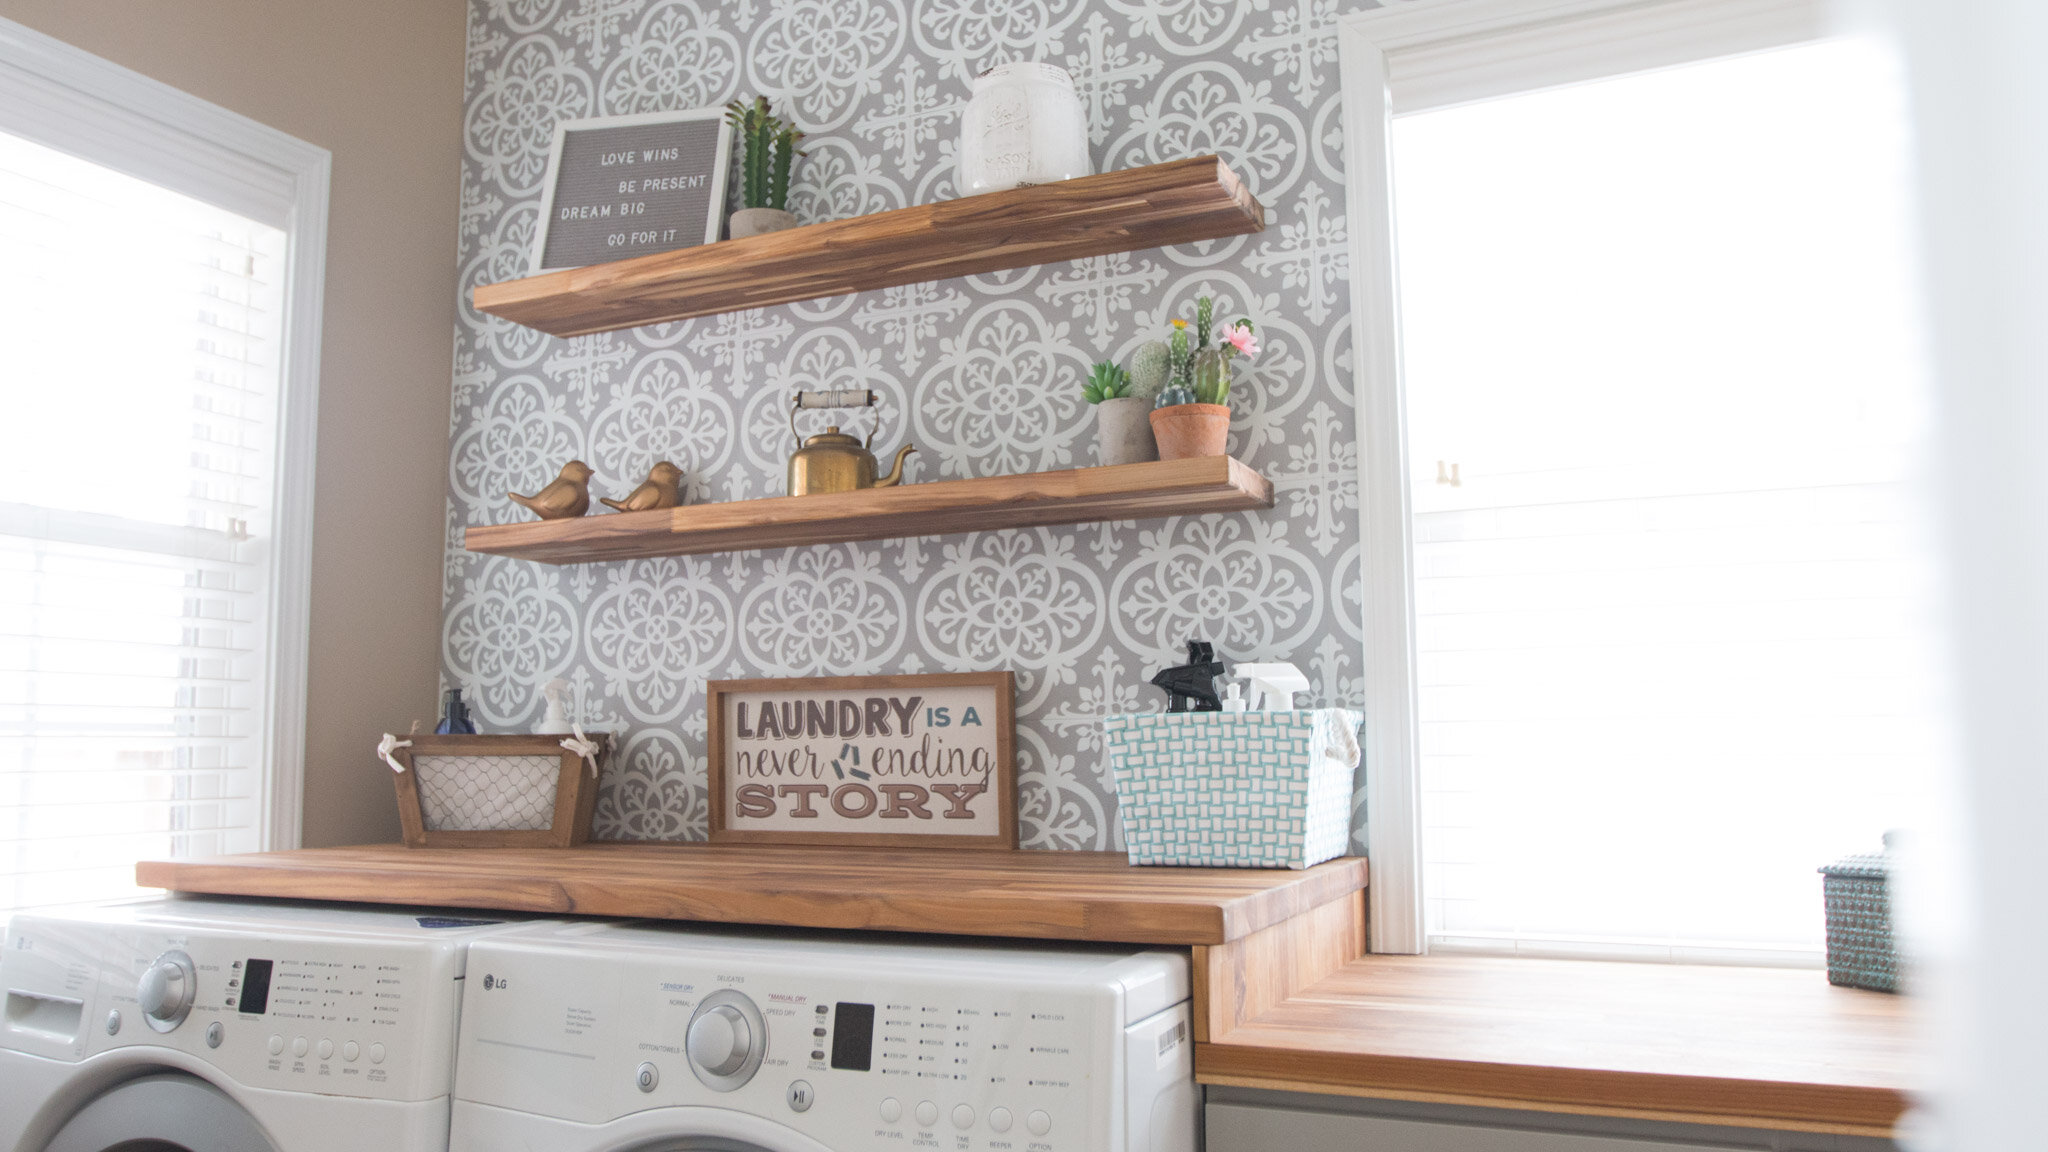
When I was up at the Lakeside Woodworks shop in central Kentucky a few weeks back, one of the projects on our list to knock out was this completion of their laundry room makeover. They had already done a lot like install the new wooden countertops and repainted, but wanted to have some floating shelves in there too. Well, we made it happen, and we even used the piece that was leftover from their countertop, so there was virtually no waste from that product!
TOOLS & MATERIALS: (affiliate links)
Gorilla Wood Glue: https://amzn.to/2VaqnG3
Danish Oil Natural: https://amzn.to/2UNYy7q
Table saw - https://amzn.to/2C11FzS
1 1/4 “ Brad Nails: https://amzn.to/2PWpj6M
Milwaukee 18ga Cordless Brad Nailer: https://amzn.to/2IuZlmP
72” Level: https://amzn.to/2VVR6bj
Festool Domino XL: https://amzn.to/34jCyET
Festool Domino Tenons 14mm x 100mm: https://amzn.to/2Xgk8Dj
Pan Head Screws: https://amzn.to/2y1gxhJ
Paste Finishing Wax: https://amzn.to/2xSFewW
STEPS:
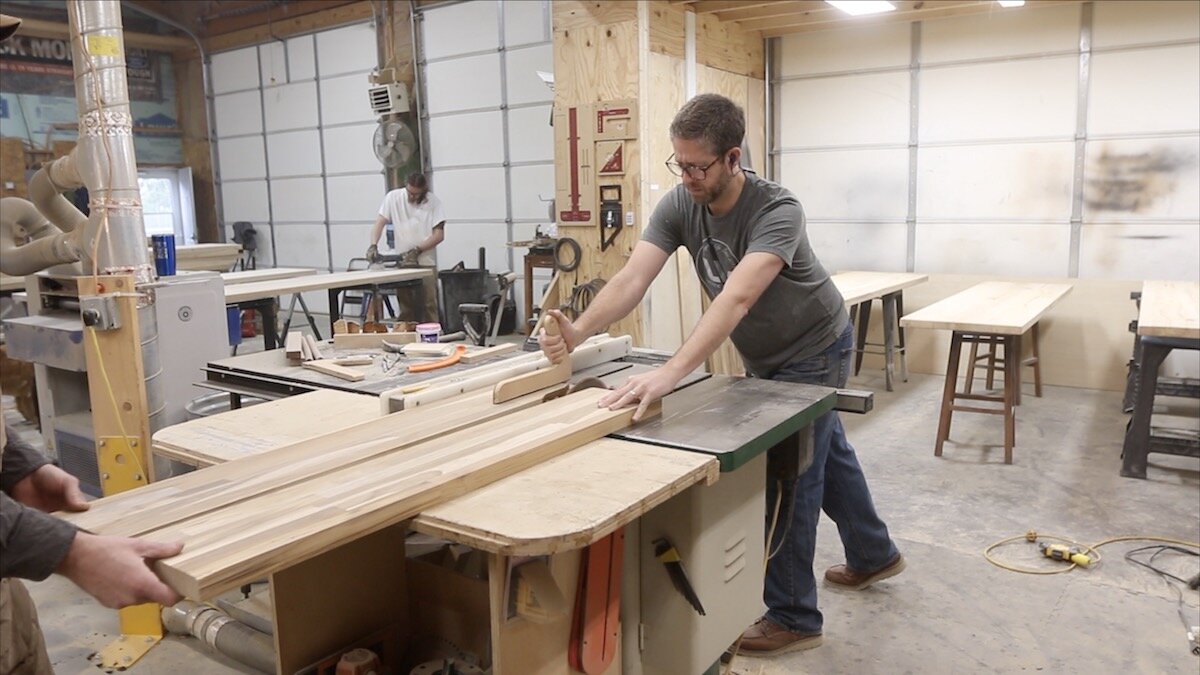
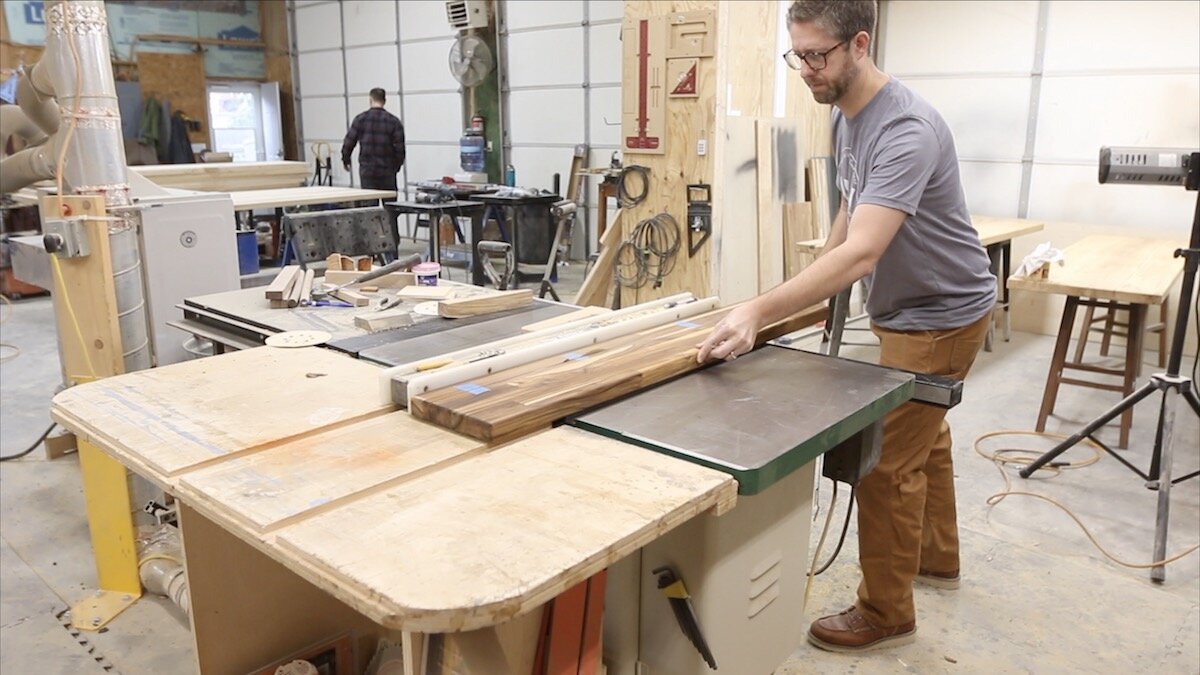
What do you see here is a leftover piece of butcher block countertop that you can buy at Lumber Liquidators or multiple other places. This was left over from Nick and Jessica’s home renovation project in their laundry room. (Nick and Jessica are two of the owners of Lakeside Woodworks). We are going to cut it up into a couple of pieces to make these floating shelves out of it.
I am obviously not the first person to do a video on floating shelves, but this is a little bit of a different method of how we go about it Just how we attach them to the wall is something I’ve not seen before, so I thought it would be interesting to show you how we did it.

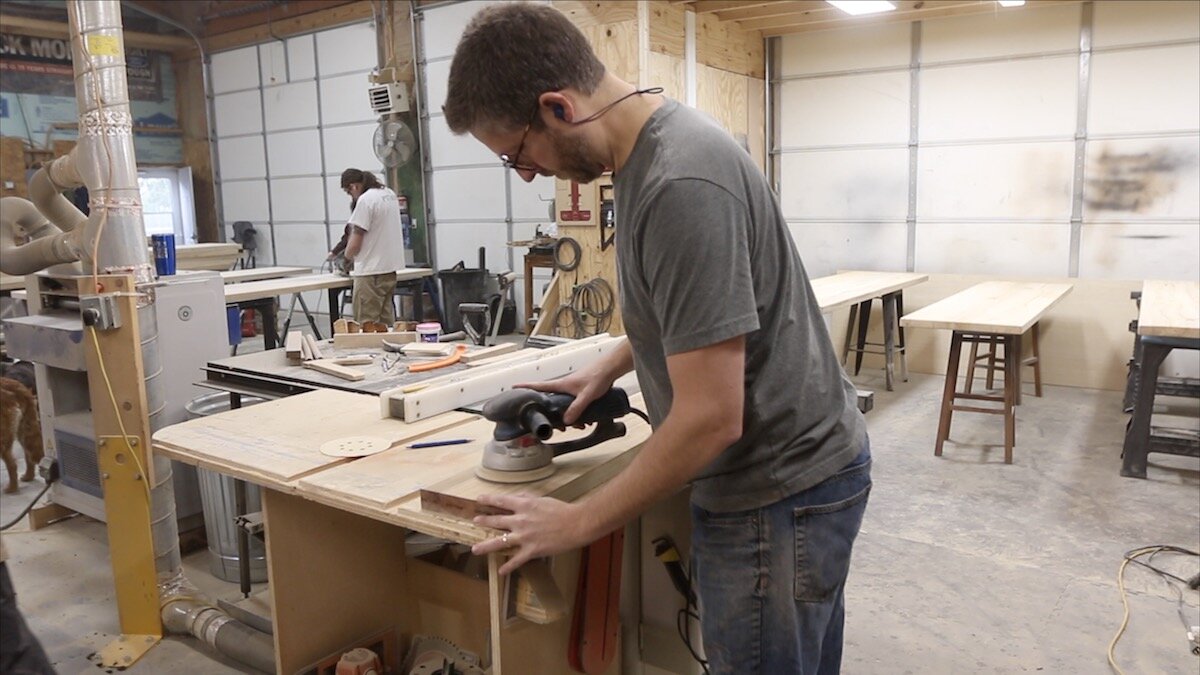
SANDING & EDGE TREATMENT:
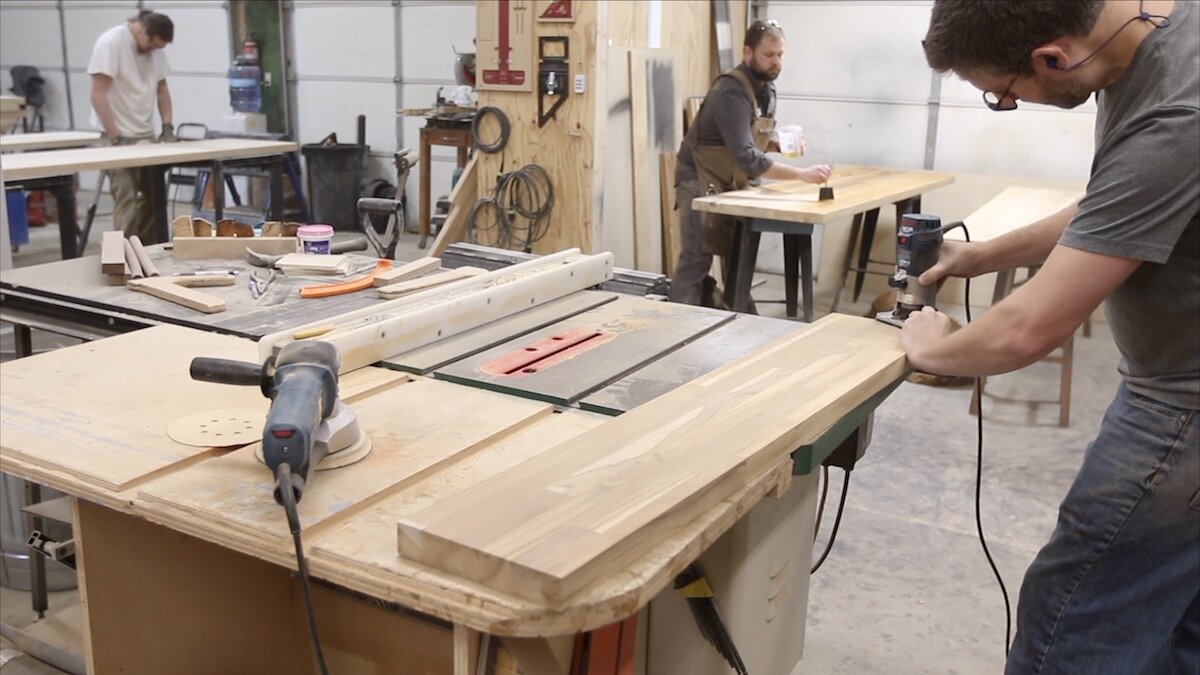
I mark with a pencil and then sand to get rid of those pencil lines to know that it’s sanded enough before I put a slight round over on the edge with a router.
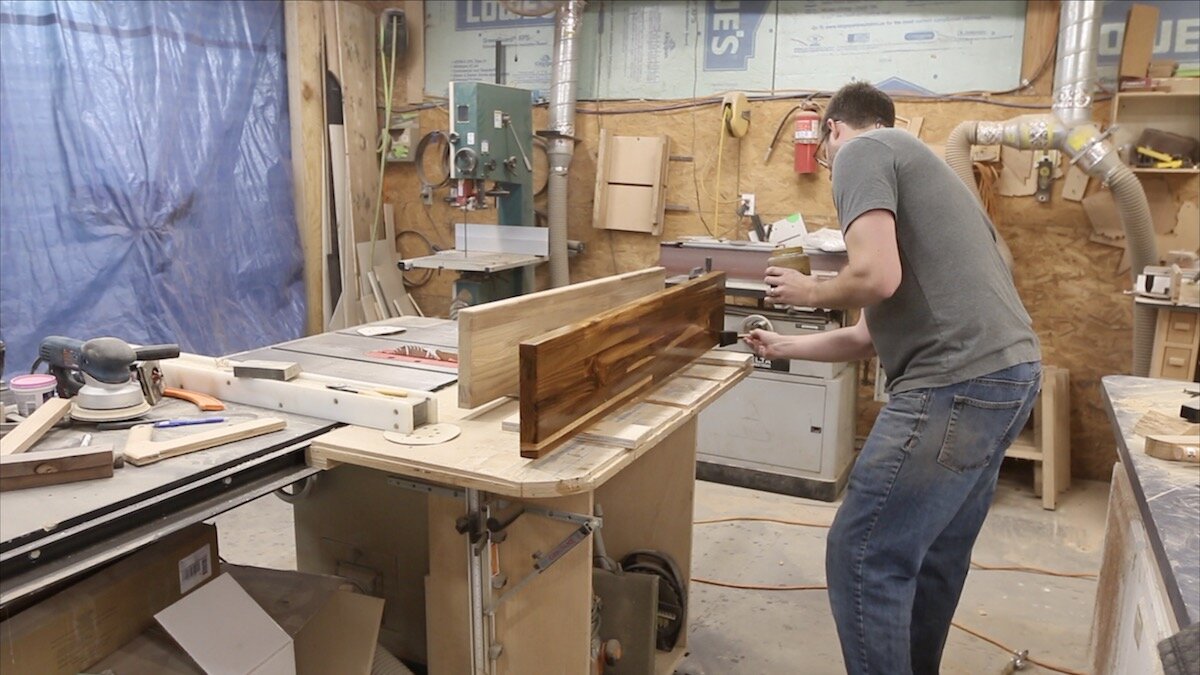
APPLYING FINISH:
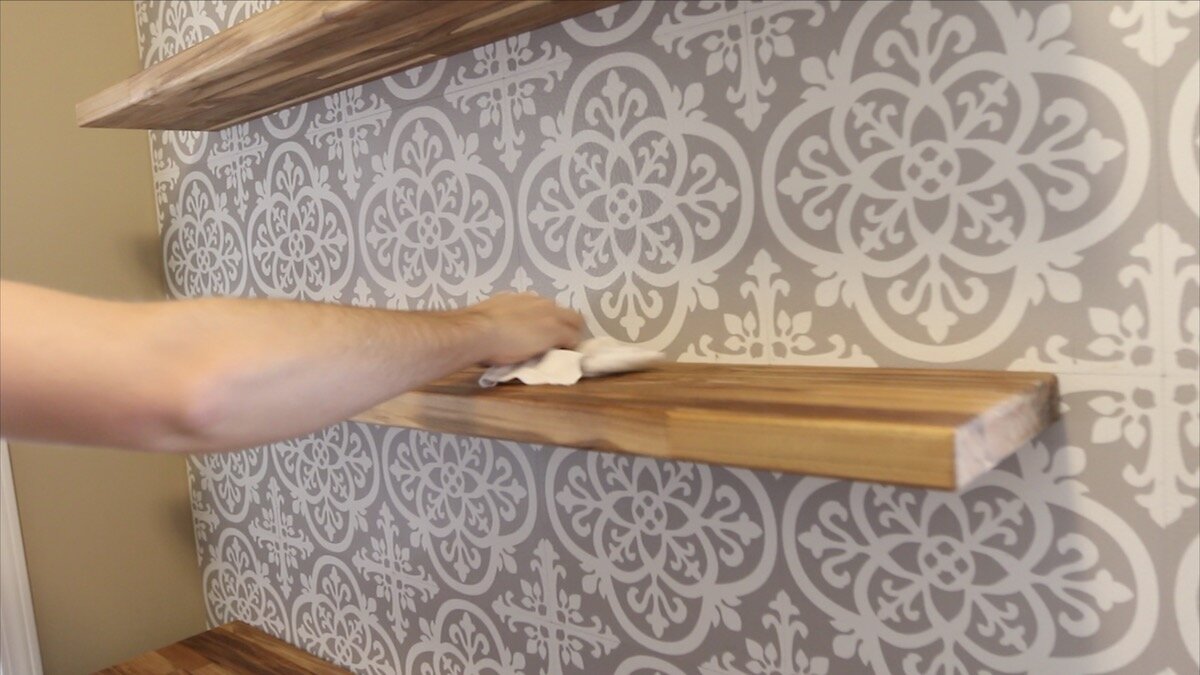
That’s really all of the prep before we add some finish. For this finish, were using danish oil in the natural color (I’ve got some linked in the materials list above). You just flood it on the surface, and then after about 15 minutes, come back and wipe off any excess. It leaves a really nice, matte finish.
Here’s a quick tip: if you noticed the boards that are underneath these shelf pieces, then you have a keen eye. We actually nailed some scraps to the backside of the shelves with some brad nails and that allows these pieces to stand up without me worrying about them falling over or getting knocked over while I was applying to finish. Then, after we were done, we just took a hammer and knocked those boards off and the brad nails came right out with the scrap boards. You’ll never see the tiny holes that were left because it is the part of the shelf that goes up against the wall. This was really helpful hint that I got from Nick at Lakeside Woodworks. I’m definitely going to be using it again. (By the way, if you want to see some tables that Caleb from YouCanMakeThisToo and I built while at the Lakeside Woodworks shop, click here and check out that project.)


ADDING SLOTS & RIPPING INTO TWO PIECES:
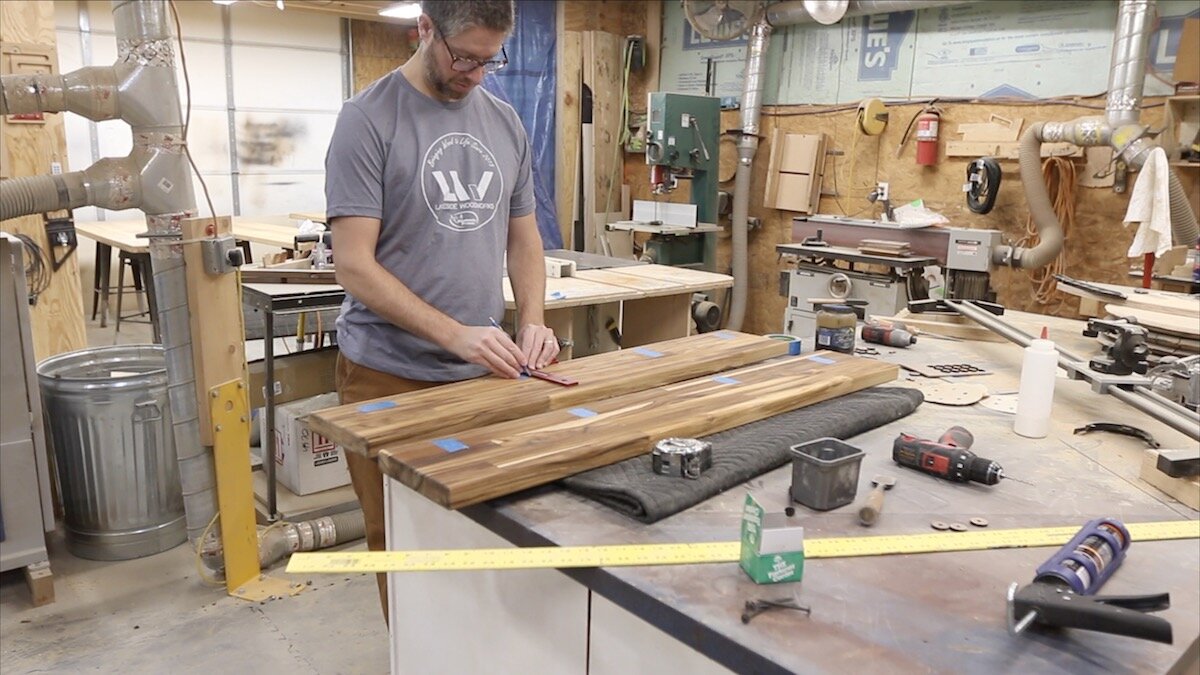
Once the finish was very dry, I was able to make another cut at the table saw making sure to keep that board with it’s off cut because we will be putting them back together later. It’ll make a little more sense what I’m talking about when you see it in the next step.
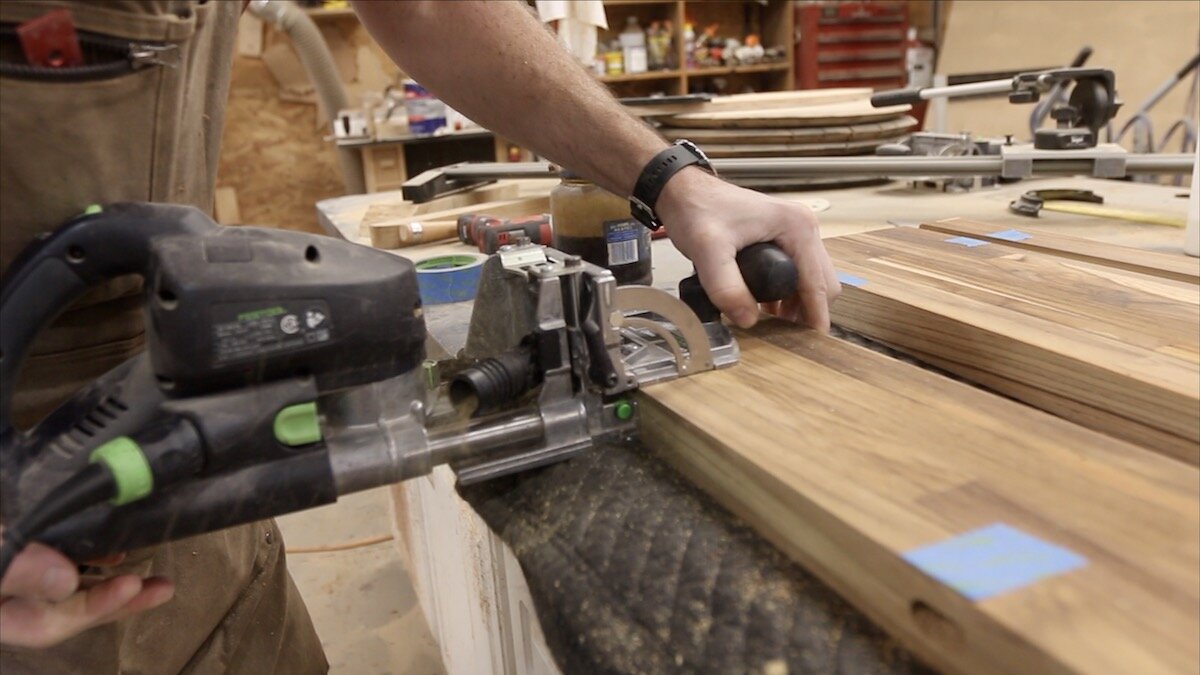
Next up is the part that I think is a little bit different than I’ve seen on most other floating shelf videos. We actually used his Festool Domino XL and these giant dominoes that were about 4 inches long. Those were going to be what we slipped the front of the shelf onto.
These large dominoes are really going to support the shelf well and be totally hidden so once we get the back pieces aligned and installed onto the wall, we will just slip the front pieces on there.
We added some glue into the mortises of the back piece so they would hole the domino securely. For the front pieces though, we will not add glue.


WHERE SHOULD THE SHELVES GO?
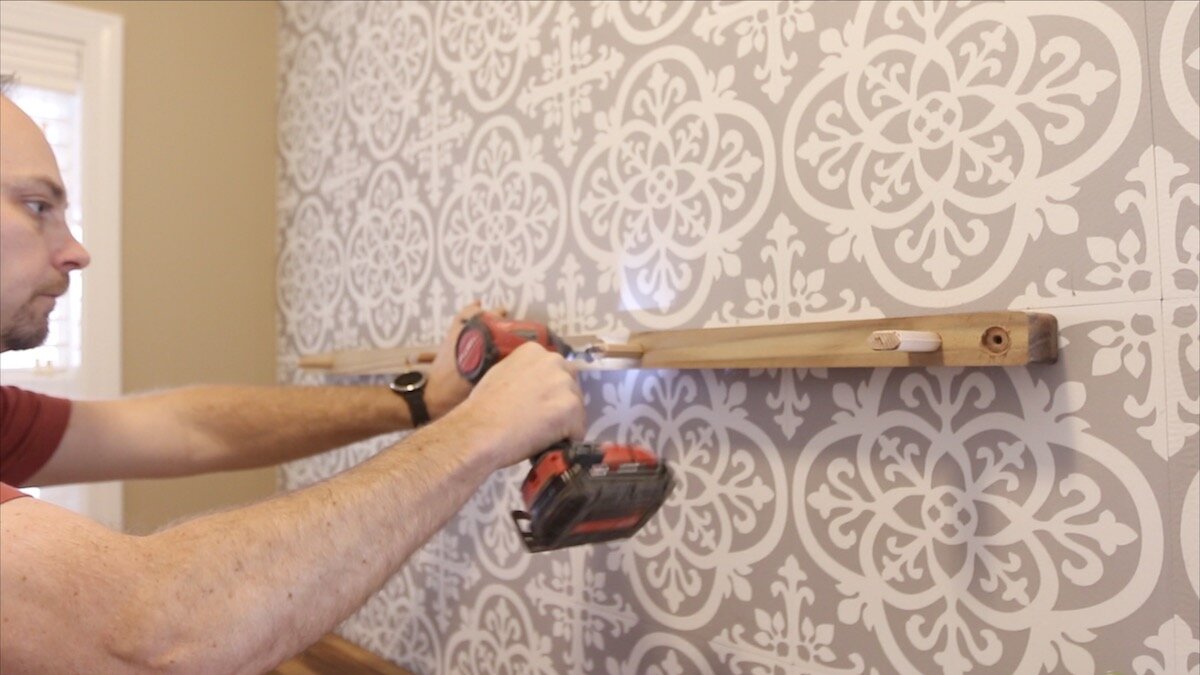
Then it was into the laundry room to do some measuring finding some studs and then drilling some holes for the panhead screws that we were using to attach to the studs. These screws are made for this kind of thing, so they will hold plenty of weight being in multiple wall studs. We need to counterbore one side of it so that the head of these screws could sit down flush and not hold our shelves off from going tightly on there.
It is easiest to secure the middle screw first. Then, you can use a level to make sure the rest of the shelf is level, and work outward from there.
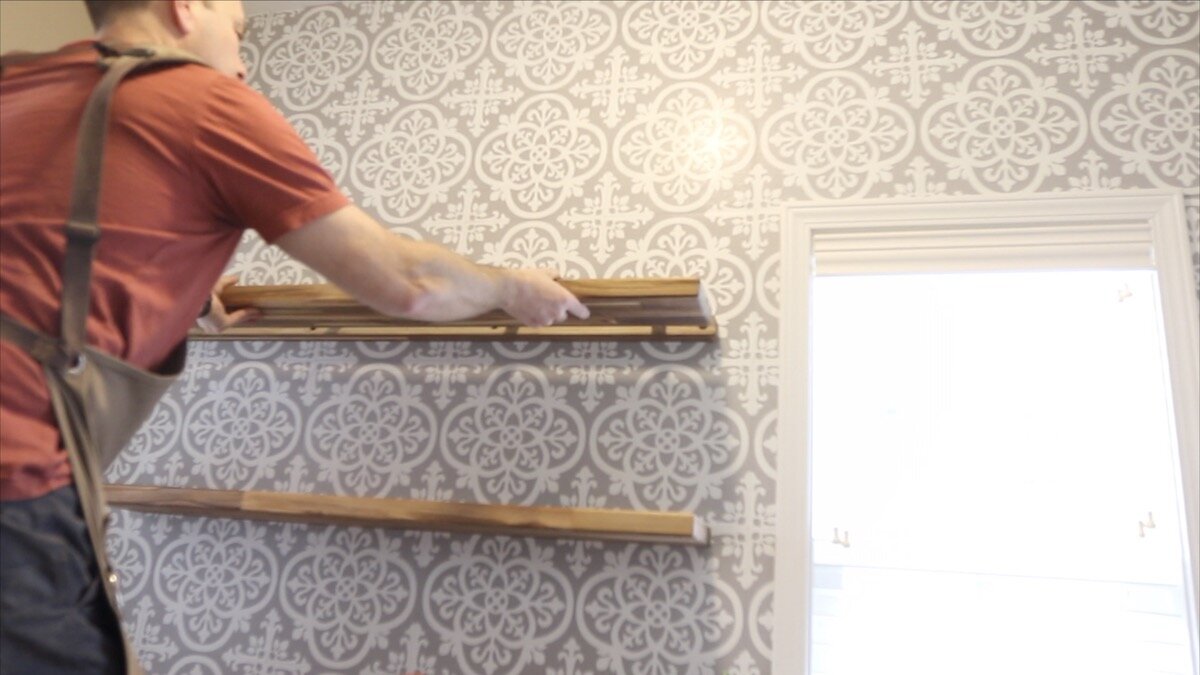
As you can see, those large dominos, or floating tenons, are sticking out from the piece that gets installed on the wall. These are made to be very proud of that surface and they are actually going to fit inside the rest of the shelf piece and just be a slip fit on there.
You could really do the same thing with some large dowel rods. That would not be a bad solution to this either.


And just as simple as that we slip the shelf on and it fits really nicely. Off camera we installed the other shelf to the wall and here you can see Nick just slide it into place. These are tight enough fit with the dominoes that we didn’t even have to secure the shelves with a screw down into the domino they were quite tight to get them on there and they’re going to hold just fine

FINAL TOUCHES:
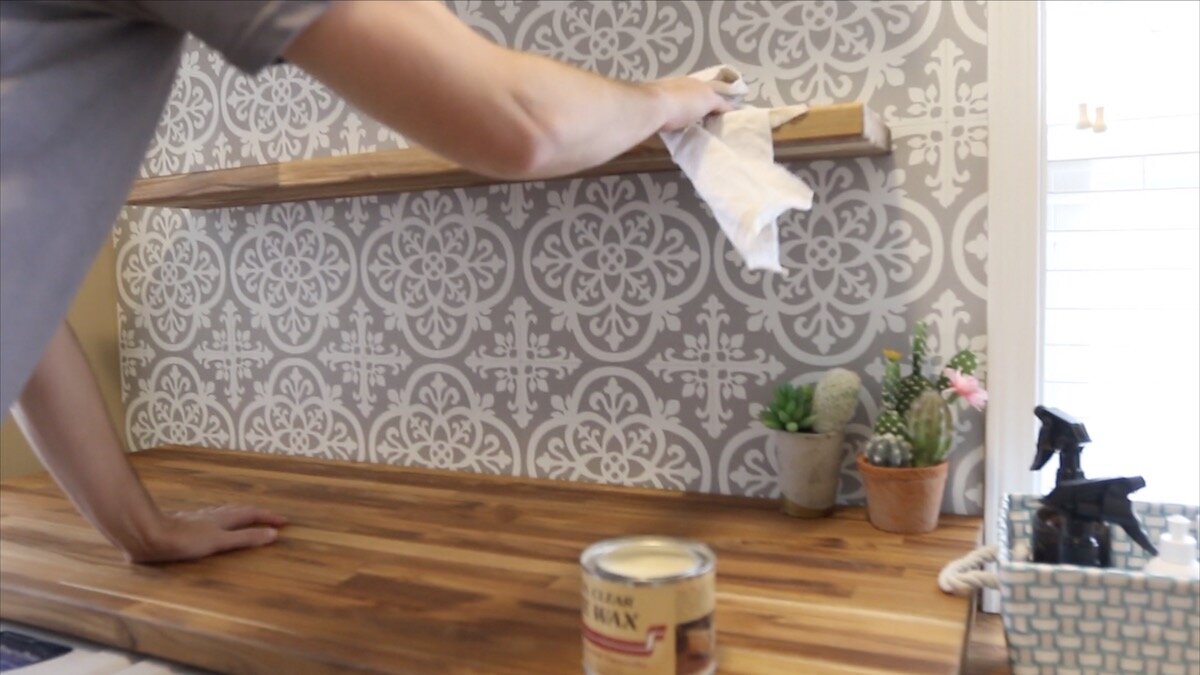
For the final bit of finish were using some paste wax and just buffing it on with a clean cloth, letting it sit for a couple of minutes and buffing it right back off.
CONCLUSION:
Well that’s really all there is to it. I hope this showed you a different way to install floating shelves and maybe this is something that you can tackle. It really elevated this room and just finished off the look from the countertops. It’s always great to be able to some leftover material and upcycle it into something else.
Jessica, the owner of this laundry room, is the Social Media Coordinator for Lakeside Woodworks. She has an interior design background, and has been wanting to get back into talk about it more. Well, she has started their blog back and plans to have a section where she talks about design elements in the projects they do. She styled our shelves in the final shots below and they look fantastic! Be sure to click over to their blog and give her some encouragement to keep blogging about her process!
Thanks so much for following along with this project! If you haven’t already, scroll back up to the top of this post and watch my video also. I appreciate you following along, and if you have any feedback about the project, I’d love to hear it!
Until next time…