Cutting Board Conditioner
VIDEO
In this project, I’m going to show you haw I made some conditioner for wooden cutting boards. After you use wooden cutting boards for a while, they get kind of scuffed up and need a little attention and care. This conditioner gives them just the care they need and brings them back to life. Watch the video or keep reading to see how I made it:
TOOLS & MATERIALS: (affiliate links)
Tins (3 oz) - https://amzn.to/2GnJBkn
Beeswax pellets - https://amzn.to/2G8v9wk
Mineral oil - buy for about $2 locally
Stickers (optional) - Sticker Mule
Measuring cup - https://amzn.to/2PbcAMg
BACKGROUND:
For some time, I’ve wanted to make my own wooden cutting board finish. I’ve seen plenty of videos and articles about it, but now, it was time for me to actually do it. I ordered some tins from Amazon so I could make an entire batch at once, and put them away into smaller containers. They worked out pretty well, so I would recommend them.
STEPS:
MEASURING YOUR INGREDIENTS
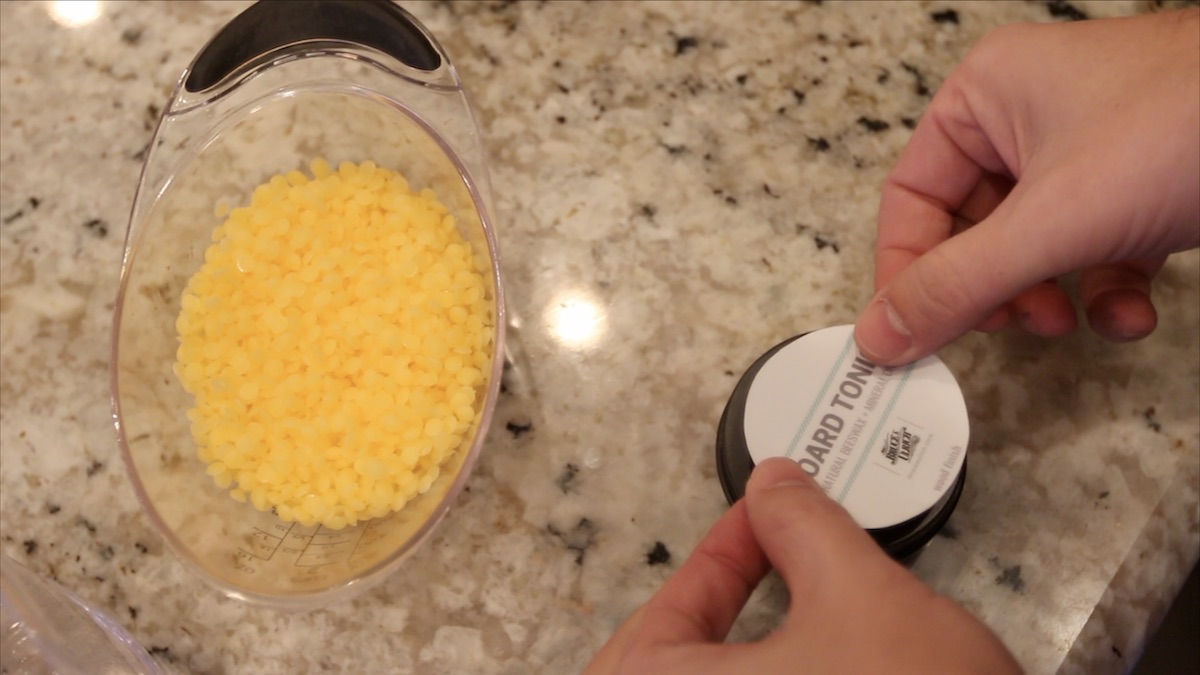
This project actually doesn’t have too many steps. I got started by grabbing the beeswax pellets and measuring out about 10 oz in a measuring cup. Then, in a separate measuring cup, I put about 20 oz of mineral oil. Both of these ingredients are food safe and pretty inexpensive. I think the bag of beeswax pellets was about $10 when I bought it, and I didn’t even use half of it for this project. I used about $3 worth of mineral oil, which can be found at pretty much any pharmacy.
For the containers, I’m using these little tins I found. I’ve linked them above in the tools & materials section. They’re 3 oz tins, and they worked out really well for this project. For the labels, I used Sticker Mule. I found a good deal on some stickers so I tried them out. The stickers were very high quality. I just created the design in Canva. It was simple.


MELTING THE WAX:
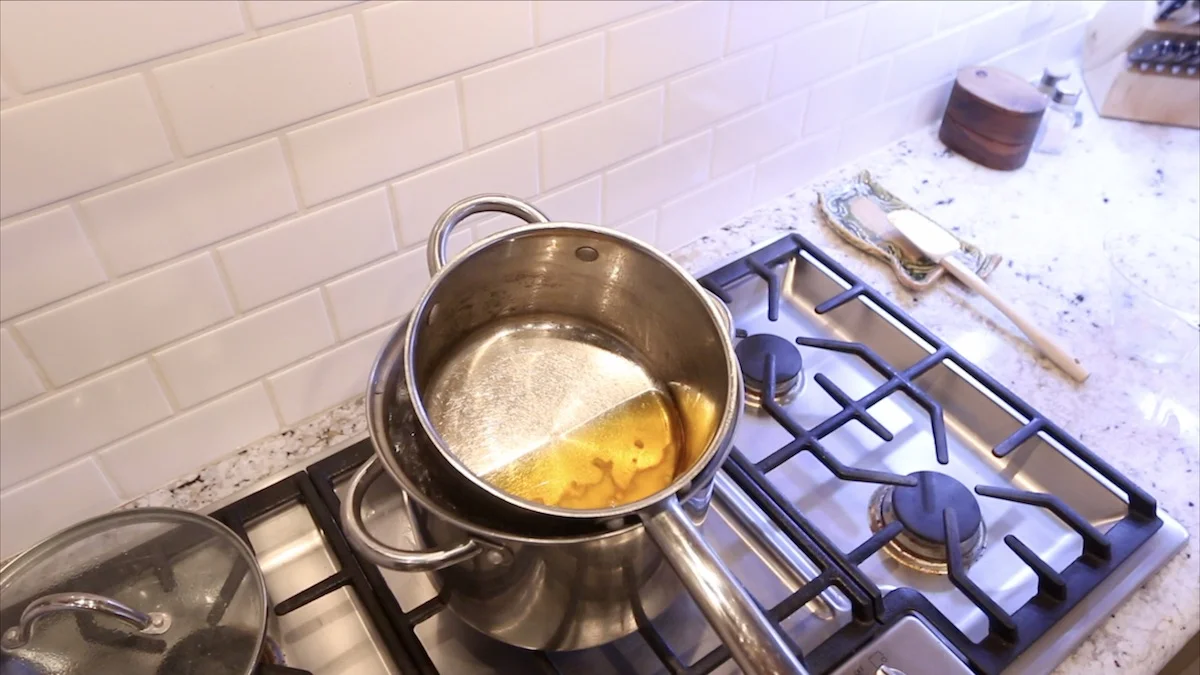
I used the double boiler method to melt my wax. This is where you get a large pan and fill it most of the way full with water. Then, get a smaller pan that will sit inside of the larger pan and start boiling the water. With the pan that you put the material in not being directly on the heat source, it is less likely that you will burn whatever it is you’re cooking or melting, in this case, wax.
This worked well, and only took about 10 minutes, and most of what was just how long it took to bring all of this water to a boil. I probably used too large of a pan for the one that held the water, but it is what I had available at the time.
Add in all of the wax pellets and stir them slowly. I used a silicone scraper so I knew it could handle the heat and would be easy to clean.


ADDING THE OIL:
Once all of the wax is fully melted, add in about half of mineral oil that you measured out. For me, this was about 10 oz. You will notice that your mixture will kind of congeal again, but that’s just because the wax was cooler and it brought the temperature down again. Give it just a few minutes, stirring occasionally, and once it is fully melted again, put in the raining oil. Then, once again, melt it until completely liquid and you’re ready to start pouring the mixture.

POUR INTO TINS:
Next, I took the melted mixture and poured it back into the measuring cup so it would be easier to pour into the individual tins. I did have a few spills here and there, but overall, this worked pretty well. start with pouring just about half full on each of the tins at first, and then come back and fill them up when you know you’ll have enough to get them all even.
If you do it pretty quickly, I’ve heard it suggested that you should stir the mixture in the tins periodically to help it cool evenly, but from my experience, it started cooling so fast that by the time I started stirring it, it was already congealing. At that point, there is no need to stir it, because it will look much smoother if you will not disturb it in its liquid form.


HOW TO APPLY CONDITIONER TO CUTTING BOARDS:
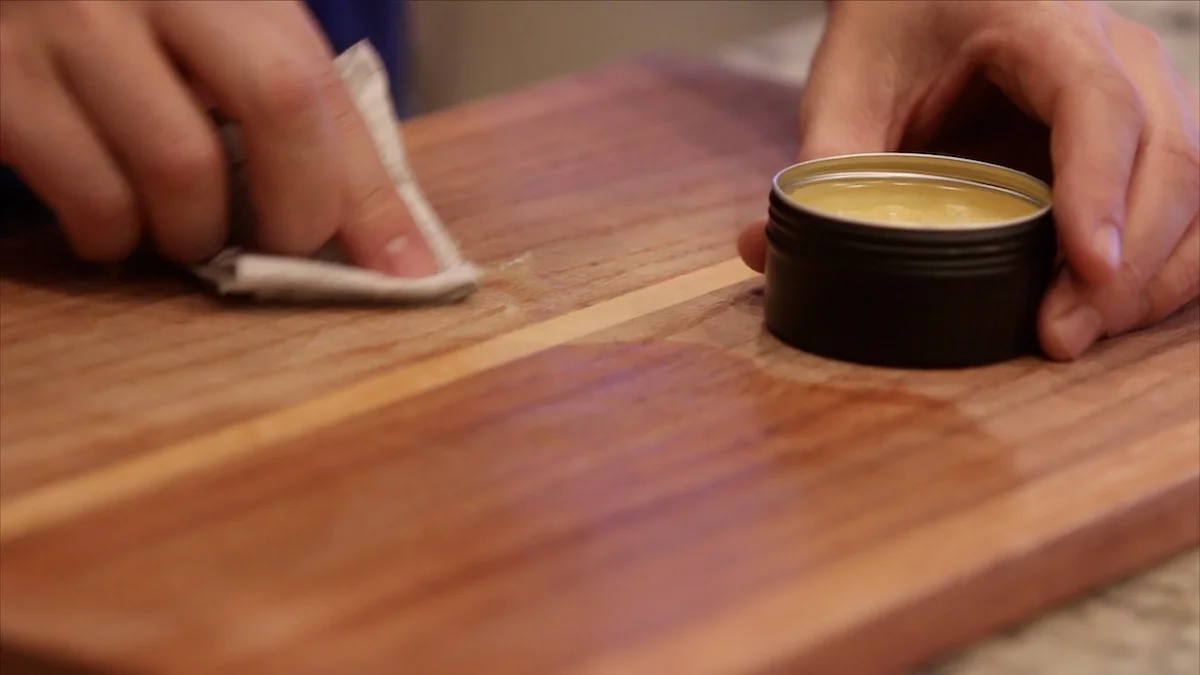
That’s really all there is to it. Once this mixture cools, you’re ready to use it on your cutting boards. To do that, I like to use a piece of a tshirt or some cotton cloth like that, scoop out some of the wax and oil paste and apply generously to the cutting board. Kind of work it into the surface and really rub it in, using circular motion. If you put a good bit on, you’ll notice some lumps and it will kind of be thick on the surface…that’s fine. Leave it sitting like this for about 20 minutes, and then come back with a clean paper towel or another piece of cloth and buff the excess off. It will leave a nice, rich glow on the cutting boards, and provides some water resistance due to the wax.
You can really see in the below picture how the wax and oil are revitalizing this cutting board that has gotten pretty dry.
CONCLUSION:
This was a different project for me, being one that was solely done in my kitchen, but I think it pairs nicely with a lot of other projects I create. So, tell me…will you be making some of this? If you don’t really want to make it, and you happen to want a tin of it, I might be making some more to offer for sale. Just let me know if this is something you’d be interested in. As always, thank you so much for following along with this project, and I’ll see you on the next one! If you haven’t already, please watch the video and give it a thumbs up…that really helps me out. Until next time!