DIY Pallet Wood Arrow Art
VIDEO
My wife and I saw some of these rustic arrow art pieces at different stores recently. We liked the look, but they were a bit pricey. So, I decided to make one. Watch the video to see how I made it:
BACKGROUND
We are not typically huge into trends, but we do like some of the arrows and rustic things that people have been adding as decor. There was a spot on the wall in my youngest son's room below two pallet wood floating shelves that I made that would be perfect for something like this.
This simple project can be made from a single board, a hand saw, a hammer and a few nails. I chose to use a bandsaw and a finish nail gun, because I have them and it sped up the process a bit.
TOOLS & MATERIALS
Miter Saw - http://amzn.to/2ynOXJv
Bandsaw - http://amzn.to/2zmwE5G
Nail gun - http://amzn.to/2xUlRTb
Wood glue - http://amzn.to/2fJu1Tt
STEPS
Find the pallet wood board that you want to use. If you want the head of the arrow to be a bit wider, start with a wider board. The one I used was about 4.5" wide, and about 40" long.
Start by laying out the head of your arrow. Many of the other dimensions will come from this, since it will need to have a certain look for everything to look like it belongs. Since my board was pretty much straight, I just used a speed square to mark a 45 degree line. This would be the arrow head.


Then, I marked out the body of the arrow and each of the "feathers" that would go on the very back of the finished arrow. I based the size of these pieces off of the arrow head. I wanted ti to have certain proportions and this allowed me to look at it as I went.
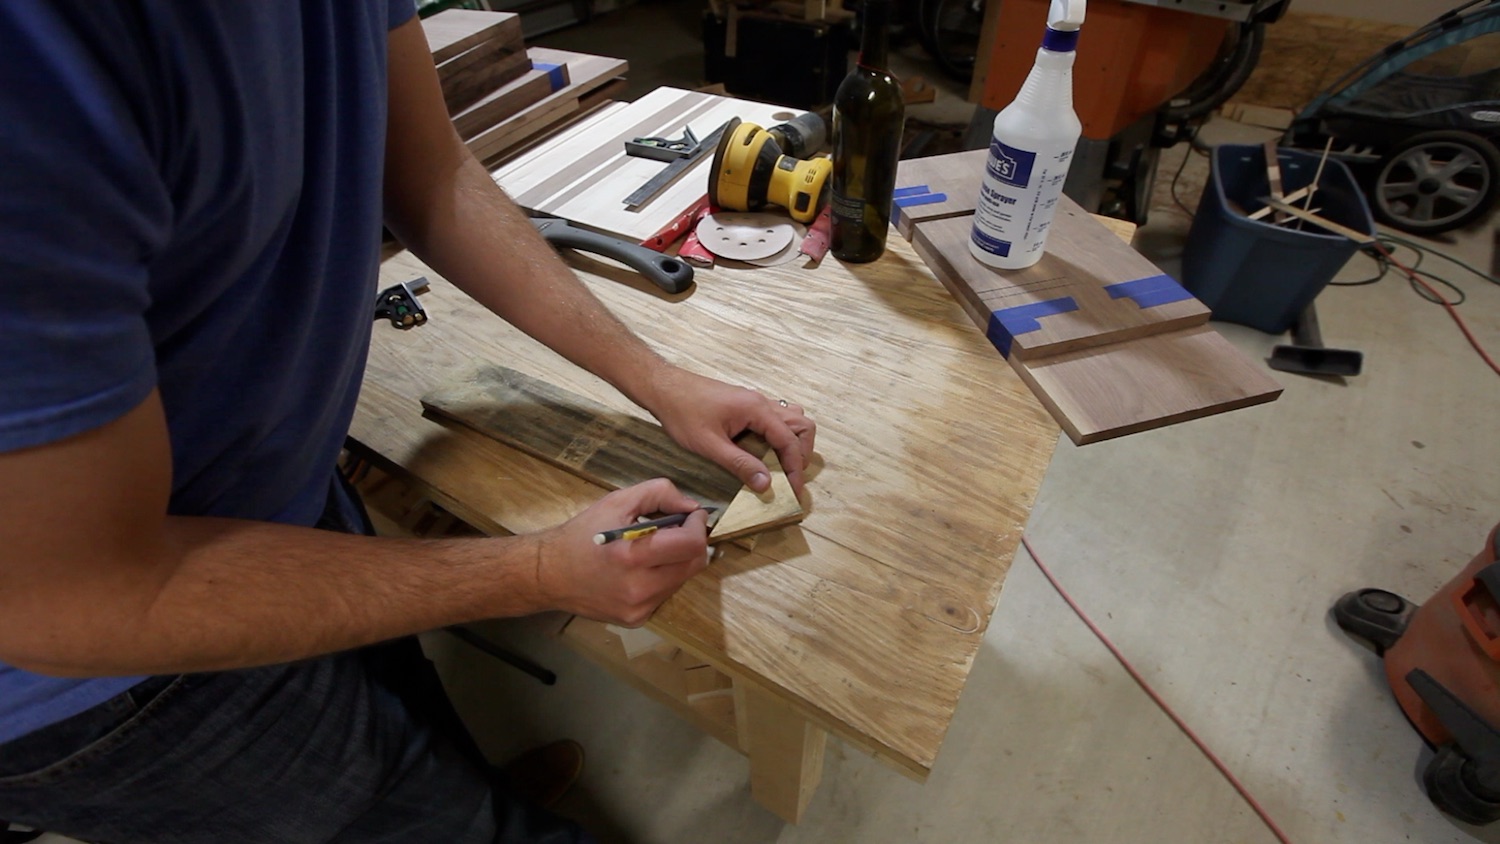
If you want to mark a pretty straight line without a ruler or any other kind of measurement, it is pretty easy. I learned this trick from Jon Peters. (He has a fantastic YouTube channel, so definitely go check that out.) You hold your pencil and then take one of your fingers and reference off of the side of the board. Then, you just constantly make sure that your finger is referenced against the side of the board, and as long as you don't move your hand or change your grip. the line will be very straight and consistent. I use this WAY more than I ever thought I would.


I took the piece over to the bandsaw and cut out all of the pieces. The good thing about this project being rustic is that if you go off of your line a little bit, no biggie. You don't want to be way off, but a little bit really won't matter.
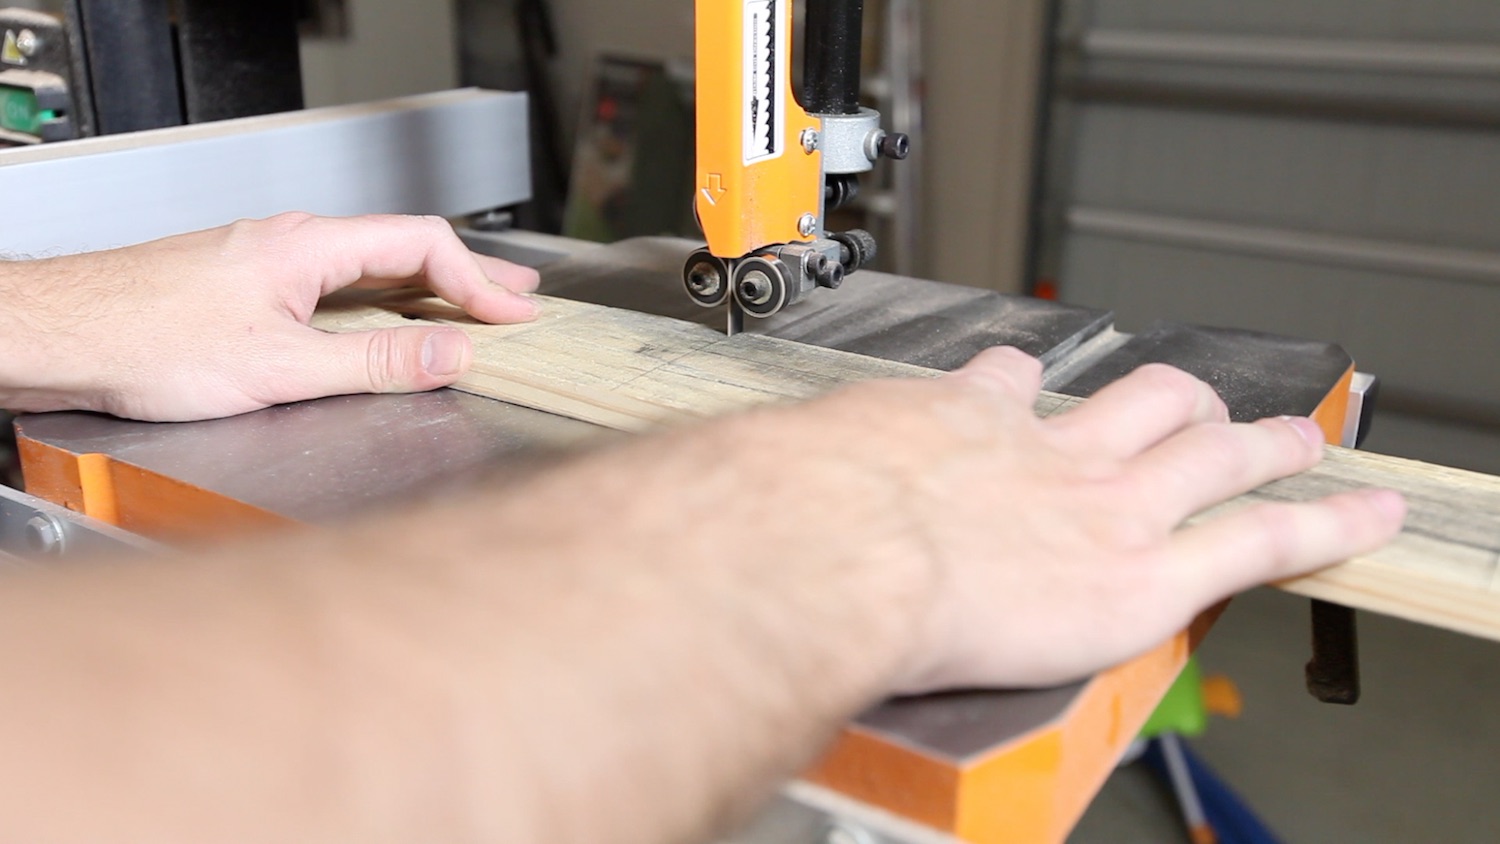

The feathers needed to have some 45 degree angles cut in both sides so they would have a taper, so I marked those and cut them out on the bandsaw as well.


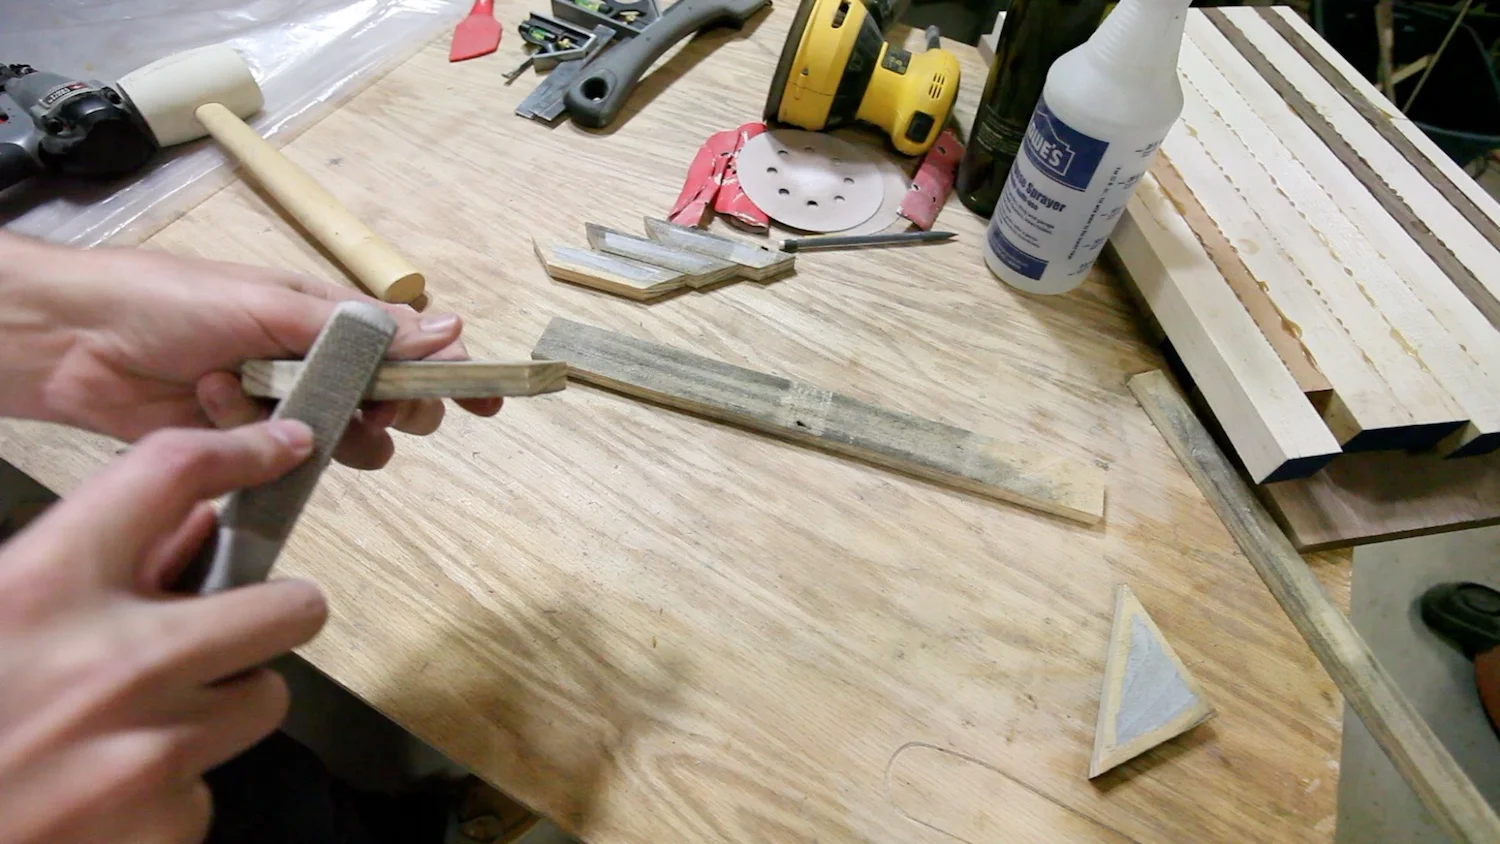
Before attaching everything, I added one more touch. I found some light gray paint that I had leftover from another project and painted on the feather pieces and the arrow head. I like the effect this gave.


I used a file to ease some of the edges.
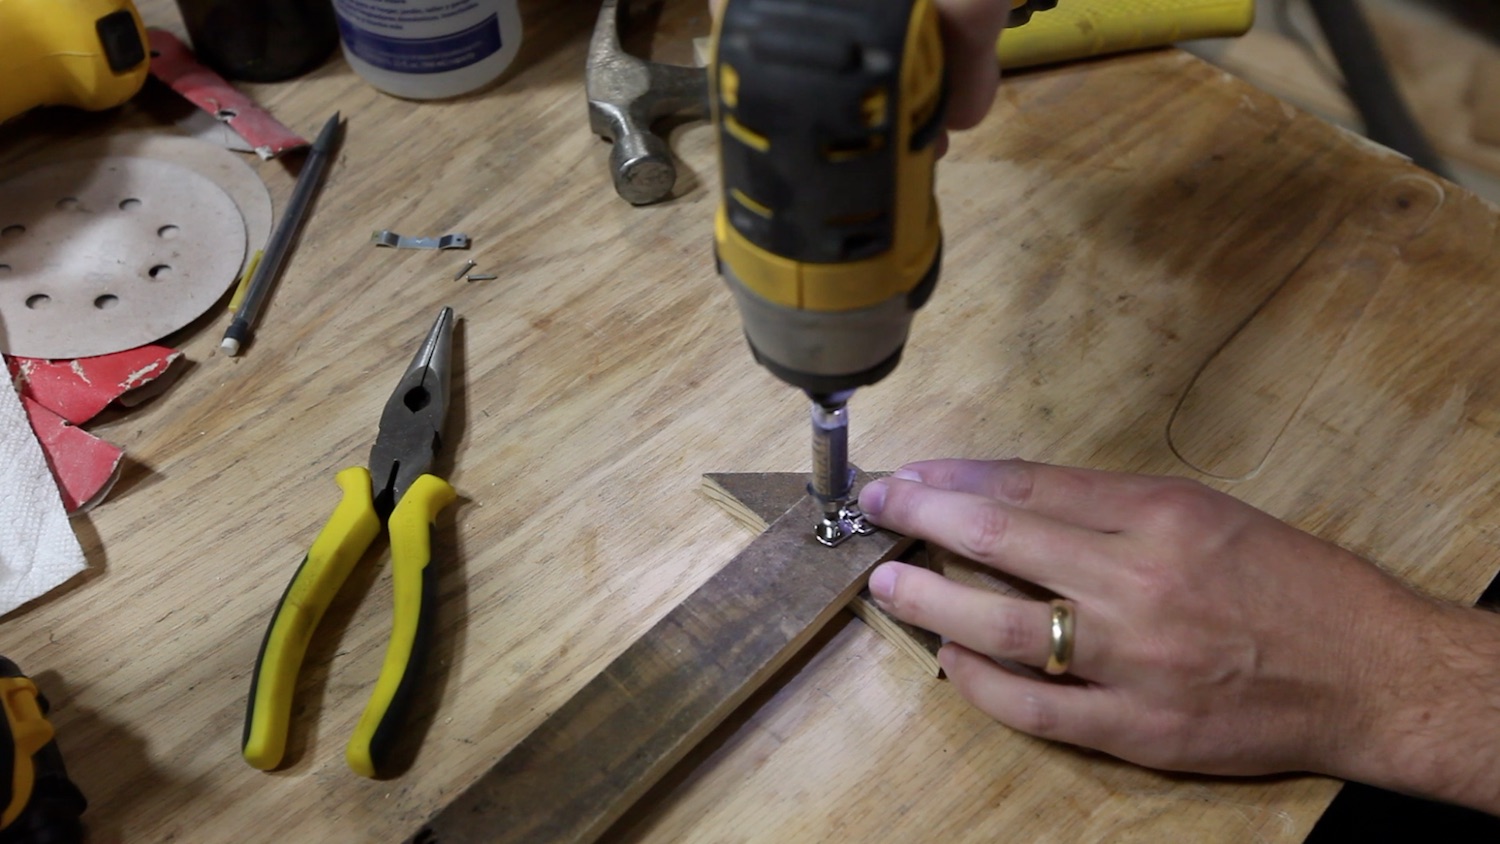
Then, I attached everything using a finish nail gun and some wood glue.


All that was left was to attach some way for this to hang on the wall. I just used a basic picture framing loop, since we wanted the arrow to point straight up. I added a nail in the wall, and it was done.
CONCLUSION
I really like how this turned out. If I had it to do over again, i would NOT offset the feather pieces like I did on this one. I thought it would look good and I just don't like how it looked when I was done.

Are you going to build something like this? It is a fun, simple project that you can knock out in a matter of a couple of hours, including painting. Let me know below if you have any questions or comments. Thanks for following along!