DIY Wooden Cleaning Caddy
VIDEO
For years, I have carted around multiple different cleaning supplies when I clean the toilets. This has become a real pain, and I finally did something about it. Watch the video of how I made a DIY Wooden Cleaning Caddy:
BACKGROUND
We all have toilets and they all must be cleaned. It is just a fact of life. It's not pleasant, but it just has to be done. There are certain duties that my wife and I have pretty much always done around the house in 11 years of marriage, and cleaning the toilets has always fallen squarely on my shoulders.
For years, I've carted around the Clorox, scrub brush, spray, towels, etc all separately. While it has always been a pain, the last few years in this current house have made that the most evident since we have 3 bathrooms that are all quite spread out. It is quite a bit of walking when you walk to one, do something, walk to another, and so on.
I decided it was time to stop all of this madness and get organized. I can build a wooden cleaning caddy. And that's exactly what I did.
TOOLS AND MATERIALS
Drill and Driver - http://amzn.to/2vUje1h
Table Saw - http://amzn.to/2wj1vS1
Glubot - http://amzn.to/2imuSxh
Brad gun - http://amzn.to/2vUjM7l
3/4" plywood
Wood Glue
3/8" dowel
Spray paint of your choice
Painter's tape
STEPS
I planned to use just whatever scrap I had around the shop to make something that fit this need. So, I rounded up everything I would need to carry between each of the bathrooms, piled it all up and took some measurements. Then, it was off to the scrap bin to see what was available.
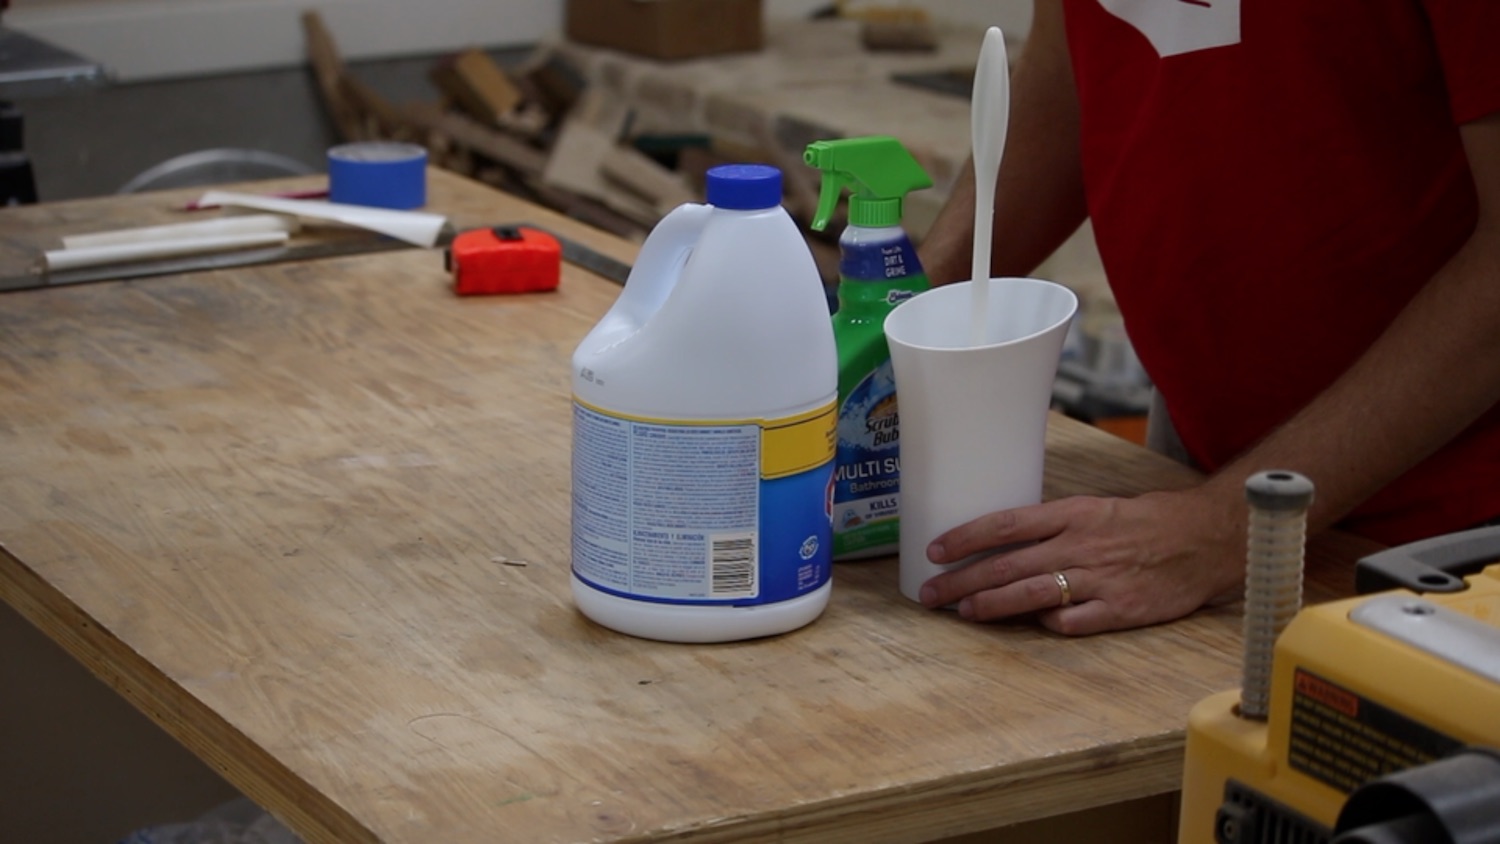
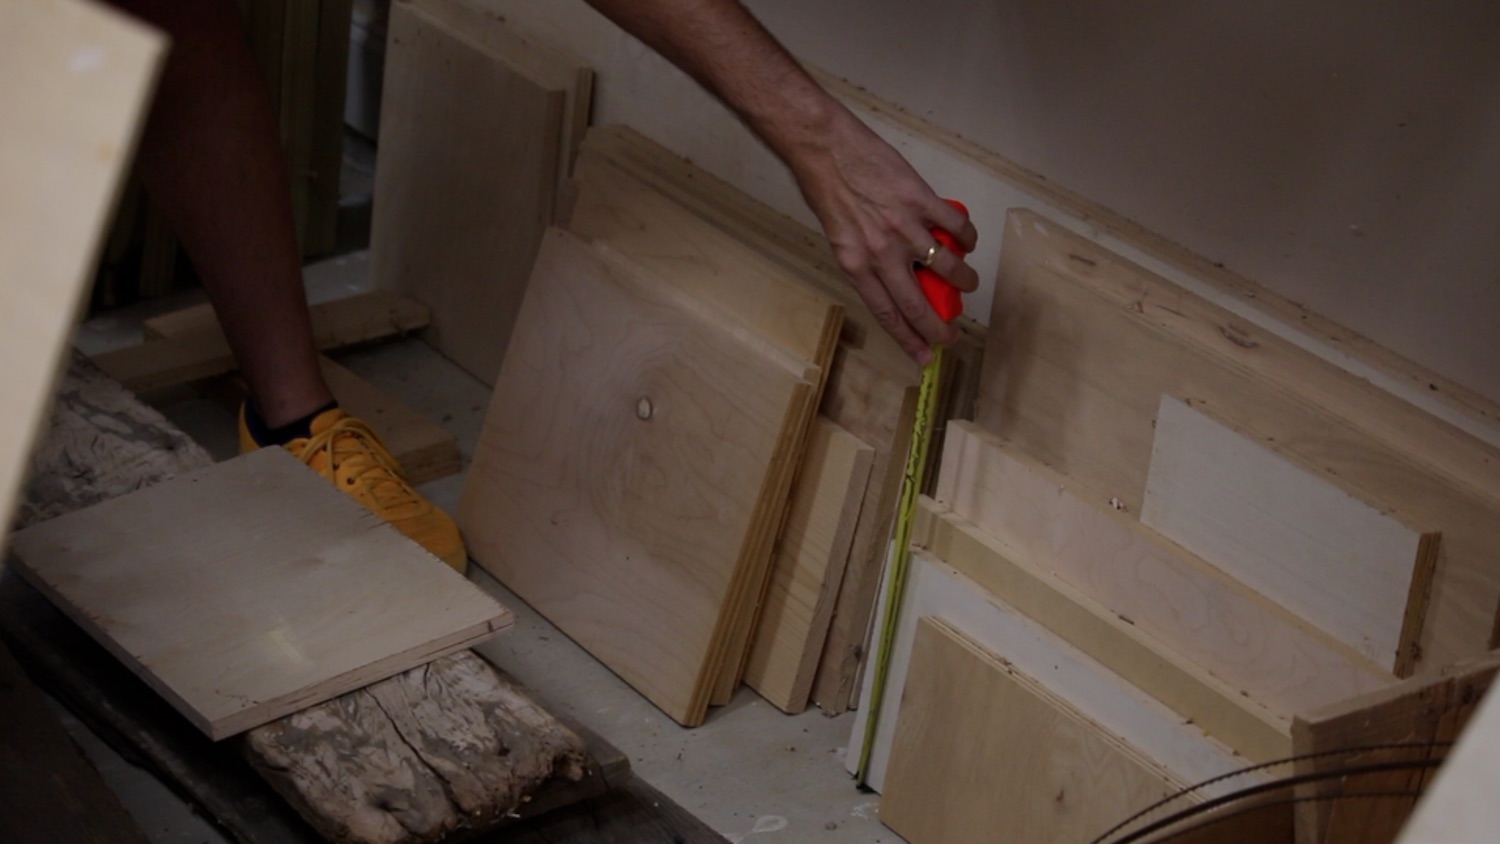
I found a few pieces that were roughly 8" x 13". This is just some leftover plywood that I never can seem to throw away. And I'm glad I didn't!

I started putting the plywood around the cleaning supplies so I could know what to cut all of my final dimensions at. I find that using scraps is challenging, but in a good way. I often have something in mind that I would like to build, but it usually must be modified based on the material I have on hand. These revisions to the project on the fly are a good exercise in patience, and ingenuity.


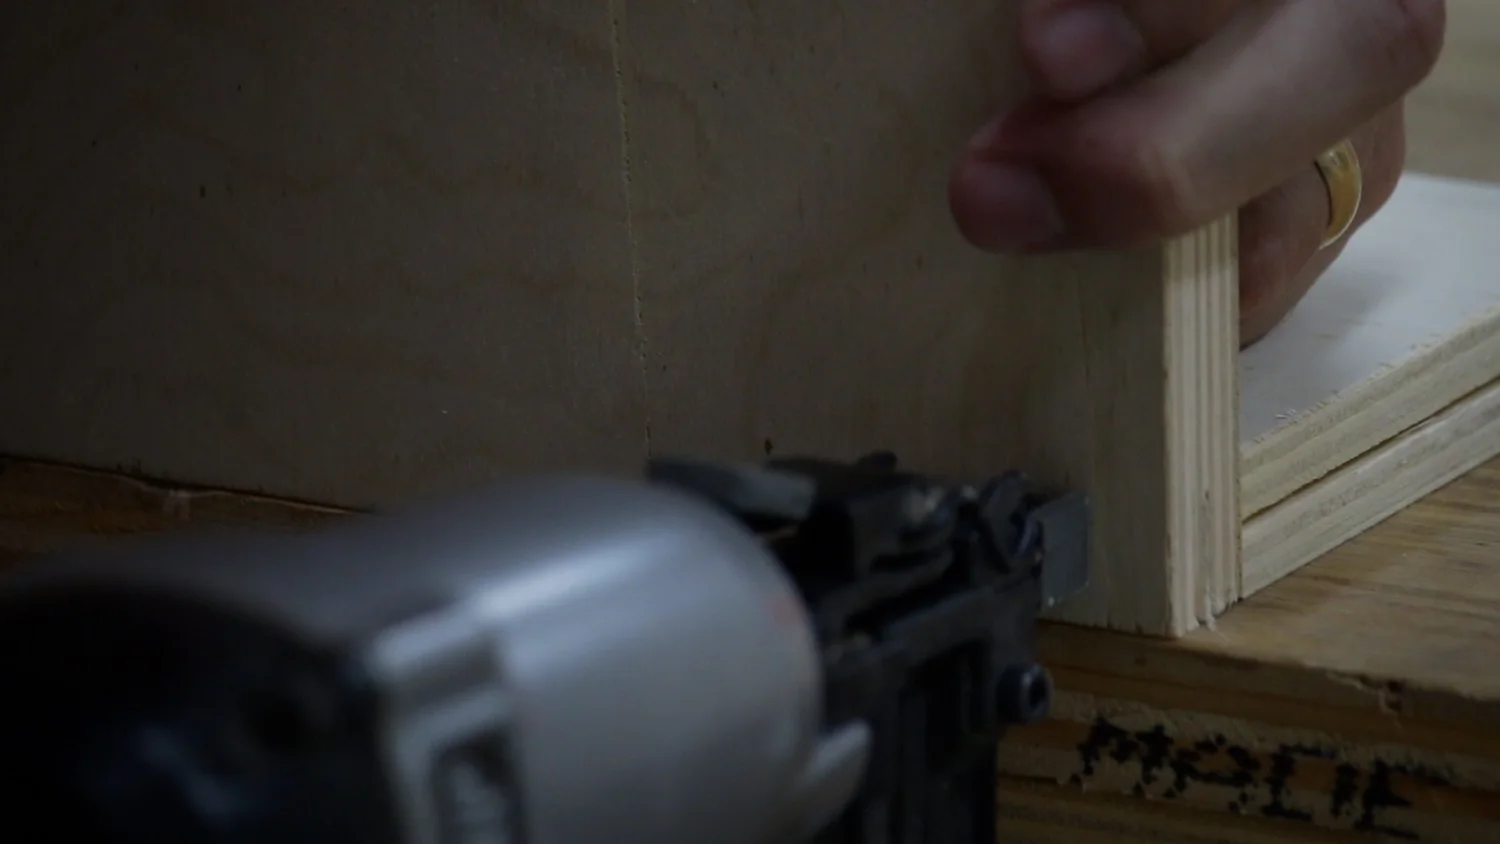
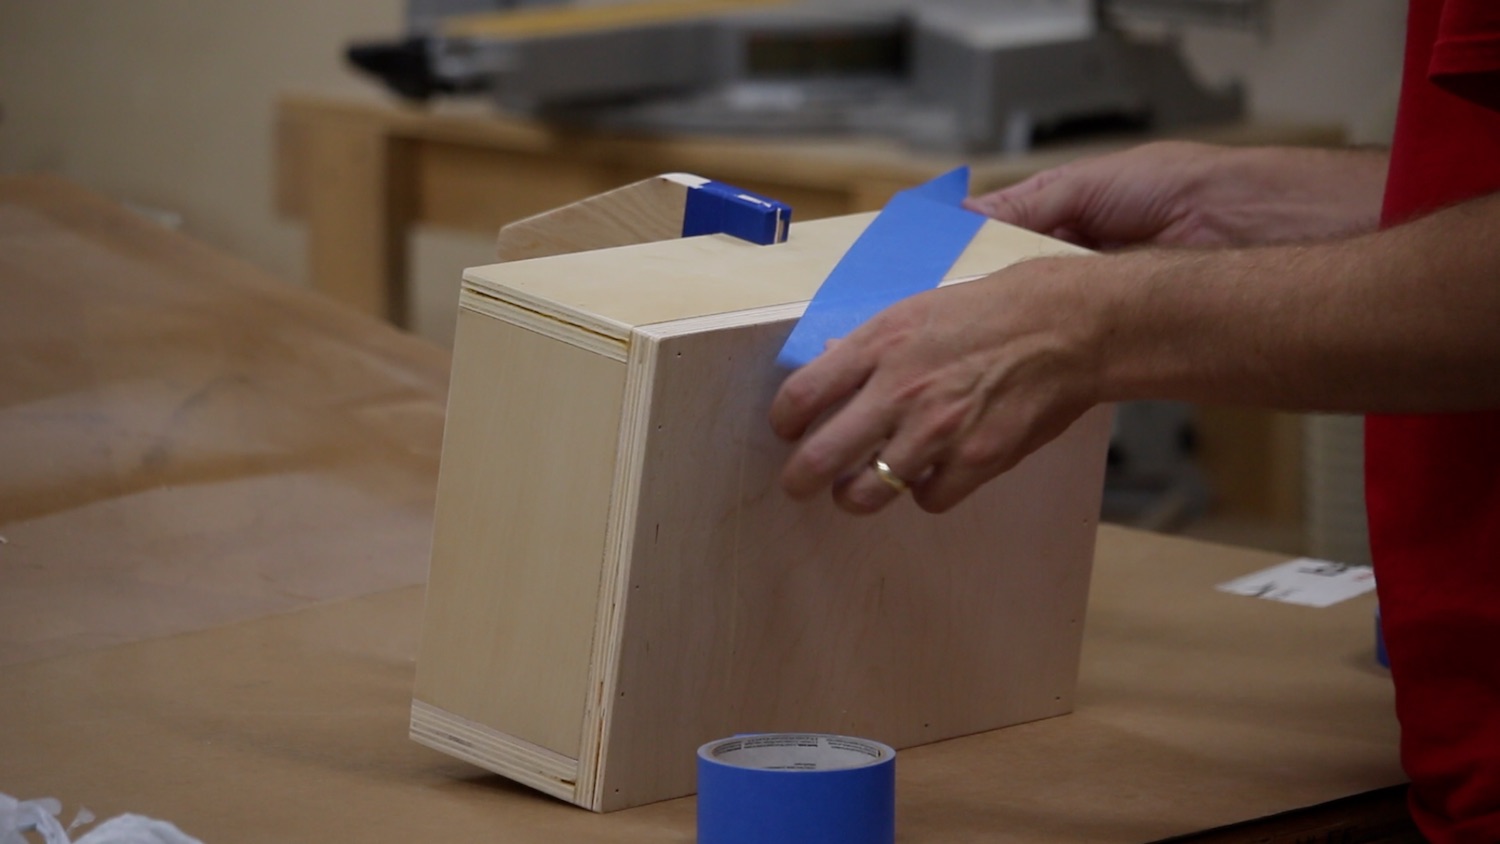
I cut everything to dimension and then assembled the box structure using some wood glue and 16ga brad nails. As happens with scrap, as I mentioned above, plans change on the fly. The scrap I had for the two short ends ended up being just a bit too short, and I didn't realize it until I had already nailed on both of the long sides. Instead of tearing it apart, I just decided to shim the slight gap, especially since this will sit under a sink and it will be painted. I had some scrap maple that I used for another project and it was very thin already, so I just sanded it a bit more to make it fit. Glued it right in, nailed it and it worked great.


For the handle, I decided to try a little different design. I decided to make the handle wider than the overall width of the box by just a little bit. Then, I would just notch out for each of the sides, and then pin them with dowels. I've not done a joint like this before, and I don't even know if it was the best way, but it allowed me to use a very small scrap of plywood.


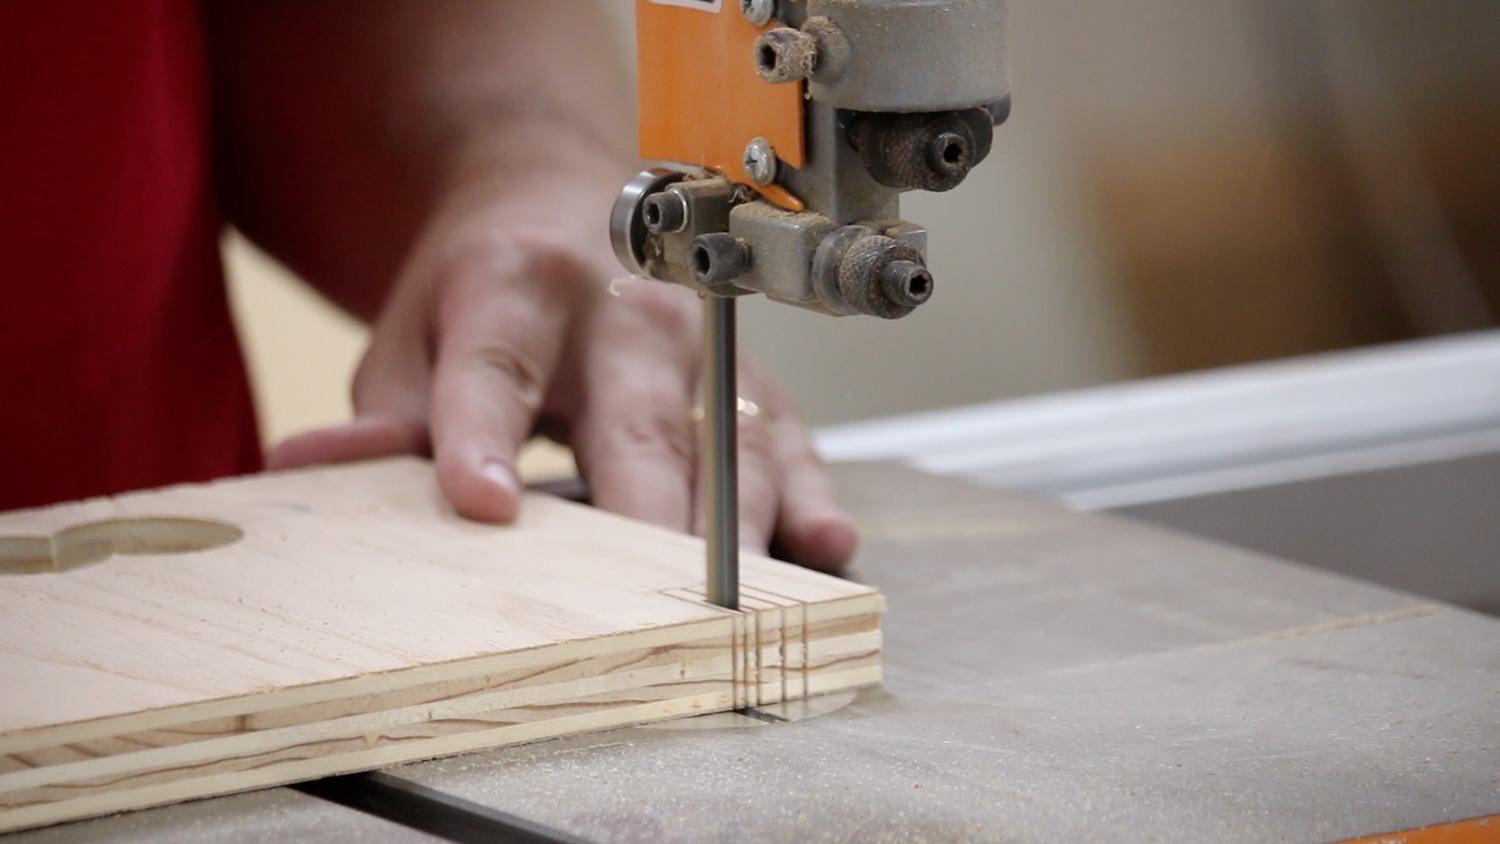


For the handle part, I drew a line near the top where I thought it would be comfortable to carry, and took it to the drill press to drill out a handle. Usually, I drill a hole on either side of where I want the handle to be, and connect them with a jigsaw. This time, I kind of liked how it was looking to just space out the forstner bit drillings to leave a scalloped looking handle. I used a file on the scalloped part to smooth it out a bit. Also on the handle piece, I drew some angles that looked good to me and cut those out on the bandsaw. This just gives the overall piece a more elegant look to go along with the angles in the paint I'd do a little later.


The caddy was a bit unbalanced since I had a large clorox bottle on one side, and not nearly as much weight as the other. I used a piece of honey locust wood which is very dense, and glued it down into the lighter side. It is not perfectly balanced now, but it really did a lot to help it feel more balanced.

At this point, it was time to move on to the painting. You obviously don't have to paint a caddy that you'll be using to haul cleaning supplies and that will spend most of its life under a cabinet, but I decided to. I really wanted to give this caddy a modern look. After lightly sanding everything, and breaking the edges, I used a method for painting that I saw Bob Clagett from I Like To Make Stuff do in one of his videos. He used some painter's tape to tape off an angle that wrapped around multiple sides of the box. It gives this really angular, geometric look, and I like it a lot. I did something similar, and chose a gray and a sea mist green. Then, I just let some of it be natural wood for an additional contrast. He oriented the painted parts horizontally and let them wrap around the box. I chose to orient my colors vertically, and I think it had a similarly cool effect.
Below, you can see me taping off the box and using some plastic grocery bags, making sure to cover any holes in the bags with tape, to cover a majority of the project. This allowed me to use a lot less tape.

Then, I sprayed on a couple of coats of the first color. After it dried, I just undid that side and found a different angle that looked nice for the opposite side and taped it off again, spraying another couple of coats of my second color.

If you have not used one of these trigger grip things on a spray paint can, pick one up. They are really cheap and it makes the whole process easier and smoother. I found the results were a little better, because I was able to spray a really smooth coat each time.
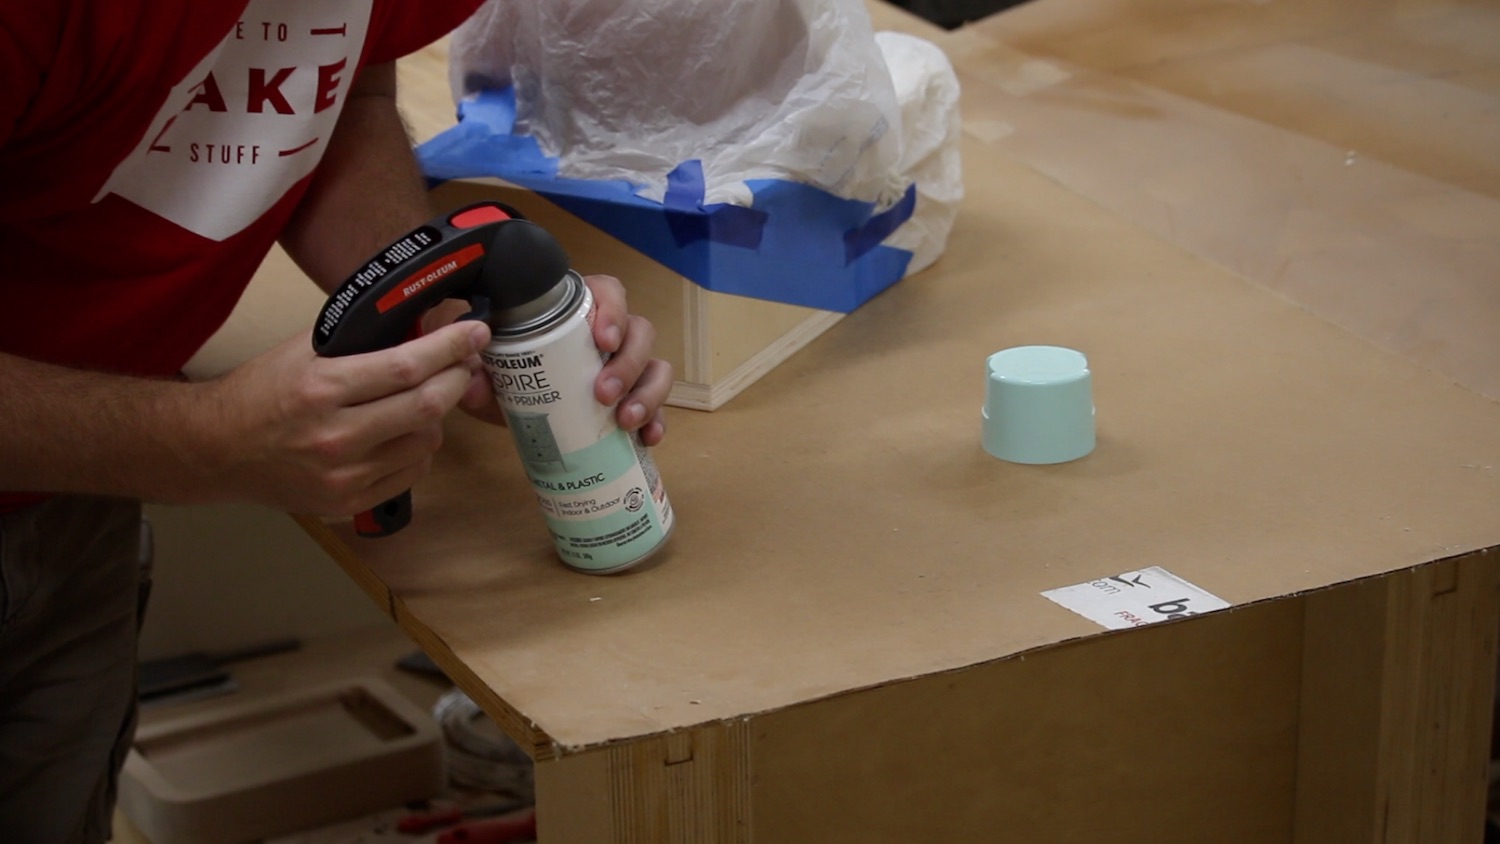
That's pretty much it. After all of the paint was dry, I sprayed a couple of coats of clear lacquer on the entire caddy to help protect the raw wood parts, as well as the painted parts. I love how this came out, and it will get used a LOT in my house. Do you have a need for something similar? I bet you can build it. If you do build one, show me by tagging me on Instagram @Brudaddy. If you have any comments, please leave them down below and I will see you next time!
