How to Install Dust Collection in a Woodworking Shop
VIDEO:
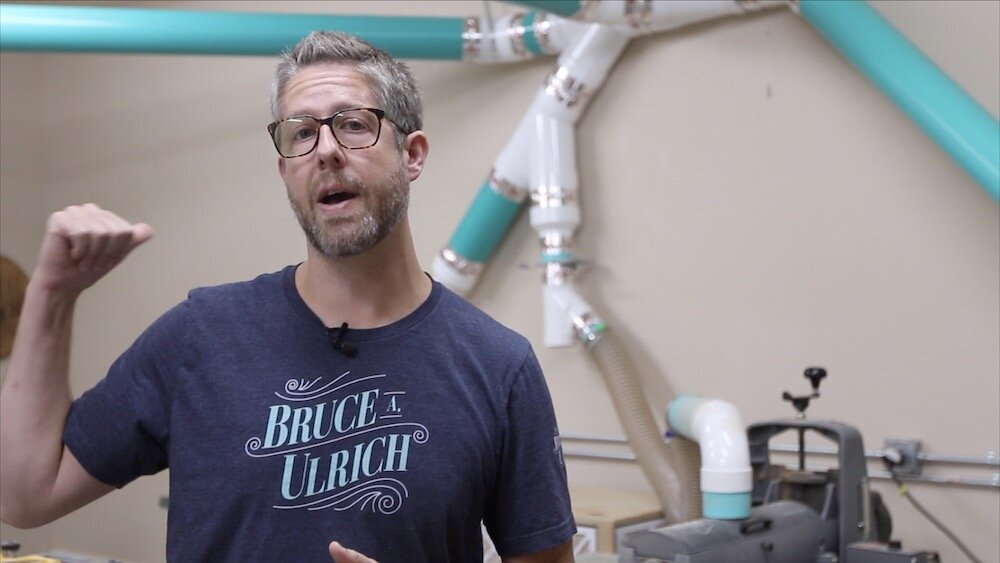
In this project and video, I’m going to walk you through how to install dust collection with hard pipe in your shop. I have held off on doing this for a long time, but I recently upgraded my dust collector, so it was time for a more permanent solution. It can be kind of intimidating when you just look at it, but watch the video, go through the steps below and it will demystify some of it for you:
BACKGROUND:
For a little context about this dust collection, I started like a lot of other people do…with a broom and dust pan. Then, I moved on to a shop vac. Then, I added a cyclone separator to my shop vac setup. Then, I got a single-stage dust collector. And that has served me well for years and years, as I grew my skills and my need for dust collection grew. Now, I’m doing a lot more production work in the shop and collecting the dust right at the tool has become more important to me because it is a time saver. I was spending a lot of time each day/week just sweeping and cleaning up the shop so I could tackle the next project. This will hopefully cut down on that time spent cleaning.
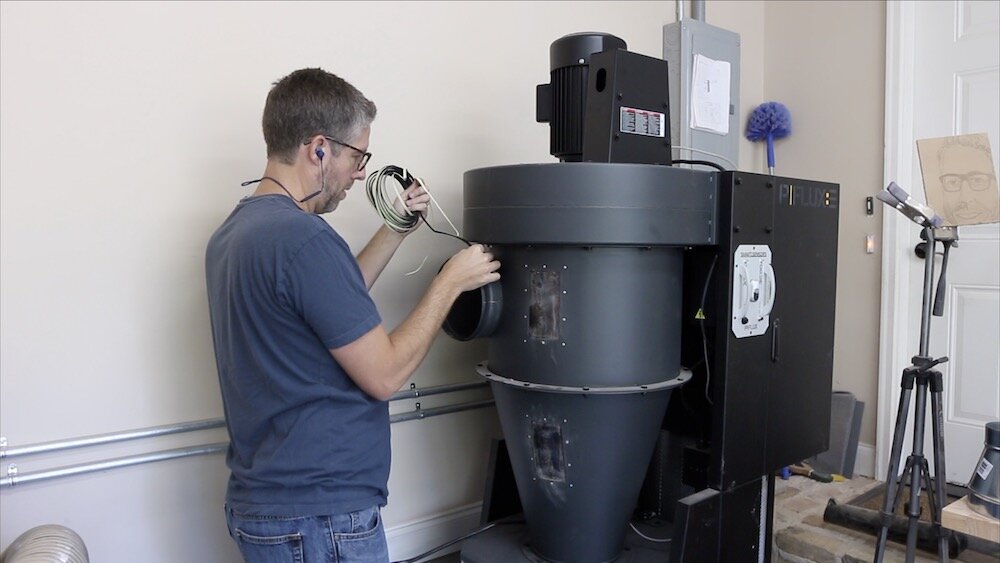
For reference, I have the Laguna PFLUX 3 dust collector, and man, it is a beast! I will be doing a video and write-up soon to follow about my first thoughts about that machine, include the assembly.
PLANNING:
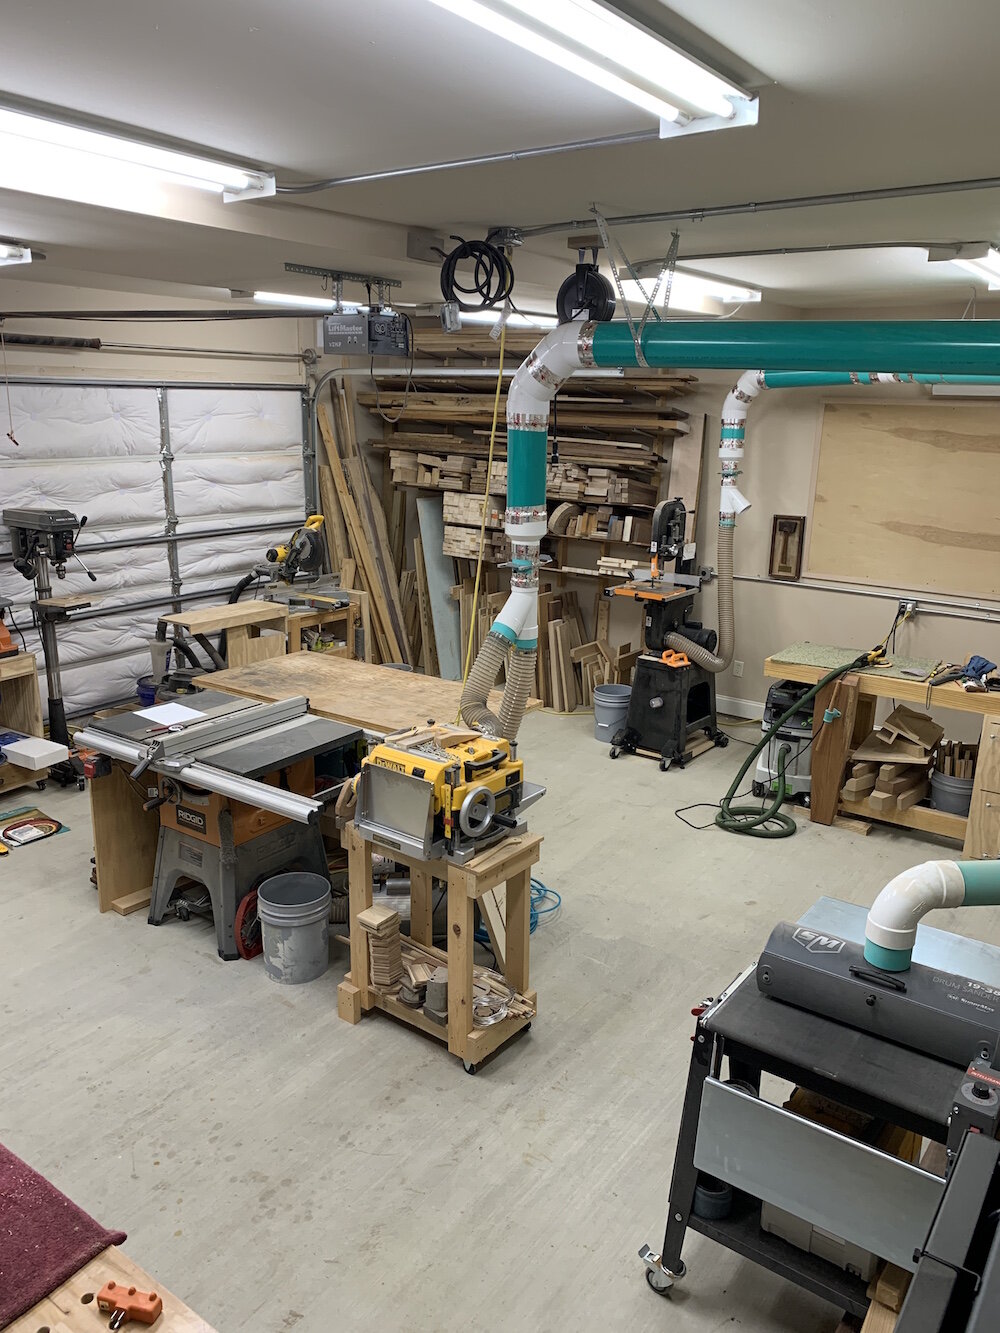
You need to take some time and plan out where you want to have your tools and what some of the best runs will be for your dust collection. This took quite a bit of trial and error of me picturing tools being in a certain place, and sometimes even moving those tools to that place, only to find out that was not a good spot and it would not work.
All of my tools are on mobile bases so this was not particularly difficult, but it was kind of a long process. It’s important to do this before you even begin, because you need to know how much pipe and what fittings to buy. You don’t want to go buy a bunch of pipes and fittings and then realize that you can’t accomplish what you set out to accomplish with what you purchased.
SOLICIT HELP:
I actually called on some friends to help me plan out where I should put tools. I asked them how things worked in their shops and one buddy even hopped on a FaceTime call with me to help me walk through it and see if everything makes sense. (Thanks, Mike!)
Don’t be afraid to ask some questions of people you know that are in the same hobby. That helps you learn different ways of doing the same things you’re doing, but it can really inform you of some things you hadn’t thought of before.
FIRST FITTING:
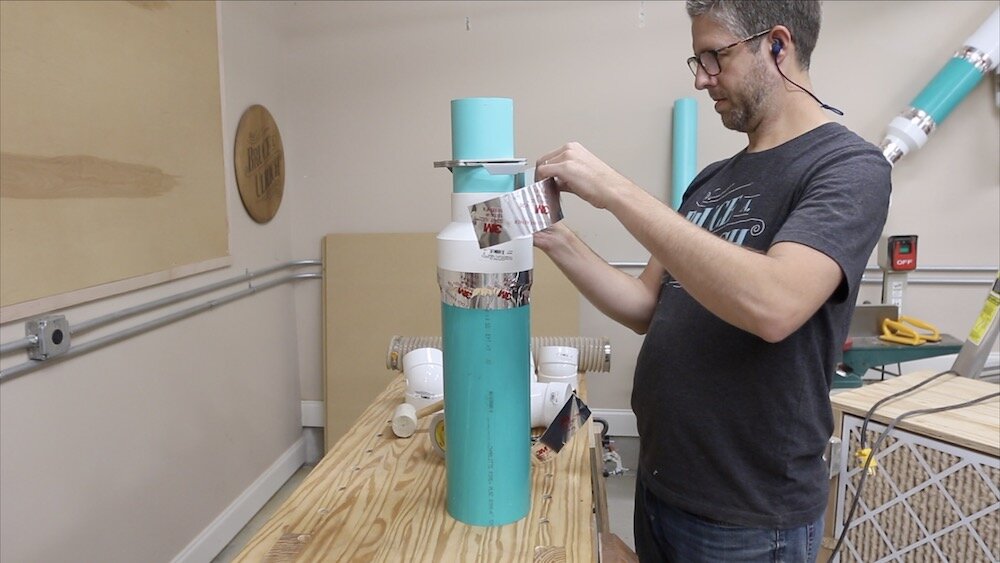
I’m using sewer and drain pipes that are 6” for most of my piping, but the inlet coming into my dust collector is 8". I looked into using 8” sewer and drain pipes, but they are very, very expensive and very hard to source for me.
I ended up finding an HVAC fitting that was an 8” to 6” reducer, and the fit was a little loose on the PVC fittings as well as the inlet. I grabbed some foam tape that I had leftover from the assembly of the dust collector and wrapped a small line of it all the way around. This made the fit just about right, and close enough that I could add some foil tape and get a nice, secure air-tight fit.


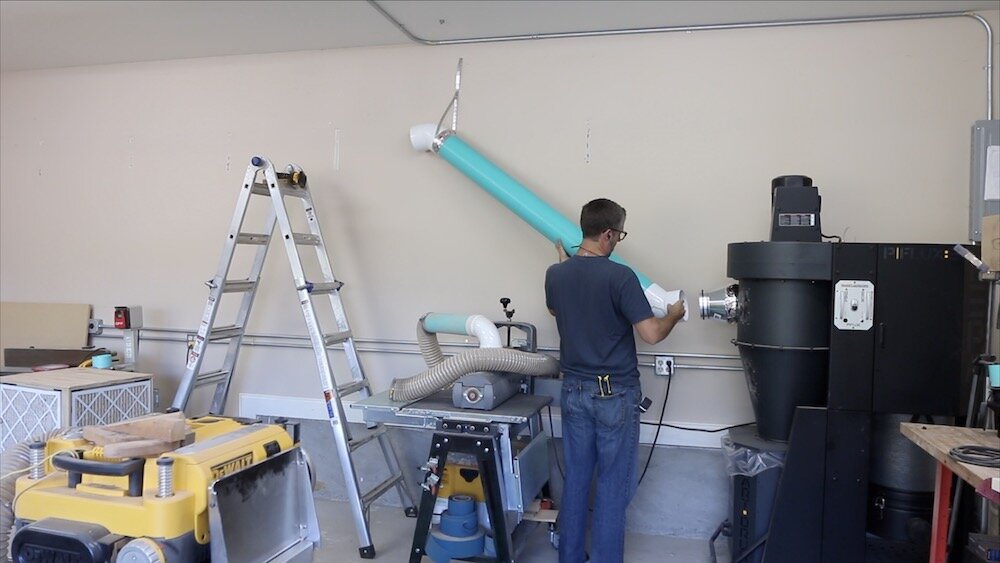
FIRST LONG SECTION OF PIPE:
After getting the first couple of fittings secure on the machine, I measured for the first long section of pipe. This pipe comes in 10’ sections and this first run ended up being about a 6’ section, angling upward toward the ceiling at a 45 degree angle.

CUTTING THE PIPE:
I started out by trying to cut the pipe with a hand saw. While this was working, it was taking way to long for my liking so I quickly switched over to using the miter saw. I have a 12” sliding miter saw, but the limitation on the saw was the arbor in the middle. It would catch before the blade could cut all the way through this 6” pipe. I would make a cut, let the blade stop, rotate the pipe some, and then finish the cut all the way through. Even with running my shop vac hooked up to the miter saw, this made a horrible mess of PVC shavings all over the place!


ASSEMBLE SECTIONS ON THE GROUND:
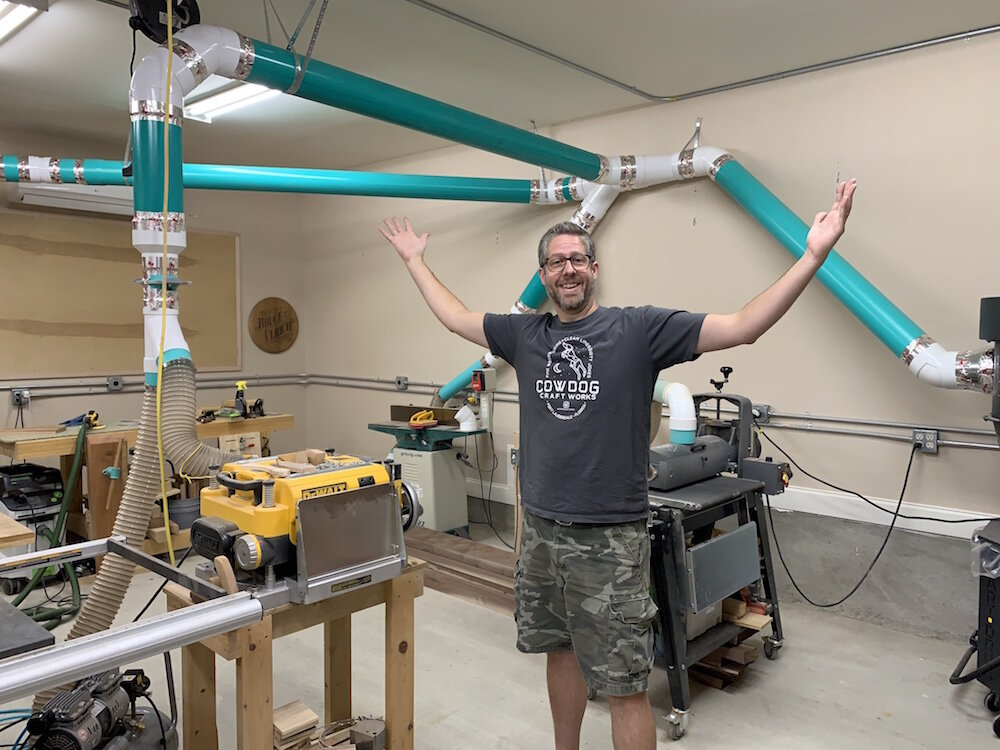
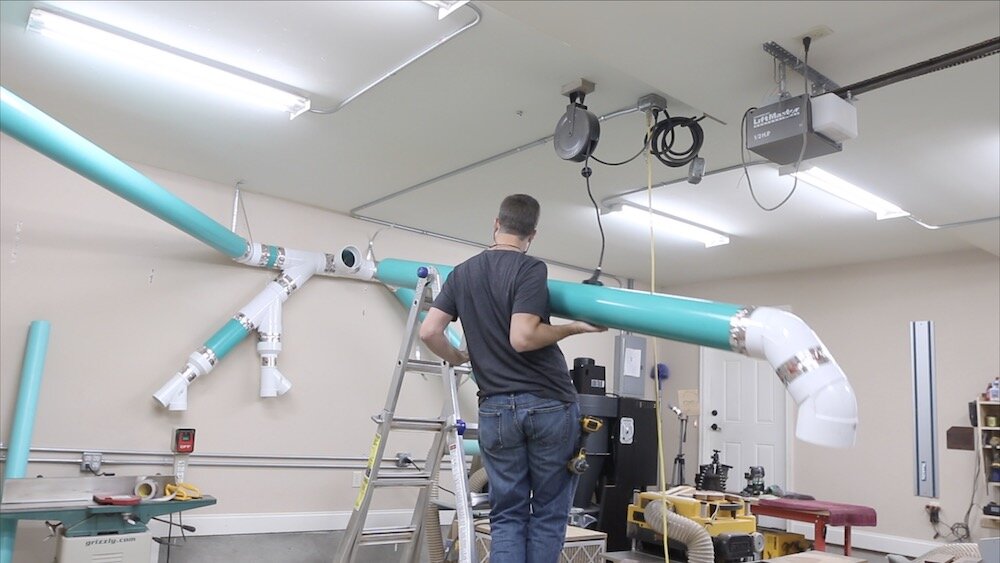
It’s important to note that these pipes and fittings are quite heavy. As I went along, I would try to assemble whole sections, especially when the pipes would have a junction or turn a corner, while it was on the ground. It was much easier to get it all put together the way I wanted and taped while I could easily access it, rather than when it was 8 feet up in the air.


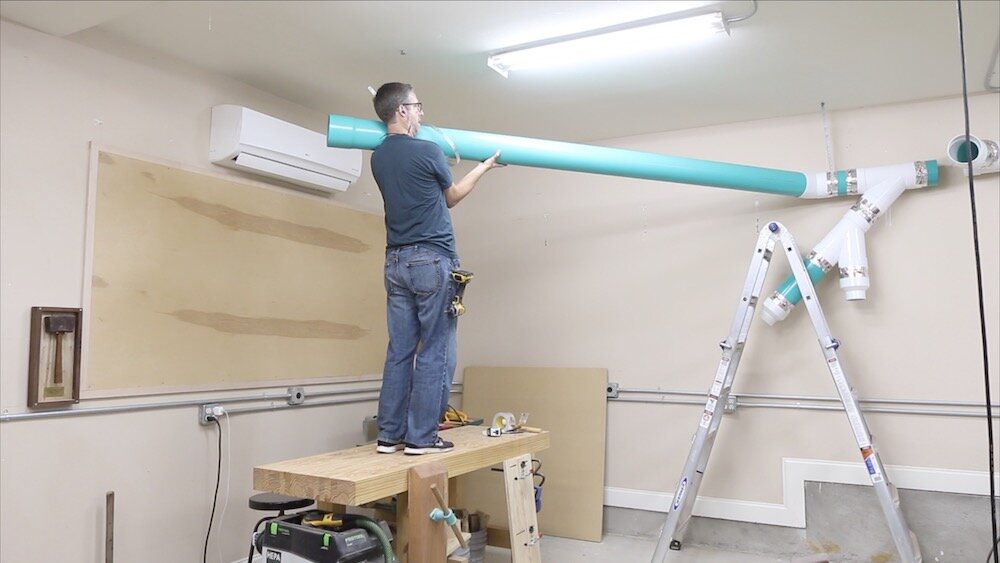
USING HANGERS:
I used some galvanized metal pipe strapping to hang the pipe at different locations. I would just anchor the strapping into either a stud on the wall or into a ceiling joist so I could be sure it would hold the weight.

As I would go along, I would get a hanger in place where it needed to be, then I could suspend one side of the long section in that while I connected the side nearest the inlet. And I would just work my way down the entire shop like this.

When I had everything adjusted as it should be, I would come back with a pair of metal shears and cut off the excess of the galvanized pipe straps.

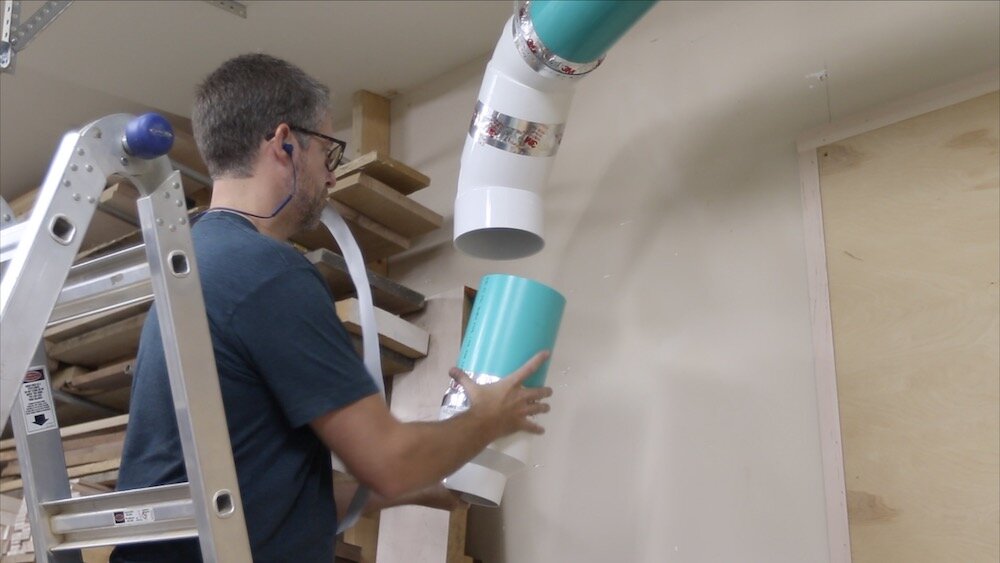
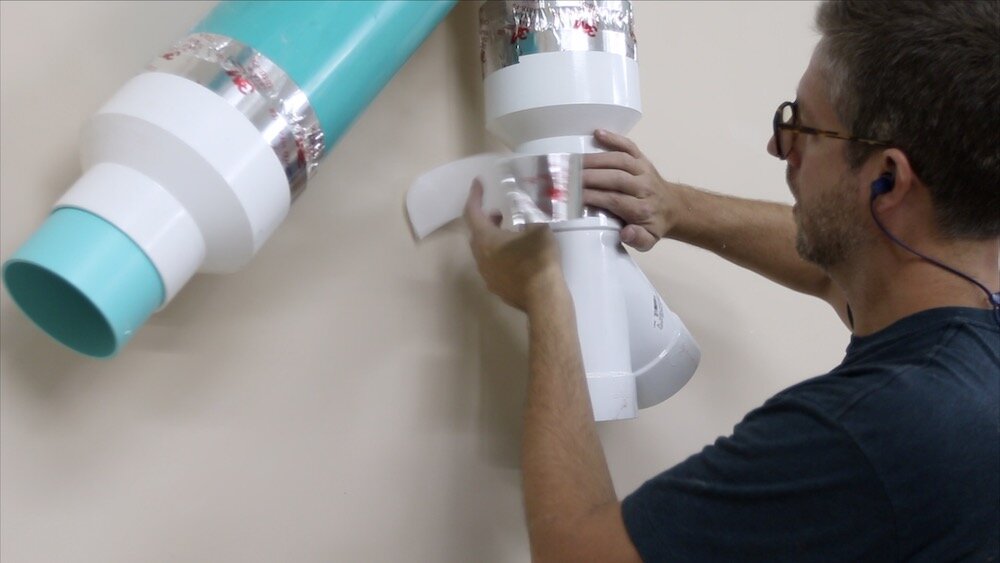
HOW TO FIT THE PIPES TOGETHER:
For many of the pipes, I was able to just kind of twist them together and get they to seat properly. There were a few, however, that needed more persuasion than that, so I would use a rubber mallet to put them together.

LONGEST RUN OF PIPE:
I had the need for a section of pipe to be on the other side of my shop, so I used a really long section off of a wye (the fitting that has one 45 degree split off of it) to get over there. For this section, I needed to use an entire section of pipe that was 10’ long, and it still didn’t reach. I still needed to use a part of another section of pipe, joined using the flanged end of the pipes. Then, I used the only 22.5 degree elbow fitting in the whole setup to turn a slight corner, allowing plenty of room around my mini split AC system. Then, I used another couple of 45 degree elbow fittings to make a drop over in the corner near my lumber rack. From there, it was much like the other drops where I would reduce it to 4” and then put a wye in there to run multiple tools off of that one section.
I didn’t feel like locating my stud finder, so I grabbed a strong magnet and used that to located the joists in the ceiling. That would show me where I could screw the pipe strapping to.


I must have measured wrong or just not seen exactly where the drop needed to go, because I ended up having to get another small section of the pipe, and use the flanged end leftover from another piece to make this partial run longer. Not a big deal, and I was glad I had those flanged ends. I used them a few times, rather than having to use another fitting.


ADDING THE TOOL ISLAND:
I had one more run left to do to get all of my large tools covered. I have my table saw and planer out in the middle of the room like an island.
I started just like I have before, putting the fittings on the pipe section while it was still on the ground. Then, I could get up on the ladder with some pipe strapping ready to secure it.


And this drop was no different than the others. I would reduce to 4 inch, add a blast gate, add a wye and get everything ready for small sections of flexible pipe to run to the tools.
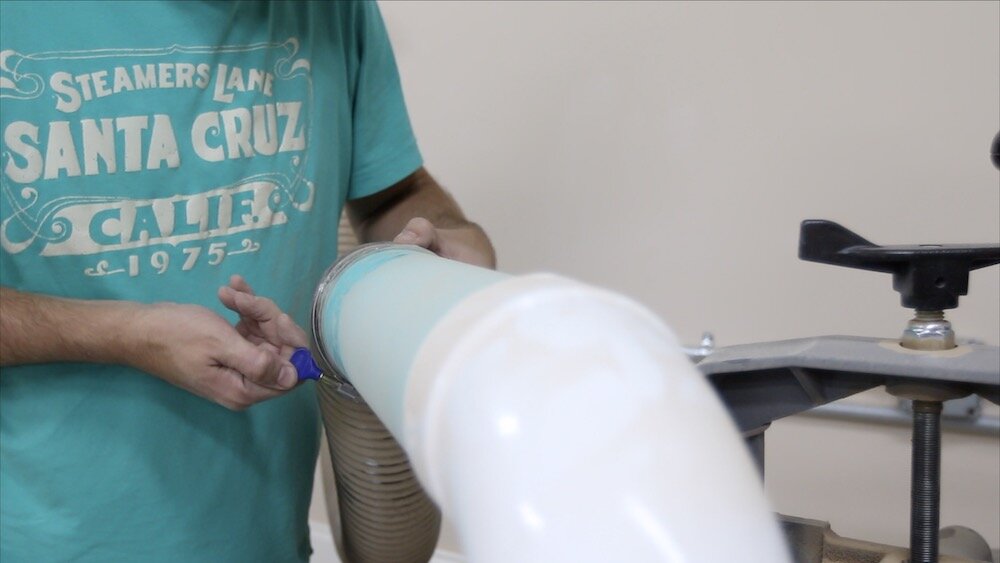
ADDING FLEXIBLE PIPE:
To connect the tools to the piping system, I’m using short sections of flexible pipe. I wanted just enough that I could move the tools slightly if needed, but not so much that I lose a lot of suction. Flexible pipe is not great for dust collection, so keeping this stuff to a minimum is important to having your system run well.
The flexible pipe that I have is kind of difficult to slip over the 4 inch pipe. Some of the sections didn’t seem to have trouble, but some of them needed a little help. I took my torch and heated up one end of the pipe section, and then with gloves on, I bent in the end that would have the flexible pipe on it. It worked pretty well overall. I tried to just do a little bit on the end, so I would not have any issues with getting the flexible pipe to seal onto each pipe section.


To cut the flexible pipe, I used a utility knife on the vinyl sections and then a pair of diagonal cutters to snip the wire running through it.


HOSE CLAMPS:
To secure the flexible pipe to the rigid pipe and make sure it has a good seal, I used some hose clamps. I prefer the type that you can twist manually rather than having to use a screwdriver to tighten them. I’ll have the ones I used linked in the Tools & Materials section above.


CONCLUSION:
Well, now that I have a fully-functional dust collection system, it has been really nice putting it to use. My shop is staying much cleaner and I’m not having to sweep the floor as often. Collecting the dust right at the tools as often as you can is definitely the way to go.
If you’ve not already watched the video, take a look and drop a comment. It helps me a lot! If you have any questions, please let me know.
Thanks for following along with this project and I’ll see you soon on the next one!