Live Edge Knife Holder from Firewood
VIDEO
In my last video, I showed how i took some very special wood from a fallen tree in my wife's grandparents' yard and made a lazy susan out of it. Watch the video of how I made a live edge knife block out of the same firewood:
BACKGROUND
I recently made a lazy susan for my wife's grandmother from an old tree that had been on their property for over 60 years. It was very special to be able to make something they can use for years to come, from an object that had occupied a place in their lives for so many years. If you want to read the full story or watch the video I made about it, you can check out that article.
TOOLS & MATERIALS
Jointer - http://amzn.to/2BLeCPJ
Planer - http://amzn.to/2DKBMTI
Table saw - http://amzn.to/2D8c4Hy
Drill press - http://amzn.to/2zpHO8B
Cordless Drill - http://amzn.to/2C0JDfa
Forstner bits - http://amzn.to/2D9GBor
Neodymium magnets - http://amzn.to/2zqjxPJ
Epoxy - http://amzn.to/2C4NWbN
Lacquer - http://amzn.to/2Da7wk2
STEPS
This is a relatively simple project. There is some cleaning up to do, in order to get the piece flat, but there is no joinery needed. I started out at the jointer, since this piece of firewood was mostly flat on one side already. I was leaving the top part that had the live edge just about like it was in firewood form.
Once I got one side flat on the jointer, I took it over to the planer to make the other side parallel. With rough stock like this, you always have a bit of interpretation to do, reading the grain and the imperfections. I always want to try to keep pieces as thick as possible, within reason. For this piece, I thought it would look best to keep it over 1.25" thick. There was an imperfection on the bottom of the piece, and to get it out, I had a few options. I could plane the whole piece down to remove it, leaving me with a significantly thinner pieces than I wanted. Another option, and the one I chose, was to cut that section off in a way that added to the design of the piece. I ended up cutting a slight angle into the bottom part which removed the imperfection and gave the piece a nice, modern look.

This piece was one of the pieces I did not use in the making of the lazy susan.


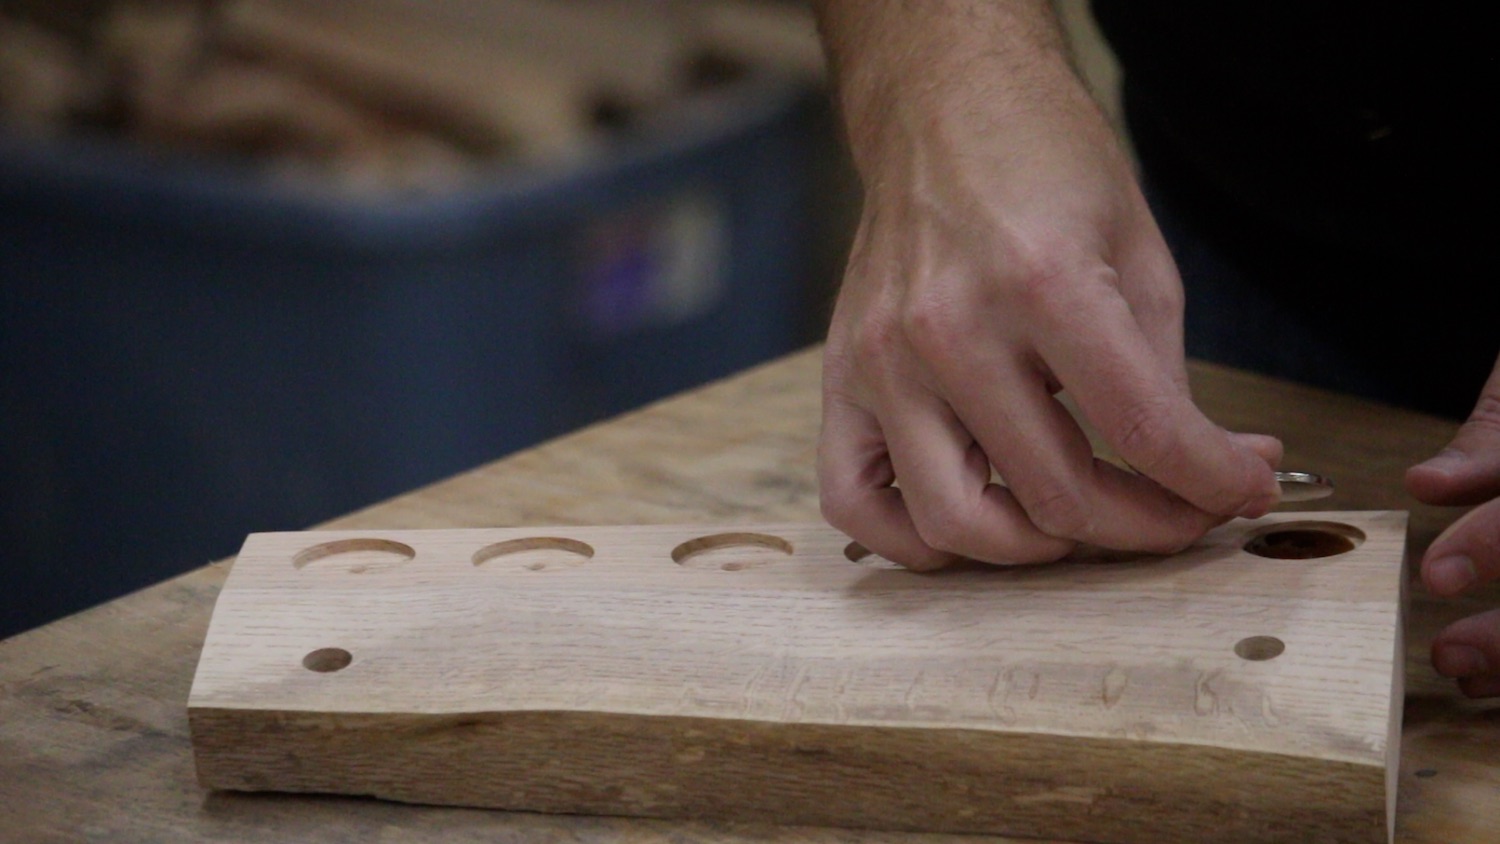
I marked out where I wanted to put the rare earth magnets. These were going to be spaced along the bottom to hold the knives.

Then, I plotted out exactly where to drill for each recess to hold the magnets. I am using neodymium magnets, and if you want to get the same ones, I used these.


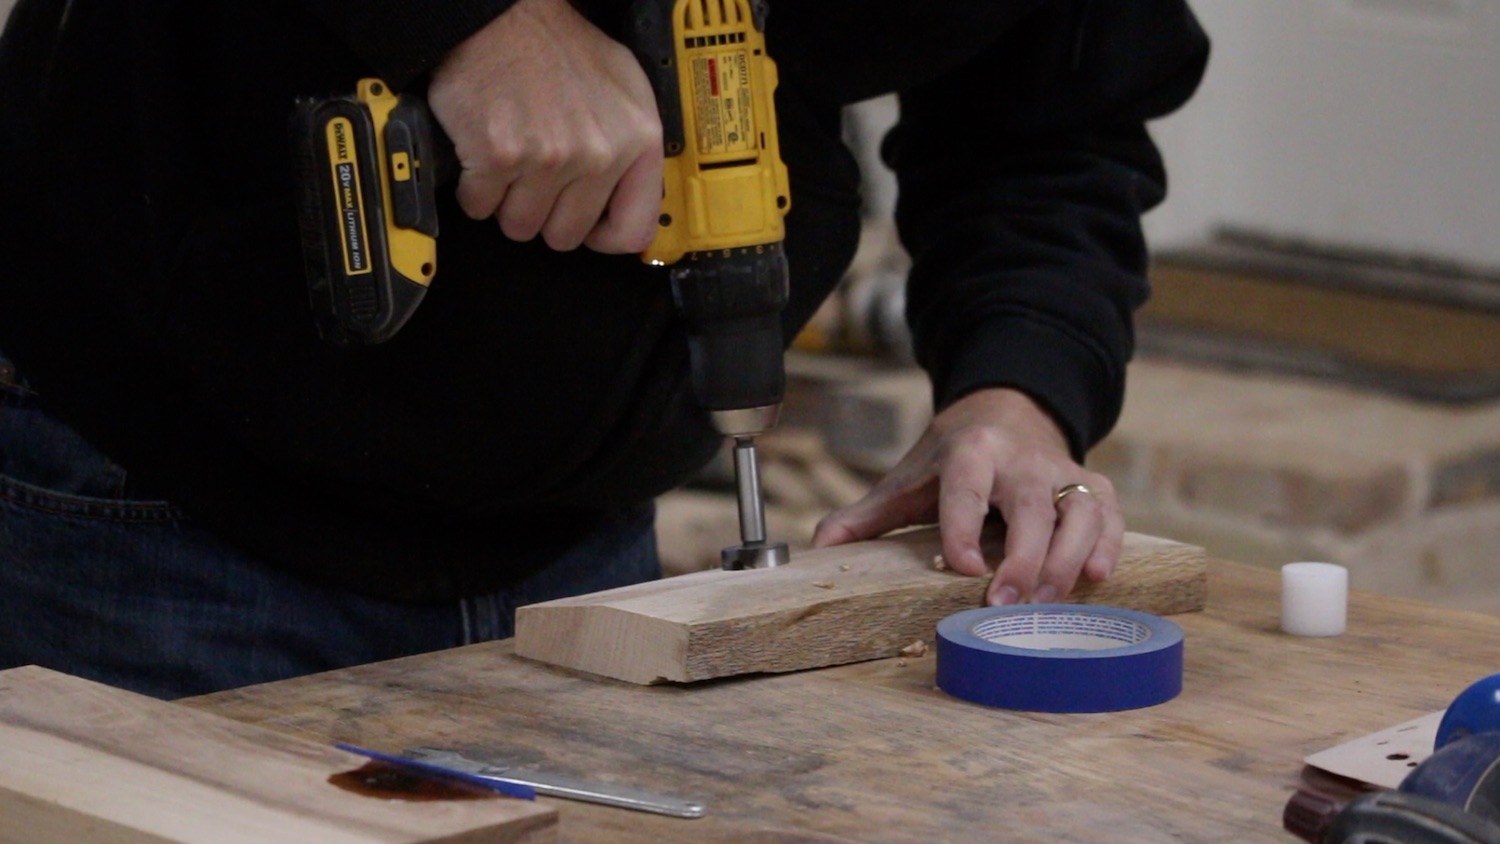
I used a center punch to mark the spot for the drill bit. I did not have one of these until recently, and I love it! I use it all of the time, and this particular one has a nice way to grip it in your palm.

I mixed up a batch of epoxy, tinted it with some very fine sawdust and filled a hole I had drilled on the back of the piece. I originally wanted to have the magnets inset from behind, so you could not see them. Drilling as far through the wood as I could without poking through was still not enough to hold a knife on the front...even with two of these very strong N42 magnets stacked together. Luckily, I only had to fill one hole.

I had to use a chisel to clean up one little part on the back side of the piece that was too wide for my jointer. This was a really simple solution to accomplish this task.

And I also used a chisel to remove any of the lose bark on the live edge. I wanted it to look like a live edge, but I didn't want loose parts hanging off of it.

Then, I took it to the drill press and drilled out 6 holes that were slightly larger than the magnets. I wish I had a bit that was closer to the overall diameter of the drill bit, but I didn't.

After a few minutes, I realized that it was going to be easier to just use my hand drill to do the drilling for the magnets. I could check periodically to see if the magnet was flush to the surface.
I tried to think of how my wife's papaw would hang this. I landed on the idea of drilling 2 counter sunk holes so he could use screws to attach it. Then, I would give him some oak dowels to put in the holes and block the screw heads from showing. (When we gave it to him for Christmas...a little early...we had the two little dowel pieces wrapped up and on the tree like an ornament. He looked at them and had no idea what they were for. It was a fun surprise to walk the finished piece out to him after letting him try to figure it out.)

I used a wood burner to add my maker's mark to the back of the piece, as well as the date created.

Then, it was on to adding the magnets. I used epoxy, again, tinted with a little fine sawdust. I found out after the first one, I was putting too much epoxy in. What a mess!


Using some acetone, I was able to wipe off most of the excess epoxy after it had dried. That worked pretty well.

I then sanded the piece all of the way to 220 grit, and gave it a few coats of spray lacquer.

CONCLUSION
Thanks for taking the time to check out this. Let me know if you have any questions about this project by leaving a comment below!

