Live Edge Walnut Slab Desk
VIDEO:
In this project, I make a live edge walnut slab desk with some ebonized legs. This one had some firsts in it for me, so keep reading to see what those were. And be sure to watch the video about it as well:
BACKGROUND:
This is the first in a series of projects that I did recently when I visited my friend, Jeremy Meadows of Meadows Woodshop, in Kentucky. He invited me up to his shop for a few days to just build stuff and collaborate on quite a few projects. It was a lot of work, but we had a good time while we were at it. Plus, we ended up with some really cool projects!
TOOLS & MATERIALS: (affiliate links)
Glowforge laser engraver (use my link to save up to $500 on a Glowforge if you purchase one: https://glowforge.us/r/GwnI7W
Starbond adhesives (Save 10% using CODE: bruceaulrich) https://www.starbond.com/?rfsn=272403...
Dental syringes: https://amzn.to/2MUqkdp
Makita track saw: https://amzn.to/35IHjbh
Makita random orbit sander: https://amzn.to/35FHZhH
Chisels: https://amzn.to/33JMtlE
Rubio Monocoat: https://amzn.to/2oFwiXD
Drill and driver: https://amzn.to/2IXd4mX
STEPS:
The wood we were using in this project was some rough sawn slabs of walnut that a friend of Jeremy’s had given to him and he had just been waiting for a project to use them. At this point, the slabs were plenty dry (you don’t want to use green wood to build something out of, it will warp and shift as it dries out), but they were still in rough shape.
We needed to get both faces flat and parallel, without messing up the live edge. We wanted the live edge to remain on the front of the desk as a design element. (we ended up cutting off the back side so it would go flat against the wall.)
Some of Jeremy’s friends own Lakeside Woodworks and they have this really cool tool called a Slab Master. It has this massive cutter head on this large 6 foot by 12 foot gimbal-type of thing. You can secure the slab to it, and then run the cutter back and forth over the length of the piece, gradually taking off more and more until it is perfectly flat. It really leaves a great surface too! If you haven’t already seen it, click here to head over and watch the video I made about the Lakeside Woodworks shop. It’s more of a documentary style, which is different for me, but I had fun directing and producing it. I did a little shop tour, got into why they make what they make and how important family is for their business. Oh, and you can see the Slab Master in action in the video at the beginning of this post and in that video I just linked.

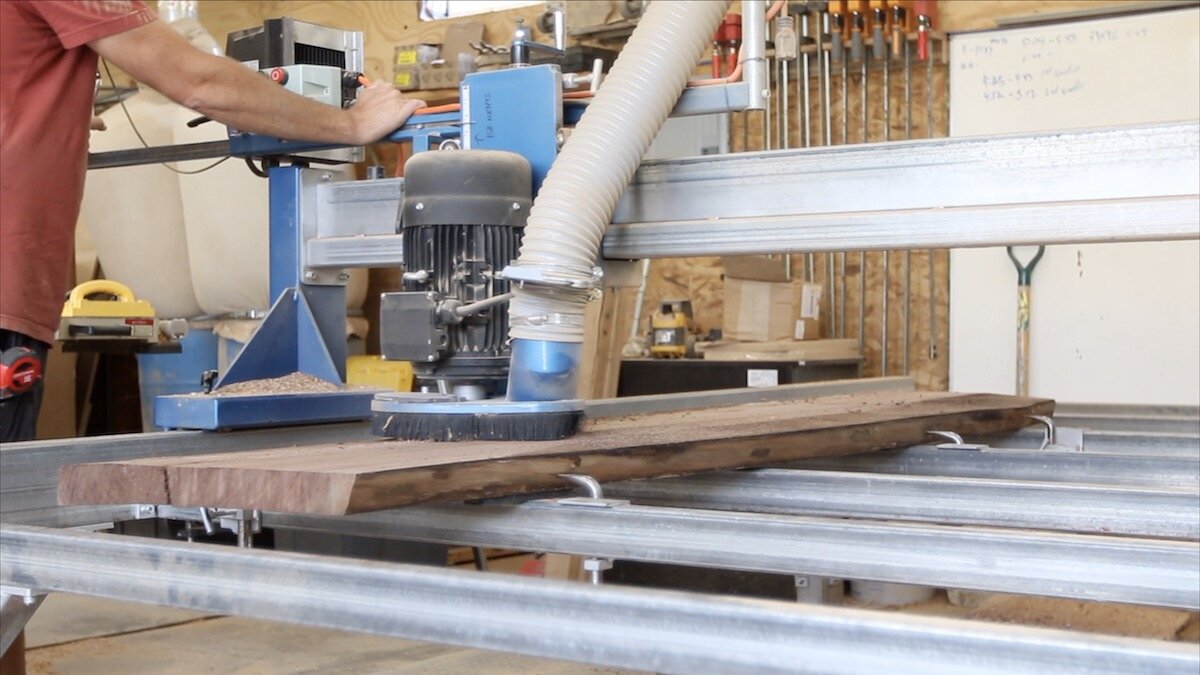

Once we had one side flat, we took it over to their monster planer to make the other side flat and parallel to the one we did on the Slab Master. This planer has just over 25” of cutting width capacity!


After we had both sides flat and parallel, we couldn’t wait any longer. We just HAD to see what the final would look like with finish on it. If you’re not familiar, you can wipe something on it like mineral spirits to reveal really close to what it will look like once finished.


WORKING ON THE BASE
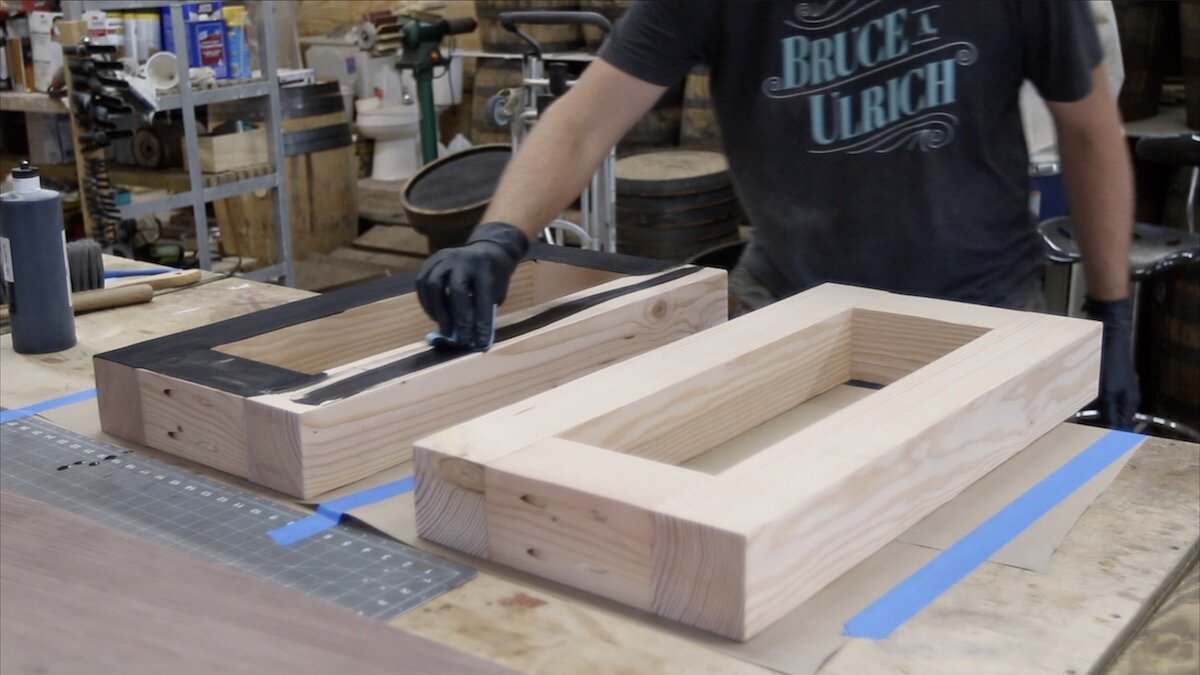
We headed back to Jeremy’s shop to work on the rest of the project. Next up was to work on the base. We wanted some really chunky legs for this desk, so we just grabbed some Douglas fir 4x4 posts from the store and squared them up a bit with the drum sander. Then, I cut them to length, making sure to use a stop block for the different lengths to ensure they’re all exactly the same length. For each leg, we needed two of the short pieces and two of the longer pieces. We thought about making the legs kind of a parallelogram, but then just went with rectangles. There was enough going on with the top in the area of character, we didn’t really need to add any to the legs themselves.

The top and bottom of each of these leg assemblies would not been seen, so I opted to use pocket holes for the joinery. I drilled two pocket holes in each end of the small pieces, and then attached them all with pocket screws.


Next, I did a bit of sanding to make sure everything was smooth and even before moving on to the blackening process we were going to use.

Jeremy had some India ink on hand that he had never tried on a project. I had also never tried using it, so this was as good of a time as any. After conducting a few tests on small pieces, we went for it. I just added a little bit of the India ink to the legs, and wiped it around using a paper towel. I love how this looks, an I’ll definitely be using it again in the future.
I brushed on some water-based polyurethane once the India ink was dry. I’m not sure if the humidity was high that day or what, but the finish never dried very clear. It remained cloudy, so we had to sand a bit of it back off. Then, we tried spraying the same finish with an HVLP sprayer, and that seemed to work just fine. It really brought out the contrast in the black base.


TRIMMING DESK TOP TO SIZE
Jeremy had been wanting a track saw for a while, and this project was the perfect excuse he needed to justify pulling the trigger. It made quick work out of squaring up the side of the top that would be against the back wall. We also used the track saw to cut the slab to final width. We had previously left it just a few inches too wide so we could be sure to get the size we needed.


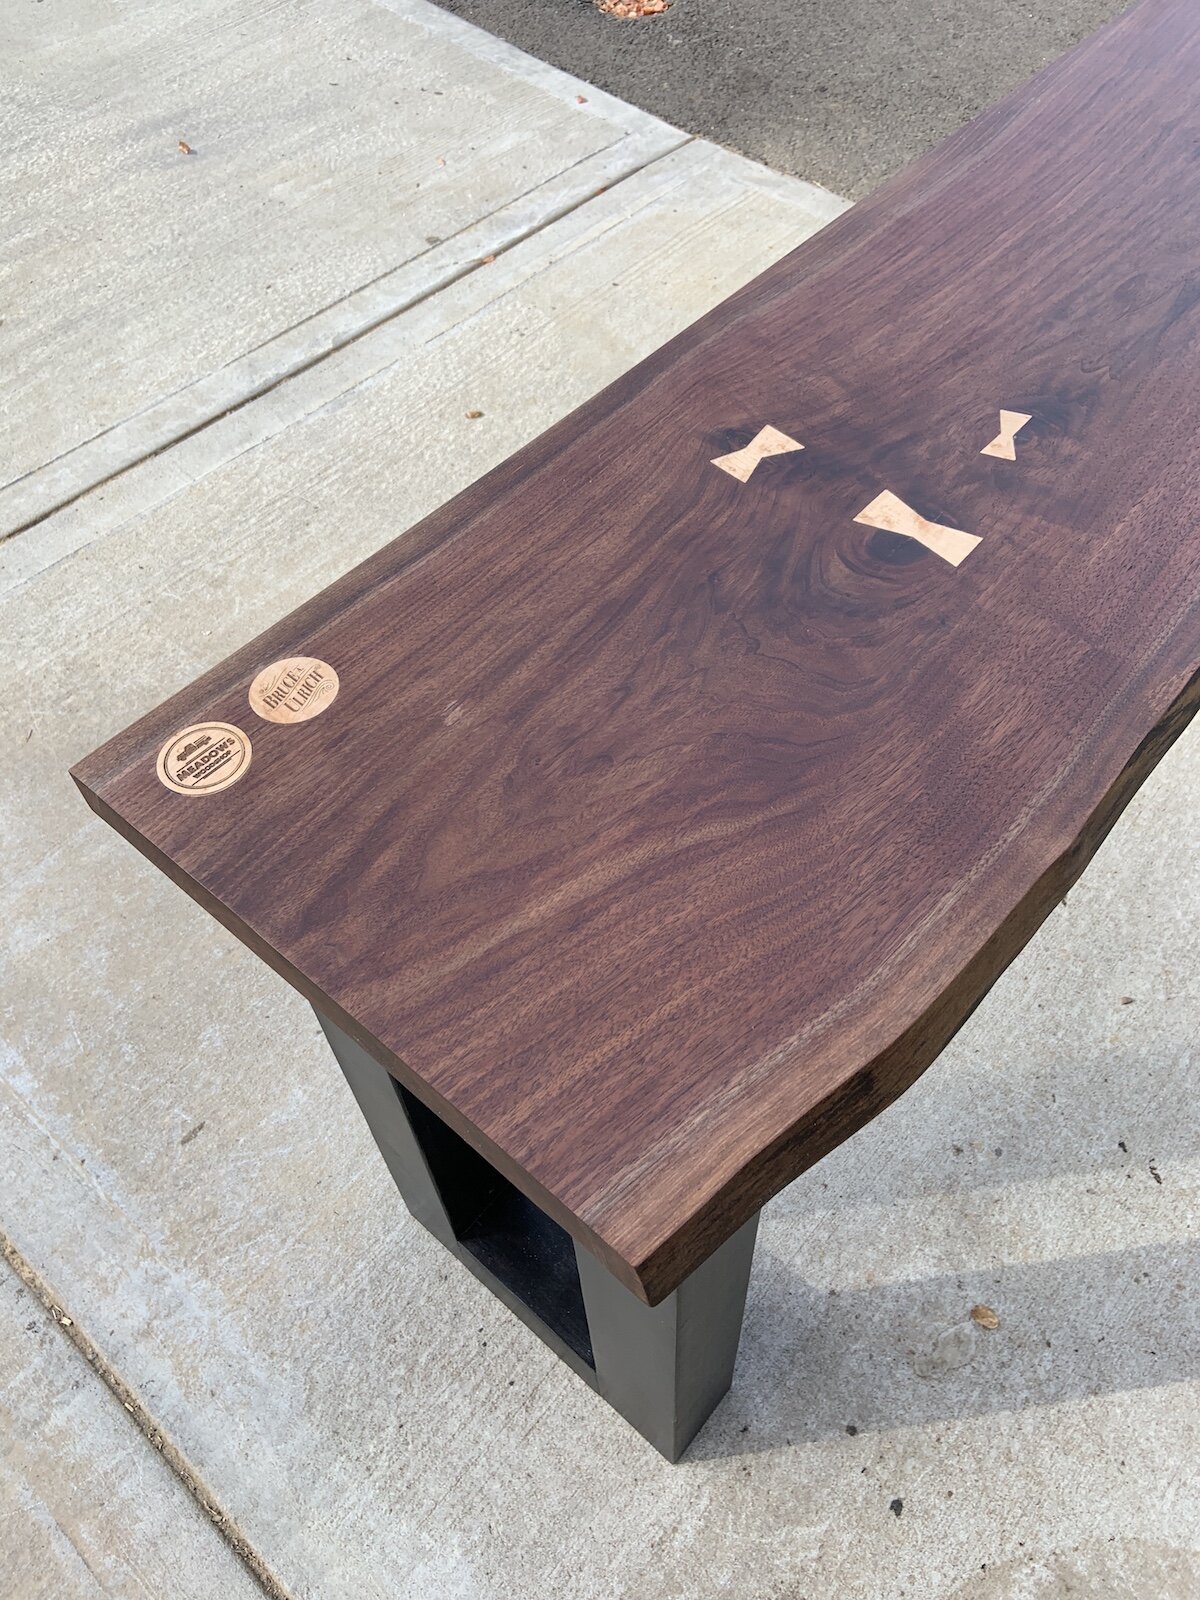
ADDING SOME FLARE
There were a few cracks and knots in the slab, so we wanted to stabilize those. Plus, it is a great opportunity to add a bit of flare with a contrasting wood like this birdseye maple that we used. We resawed a piece of it at the table saw, and then used Jeremy’s laser this time to cut out some bow tie shapes that he drew up in Illustrator. Then, we just sent them through the drum sander a few times to free them from their form and they were ready to use.


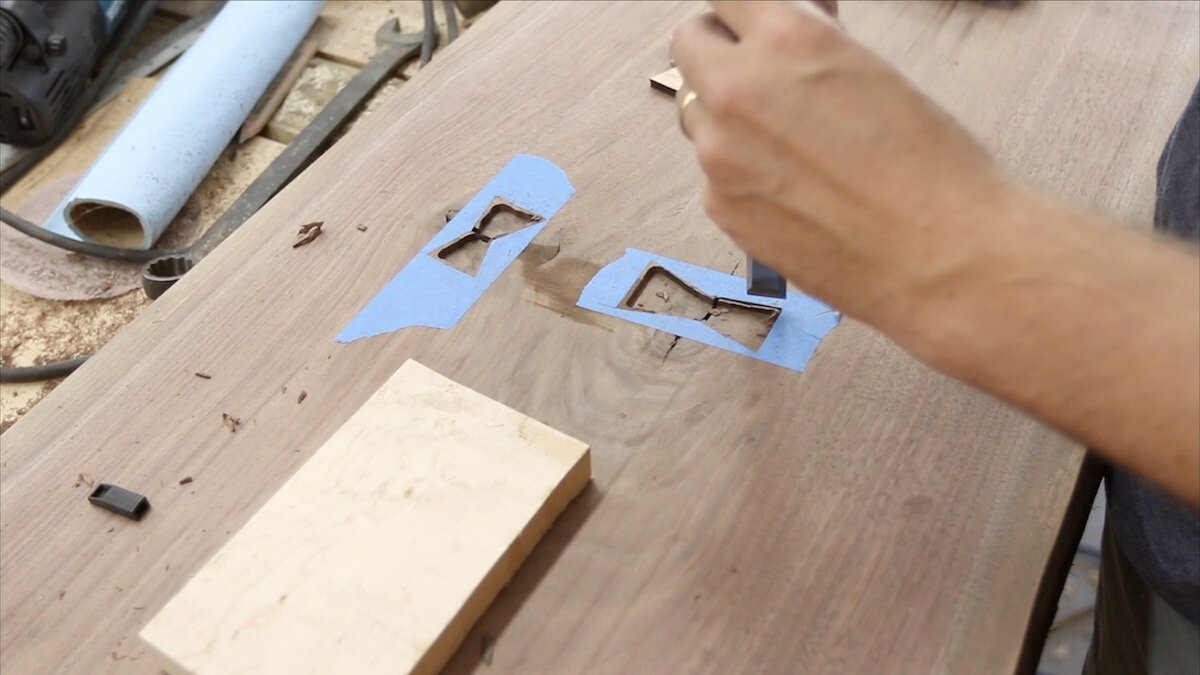
Next, we used the “blue tape” trick that I’ve been seeing a lot of recently. Here’s the short version of how to do this: tape a piece to the desk; tape another piece to the bottom of your bow tie; put some dabs of CA glue on the bottom of your bow tie; spray some accelerator on the tape that’s on the desk; stick together where you want the bow tie to be; use a knife to cut around the bow tie; pry the bow tie up and you’re left with a cutout of where your mortise needs to be cut. (I’ll link to the Starbond CA glue that I’ve been using above in the materials section. I have a code for 10% off to save you some money.)

I then used a small trim router with a straight bit to remove the bulk of the waste inside the mortise. Then, I just clean up to the line I cut with the knife with some chisels.

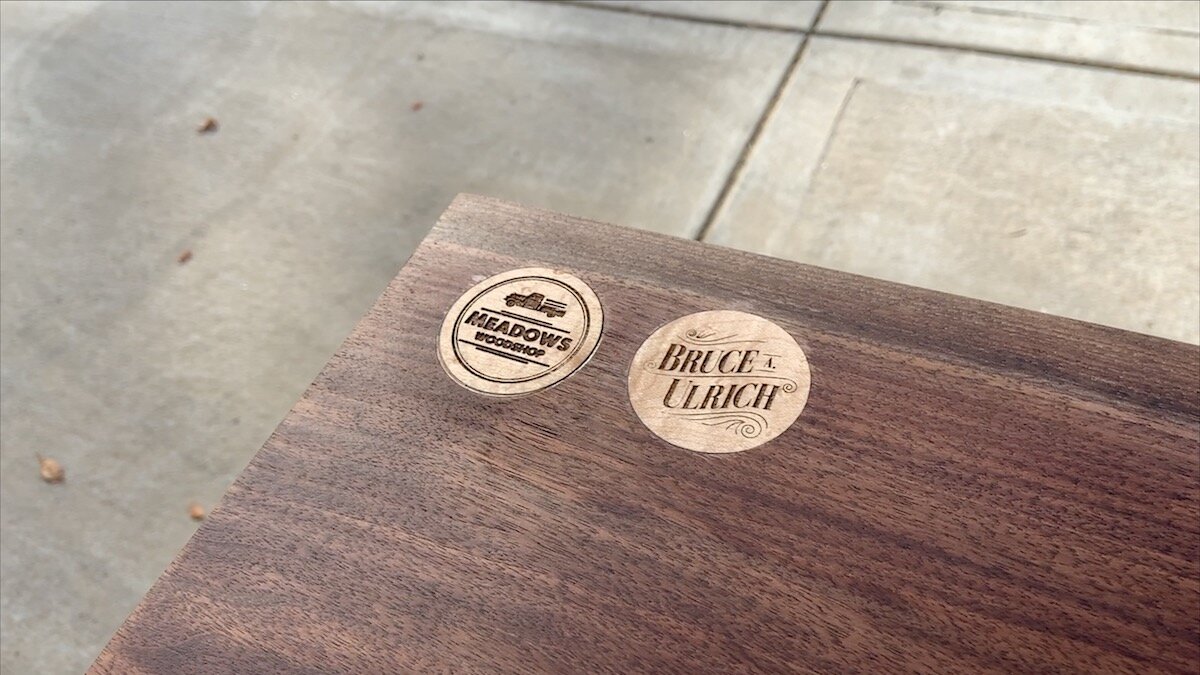
The reason we wanted to use more birdseye maple for the bow ties is that I had actually already cut out some wooden tokens, one with the Meadows Woodshop logo and one with my logo, when I was still at my house using my Glowforge laser engraver.
Jeremy used a forstner bit in a drill to drill out the mortise to accept the wooden tokens. This was his idea to put both of our logos into the desk since we built it, and I thought it was a great idea!


FINAL SANDING
Next, we did some final sanding of the entire top. We had to get the bow ties and tokens flush with the top and then work through some grits of sandpaper until we got to about 220 grit.

APPLYING FINISH TO THE DESK TOP
It was finally time to apply some finish to the desk top. For this finish, we were using Rubio Monocoat. Neither of us had used it before, so we were eager to try it out. As the name implies, it is a single-coat finish, and is supposed to be quite durable since it was most well-knows as a floor finish. Oh, and it smells like apple pie! Seriously…apple pie!
We weren’t going to be using nearly all of the can of Rubio Monocoat, so I wanted to be careful not to contaminate the remaining finish. With this two-part finish, you have to mix the two parts together. Once you do, it activates it in some way, and it is only good for about the next 6 hours. Then, it will harden and it can no longer be applied and soaked into the wood. To help with this, we used some small dental syringes to pull just the right ratio out of each so we could mix them together.
After mixing thoroughly, we just poured some onto the surface, and used a scraper to wipe it back and forth into all of the dry parts of the wood. It was quite satisfying to see the walnut come alive!
Once it was all applied, we let it sit for about 15 minutes, and then came back with a cotton towel and buffed it all dry. At that point, it’s done. You need to be a little gentle with it, because it fully cures in something like 24 hours, so just watch what you set on the surface in that first day.


ATTACHING THE BASE
One of the final steps was to attach the base, or in the case of this project, the two legs. We pre-drilled on the bottom side of the desk where the screws would go so we would not split the walnut. And we pre-drilled through the underside of the legs so the screws could go through to the bottom of the desk and secure it. We elongated these holes in the legs to accommodate for some wood movement through the years. The screws we used were not black, and we didn’t think they would show, but gave them a quick coat of black spray paint just in cast.


THAT’S A WRAP!
Another project in the books! Unfortunately, I don’t get to see this desk everyday. It stayed with Jeremy and is in his office at his shop. He gets to see that thing all of the time, and I’m jealous of that!
Thanks so much for taking the time to check out this project! If you haven’t seen the video of it already, head over to my YouTube channel and give it a watch. Also, click the thumbs-up button, since that really helps my channel out.
I’ll see you soon with another project and post!