Reclaimed Bourbon Barrel Pendant Light
VIDEO:
In this project, I make a DIY reclaimed pendant light using the metal hoops from a bourbon barrel. This one was fun because I was able to collaborate with my friend Jeremy from Meadows Woodshop and we kind of just iterated as we went. We would think of something, add it, and then keep doing that until the whole project was done. Watch the video and follow along below:
BACKGROUND:
My friend, Jeremy, does a lot of work with bourbon barrels. He keeps the metal hoops that come off of some that are destroyed and has been wanting to do some projects with the hoops. One of those projects is the DIY reclaimed metal and wood mirror we did around this same time. If you’ve not already seen that post, definitely check it out after this one.
The other project we did with the bourbon barrel hoops was this reclaimed bourbon barrel pendant light.
TOOLS & MATERIALS: (affiliate links)
Glowforge laser engraver: https://glowforge.us/r/GwnI7W
Starbond adhesives (Save 10% using CODE: bruceaulrich) https://www.starbond.com/?rfsn=272403...
Angle grinder - https://amzn.to/2QDsDlp
Step bit: https://amzn.to/2PWUEY4
Hacksaw: https://amzn.to/2NP02JX
Forney welder: https://amzn.to/32rfC3J
Disc sander: https://amzn.to/34EJXxh
Pendant light kit: https://amzn.to/2Nq4EHu
Vintage style bulbs: https://amzn.to/34D7BKC
Forstner bit set: https://amzn.to/34yDXpU
Drill & Driver: http://amzn.to/2C0JDfa
Palm router: https://amzn.to/2qBTztP
CREATING THE CIRCLE PANELS:
To start it off, he had some rough black walnut that we milled down and glued into a couple of small panels. These would make up the part where the metal hoops would attach as well as the piece that would go against the ceiling as decoration and to hide the connection point at the ceiling.
I whipped up a quick circle cutting jig to cut out the walnut circles, and then cut them out over at the bandsaw.
We ended up making a third walnut circle that was smaller than the other two to separate the triple lights. I don’t have any photos of this, because it was kind of an afterthought, but I’m glad we did it. It allowed the three bulbs to have a little distance from one another and just looked better overall.


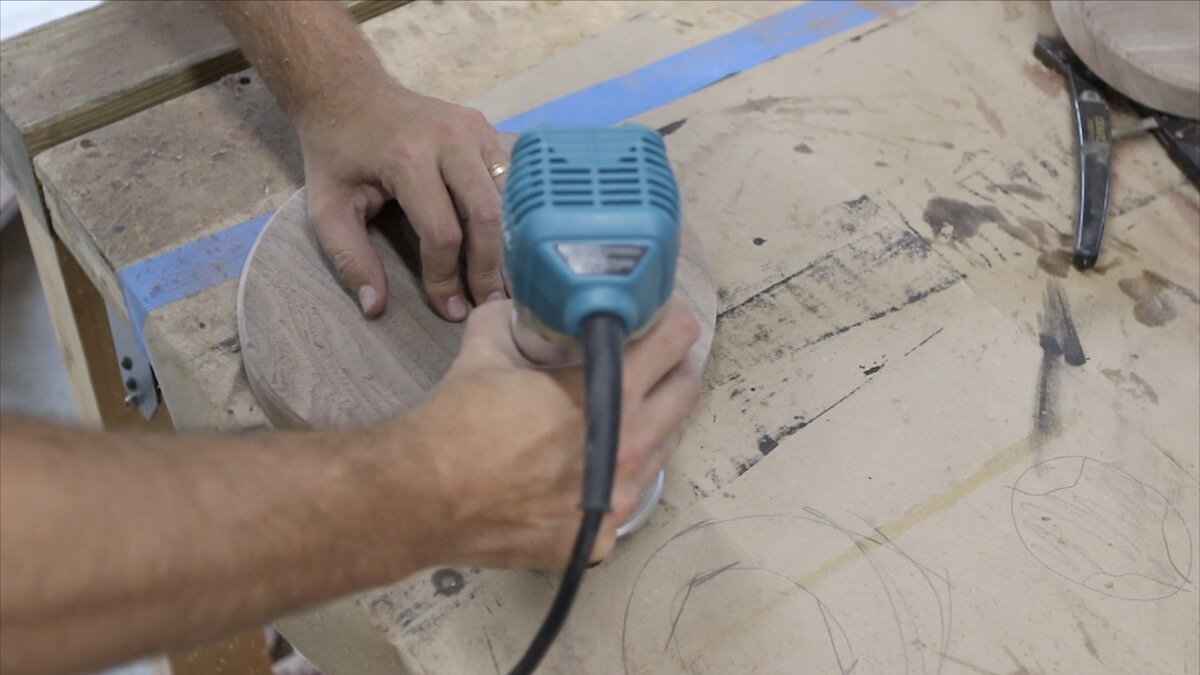
SANDING SMOOTH
The bandsaw always leaves a bit of a rough edge, so I typically hit it with some sandpaper. I took these rounds over to the disc sander and cleaned up the edges that way.

REMOVING THE RUST:
These steel hoops develop a bit of surface rust over the years since they are often stored in open air buildings while the bourbon is curing inside. Plus, some of the bourbon leaks out, so that moisture helps create rust as well.
To remove the rust, I grabbed a wire brush attachment for the angle grinder and hit all of it really lightly. (As you can see from the photo, Jeremy actually did on this one, but I cleaned up some of them off camera)


EDGE TREAMENT FOR THE WOOD:
For an edge treatment, I put a chamfer bit in the router and made a quick pass. This is a nice look, but doesn’t really change the overall shape of the piece. It just makes it a little more angular.
DRILLING THE HOLES:
We took the pieces over to the drill press and drilled through holes so that they wires for the lighting kits could pass through.

HARDWARE KIT:
To attach the pendant light to the ceiling, we used a hardware kit that was new to me. It looked pretty similar to something I’ve done where you get a couple of floor flanges and some black iron pipe and thread it onto the flanges. However, those threaded pipes only come in certain sizes, and we wanted to customize it a little more.
We found this kit at Lowe’s and it accepts a non-threaded pipe, which meant that I could cut a regular pipe to the size we needed. Then, there is a set screw that tightens around the pipe and it holds it all in place. It was a really neat kit, and not expensive at all. It really opens up a lot of opportunities for different size pipes.
We used a hacksaw to cut the pipe to the exact length we needed, and boy, what a workout! That iron pipe has some pretty thick walls, and it took a good bit to get through!
Then, we just attached the flange to the walnut with some screws, and we were ready for the metal.


DRILLING & SECURING THE METAL HOOPS:
Just like I drilled the through holes in the wood, the metal had to have to same treatment. This would allow the wires from the lighting kits to pass through.
I used a step bit on the drill press to drill through until I reached the desired width of the hole. Then, I just repeated that for all of the hoops that were going to be stacked, a total of 3.
I drilled small holes on either side of the large one where we could secure each metal hoop to the walnut piece above it.
HINT: we used the same step bit in the hole to align each of the hoops to the center as we secured them to the walnut. It’s s simple thing, but it worked great because the step bit would not fall down into the hole.


WELDING:
I’ve never welded before this, so I was really nervous to try it. We were not doing anything super serious with really strong welds that were needed, but I still felt the pressure. We were going to just drill more holes and then use some bolts to secure all of the hoops together, but we saw this welder that Jeremy’s dad had there at the shop, and Jeremy has done a little bit of welding, so we gave it a shot.
We were just tack welding some of the pieces together. It took me about 4 tries, but I finally got it to work. Jeremy was better at it than I was so he finished up some of the other spots to get the project done.


CONCLUSION:
We decided to hire out wiring it up to the ceiling, since I didn’t want to show us doing that in the video. It’s always better to let someone who really knows what they’re doing take care of stuff.
This was a fun one and I must say, it turned out WAY better than I thought it would. I thought it would be cool, but I ended up really liking it. I think I might like this project the best out of all of the ones we did while I was up there.
What do you think? Would you put one of these or a pair of these in your home? When I showed my wife, she said, “Um, you need to make two more of those and put them over our island.” I think they would look great over our over-sized island in the kitchen. Unfortunately, this one is staying in Jeremy’s office for him to show off to clients when they visit his woodshop.
Thanks so much for following along with this project! I’d love to know your thoughts and if you haven’t watched the video, be sure to click and watch it. I put a lot of time into the production of the videos, so I really want people to see them.
I’ll see you soon in the next project!

