Zero Clearance Insert for a Table Saw
VIDEO:
In this project, I show how I made a zero clearance insert for my table saw. Watch the video and follow along below to see just how I did it:
WHY MAKE A ZERO CLEARANCE INSERT?
I started this project a long time ago, and for some reason, I set it down and didn’t pick it back up until recently. I’m really glad I picked it back up and finished it, and frankly, I’m not sure why I waited so long. It makes cutting small things especially much safer.
So, why did I make one? Well, it is both safer and makes cleaner cuts. Let me explain. With a lot of table saws, the throat plate has a pretty wide hole in it to accommodate many different blades. That way, you can leave the same throat plate in your table saw for a regular blade, a thin kerf blade, and maybe even some thin stacks of a dado stack.
But that’s a problem…if there is a gap around the blade, it allows small pieces as you cut them to fall down into that hole and hit the spinning blade. You don’t know where that little piece will go and often, it will get caught on the spinning blade and get thrown back at you.
With the zero clearance insert in place, I’m able to make really small cuts with the fence quite close to the blade (using a push stick, of course) and I don’t have to worry about the little pieces falling in the gap and coming back at me. Also, the piece you’re cutting and that you’re planning on keeping will not fall down in the hole and get mangled and ruined.
TOOLS & MATERIALS: (affiliate links)
Starbond adhesives - http://bit.ly/2X1HpK9
Table saw - https://amzn.to/2C11FzS
Trim router - https://amzn.to/2J8acm9
Drill press - https://amzn.to/2QZv5Te
Belt sander - https://amzn.to/2IBpXDO
Bandsaw (same model as mine, but mine is anniversary edition)- http://amzn.to/2BI2xJV
Planer - https://amzn.to/2CXLyo7
Spiral upcut ⅛ bit - https://amzn.to/2WYkIH5
Forstner bits - https://amzn.to/2pGFSGn
MILLING THE LUMBER
I had some not-so-rough lumber for this one. It was some base moulding that came out of a hotel. Well, I don’t think it actually ever made it into the hotel. Something about it was wrong, so it was discarded, thus, why I got it. It already had some finish on it for the look they were going for, but I wanted raw wood, so I sent it through the planer a few times to clean it up. This piece happened to be some soft maple, and it was really nice looking stuff.


After that, I took it to the table saw to rip it to exactly the right width.

STEPS TO MAKE A ZERO CLEARANCE INSERT:
It’s not difficult to come up with the shape for the zero clearance insert I needed to make, since I could just use the insert that came with the table saw. After all, I just need the overall shape, so it fits in the gap perfectly. I traced out the old insert and then took it to the bandsaw to rough out the shape. I used my belt sander propped on its side to create a makeshift disc sander. I had to use a couple of 2x4’s under my work piece to elevate the insert up to the proper height. This wasn’t the best solution in the world, but it worked pretty well. One of my viewers told me they would have probably just used a flush trim bit in the router to get it perfect. I’m sure that would have worked much better.
After tracing the shape, cutting it out on the bandsaw and refining it at the belt sander, I marked out by hand where all of the spots for set screws went. These were sections that had to be shallower since there were set screws in the saw that help you level the insert. I just kind of sketched these out by hand and then used a trim router to remove the material.


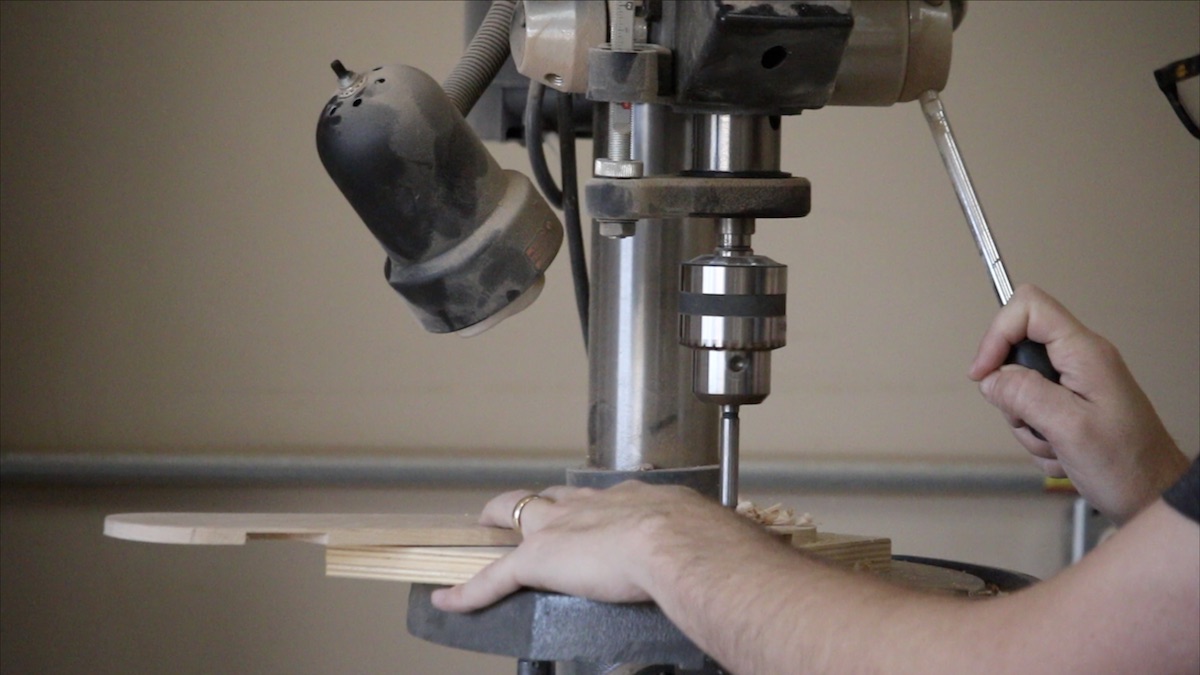
CUT A FINGER HOLE
I marked out where the finger hole was on the original insert and took this new one to the drill press to drill it out. That way, once it goes in the table, I can put my finger in there and pop it out.
ADDING A REAR TAB
I cut a small piece and glued it on to the back side with wood glue. This was to act like a little tab to hold the insert in place. Well, that didn’t end up working too well. As I would try to raise the blade through the zero clearance insert the tab would snap off….three times in a row it snapped off. Sheesh!
I ended up just finding some neodymium magnets that I could glue to the underside of the insert plate with some CA glue from Starbond adhesives. I made sure these would be able to grab the screws that help set the level of the insert. I also glued a washer to the underside of the zero clearance insert so that it would catch the magnet that was already part of the table saw. This ended up working quite well, and it holds very tight in the slot. Here’s a neat trick: I took a Sharpie and colored on the magnet that was already on the saw. Then, I put my zero clearance insert into the slot and pressed down on that spot before it dried. It left a mark where I needed to attach the washer so that the magnet would grab it.


MAKING THE CUT
Next, it was time to raise the blade through the zero clearance insert and create the kerf cut. This was kind of fun to see it come through there, but also, it was kind of terrifying at the same time. After the tab on the back of it breaking off a few times and giving me a scare, I was a bit hesitant. This went off without a hitch!

IS THERE ROOM FOR THE RIVING KNIFE?
The riving knife on a table saw is the piece of metal on the back side of the blade (It’s actually attached to the arbor or main structure that you attach the blade to) so that it moves with the blade…up and down. The reason a riving knife is such a good thing is that it prevents a LOT of kickback accidents that tend to happen with the table saw.
There was not room for the riving knife to come up through the slot that the blade cut, since it sits behind the blade. I ended up taking the insert out and running it all the way through on the backside, so that it cut the slot all the way through. Then, I just glued in a small piece to join the two sides again, and it was as good as new.


MAKING SURE IT’S LEVEL
You really want to take some time when you make one of these and make sure the insert is level with your table saw table. I grabbed a small ruler and ran it back and forth over the table and over the insert. When it would catch on the insert because it was too high, I would take it out, adjust some of the leveling screws, and try again. Over and over I did this until I got it just right. It’s worth dialing it in really well, even if it does take a few minutes.


TESTING IT OUT
I had to test it out at this point. I grabbed some thin pieces of wood to make a picture frame and ran them through there to create a rabbet on them. I would not have been able to do this on the previous insert, because it would have fallen in the gaps like I mentioned above. All of the cuts were effortless, and I even felt safer using it.

CONCLUSION
I’m so glad that I made one of these, and frankly, I’m not sure why I waited so long to make one. I feel like the cuts I’m making now are much safer, and I’m getting cleaner results from my table saw. Also, I don’t have to switch it out when I use my table saw crosscut sled. I just put the sled right on top and go with it.
Have you made one of these for your table saw? What would you have done differently?
Thank you so much for following along with this project! I really appreciate it and I’ll talk to you soon…

