Live Edge Book Ends
VIDEO:
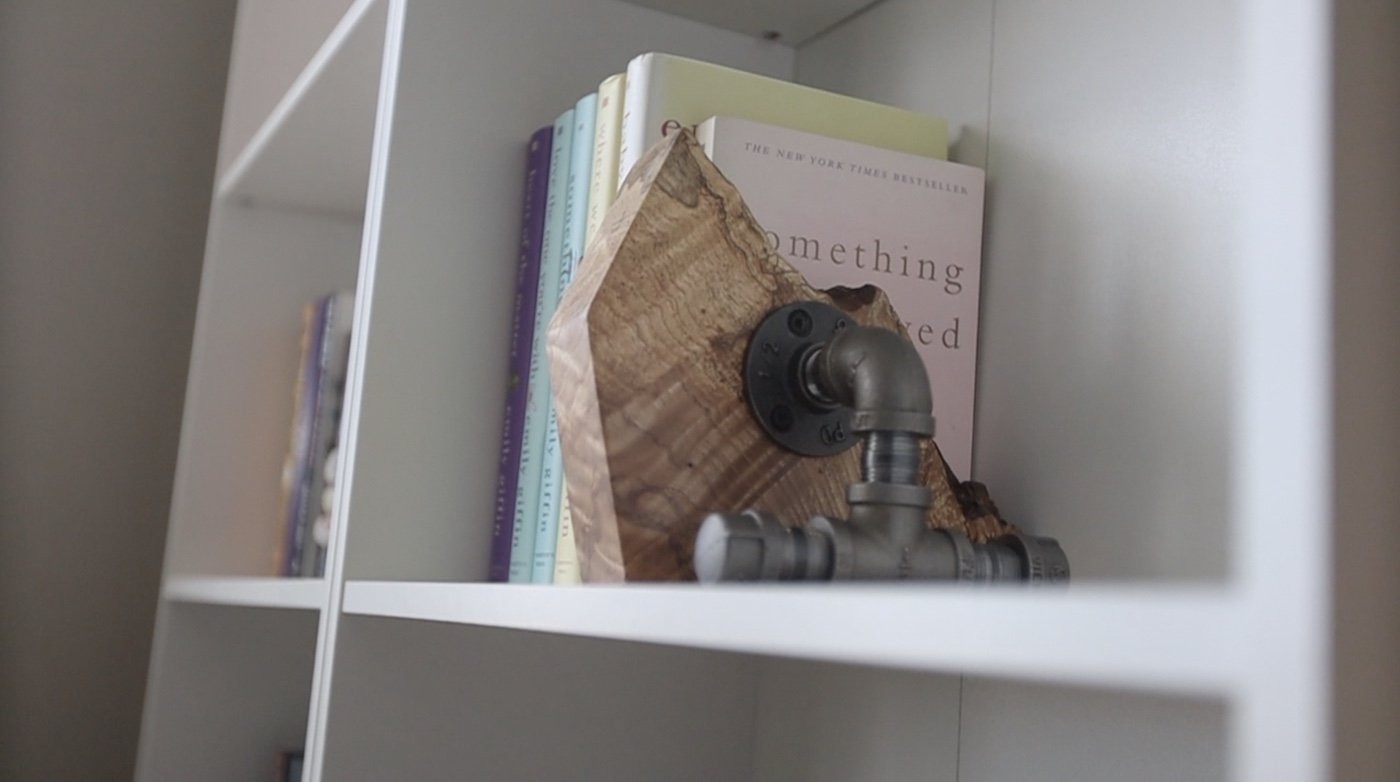
I recently made some live edge book ends for my niece. She redesigned her room and is going for more of an industrial theme, so I wanted to bring some of those elements in to this build. If you haven’t seen the video yet, go give it a watch:
TOOLS & MATERIALS: (affiliate links)
Starbond CA Glue: https://bit.ly/3BME01Y
Contact Cement: https://amzn.to/3Mzk3RL
Super 77 Adhesive: https://amzn.to/3EMmRrP
Files: https://amzn.to/3xSeSs2
Iron Pipe: https://amzn.to/3xQ3sVo
Scotch Brite Pads: https://amzn.to/3k8acpG
5 Minute Epoxy: https://amzn.to/36NOhRG
Wire Wheel for Drill: https://amzn.to/3vbwJIA
Pencils: https://amzn.to/30AkCYX
Drill & Driver: https://amzn.to/3sg9bkM
Outdoor Screws: https://amzn.to/3E5xmof
GETTING STARTED:
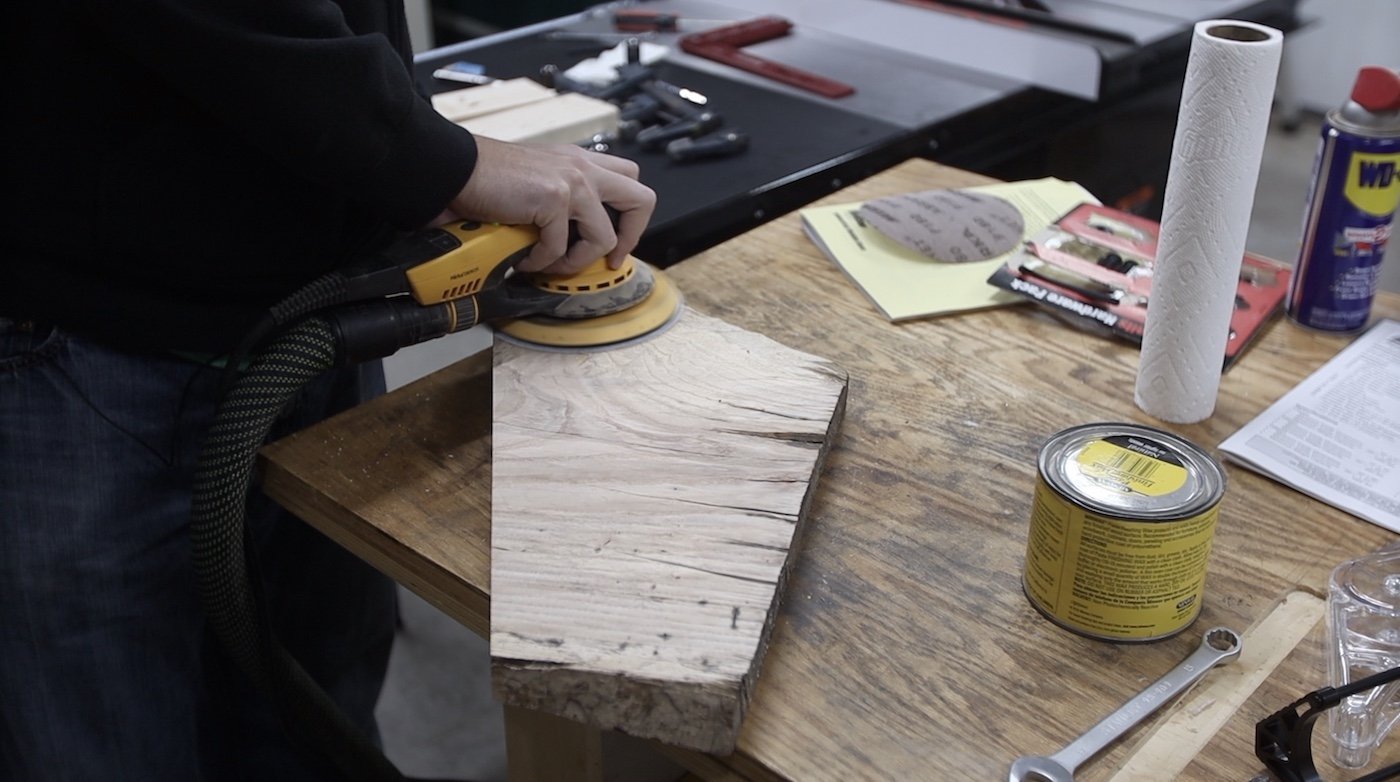
I found a piece of scrap ash destined for the fire pit and decided to upcycle it into something beautiful.
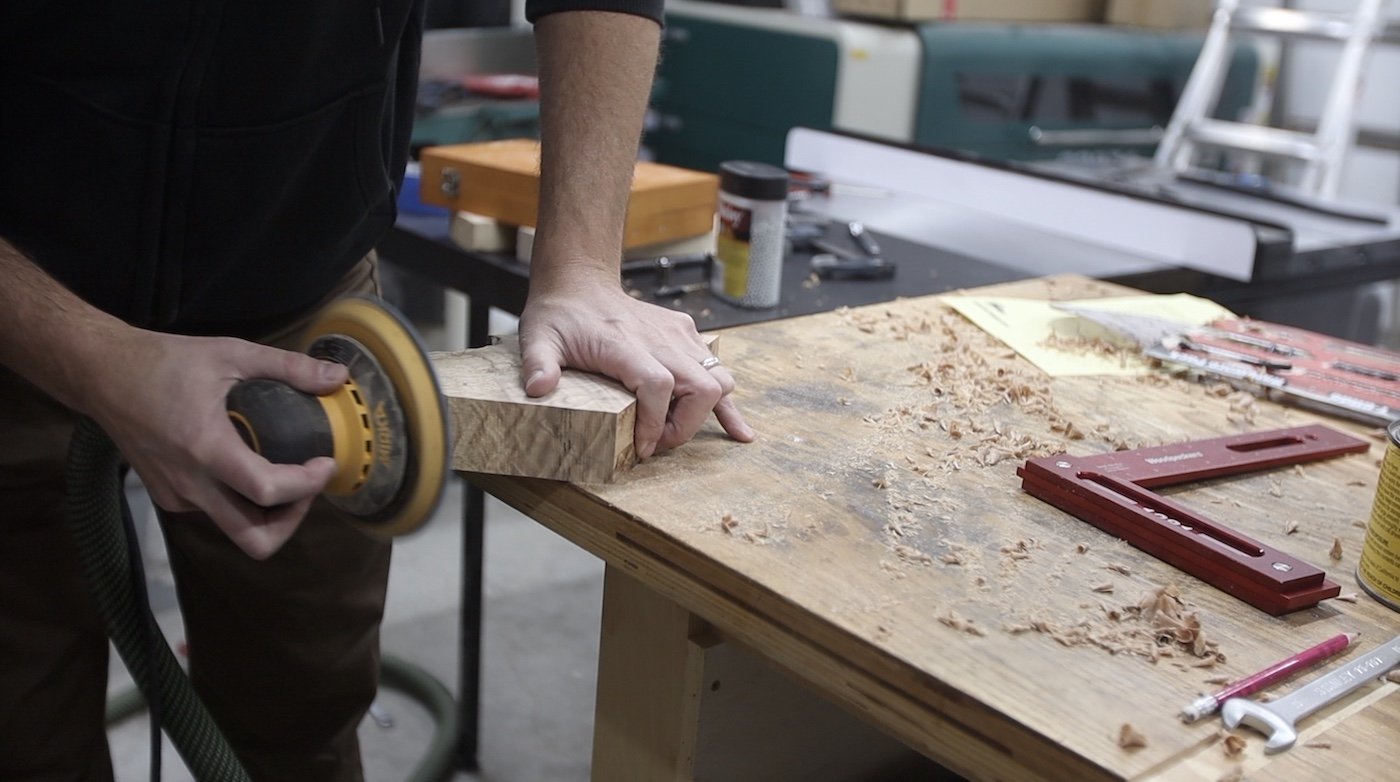
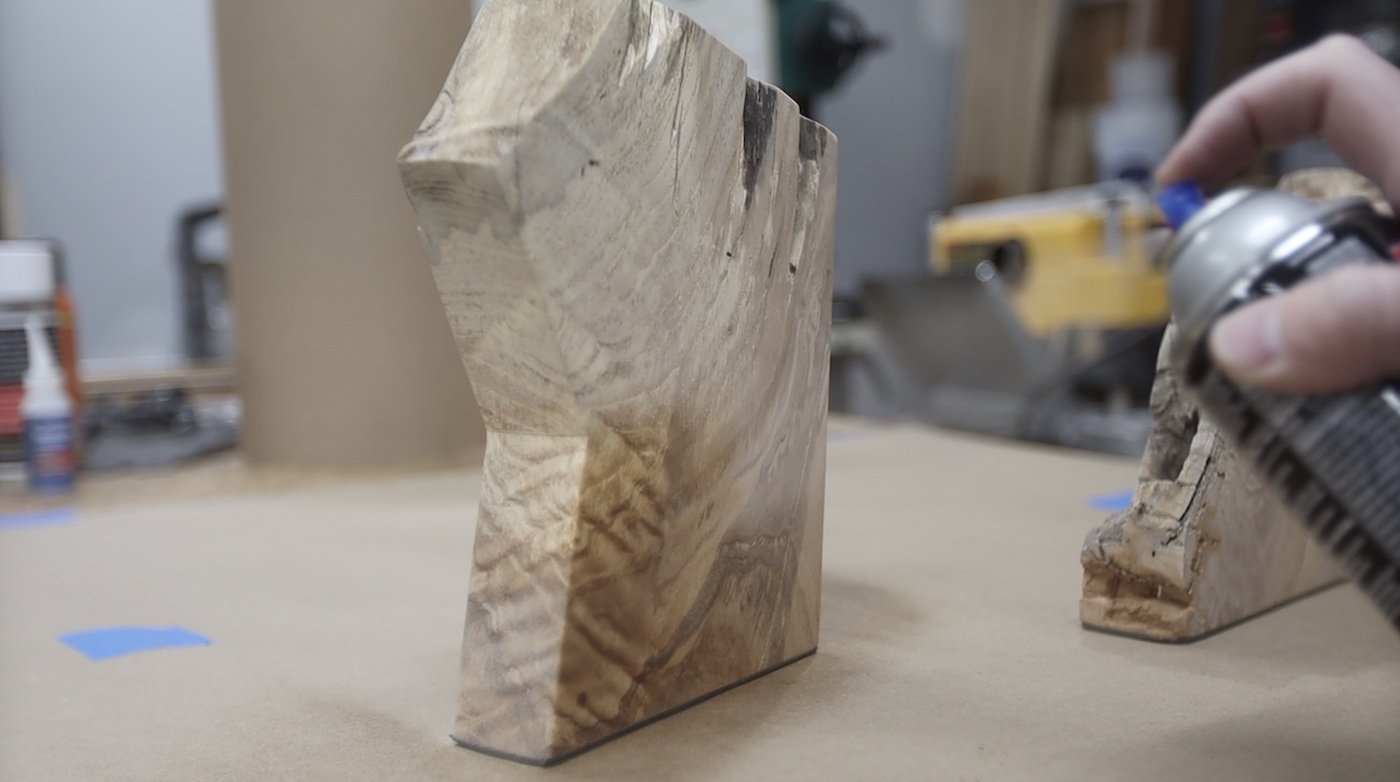
Just to see a little of what I was working with, I spent some time sanding the faces of this piece. I wanted to be able to pick out the two book ends with the most interesting grain possible, so I had to clean it up just a little to see all of that character.
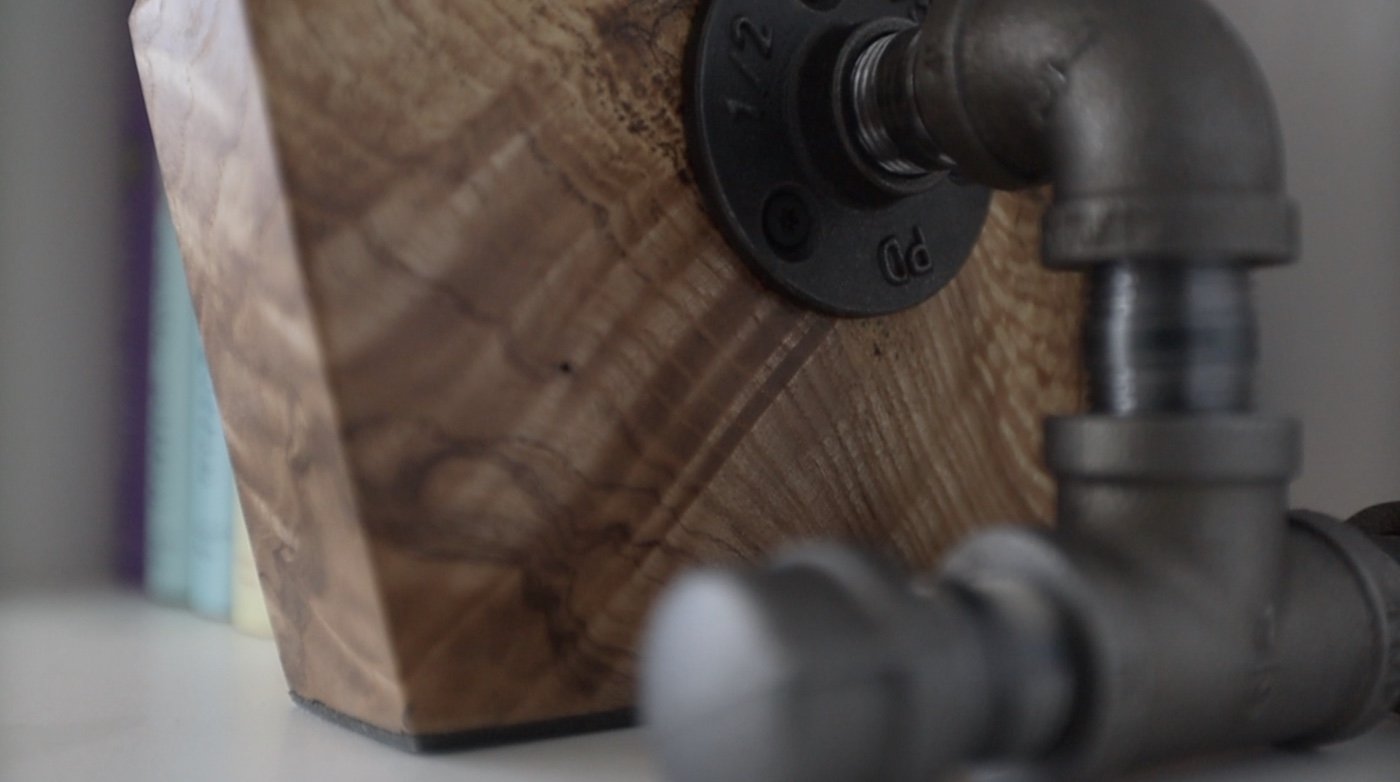
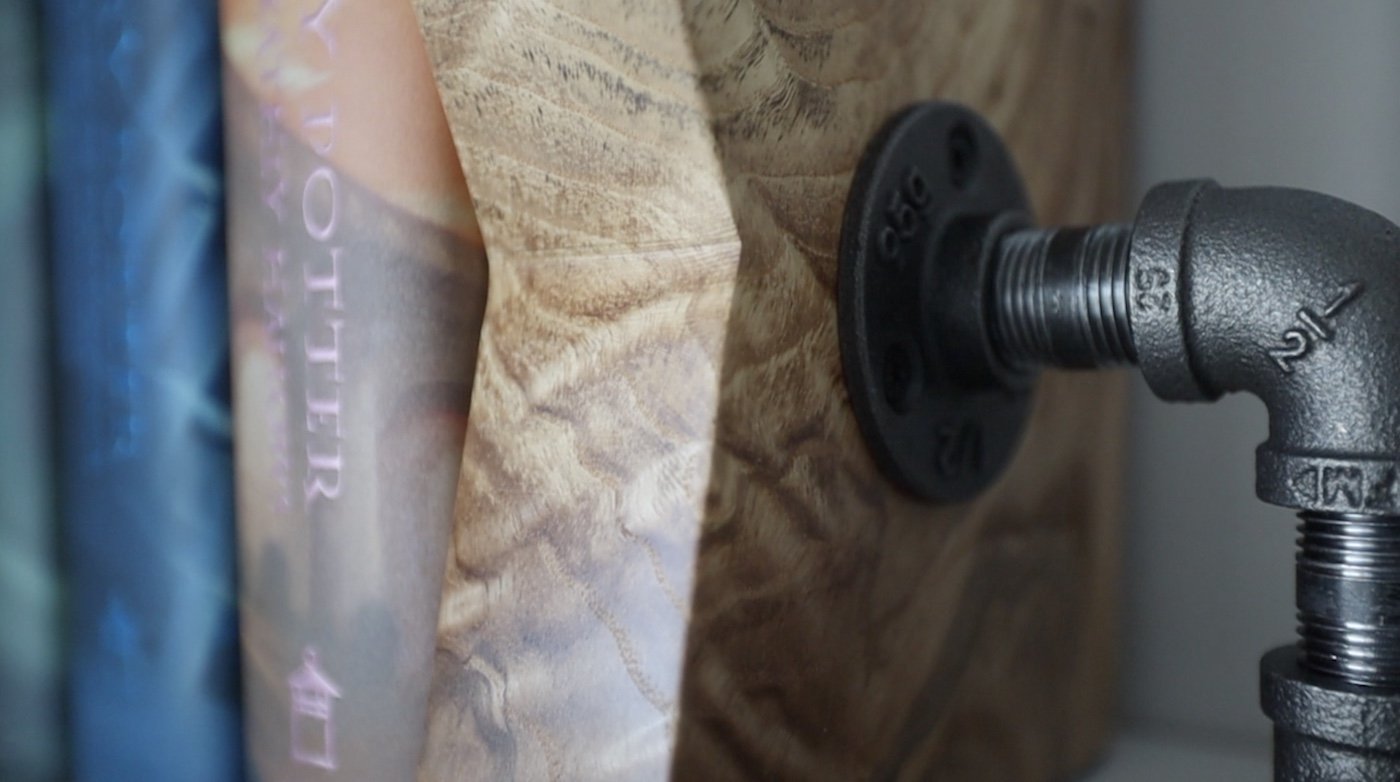
This is actually kind of a burl, so there is a lot of really interesting stuff going on with the grain. Just wait until you see it with finish on it!
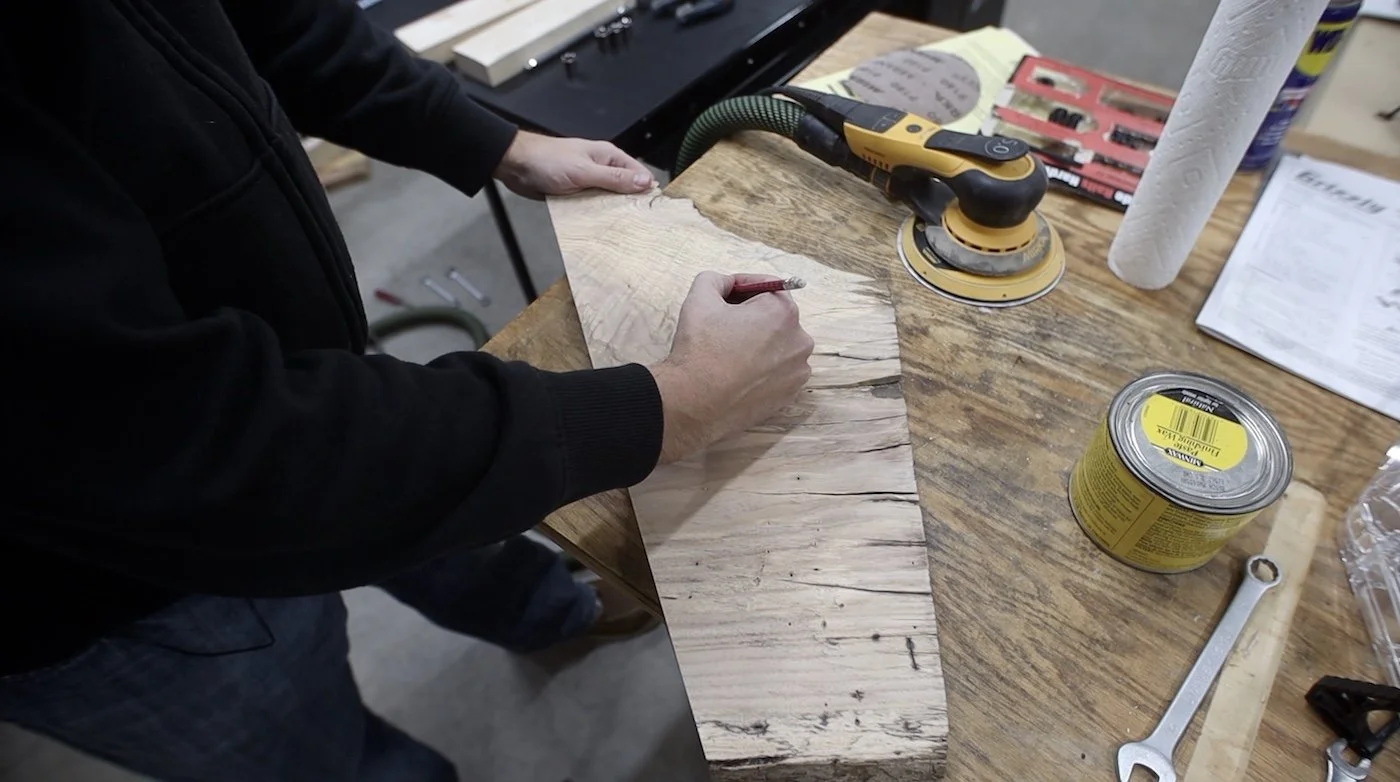
I wanted these book ends to have an industrial look, since that's how my niece was decorating her room where these would live. But I wanted the wood part to be very organic. I just started sketching out by hand some basic shapes that I thought would look cool. It took a few tries of just drawing something, seeing if I liked it and then redrawing it before I happened upon the shape I wanted to go with.

ADDING WEIGHT:
I wanted to add some weight to these, so they would not tip over, and I figured it would be easier to drill into them while it was still one larger piece.
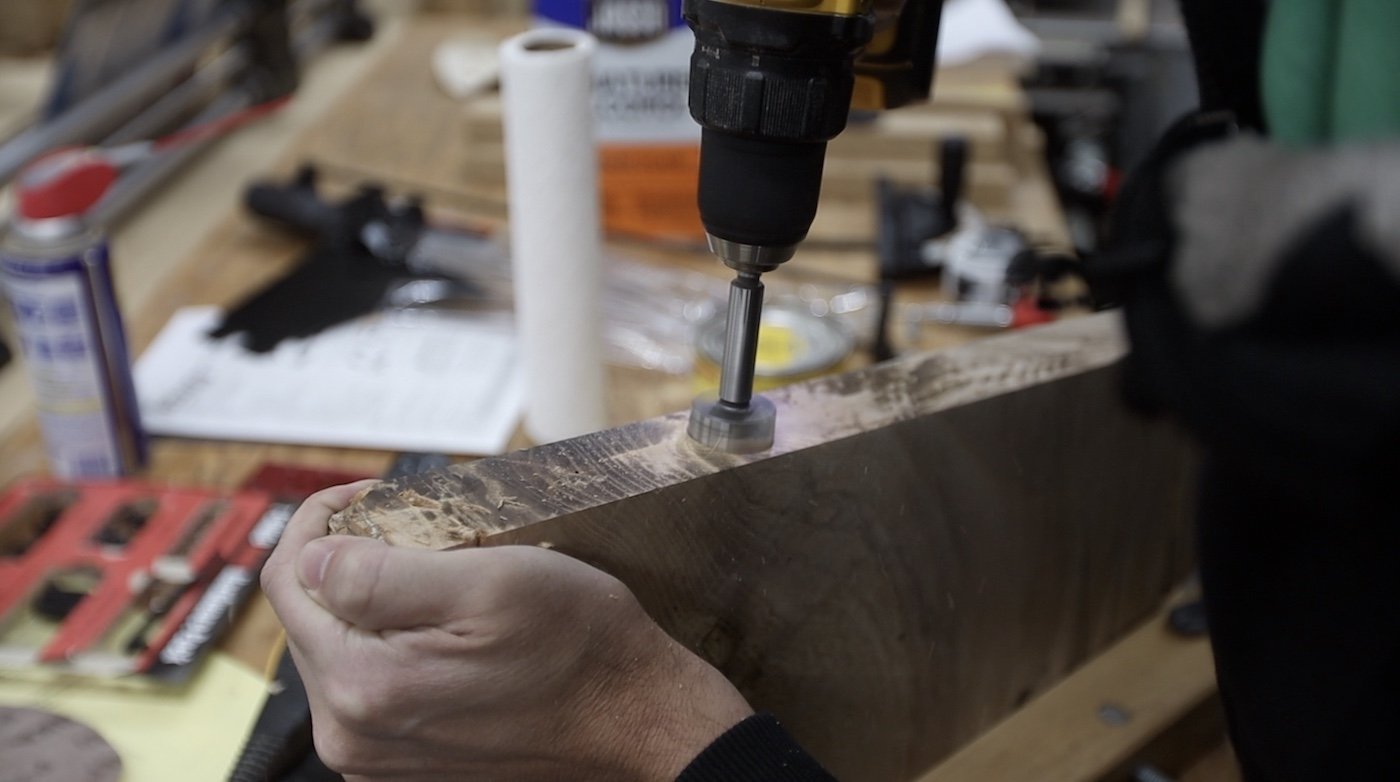
I got out my forstner bits and drilled out a couple of holes in the bottom of where each piece would be. This burl was crazy hard to drill, so it took a good bit of effort.
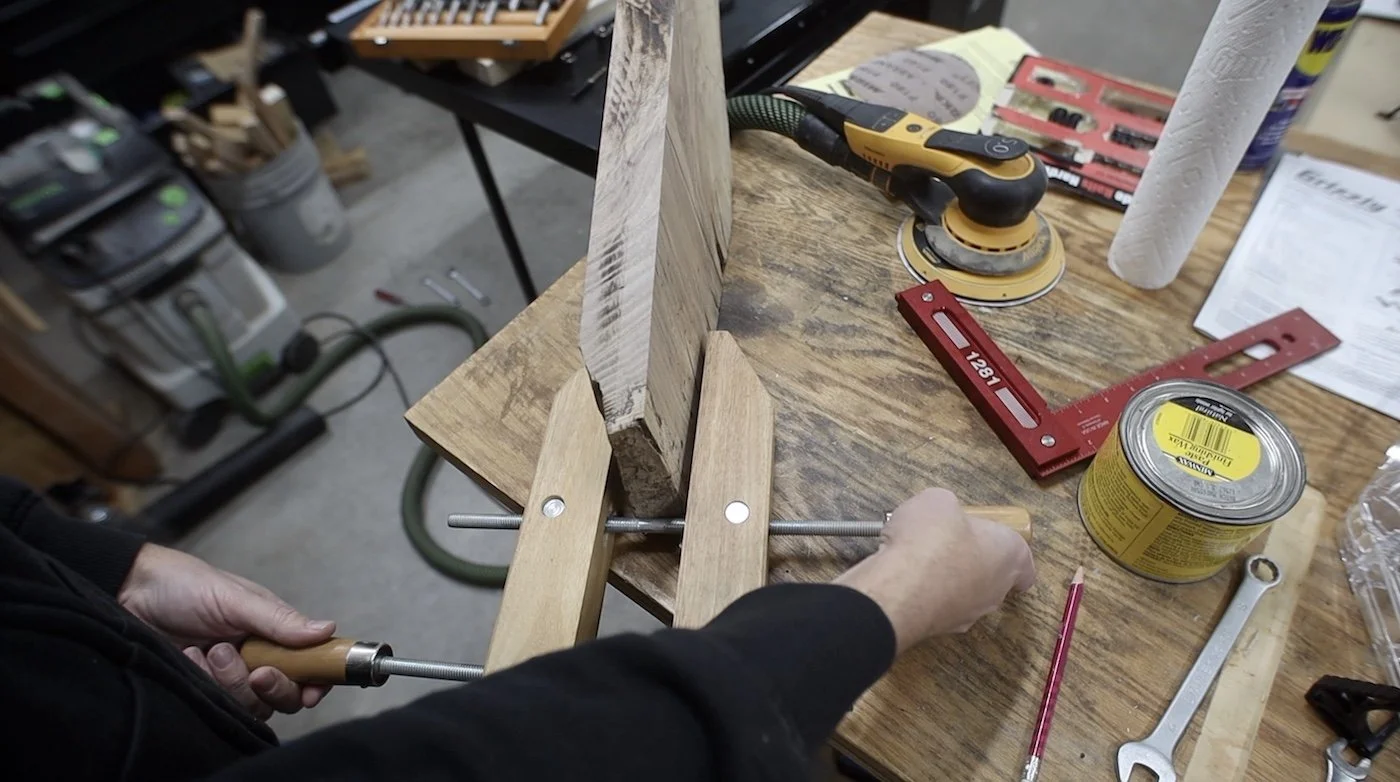
Here's a hint if you're needing to hold something upright, but you don't have a vise. Use one of these screw clamps. It will help your piece stay where you want it and you can even then clamp this clamp down to the work table. These are pretty cheap and you can find them pretty much everywhere.
I would have put the forstner bit in my drill press, except this live edge piece would not sit at 90 degrees very well. That's why I struggled through by hand.
And I do mean struggle. This ash burl was quite dense, so it took a lot of effort to drill these holes.
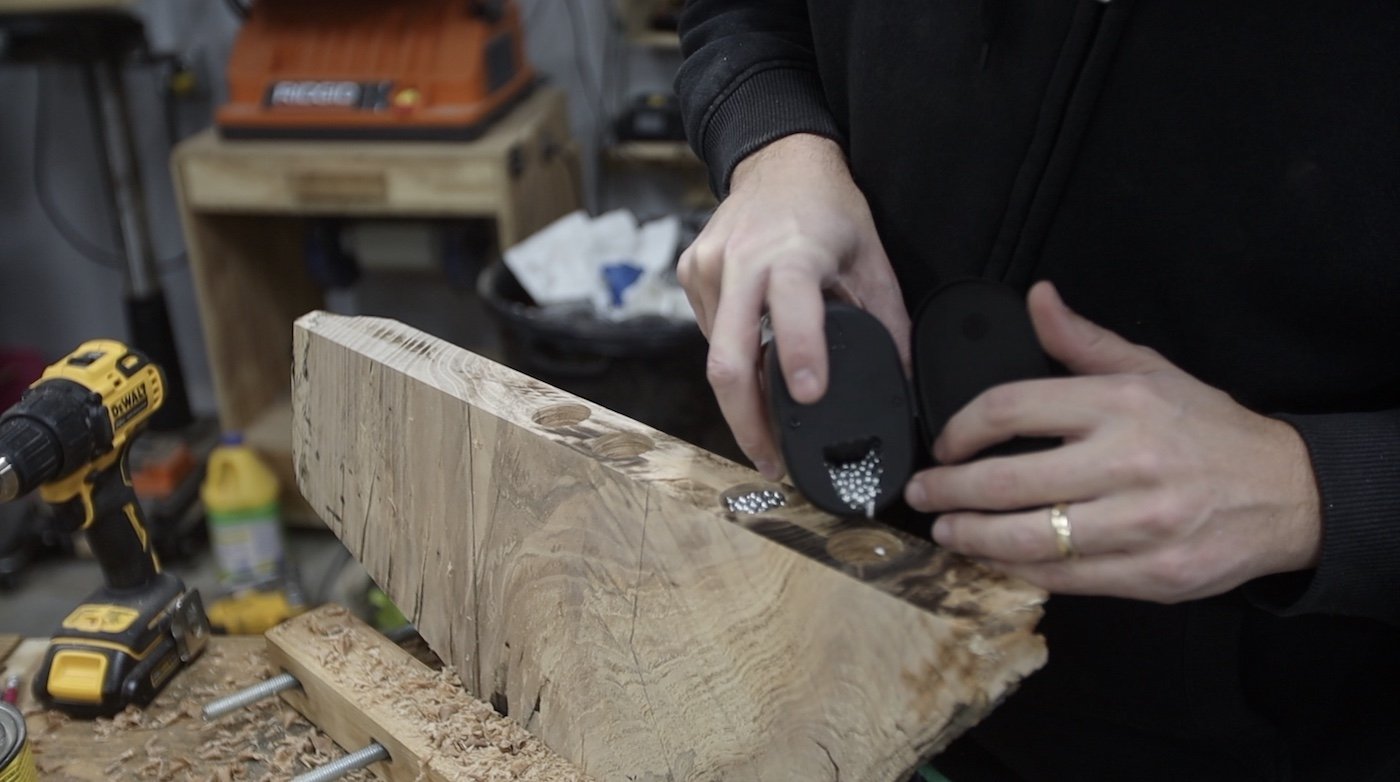
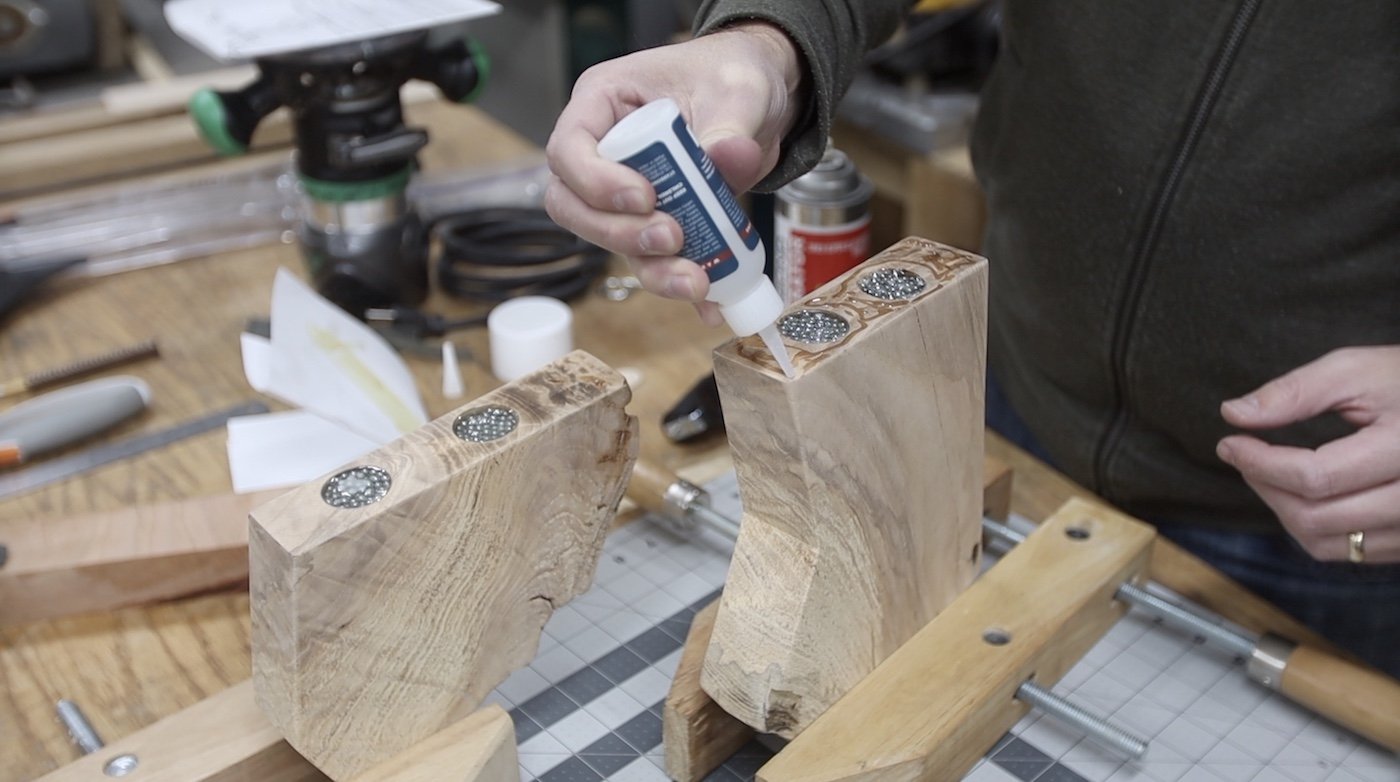
To add weight, I'm using some bb's. They should do a good job to keep these sitting where they should.
I just topped off each hole, but made sure not to have any of the bb's above the surface.
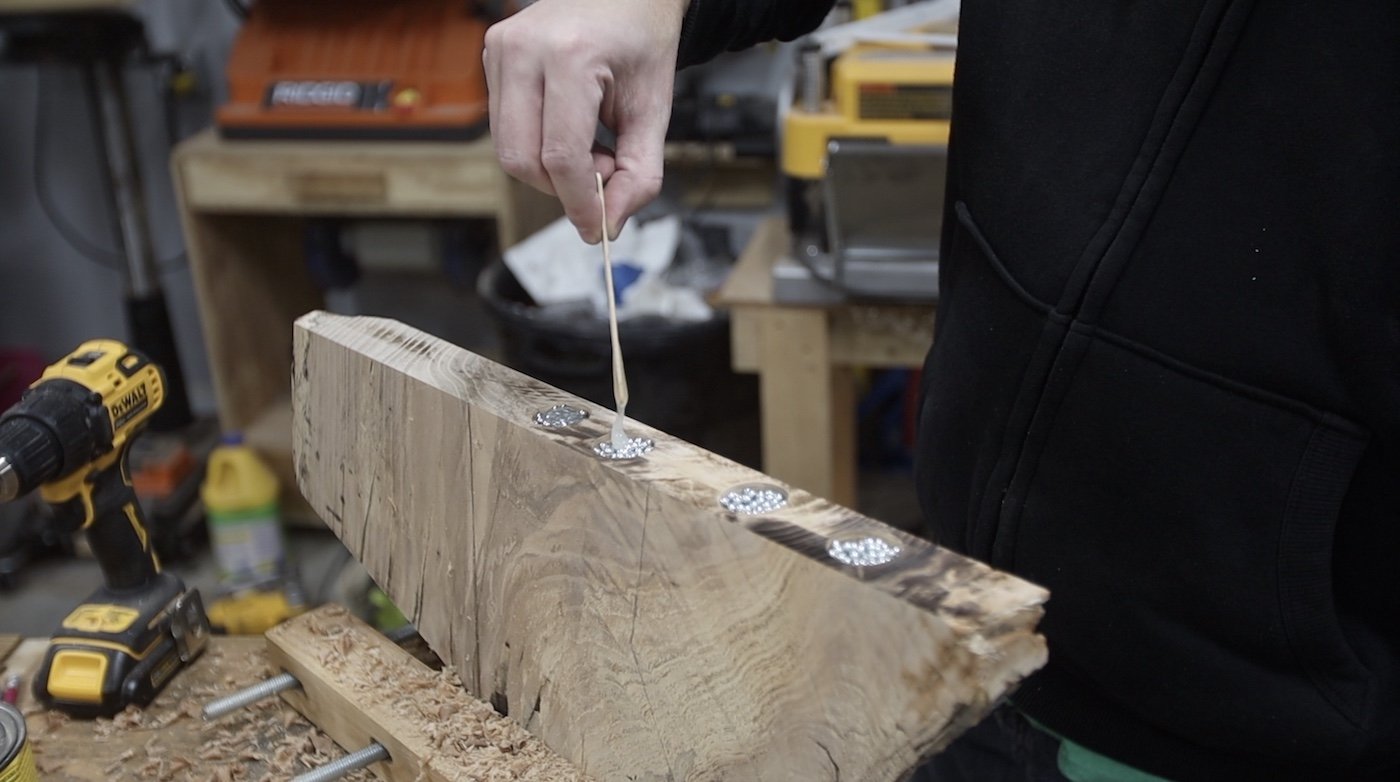
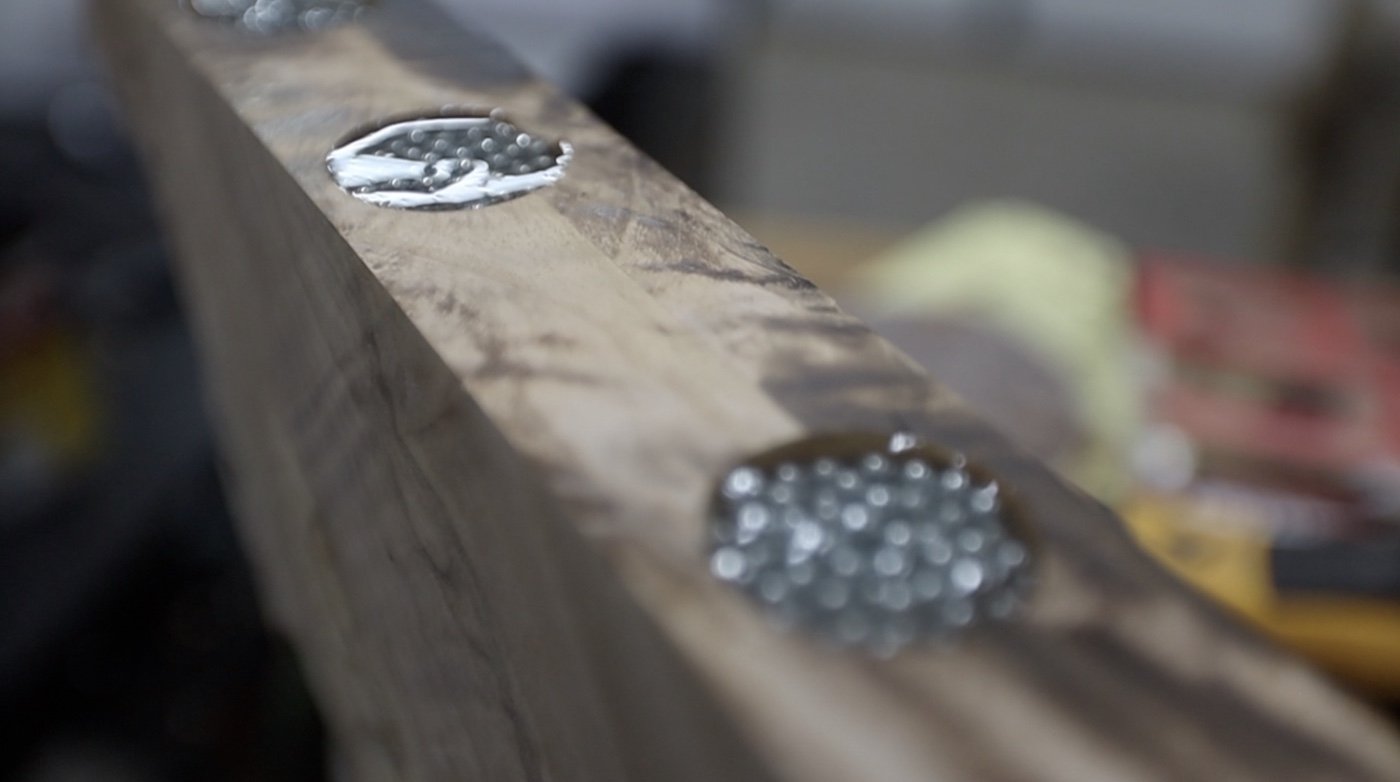
I might not have had to do this, but I added some 5 min epoxy to the holes to kind of secure the bb's. It kept them from rattling, which was nice, but it caused a few of them to float. Nothing a little sanding can’t handle.


CUTTING INTO TWO PIECES:
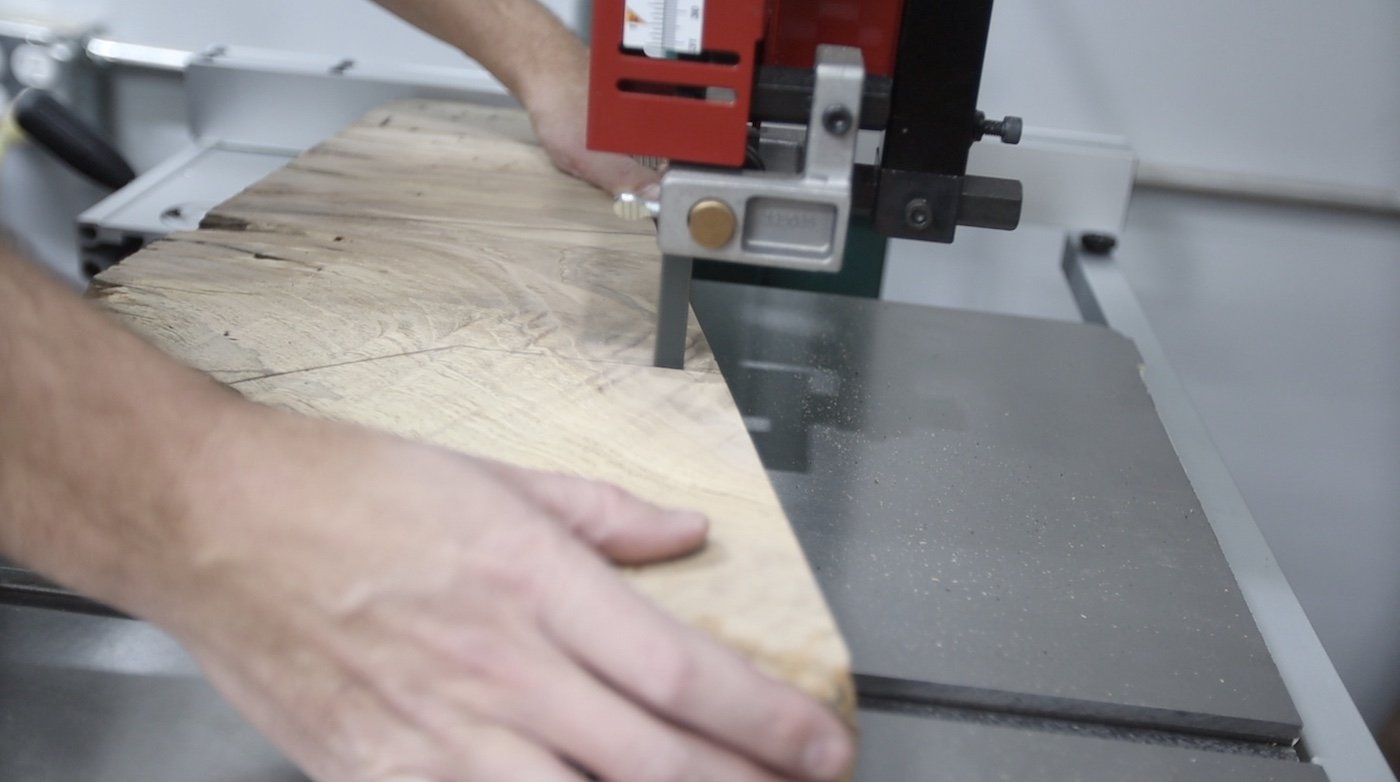
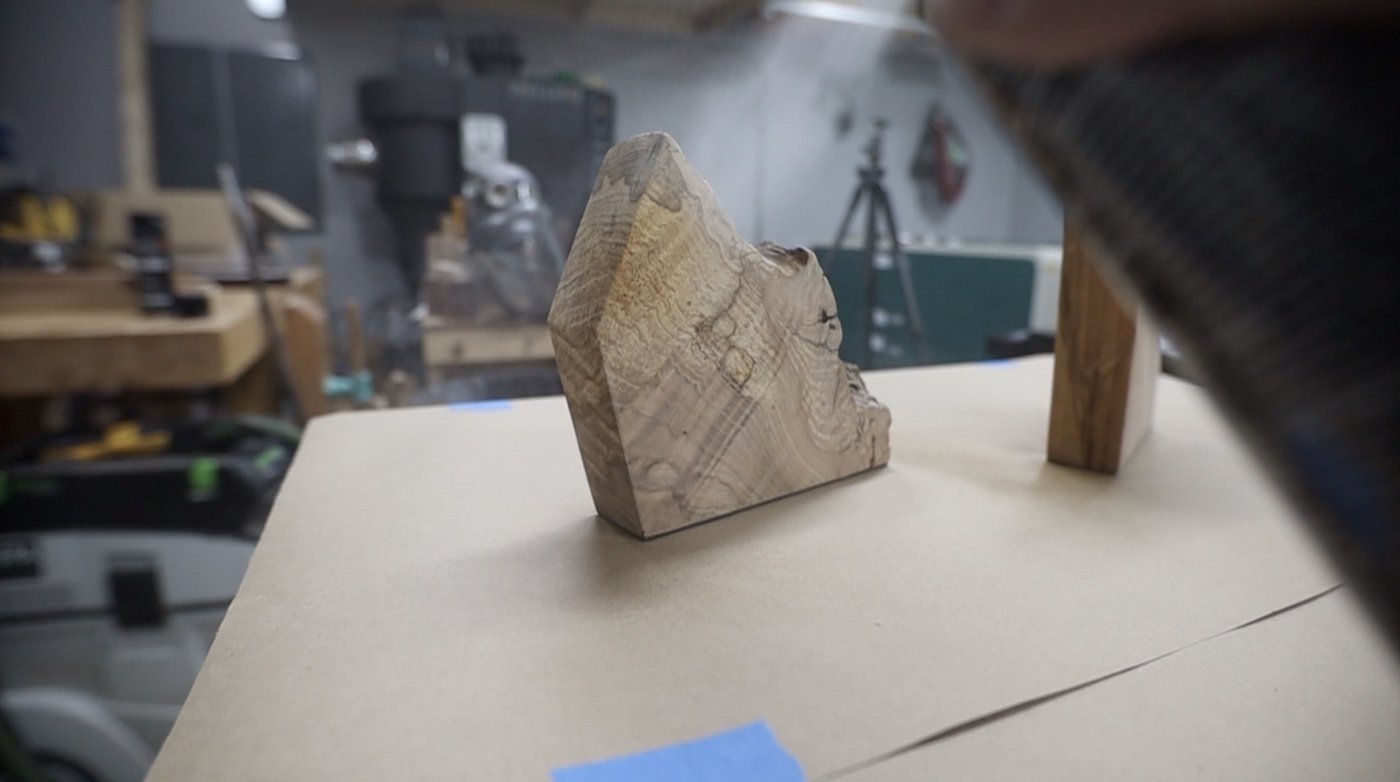
Now that all of that was done, it was finally time to split this into the two book ends and start bringing them to the final shape I had drawn up.
I took the piece to the bandsaw and with just a few cuts, I now had two book ends....or close to book ends than just a scrap piece of wood. We're getting there....ok?


CLEANING UP THE LIVE EDGE:
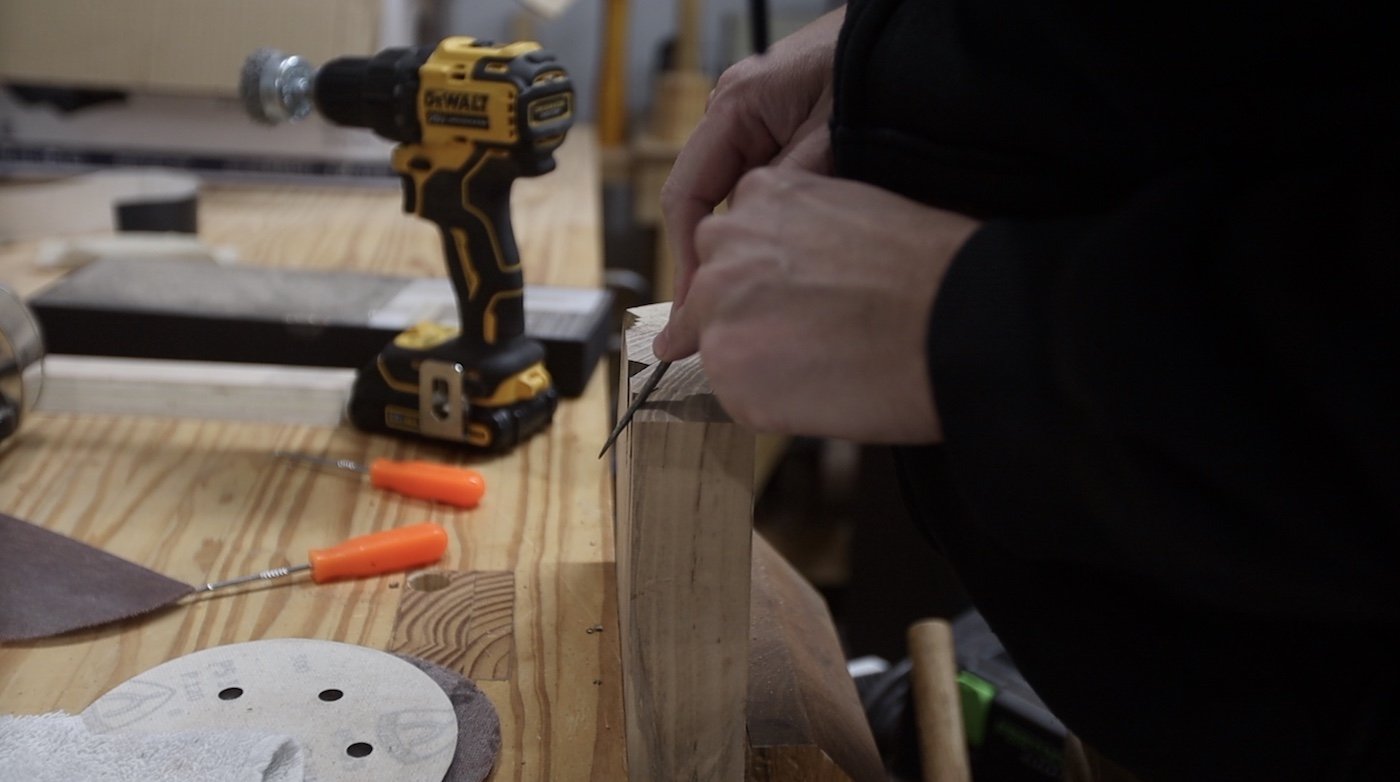
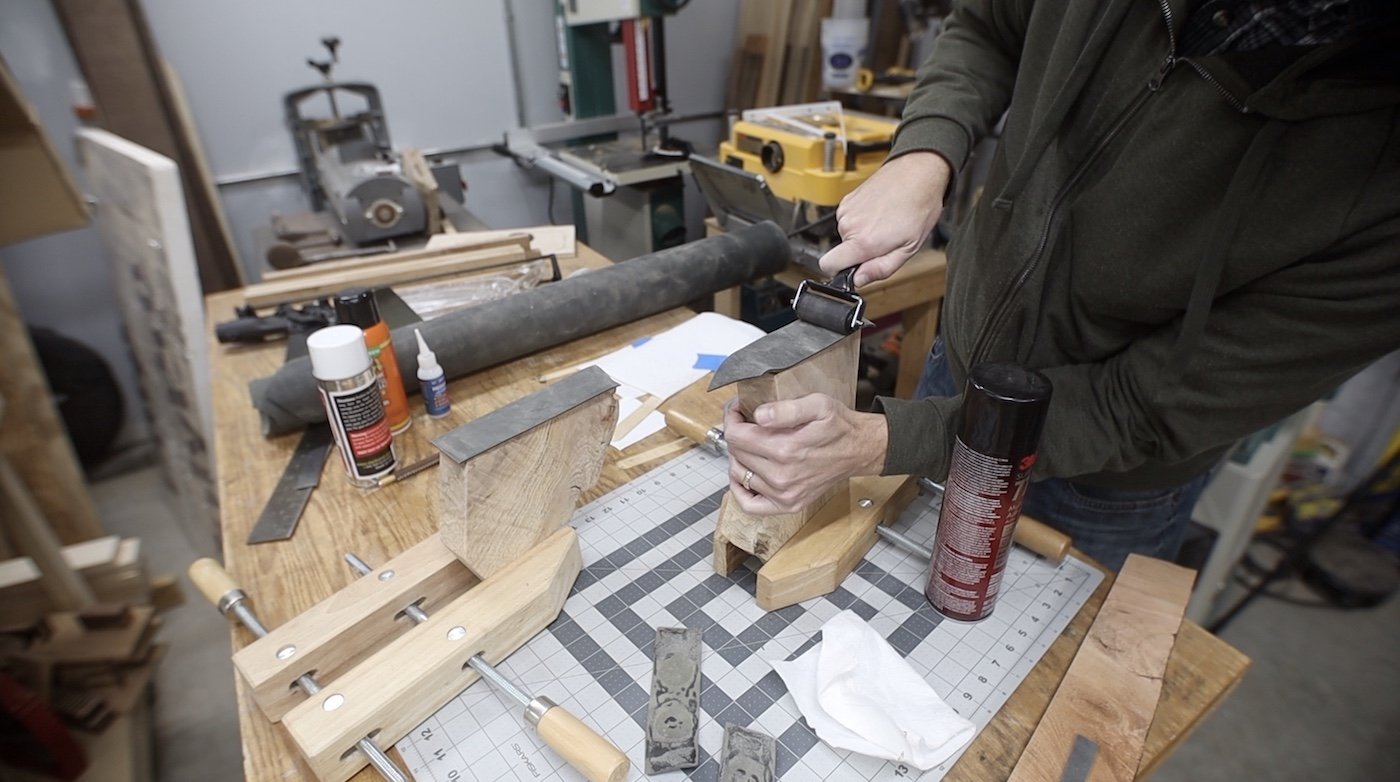
I cleaned up the bandsaw marks and then it was time for some filing. I used a series of files, picks and a wire brush attachment for my drill to just clean up the live edge burl side of these. They were pretty sharp in some places and I didn't want that. I just hit any sharp parts with files to round them a bit and cleaned out any dirt and loose debris.

PROTECTION FOR THE BOTTOM:
I rolled out my leather and put the two book ends on it to see how much I would need. I traced around each book end with a pen so I could see it well. Then, I used my rotary cutter to cut off the rough piece of leather for both book ends and then refined it to the pen markings I had traced using the rotary cutter and an Ether Carter leather-wrapped X-Acto.
Here I'm just rounding off the corners to match what I traced. Next time, I would just cut it large, secure it to the piece and then trim the excess after. It ended up still needing to be trimmed after I attached the leather to the book ends, which you'll see later.


SECURING THE LEATHER:
I had some content cement, and I know that works well to adhere leather to other types of materials, so I went that route. Or so I thought. When I opened the can, it had gone bad. All of the solids were stuck to the bottom. I was reading the can about it and it says it can keep for about a year after you open it. Well, it had been about 2 years since I last used it, so that was a no go.
I grabbed my Starbond CA Glue since I had it on hand, and while it seemed to hold just fine, it tended to kind of show through the leather and make it look wet. I didn’t want that look, so I moved on.
For my 4th attempt to stick the leather to the bottom of the book ends, I tried some craft spray adhesive I had, and it didn't really work well at all. I ended up going to the store and picking up some 3M Super 77 spray adhesive, and this worked so well! I taped off the sides that I would be finishing so I didn't get any of the adhesive on them.
For this spray adhesive, you spray a little on each piece, both the leather and the wood, let them dry for about 5-6 min until they get tacky, and then stick them together for a permanent bond.
I like to apply pressure to something like this with a brayer just to make sure everything gets really good contact. I’ve linked to these above, along with all of the other tools and materials I used in this build. Using those links helps support me, so if you do.....thanks. Oh, and if you click one of those links, you can then click and buy ANYTHING else on Amazon, and I’ll get a little credit for sending you there…all while not costing you anything.


BLACK IRON PIPE:
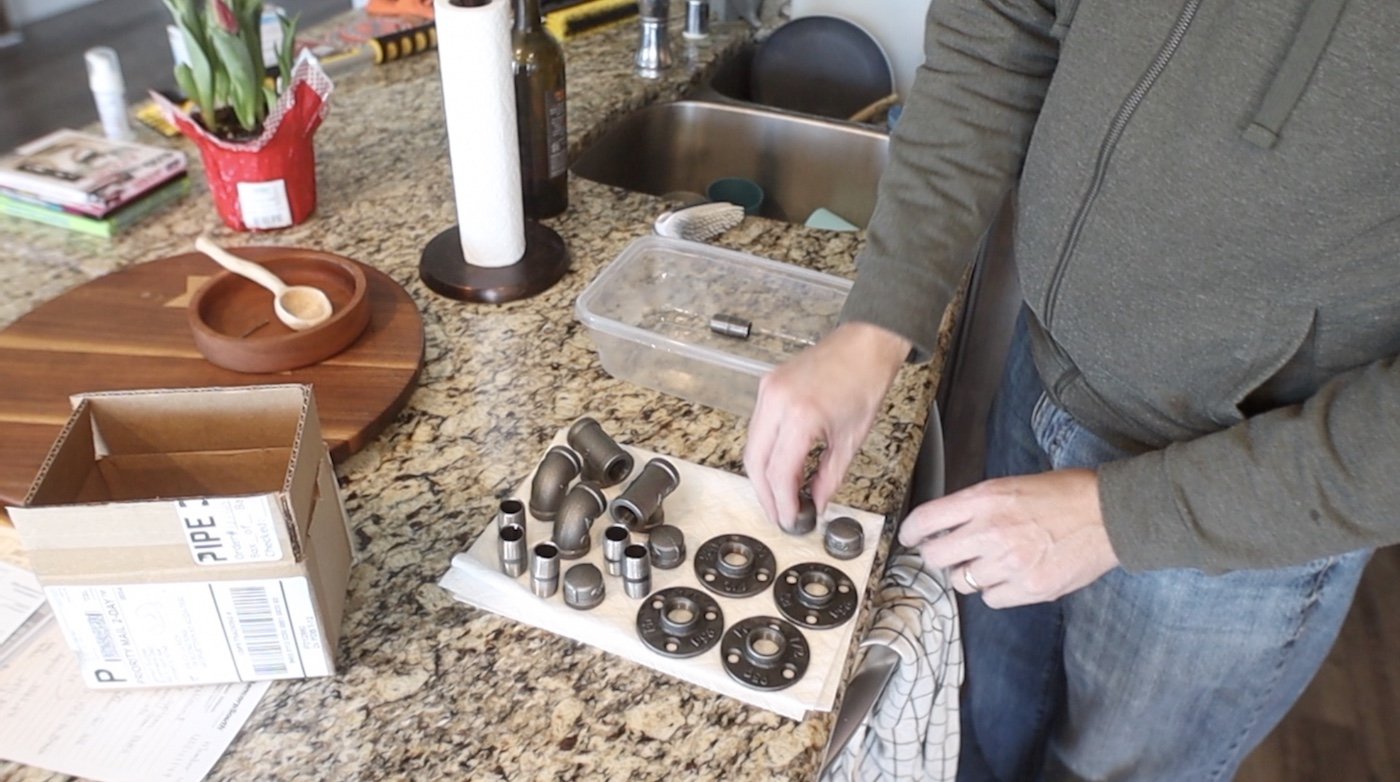
For the industrial look, I'm going to use some iron pipe. They always have some grease and oil on them when they arrive, so I dumped them in a bin and gave them a wash. Just regular dish soap and water works well. Be sure to dry them off very well if you do this. Even drying them as well as I could, there were a few parts that flash rusted, but that's ok. I'll show you how I took care of that coming up.
Remember when I told you I would show how to take care of the surface rust. Here's how I did it. I grabbed a scotch brite scrubber (one that would not mar the metal) and buffed off the little bit of rust that had formed. Then, I just sprayed a couple of quick layers of lacquer on the parts to prevent them from rusting again.
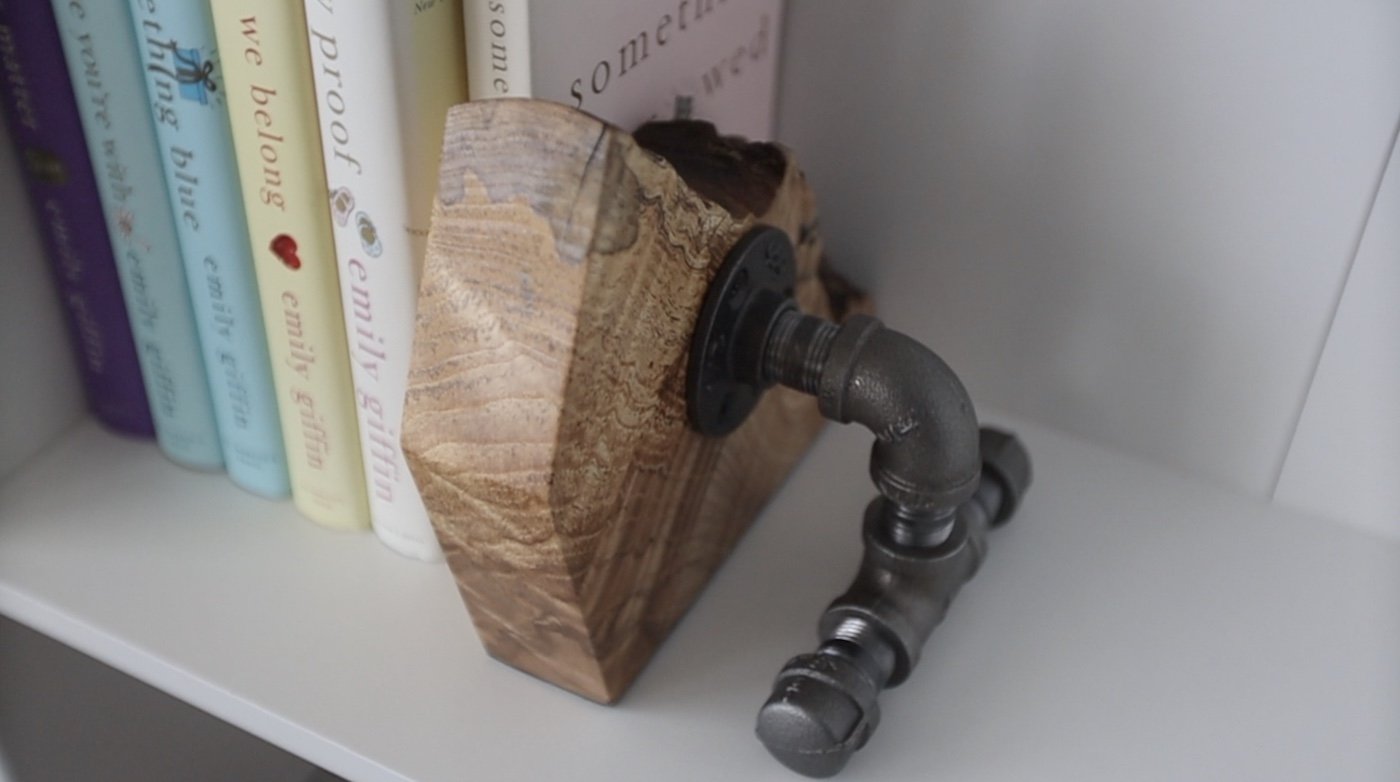
Before I added finish, I trimmed the leather to be the exact size of the book ends. You can see in the photos below just how clean of a look this gave them.


ADDING FINISH:
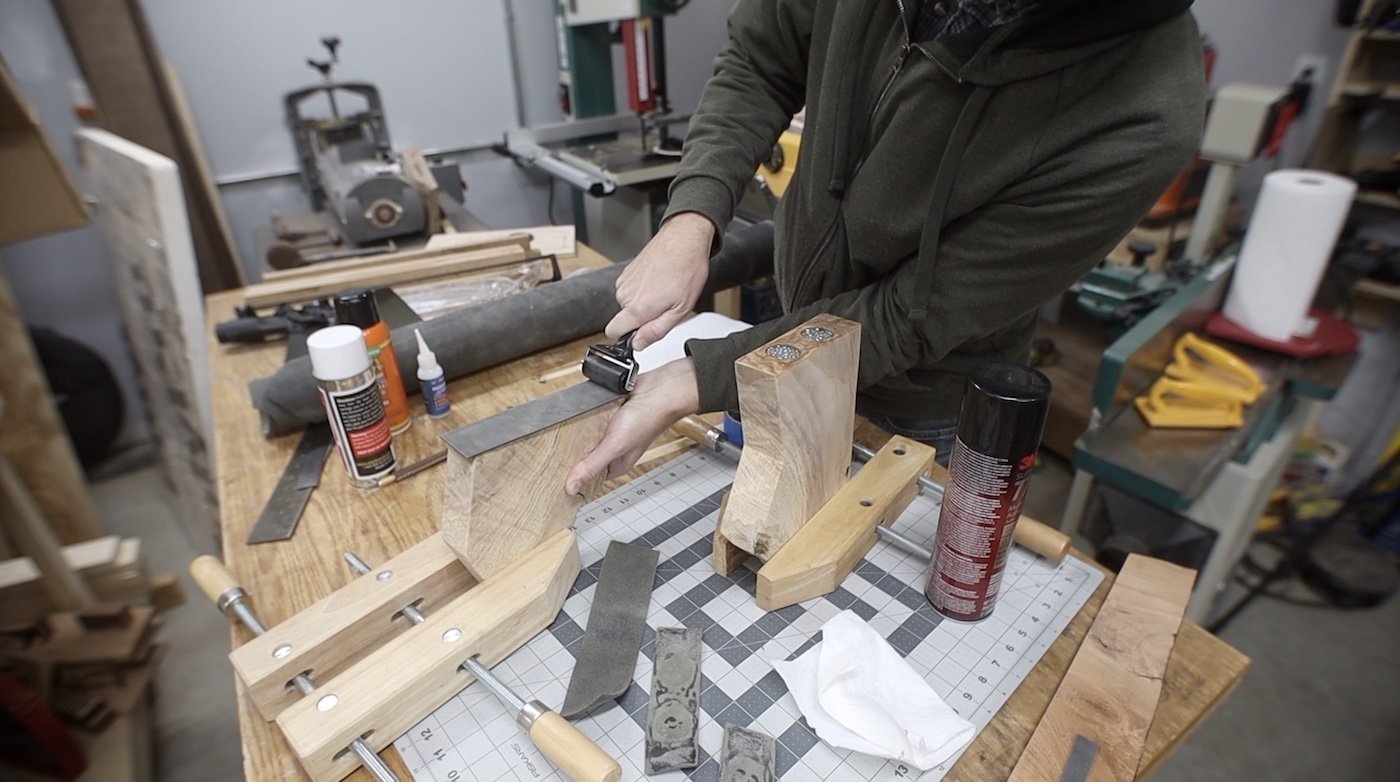
I used spray lacquer for my finish, and I like to do about 3 thin coats on items like this.
In between coats of lacquer, I typically use a brown paper bag to just smooth the surface a bit. It gets rid of any nibs and makes for a really smooth finished piece. Just use it like you would a piece of sandpaper and scrub the entire piece with it. Try it out…it’s a great technique that’s really simple.


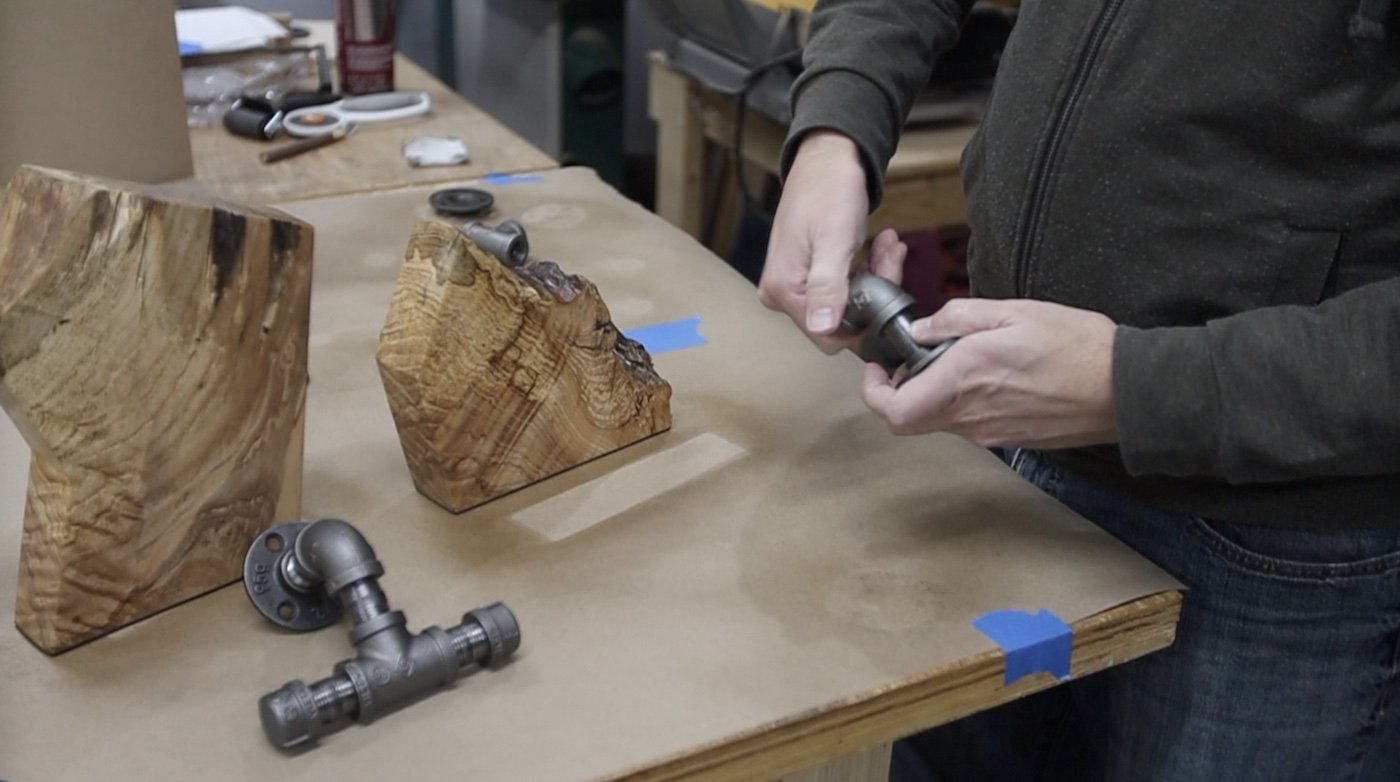
ASSEMBLING THE PIPE:
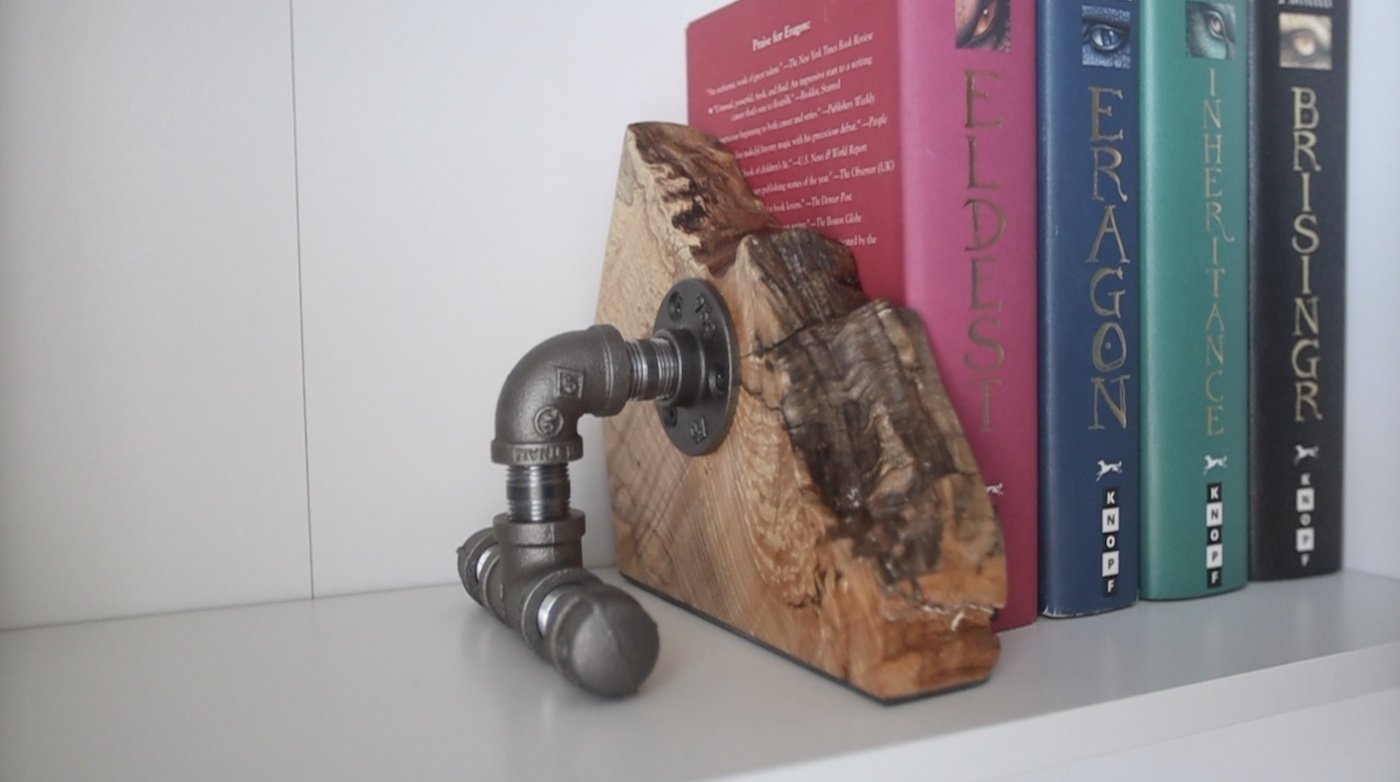
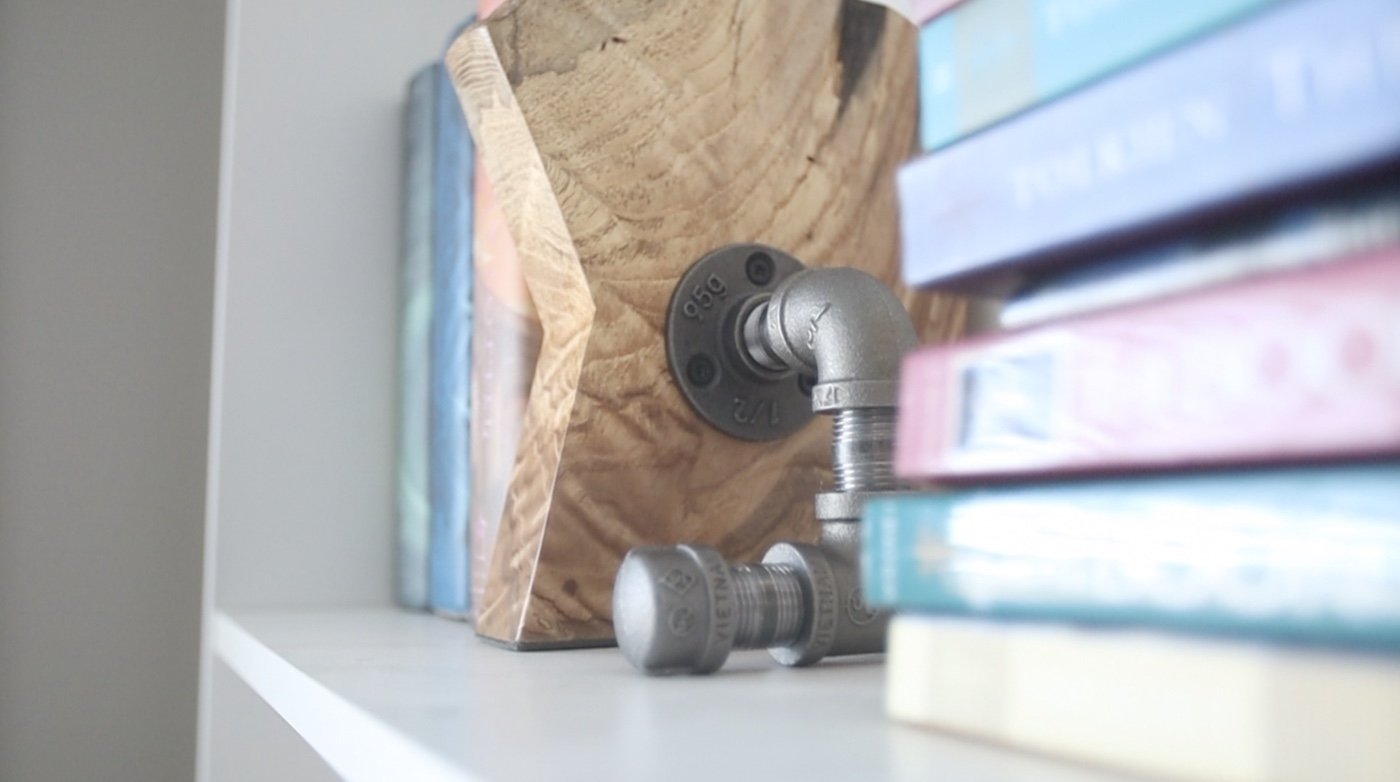
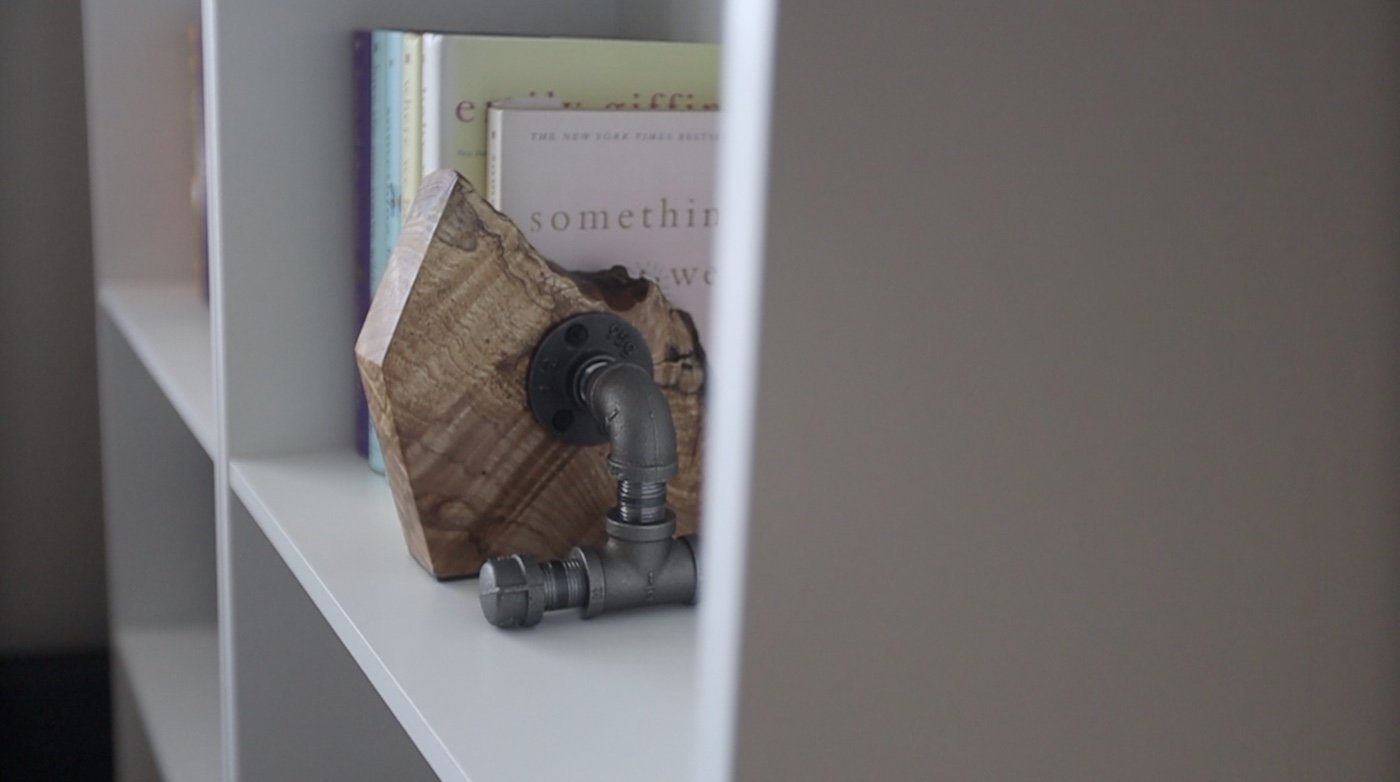
Now, it's finally time for assembly. I'm going with kind of a T stand and using some caps on the threads to complete the look. And I wanted to put on the leather first, so when I attached the pipe, I could make sure it would touch the surface and match the height of the book end with leather on the bottom.
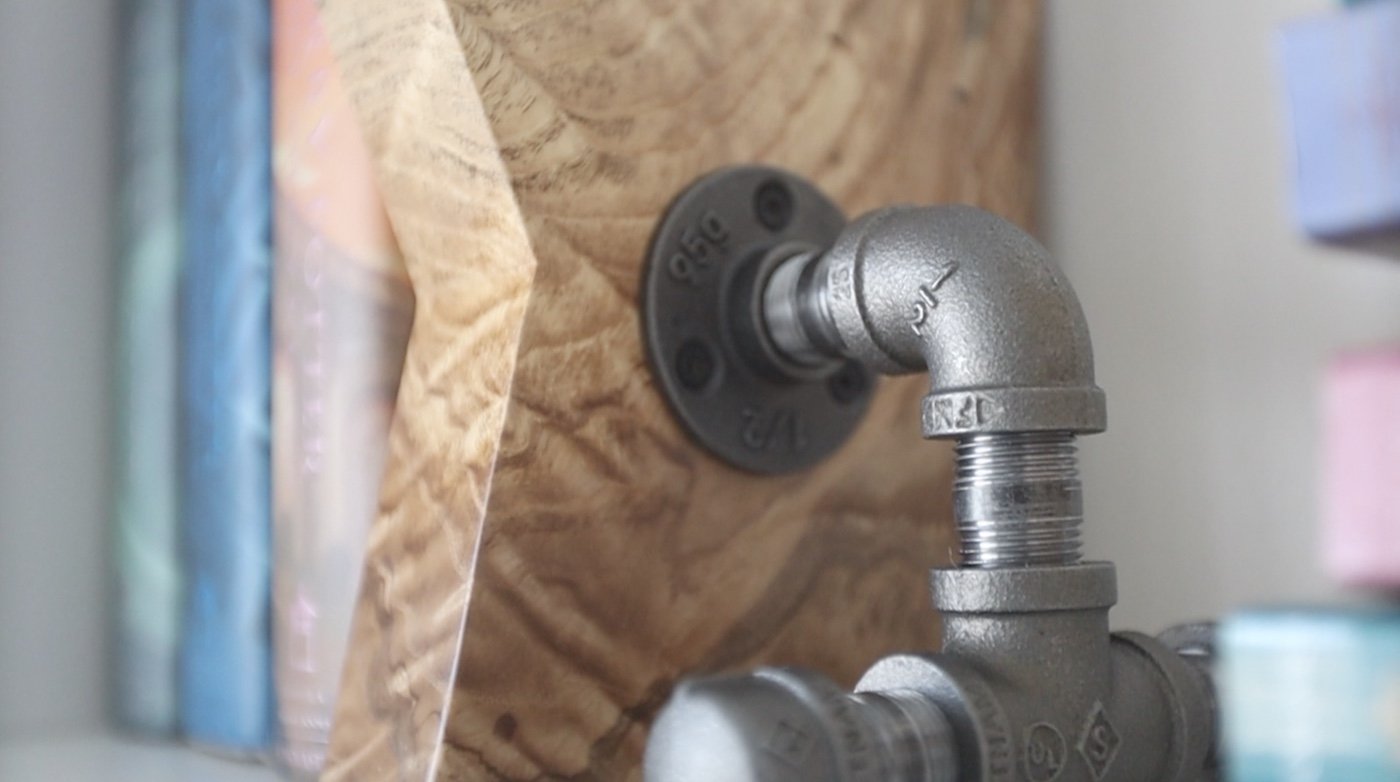
There is some flexibility when putting these pipes together. You can unscrew one of the pieces a bit if you need the flange hole placement to be different or anything like that.
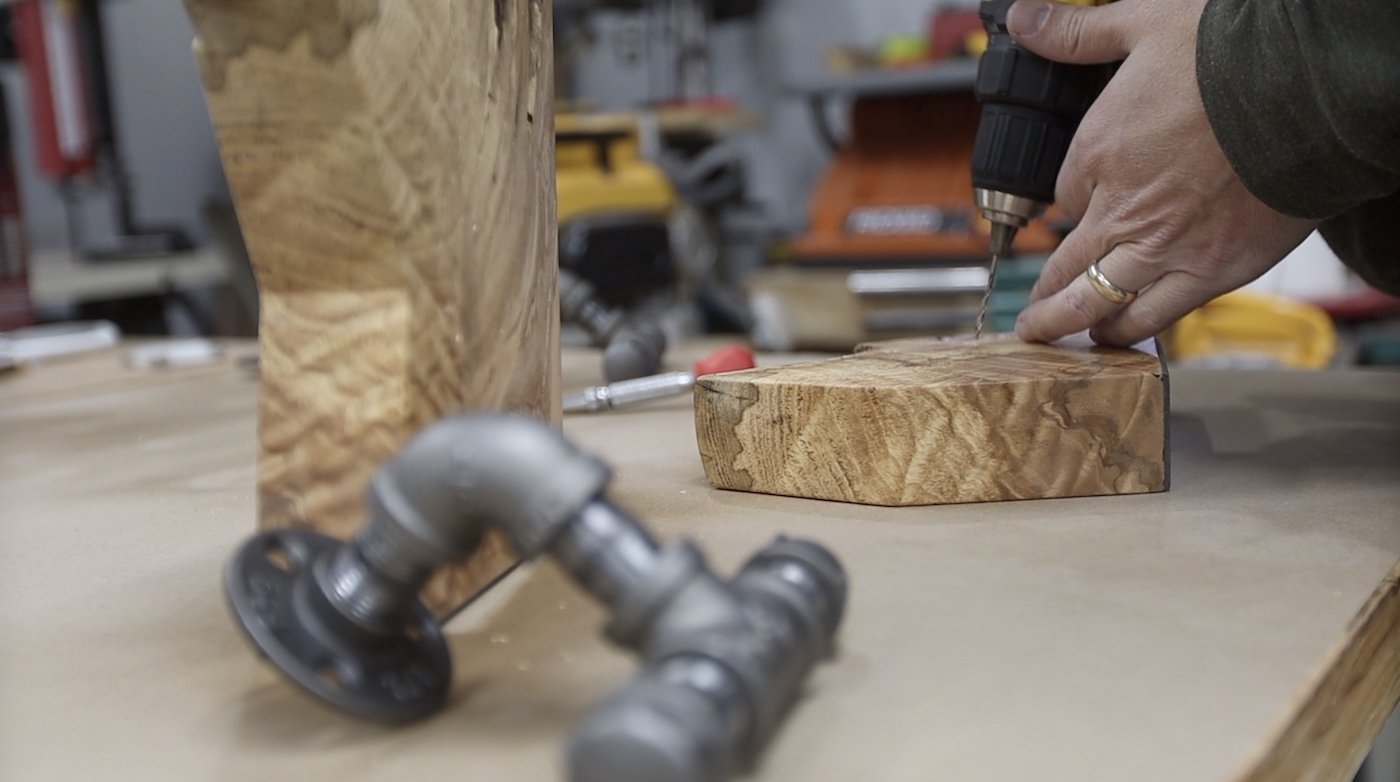
To attach the pipes to the wood, I marked the hole location with a hole punch, pre-drilled out just slightly smaller than my screws to remove a little excess of material, and then drove in some screws. Well...kind of.
Despite all of that prep to make sure the screws would go in ok, I had 2 of the first 3 screws break off inside of the wood. I yelled a bit. Got mad at the piece, but eventually calmed down. So, what I ended up doing is getting some different screws that I've had great success with in the past, painting them black, and then using those.


CONCLUSION:
That’s the end of this project! Thanks for checking it out! If you haven’t already watched the video on my YouTube channel, be sure to check that out. I’ll leave you with some finished photos below. I’ll have another project out very soon!