Modern Industrial Queen Bed Frame
VIDEO:
In this project, I’m making a modern industrial bed frame to go with the headboard I made last year. Watch the video and follow along with the steps below:
BACKGROUND:
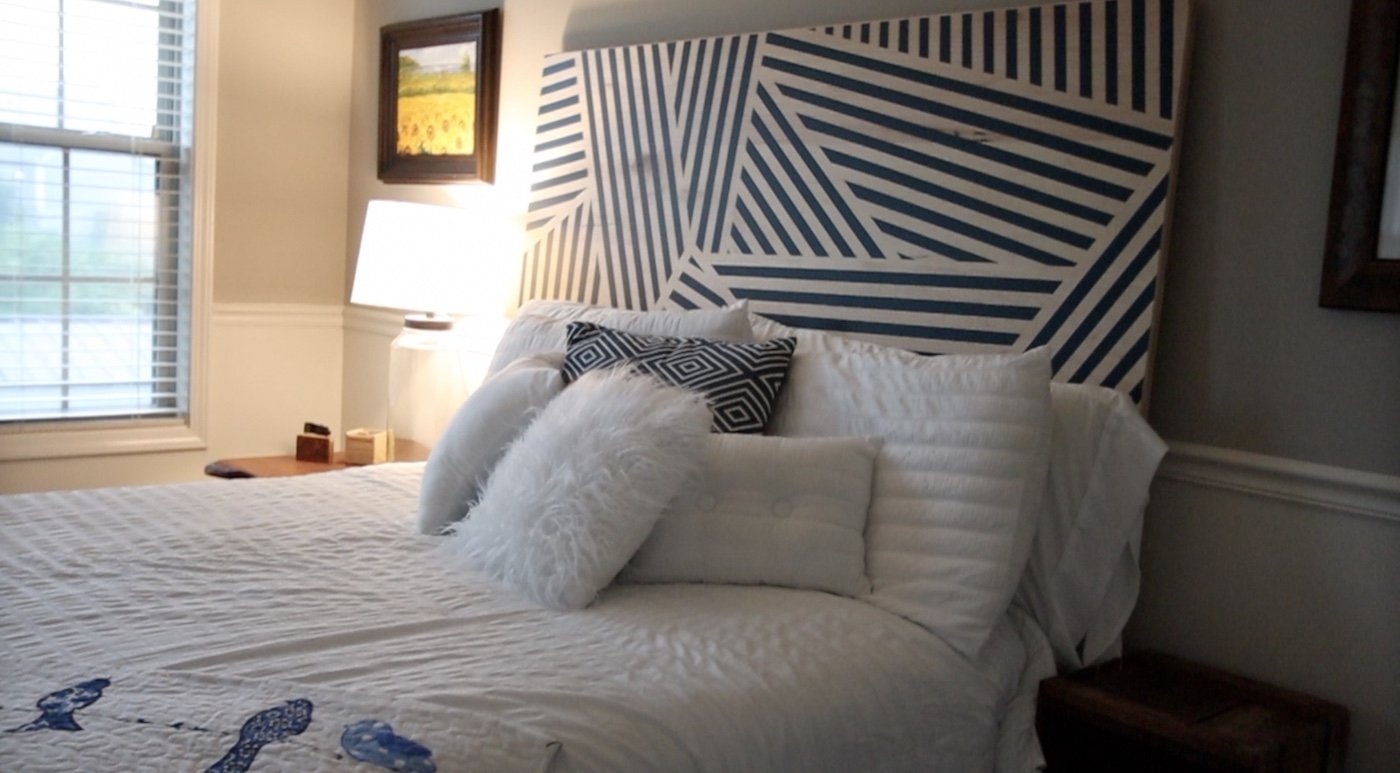
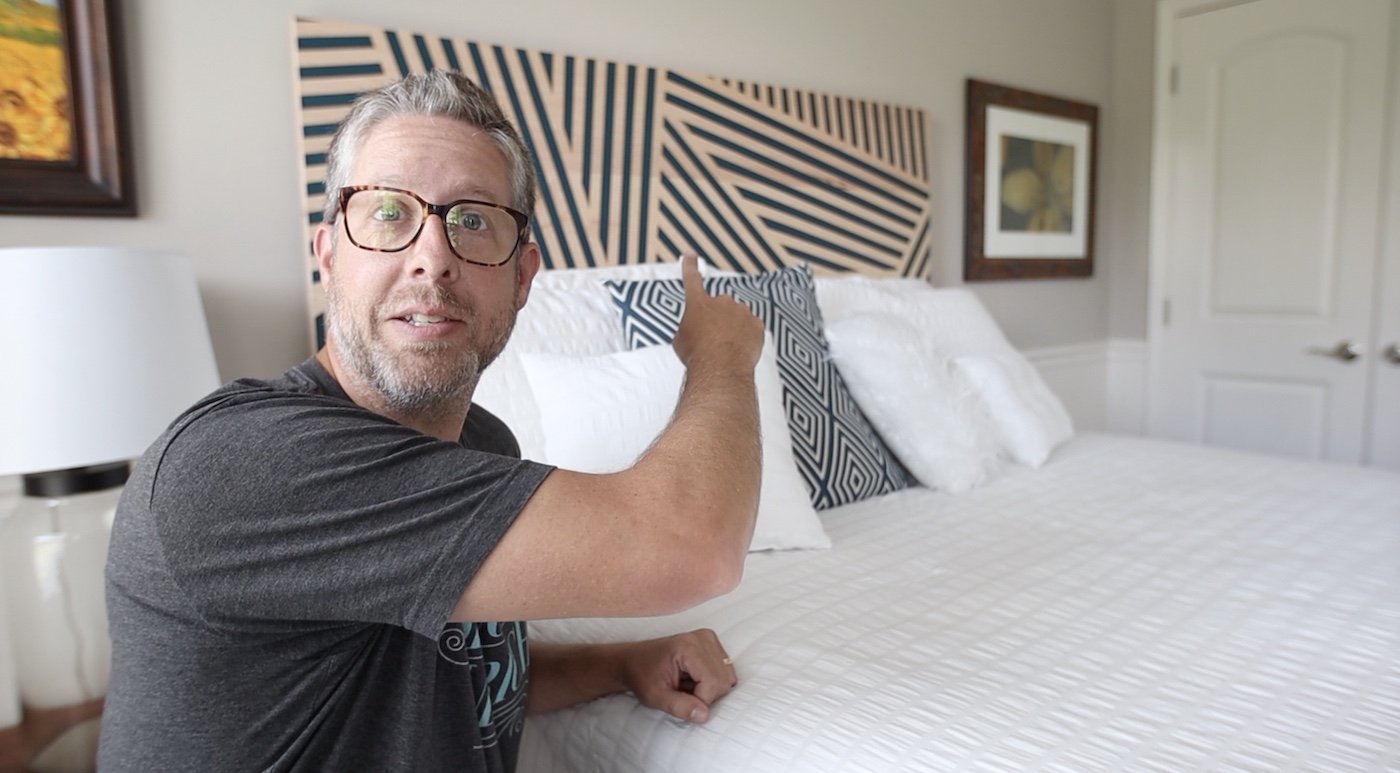
Last year, I made this really cool, modern headboard with a painted pattern. I didn’t mean for it to take so long to get the bed frame made for it, but we have had a lot going on since I made that headboard.
Last June, we went on vacation to central Kentucky and had a really good time. I have been going to Kentucky to visit friends and collaborate on woodworking projects for a couple of years now. We just started looking at houses on a hunch while on vacation and then my wife even looked for teacher openings in the county. Well, we decided to move from the house we built and loved in Mississippi back in 2014 to Kentucky. It has been stressful (I think all moves are stressful, no matter what you do), but we are settled now and things are great!
My wife is teaching school here in the county in which we live, and I have my shop setup in our garage. Life is good.
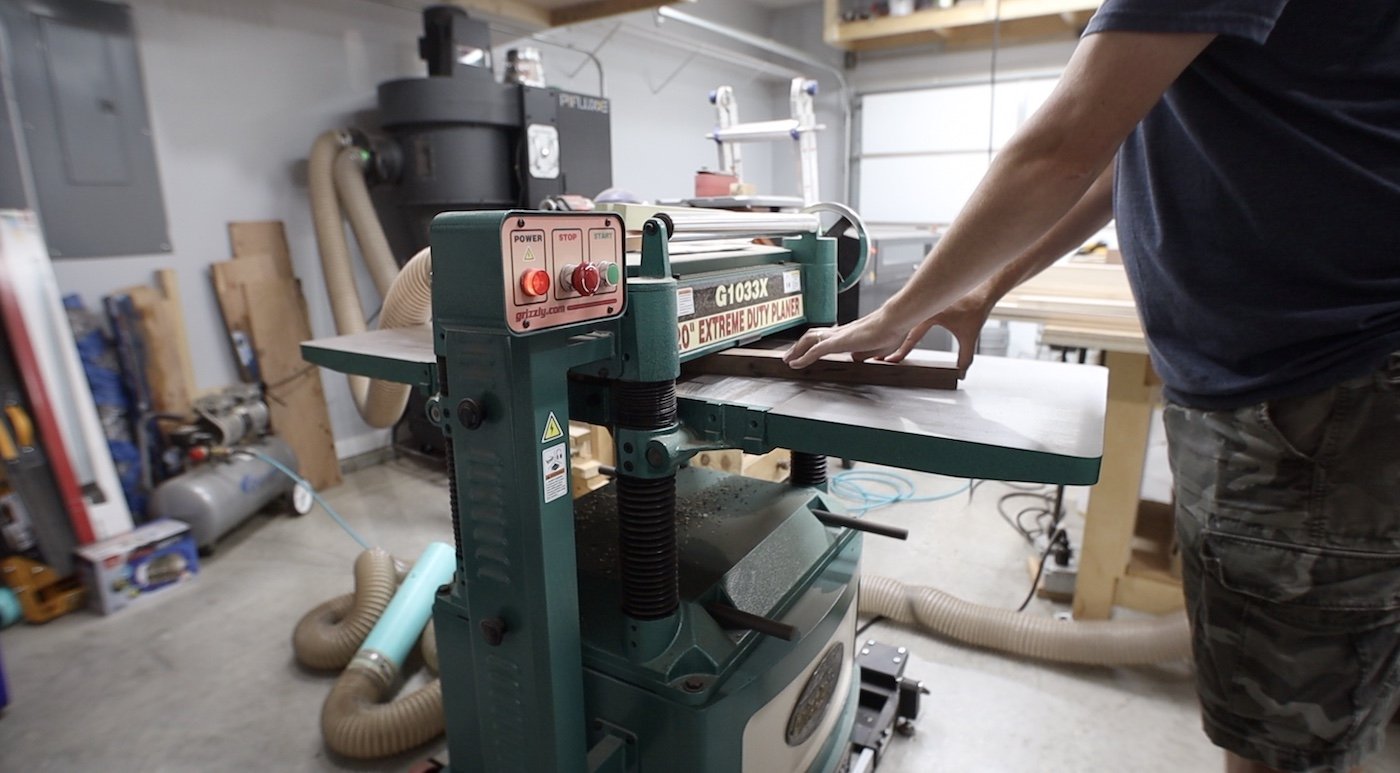
MILLING LUMBER:
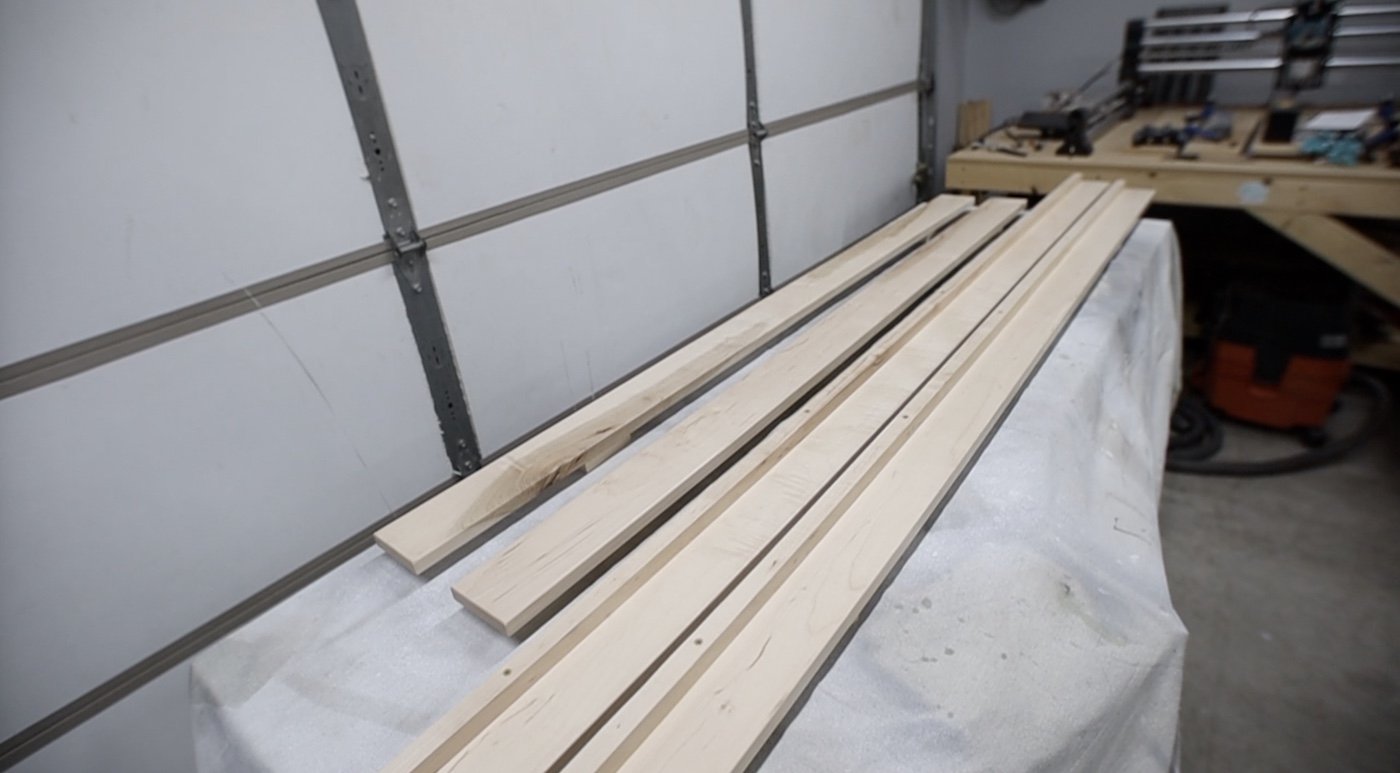
The milling of this lumber was so long ago, I can’t even find all of the video footage. I picked out some maple that I had on hand, and milled it all down to a consistent thickness.
I figured out the pieces that would make the best rails and left those parts long. The rest of them, I cut to rough length and we packed them to move states. For the legs, I laminated together a few pieces to fit in the metal leg brackets, but you’ll see more about those in future steps.
THE SUPPORTS:
After pulling all of the wood back out and reassessing where I was on the project months later, I decided there needed to be more supports that touched the floor than I originally thought. Originally, I was going to just have one support leg in the middle that would distribute some of the weight from the center of the bed down to the floor. With how wide a queen bed is, however, there needed to be more than just one.
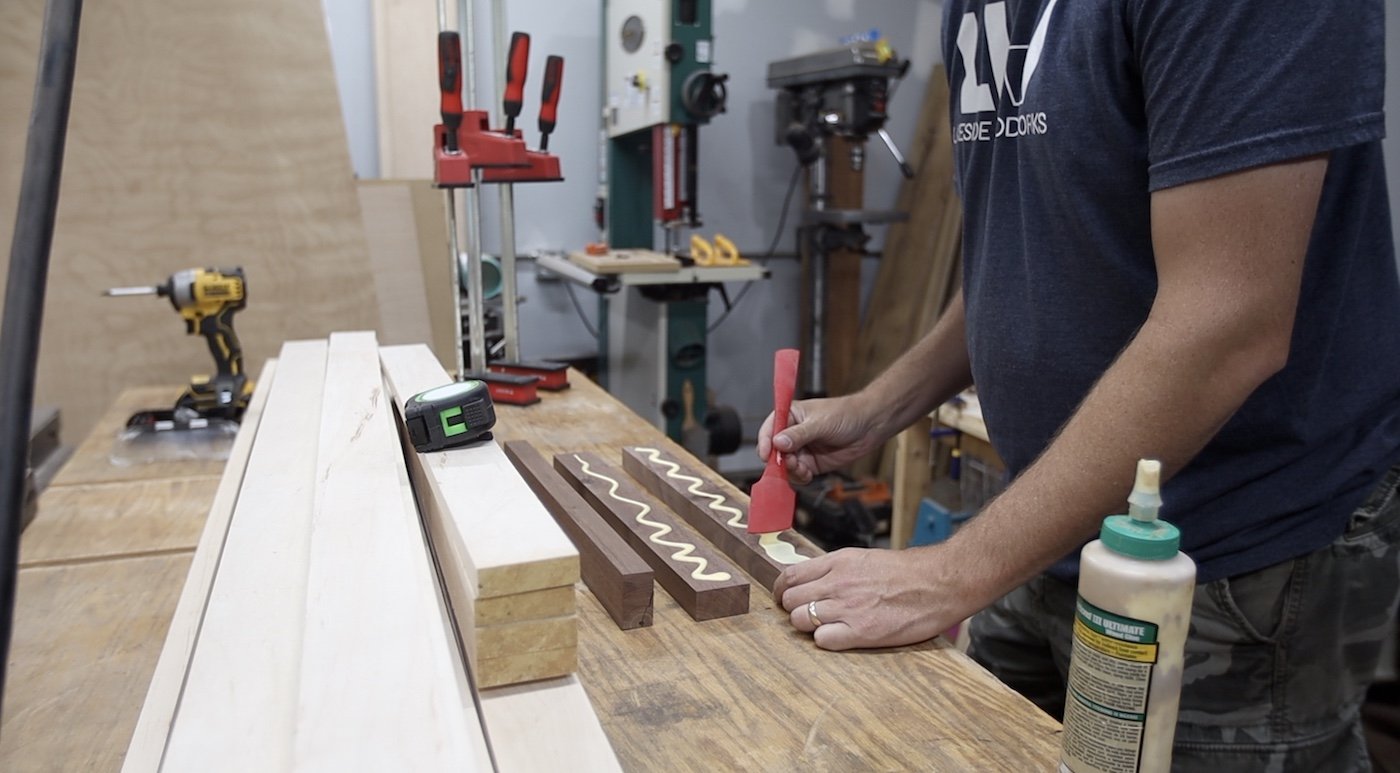
I had a few small pieces of (unnecessary) walnut that were not blemish-free enough for cutting boards or other items, but would be perfect for a support under the bed. So, I glued 3 pieces together and that became the 2nd support…that no one would see.
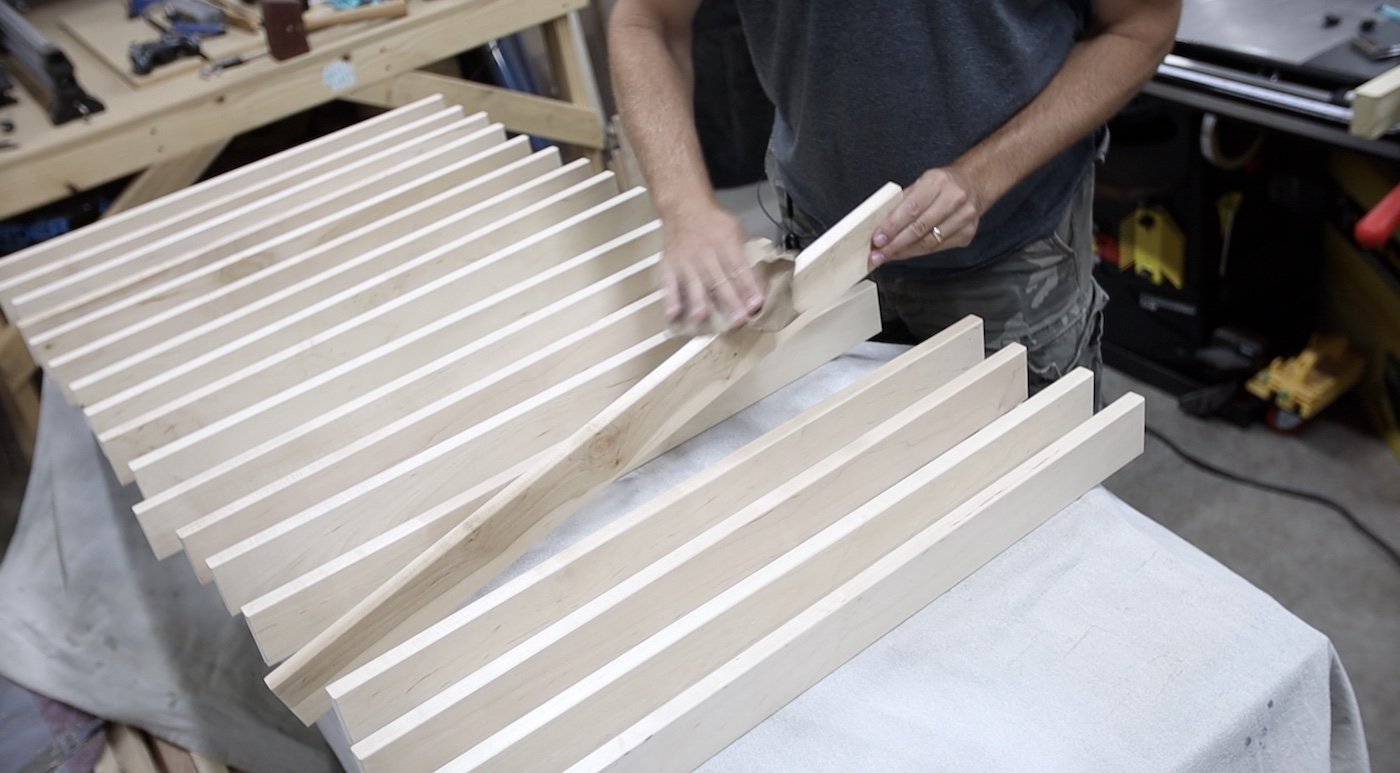
MAKING RAILS & SLATS:
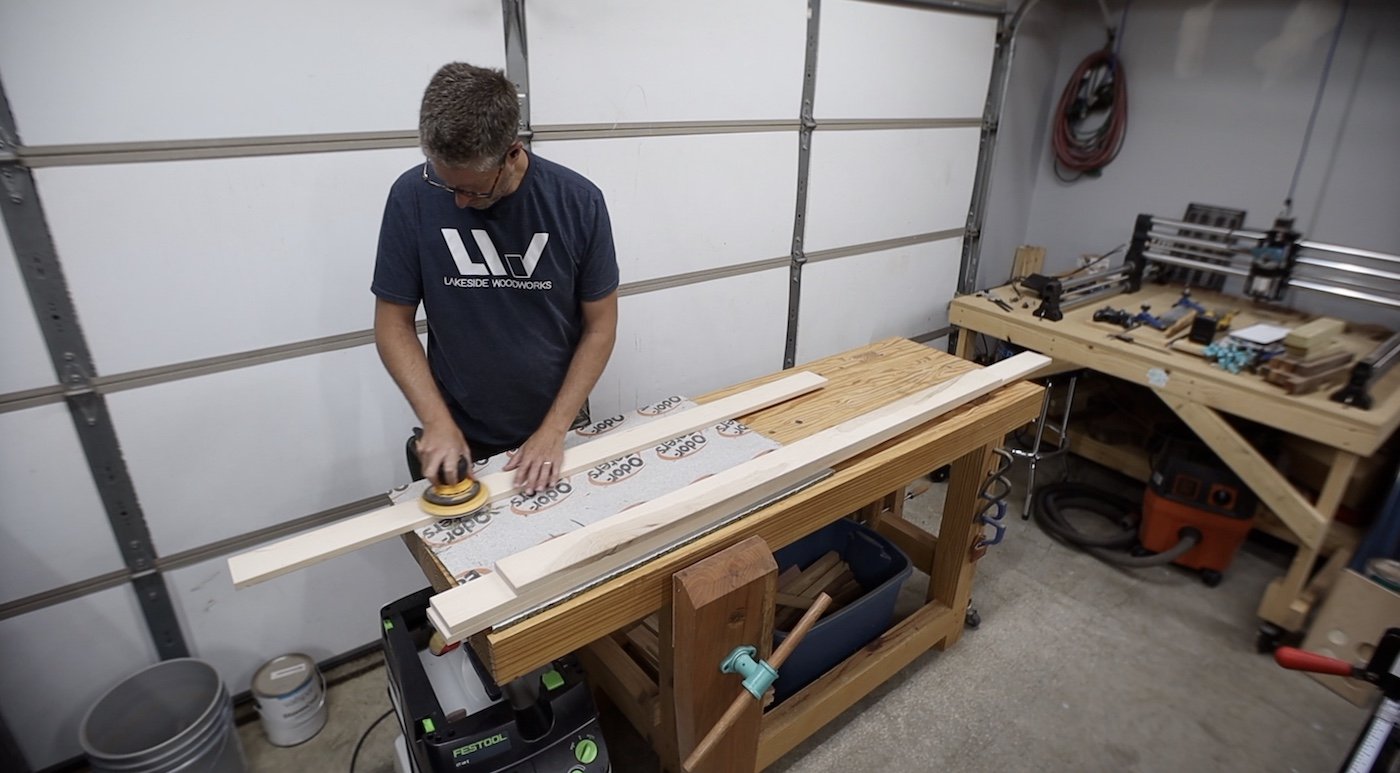
Now it was time to turn my attention back to the rails and slats. When we moved, all of these items were left at a rough length and needed to be cut to the final length. I no longer have a miter saw, so I set up a stop block on my table saw to do this operation.
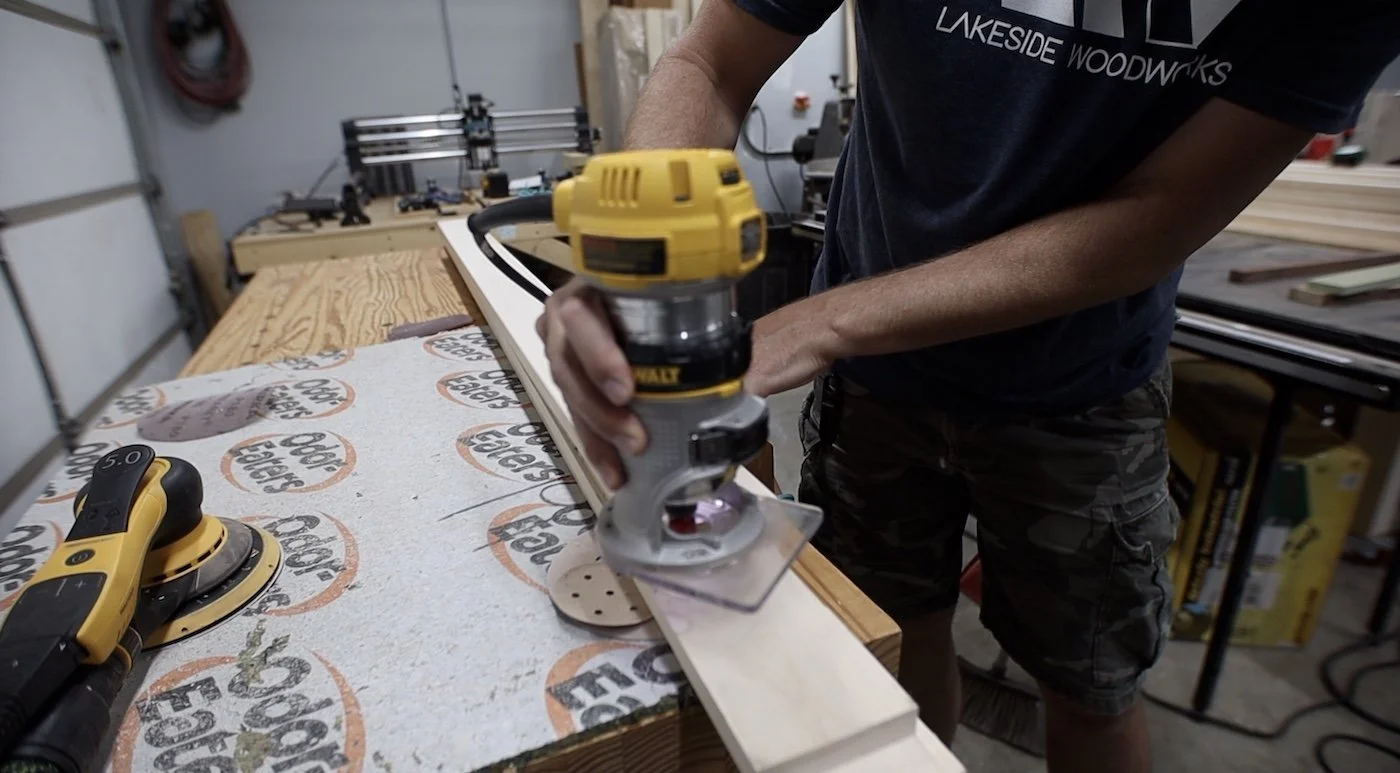
Then, I put a small roundover on all of the rails and slats so they would not be sharp to the touch. I sanded the rails a bit more than the slats. The slats will just be underneath the mattresses so it didn’t matter as much. The rails and legs would be seen more and have more interaction with people, so I wanted them to be sanded well.

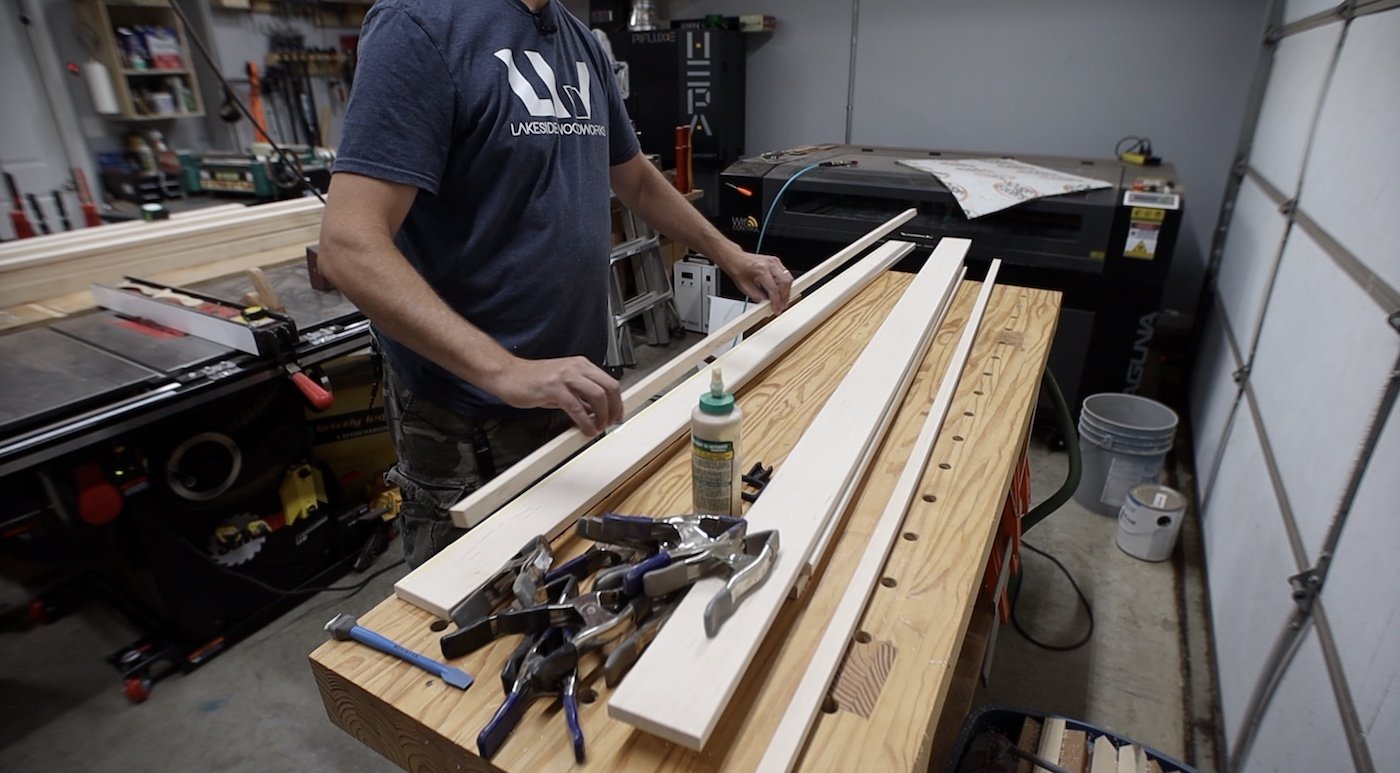
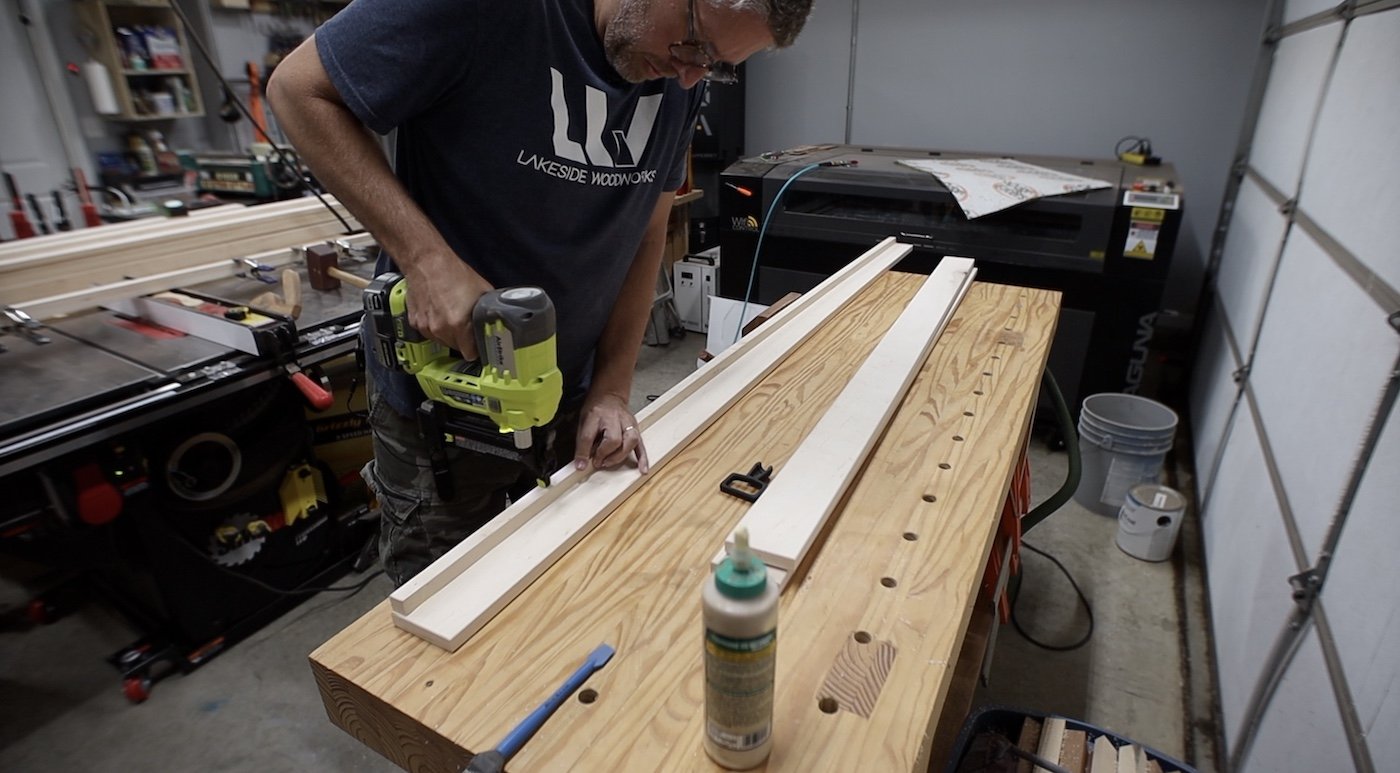
ADDING CATCH FOR SLATS:
All of the slats that go underneath the mattress will be attached to one side rail, stretching to the middle support. They will do that on both sides and my reason for this was simple. It just came down to the material I had on hand. I didn’t have enough long boards to go from one side to the other, so I just made them go from a side to the middle on both sides.
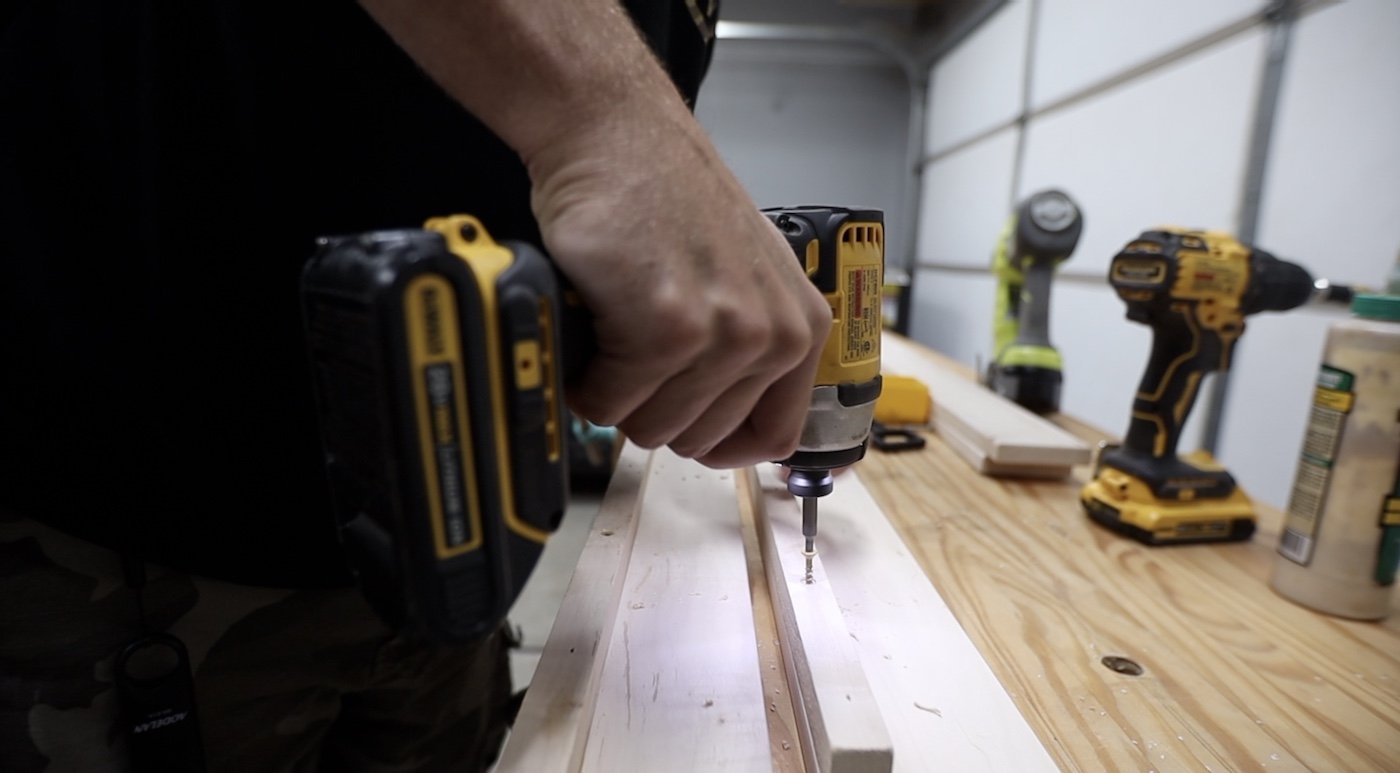
To secure the slats on the side rails, I needed to add a little lip for them to rest on. To do this, I milled a small board, about 3/4” x 3/4”, and secured it to both of the side rails with glue, and a few brad nails to hold them in place until the glue dried. I came back with a few screws just for good measure later.
CUTTING CENTER SUPPORT:
Now that the new unnecessary walnut center support is dry, I can remove it from the clamps, clean it up at the planer and then cut it to final length at the table saw.

TAPERING THE LEGS:
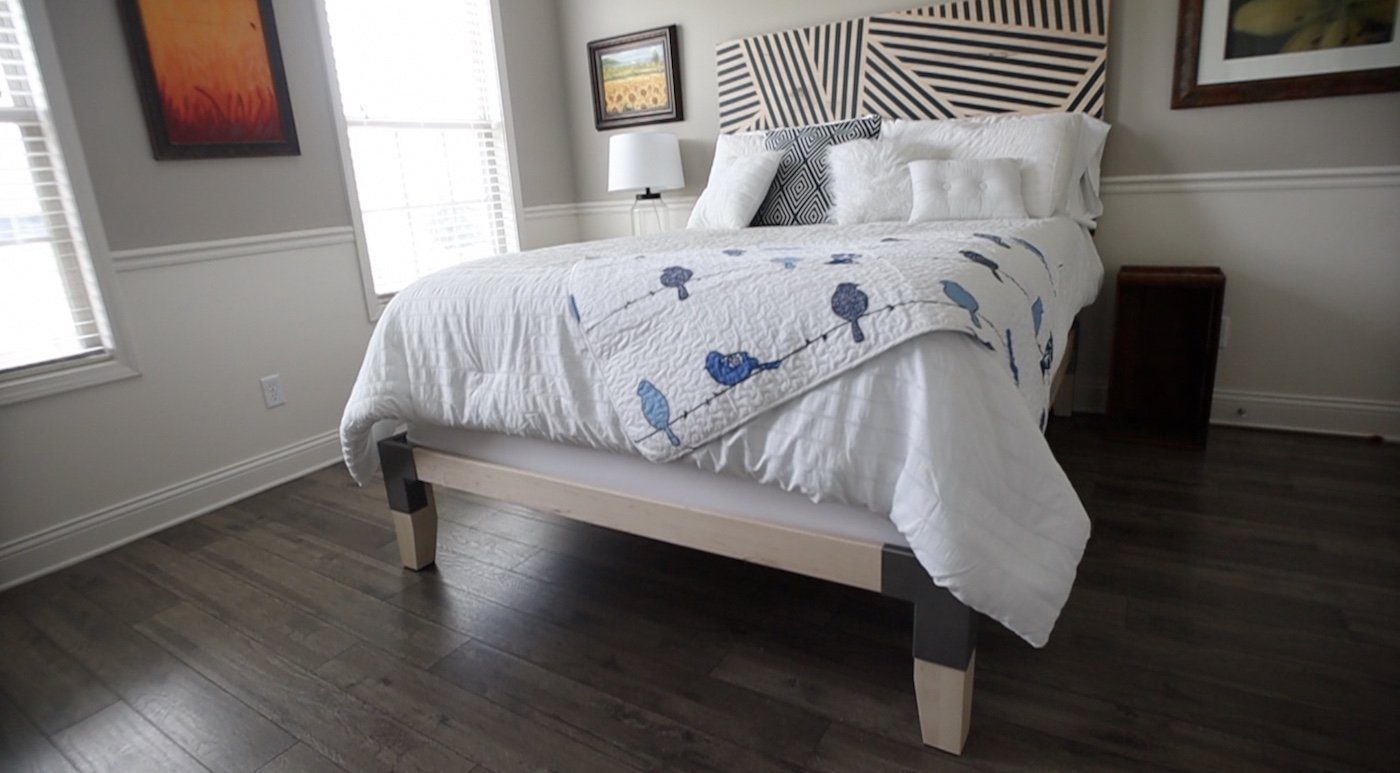
The legs for this bed are pretty beefy at about 3.5” x 3.5” thick. I wanted to add a taper on two sides of the legs. I thought about this a good bit, and decided it would look best for the taper to be on any side that faces another leg. So, the front two legs would have a taper inward slightly, since they face one another. And then the front two legs would also have a taper toward the back legs, since they face another leg. I hope that makes sense. This will leave the two outside faces with no taper and it makes it very subtle.
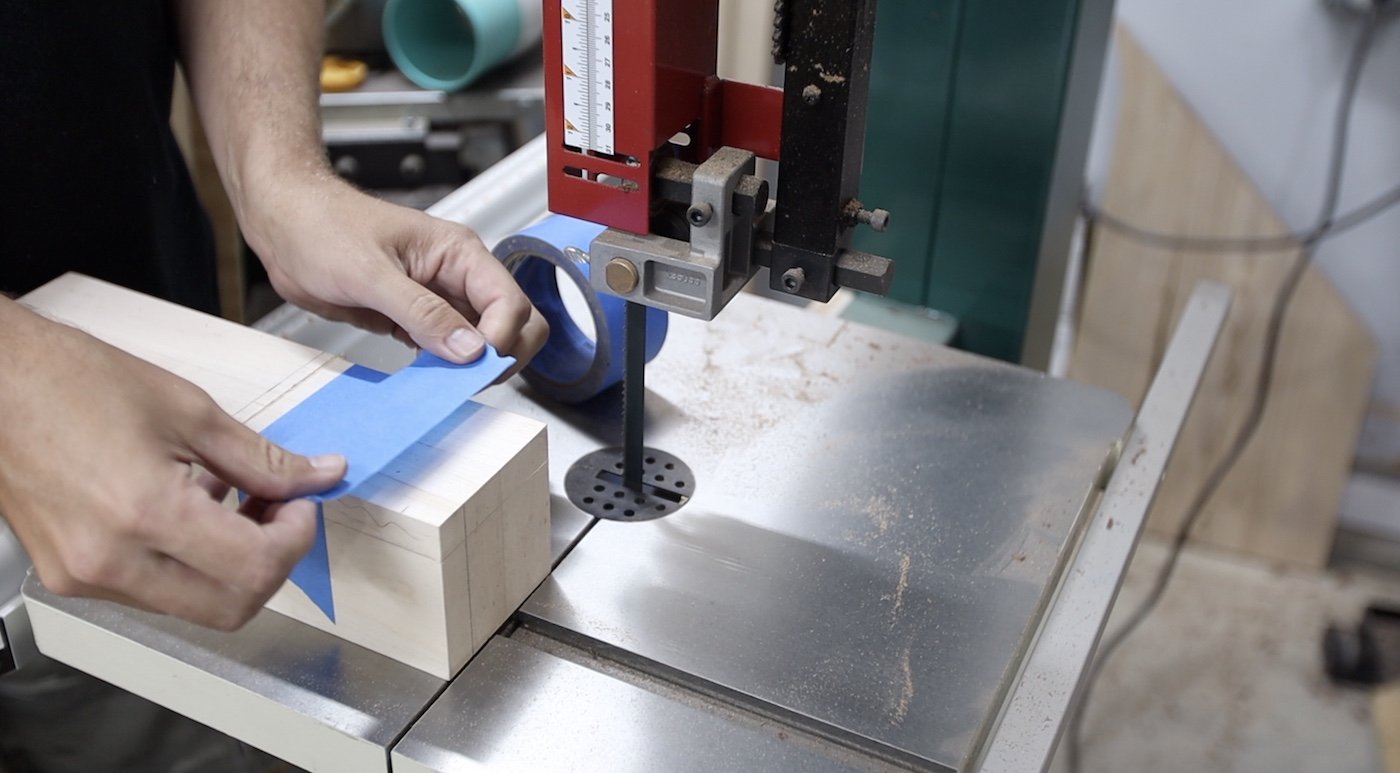
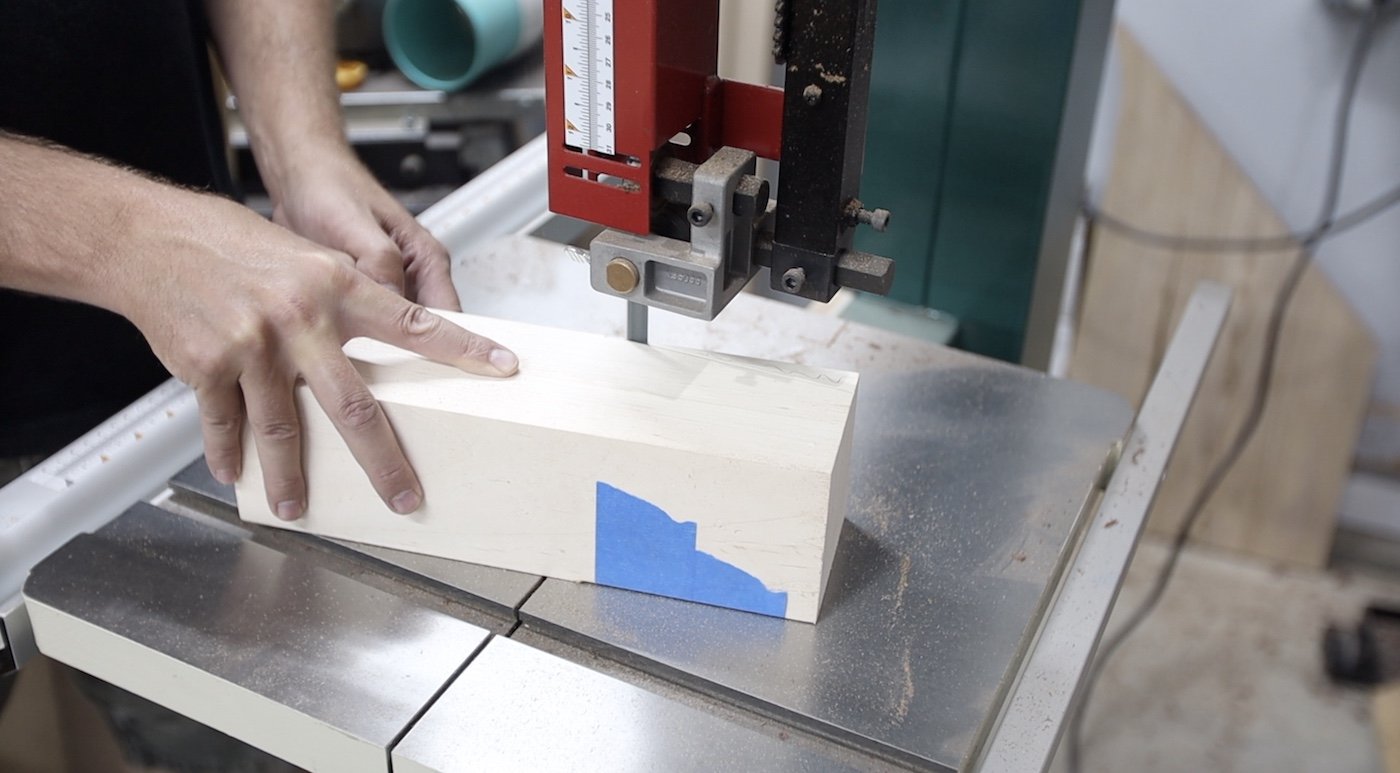
I spent a while laying out where I wanted to add the tapers to make sure it was right. I tried doing it on my table saw at first, but these are too thick to try to cut on a taper cutting jig. The blade will not raise up enough. I decided to just cut them at the bandsaw. It leaves a rougher cut, but it is a safer way to do it anyway.
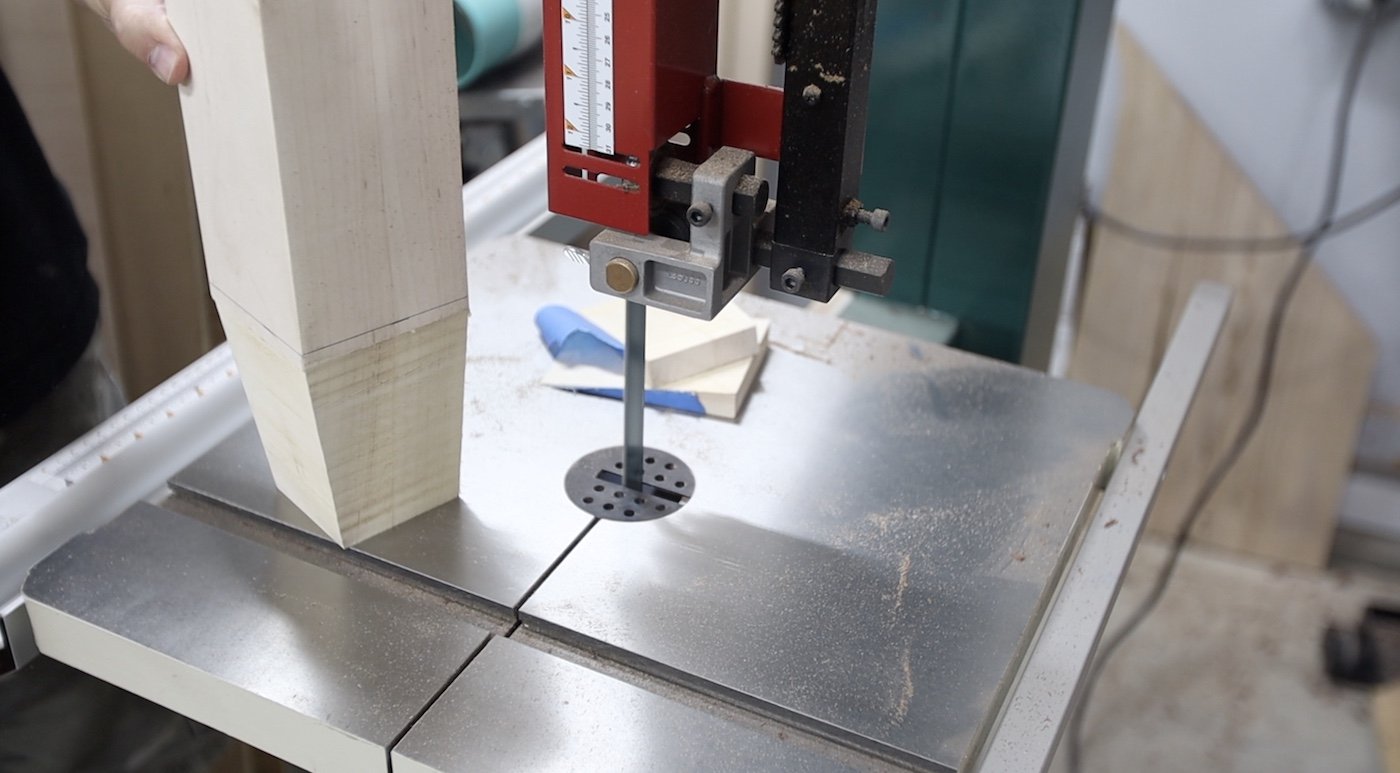
Once I make one cut, I keep that piece that I cut off. I tape it back on, so that I can make the other cut while still having my piece lay flat on the bandsaw table. Then, once both faces are cut, I can remove the tape and move on to the next leg.
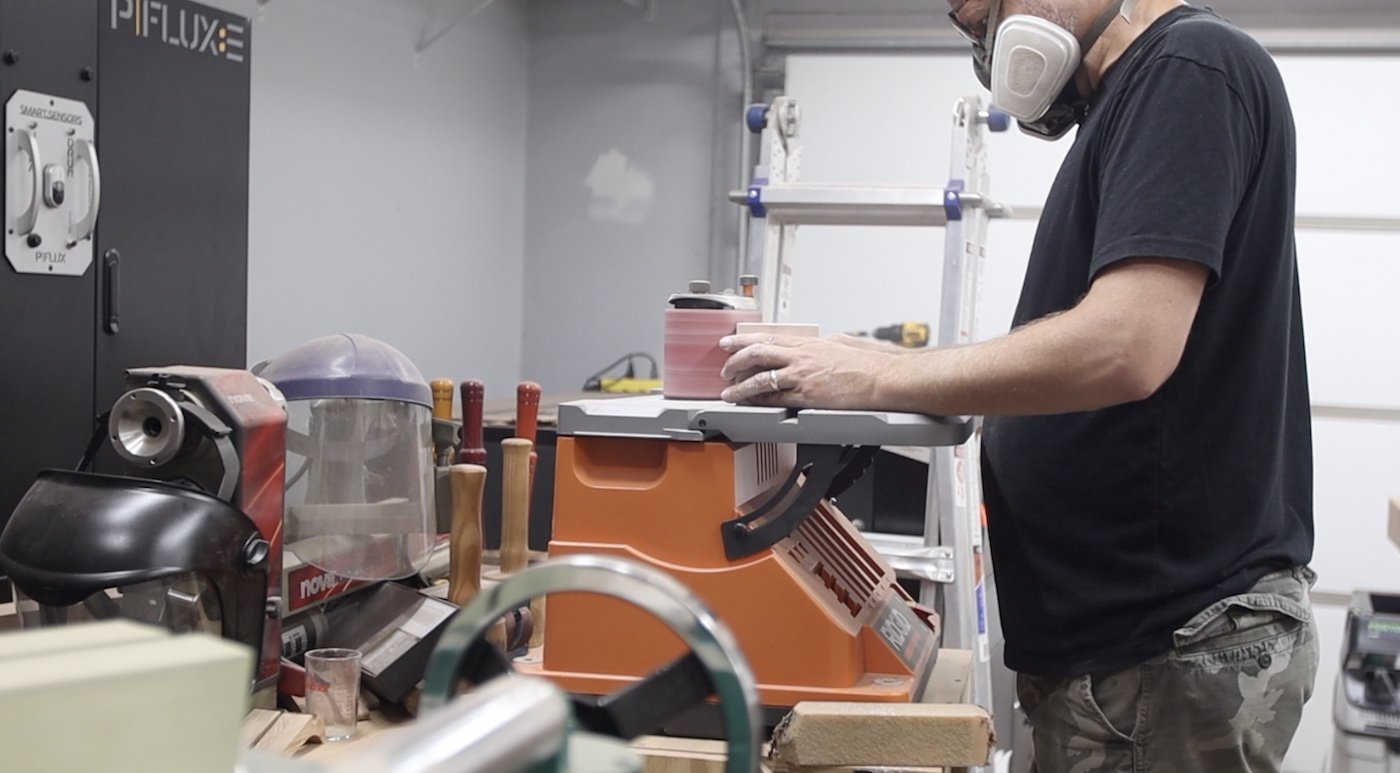
Then, I just sand the bandsaw marks off at the oscillating spindle sander. And finish it off with some hand sanding to get rid of all of the marks.


APPLYING FINISH:
I’m using a clear finish for this bed frame. It is High Performance water-based polyurethane by General Finishes. It does the least amount of yellowing on maple that I’ve found, and it is quite durable. I used it on the headboard that I made last year and it still looks great.
The slats that will go under the mattress don’t really need any finish on them, but I’m painting one coat on them so they can just be a little more controlled from moisture changes over the years. My wife helped me out with this and brushed on one coat on all of the slats.
Then, I painted about 3 coats on the rails and legs, since they would be seen more. I sanded lightly in between coats and then used a brown paper bag at the end to burnish it a little. This leaves them feeling nice and smooth.


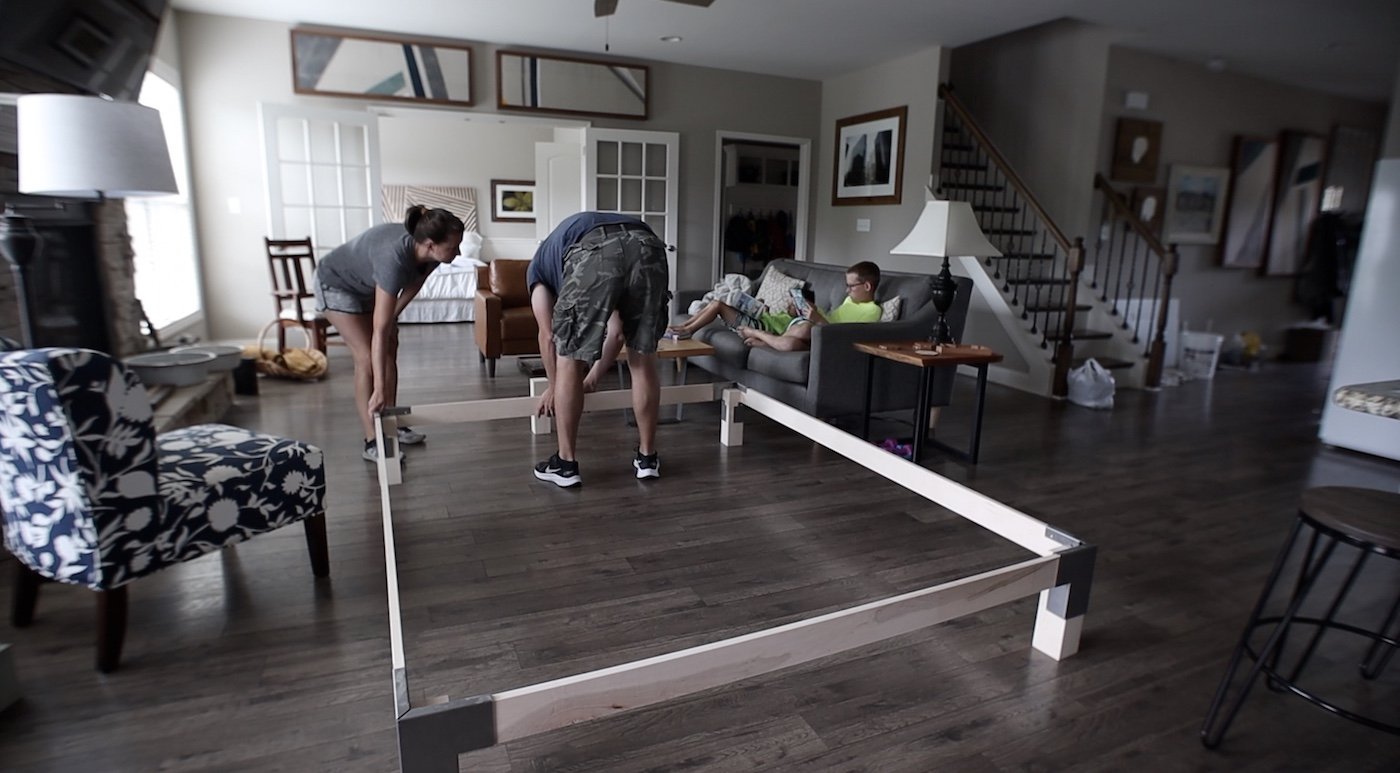
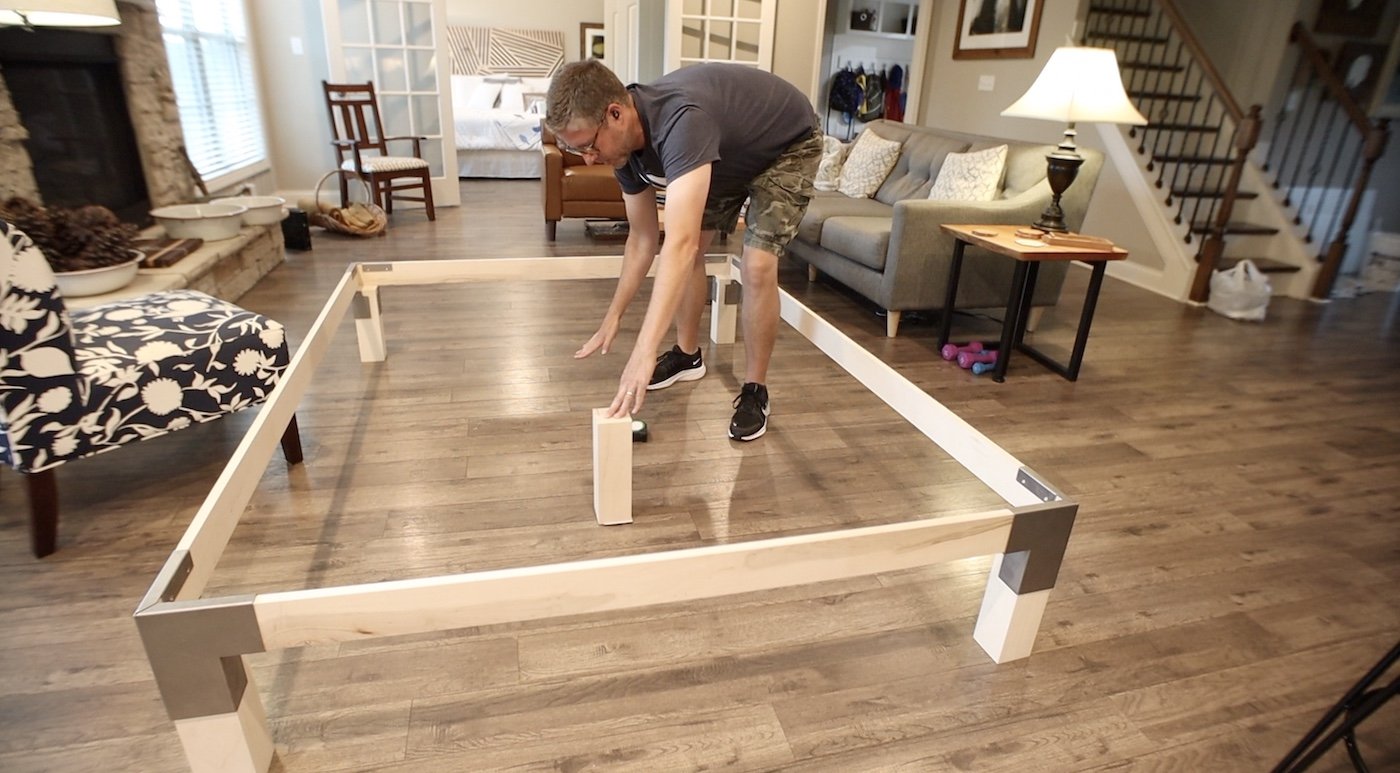
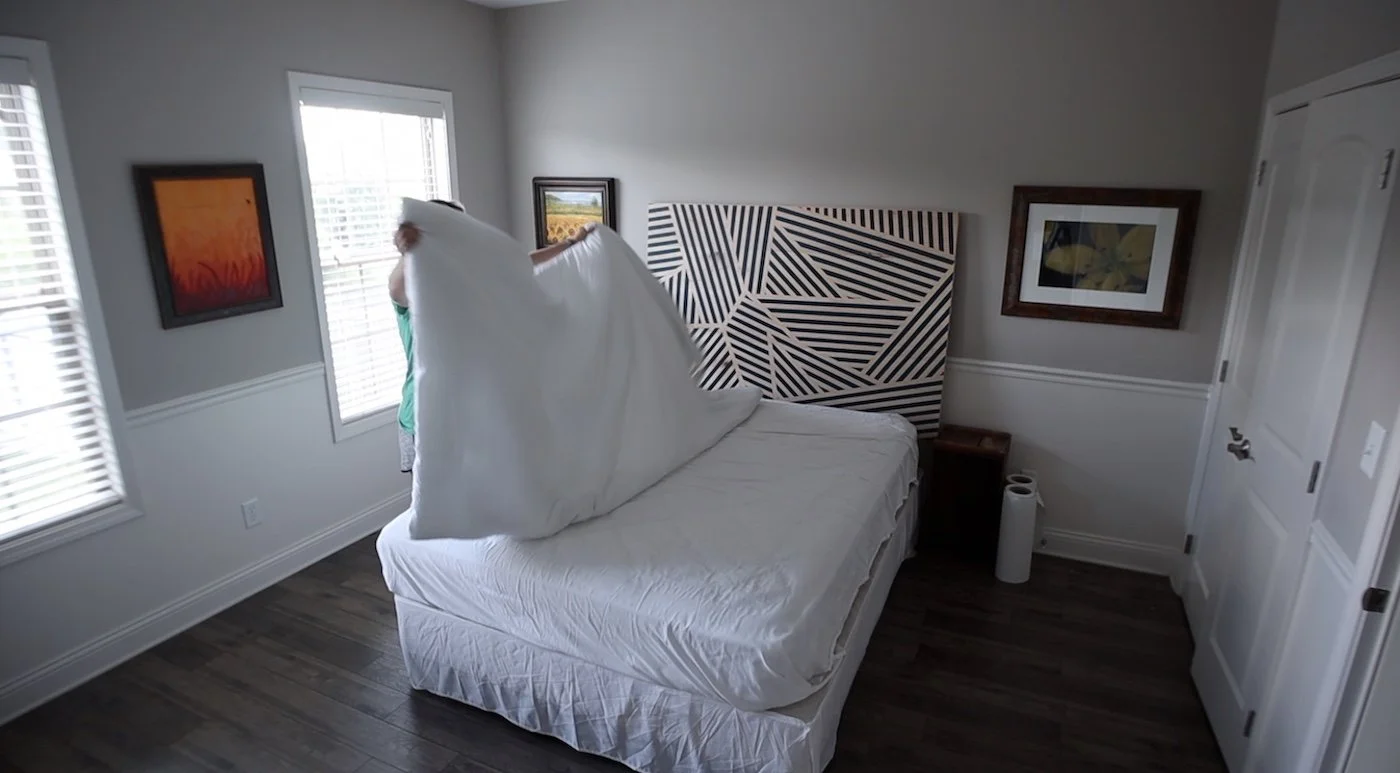
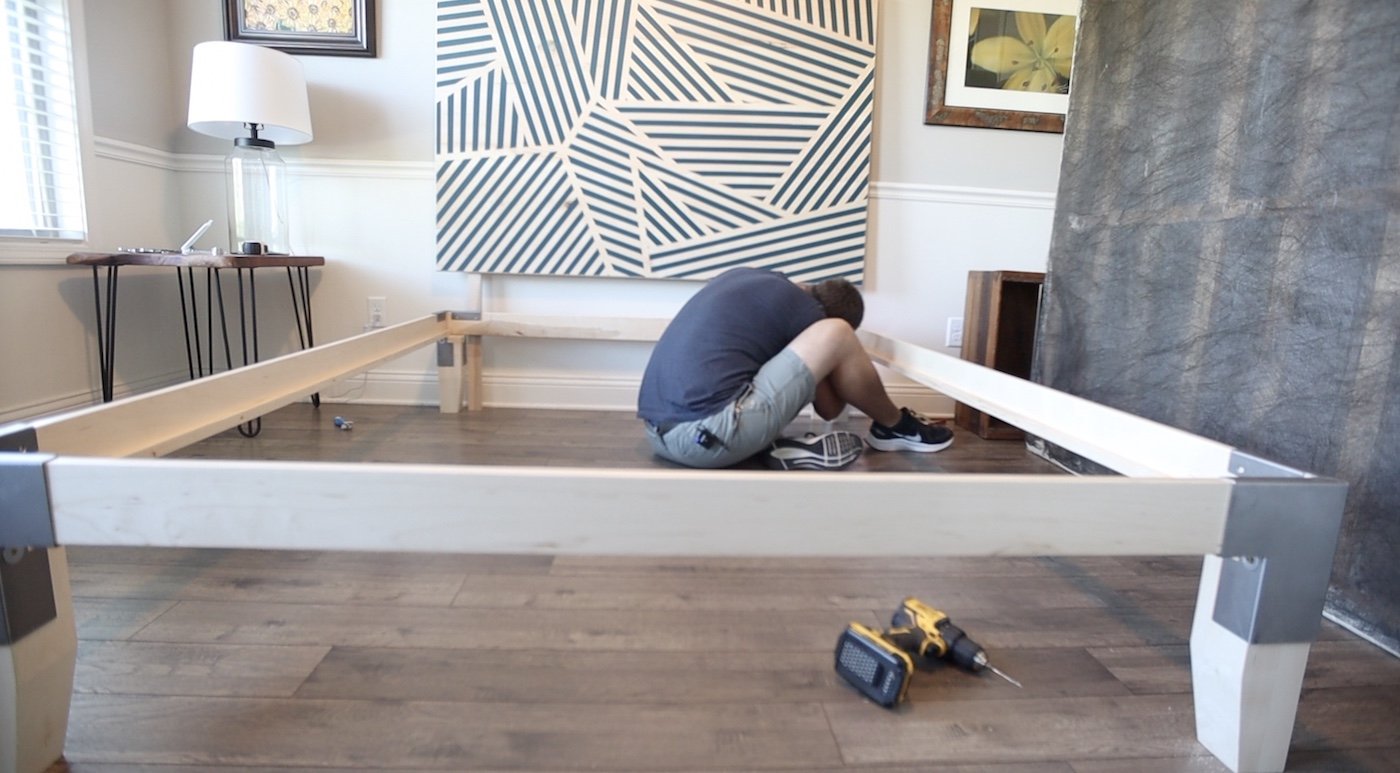
ASSEMBLING THE FRAME:
Before I could assemble the frame, we had to strip the bedding off of the current setup. We just had one of those basic metal frames holding the bed previously, so I broke that down and got it out of the way.
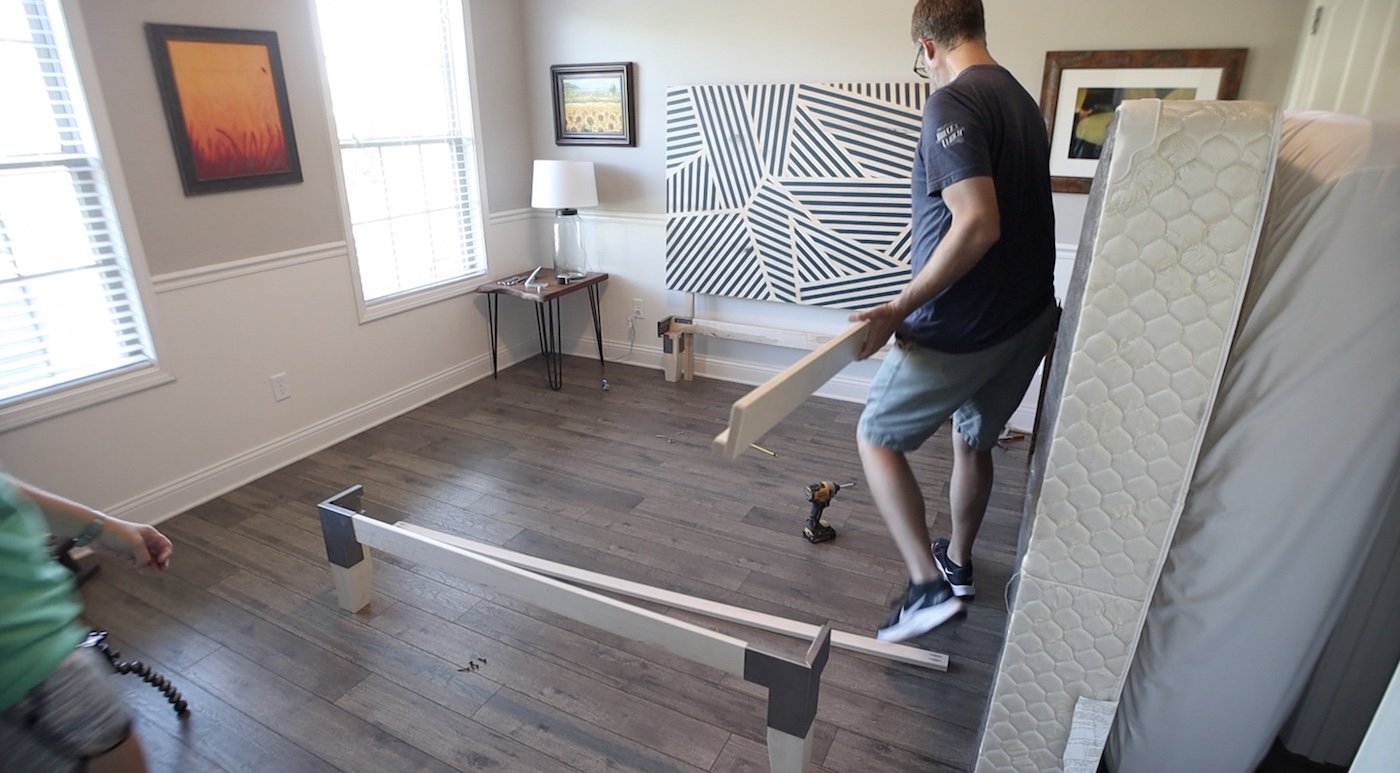

BRACKET DETAILS:
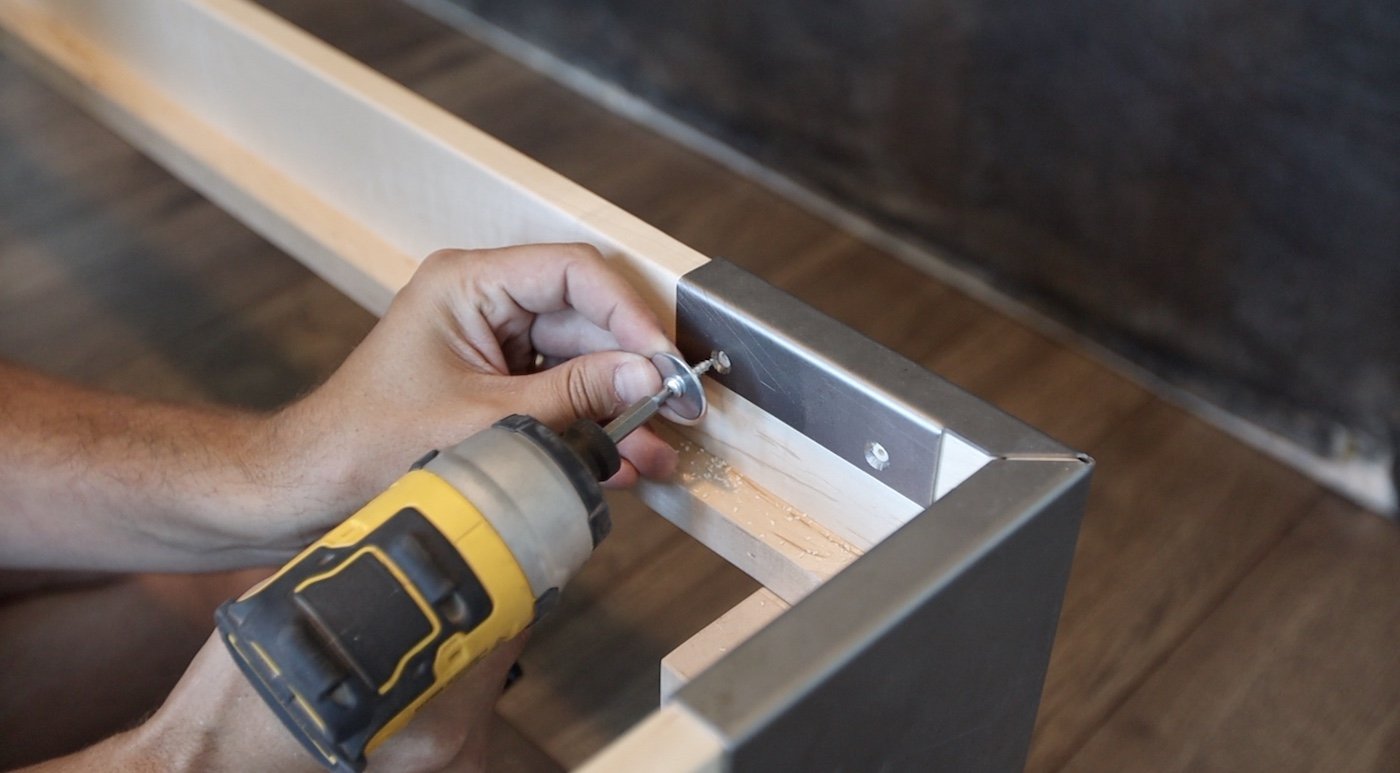
As I mentioned earlier, the corners of this bed frame have metal brackets made by Self Made. They’re designed to use readily available wood sizes like 1x6 and 4x4 for the rails and legs. You just slide everything into the slots of the metal legs (be sure to do them in the right order…ask me how I know).
To secure the wood to the metal brackets, I used some screws and washers. The holes that are pre-drilled into the metal are a little over-sized on purpose. This allows for seasonal wood movement, since there is a little room around each of the screws. I just put a couple of screws into the legs and two screws into each of the rails at each bracket.

ADDING THE CENTER SUPPORTS:
Now, it is time to add the center board that the slats will rest on and the supports that go to the ground to help distribute the weight. I attach the center board with a couple of pocket screws and no glue. I want to be able to break this down and take it apart in the future.
For the ground supports, I just screwed straight down from the center rail into the ground supports. Again, not using glue.

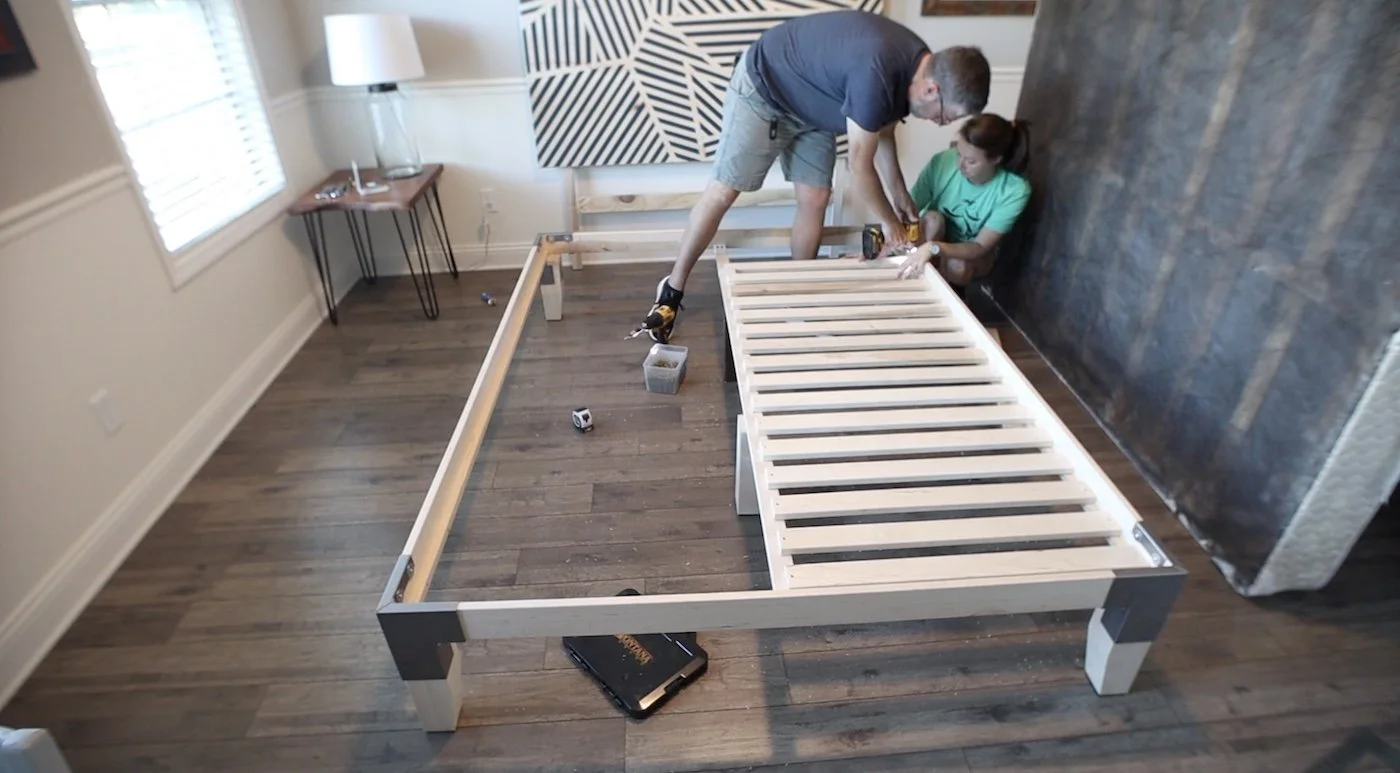
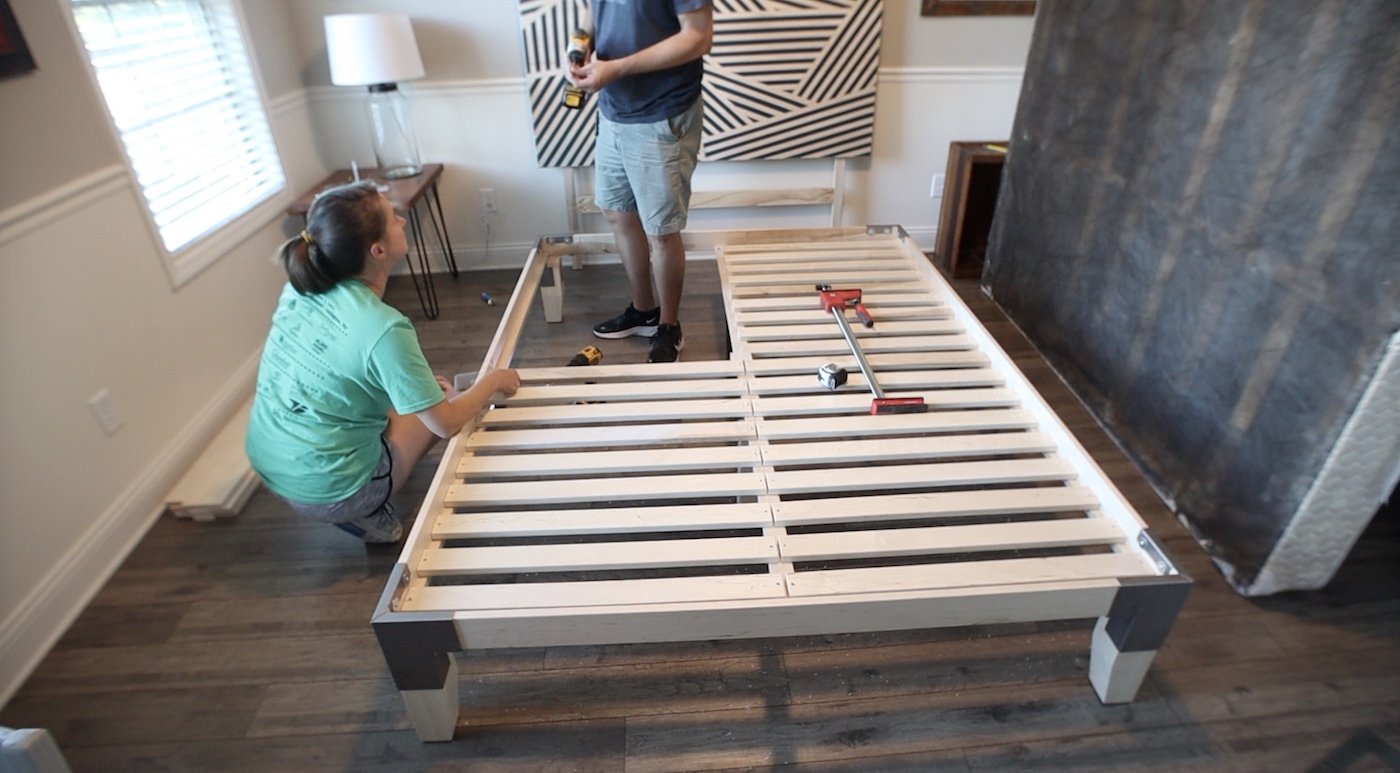
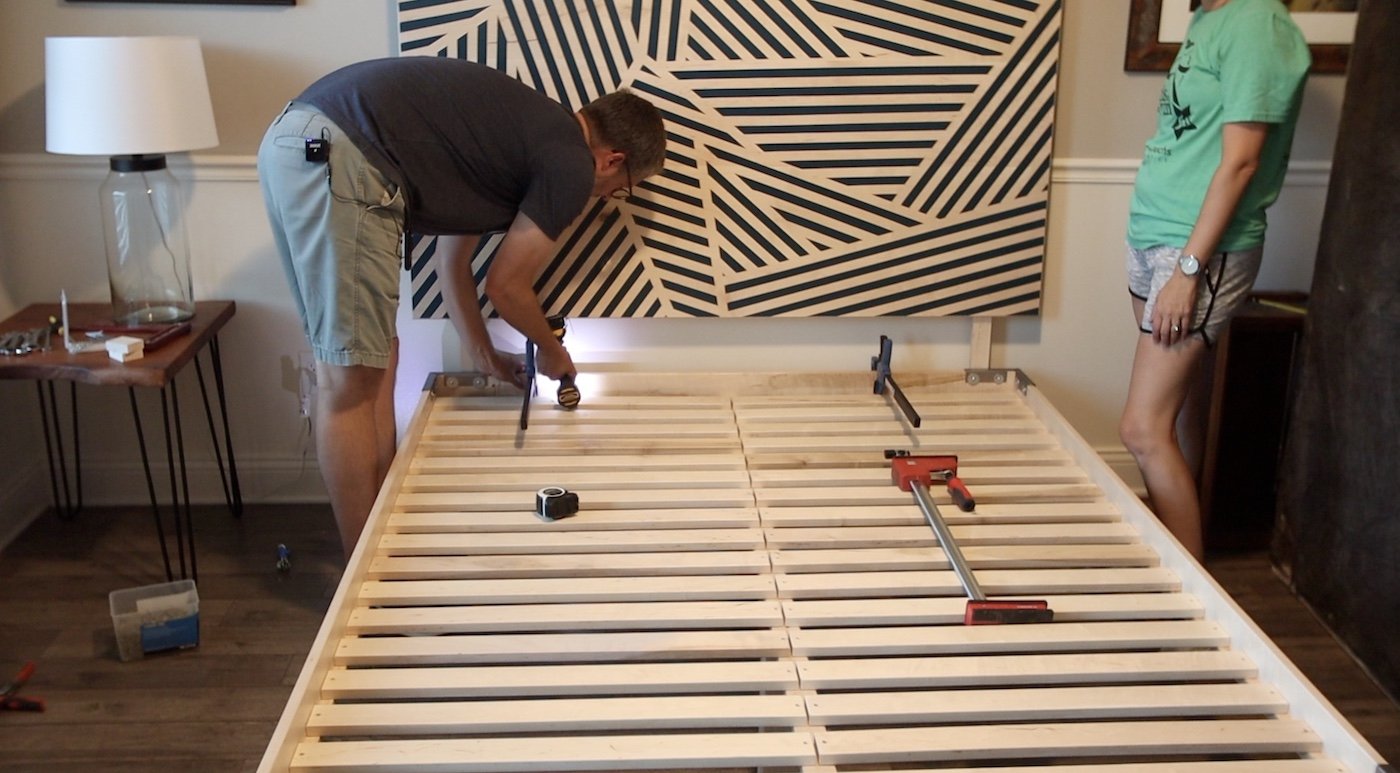
SECURING SLATS FOR MATTRESS SUPPORT:
I looked up how much space there should be between slats for a queen mattress. From my research, I saw that you should have no more than 2 3/4” between slats and you can go narrower if you want. You don’t want it to be a solid surface though, since your mattress needs to have air flow. I went with about 1 7/8” between slats.
To make sure to get those slats spaced properly, I cut a couple of small spacer blocks to use that were 1 7/8” long. With my wife’s help, we could hold a spacer block at one side and in the middle, bump a slat against the spacer blocks, pre-drill a couple of holes and secure the slat with a screw at each end. Just like with some of the other stuff, I’m not using glue here, because I want to be able to take this back apart if I need to. There were a ton of slats, so I just kept going, using the spacer blocks until all of the slats were added.


FINISHING TOUCHES:
Once all of the slats were secured, there were a few finishing touches that needed to be handled. We had to center the bed frame on the headboard.
I actually realized that the easiest way to secure the bed frame to the headboard was to add a horizontal board spanning between the two legs of the headboard. Then, I could put some screws through the top rail of the frame into that horizontal board, connecting the frame and headboard quite securely.

CONCLUSION:
That’s all there is to this project! I know it seemed like a lot of steps, but it wasn’t bad at all. If I had material that was the right length, I would have definitely made the slats go all the way across the bed. I think having them shorter made for a decent amount more work, but it saved material from being wasted, so it was worth it to me.
I hope you enjoyed following along with this project. If you’re not already, please go watch the video on my YouTube channel and drop me a like and comment on that video. If you have any questions, let me know and I’ll answer them!
Check out some finished photos of the bed frame and headboard below. I love how they both turned out and how they complement one another in their modern design!
See you soon on another project I’m working on…