Making and Installing a Leg Vise
INTRO:
In this project, I’m making a leg vise that goes on the side of my newly-made workbench. If you’ve not seen that traditional woodworker’s workbench project yet, check it out. I purchased a set of plans for the workbench from Jay Bates, and he includes dimensions for this leg vise in those plans. They’re good plans, so I would recommend picking up a set if you’re looking to make this. Follow along with the video or keep reading to see how I made and installed it.
BACKGROUND:
I’ve never had a vise or holding solution in my shop. This is a first for me, and since I’ve completed this, I’ve found so many times that it comes in handy to be able to use both hands on an operation. I’m really excited to have this in my shop now!
This leg vise had a pretty unique story. It is made from a red oak tree that was blown over on my parents’ land 14 years ago by Hurricane Katrina. That was a horrible storm for a lot of Mississippians (and more) and this will serve as a reminder each time I use the leg vise.
TOOLS & MATERIALS: (affiliate links)
Leg vise hardware: https://amzn.to/2Hyyvdm
Table saw - https://amzn.to/2C11FzS
Miter saw - https://amzn.to/2uC092T
Bessey parallel clamps - https://amzn.to/2S4m4tv
DeWalt planer - https://amzn.to/2CXLyo7
Random orbit sander - https://amzn.to/2C0gR0k
Forstner bits - https://amzn.to/2pGFSGn
Jointer - https://amzn.to/2myoGBj (Mine is a Grizzly, but couldn't find a link for it)
Bandsaw (same model as mine, but mine is anniversary edition)- http://amzn.to/2BI2xJV
5 Minute Epoxy - http://amzn.to/2pw2zxp
Drill & driver - http://amzn.to/2C0JDfa
Miter saw - http://amzn.to/2GxJbX4
Japanese pull saw: https://amzn.to/2ZuzYvG
Titebond II wood glue: https://amzn.to/2XVcefw
STEPS:
CUSTOMIZING HARDWARE:
I wanted to customize my hardware a little bit. I don’t plan on painting all of my tools to match my logo, but this was a fast, simple change, so I went for it.
I started by cleaning the surface of the painted parts with mineral spirits to remove dirt and grime. Then, I just scuffed up the paint and finish a bit with some steel wool. This would allow the new paint to stick better. Then, I started taping off all of the parts that did not need to get paint on them.
A few light coats of some Montana spray paint that I had in my logo color, and I set that aside to fully cure.


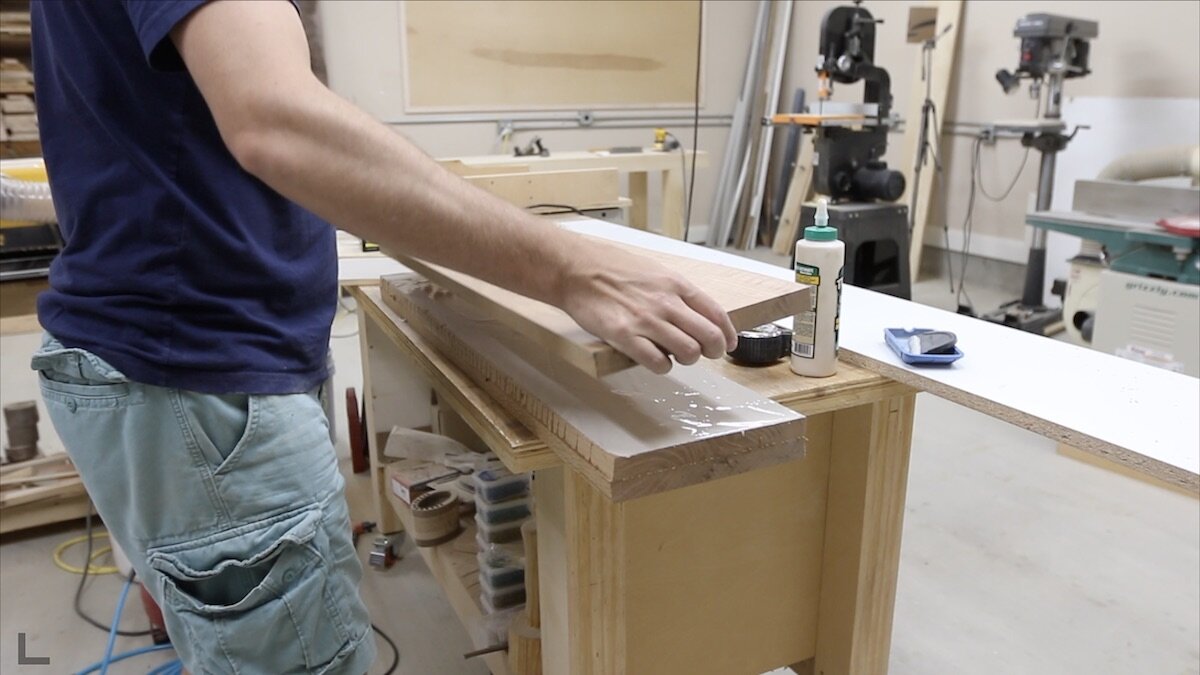
LEG VISE MATERIAL:
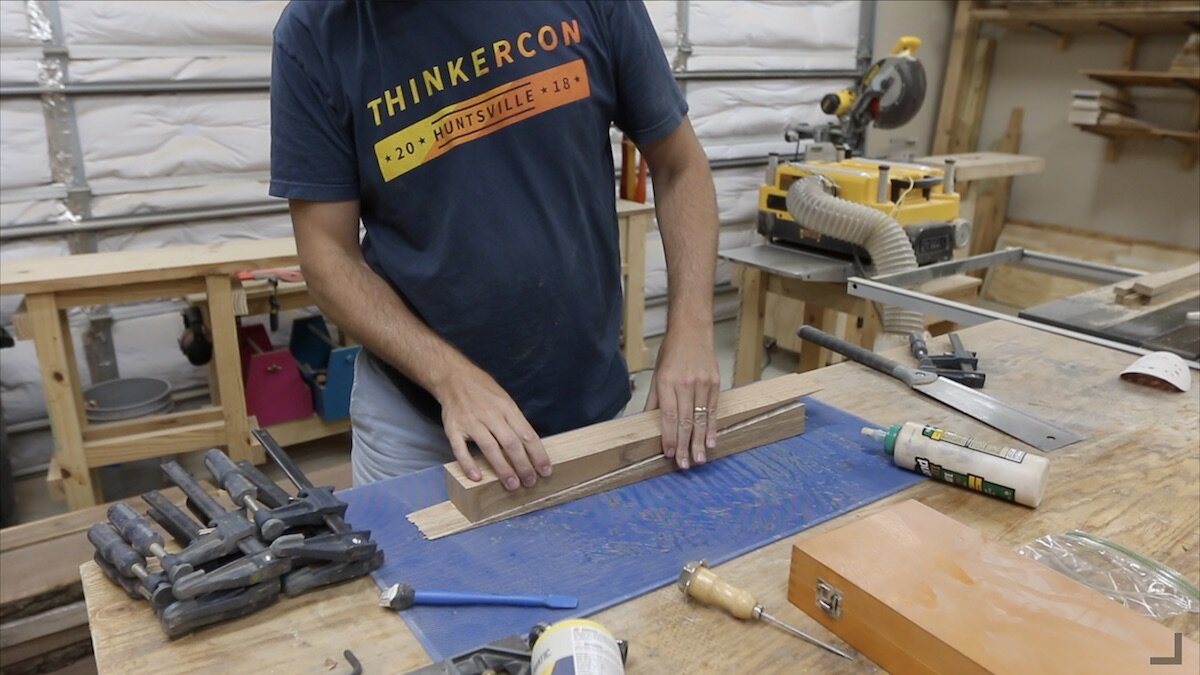
I’m using red oak for my leg vise, as I mentioned above, but I didn’t have anything that was thick enough. So I just grabbed a few pieces I had that were wide enough, milled them flat and parallel, and glued them together.
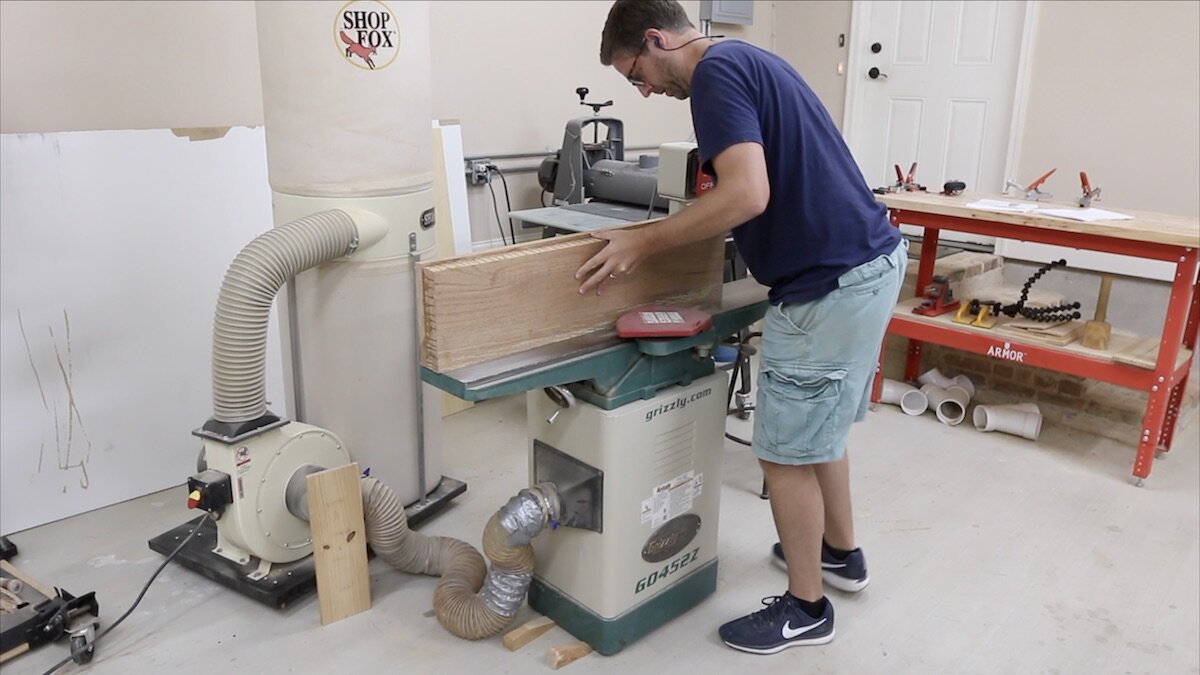
FINAL MILLING OF LEG VISE:
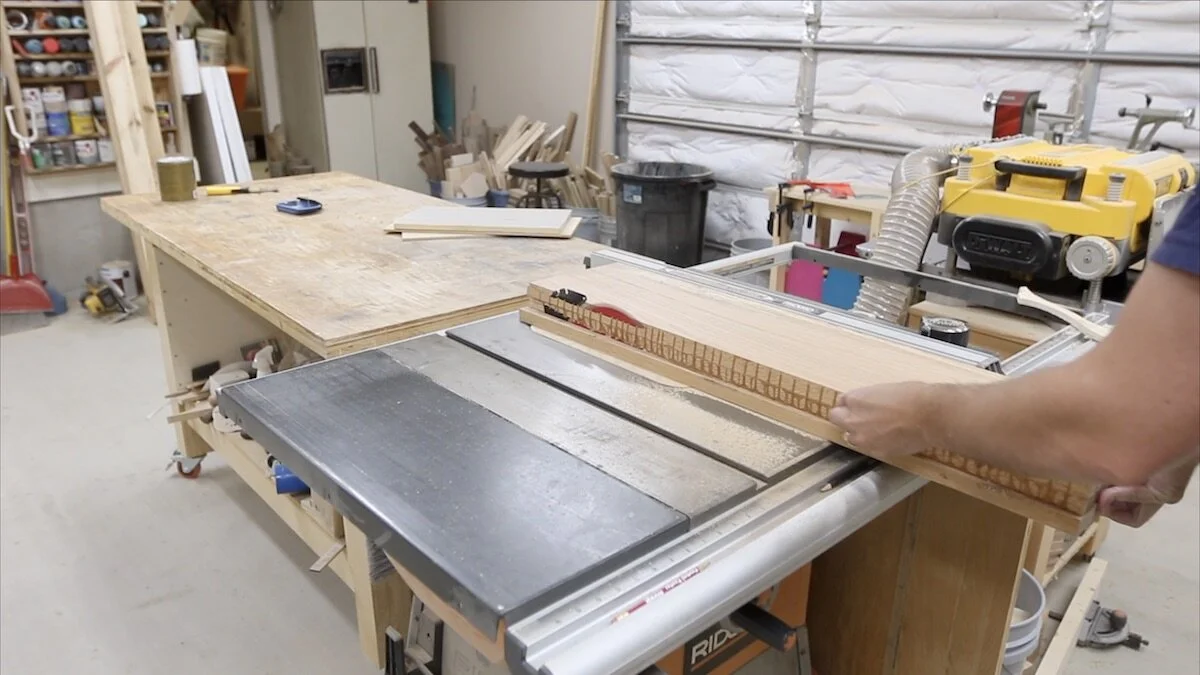
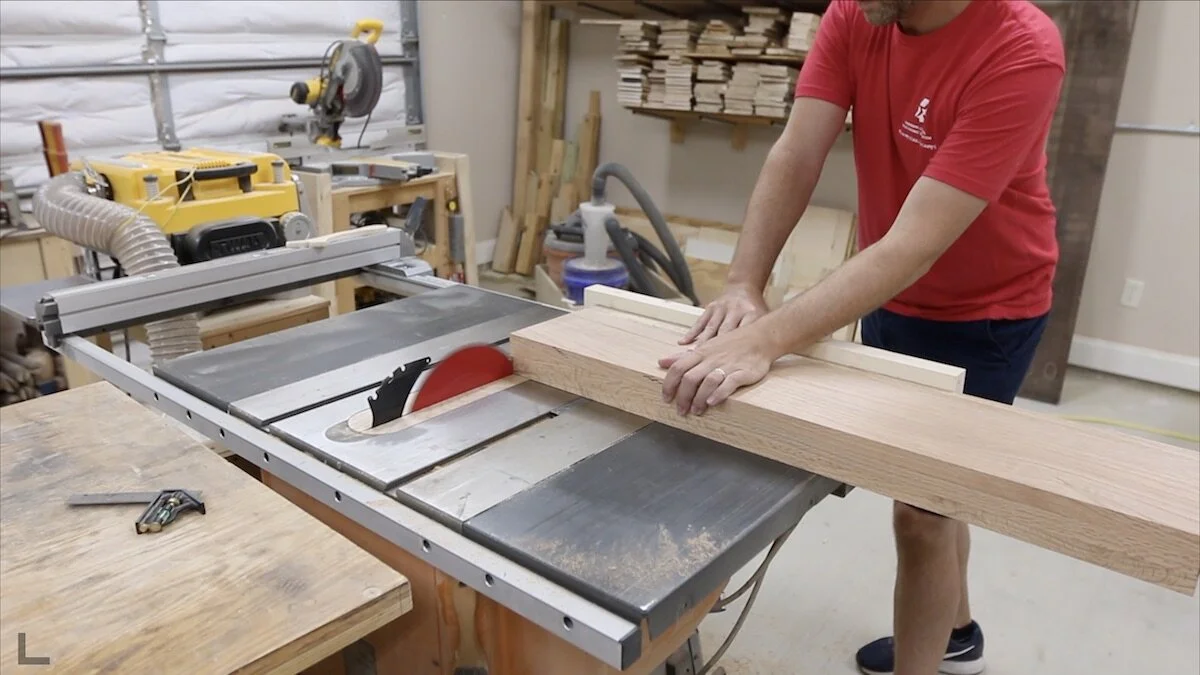
After the glue was dry, I took the blank over to my jointer and ran it across a few times. This established one flat side that was square to one of the faces. Then, I took it over to my table saw and put that freshly-jointed side against my table saw fence and ripped the other side parallel.
Then, I just used my miter gauge to clean up one end of the vise before taking it over to the workbench, standing it up on a small piece of 1/8” plywood, and striking a line at the top of the workbench’s surface. I took it back over to the table saw and cross cut almost to that line. I left it just a little bit proud so I could clean it up later once installed with a hand plane.


LAYING OUT FOR THE HARDWARE:
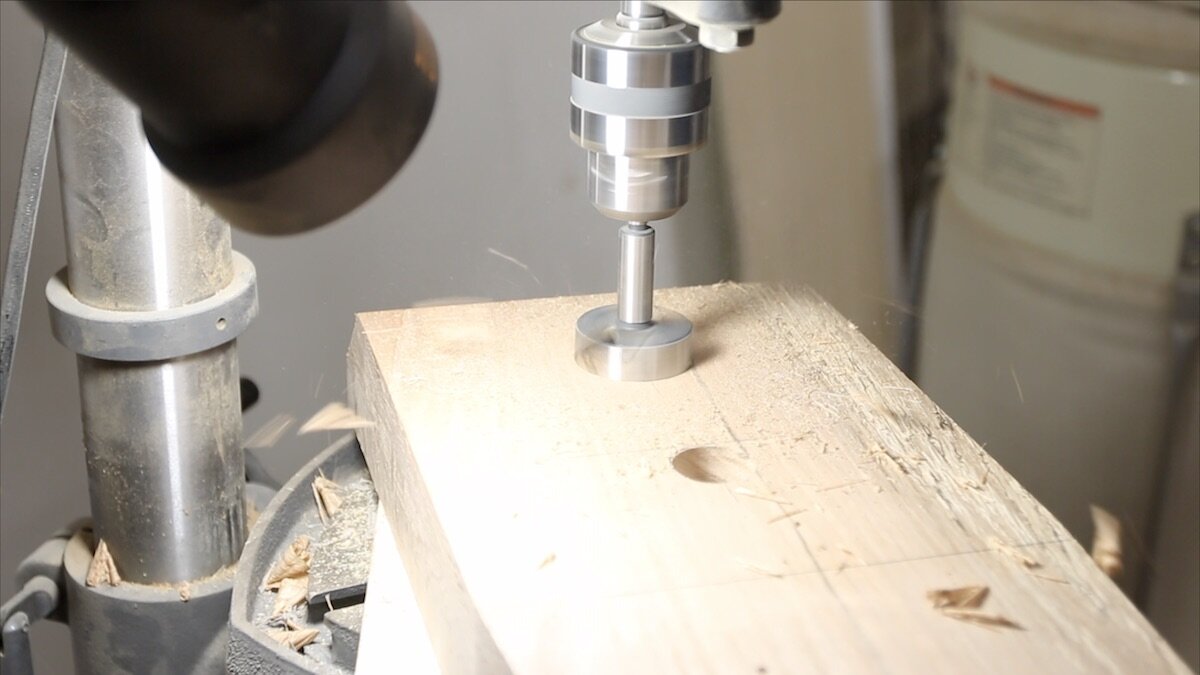
Next, I started laying out where I needed to drill the hole to accept the hardware. I took it over to the drill press and drilled all of the way through.


SHAPING THE LEG VISE:
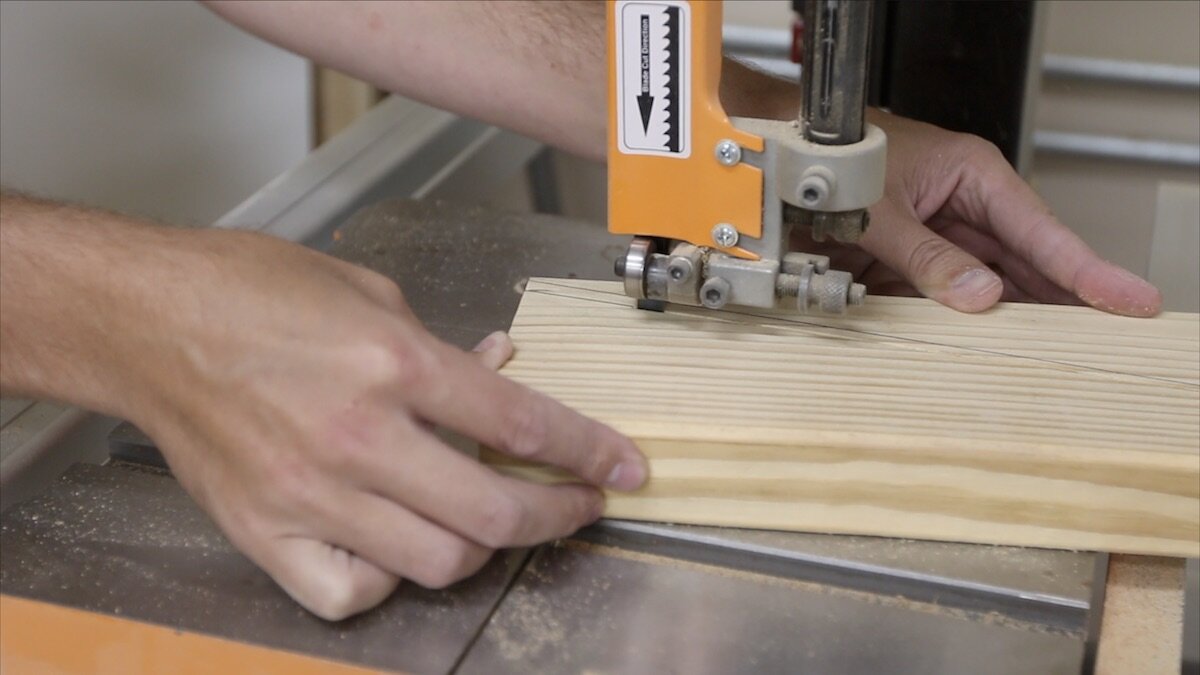
Next up was shaping the leg vise a bit. To do this, I chose a spot a little above halfway up and then a place about 2 or so inches in from either side at the bottom, struck a line and cut that out on the bandsaw. Then, I took the entire leg vise over to my miter saw and cut the top front face of it about 2/3 of the way through at a 45 degree angle. This is supposed to give some more clearance for when you have something clamped in the vise and are using a saw. Plus, it looks cool!
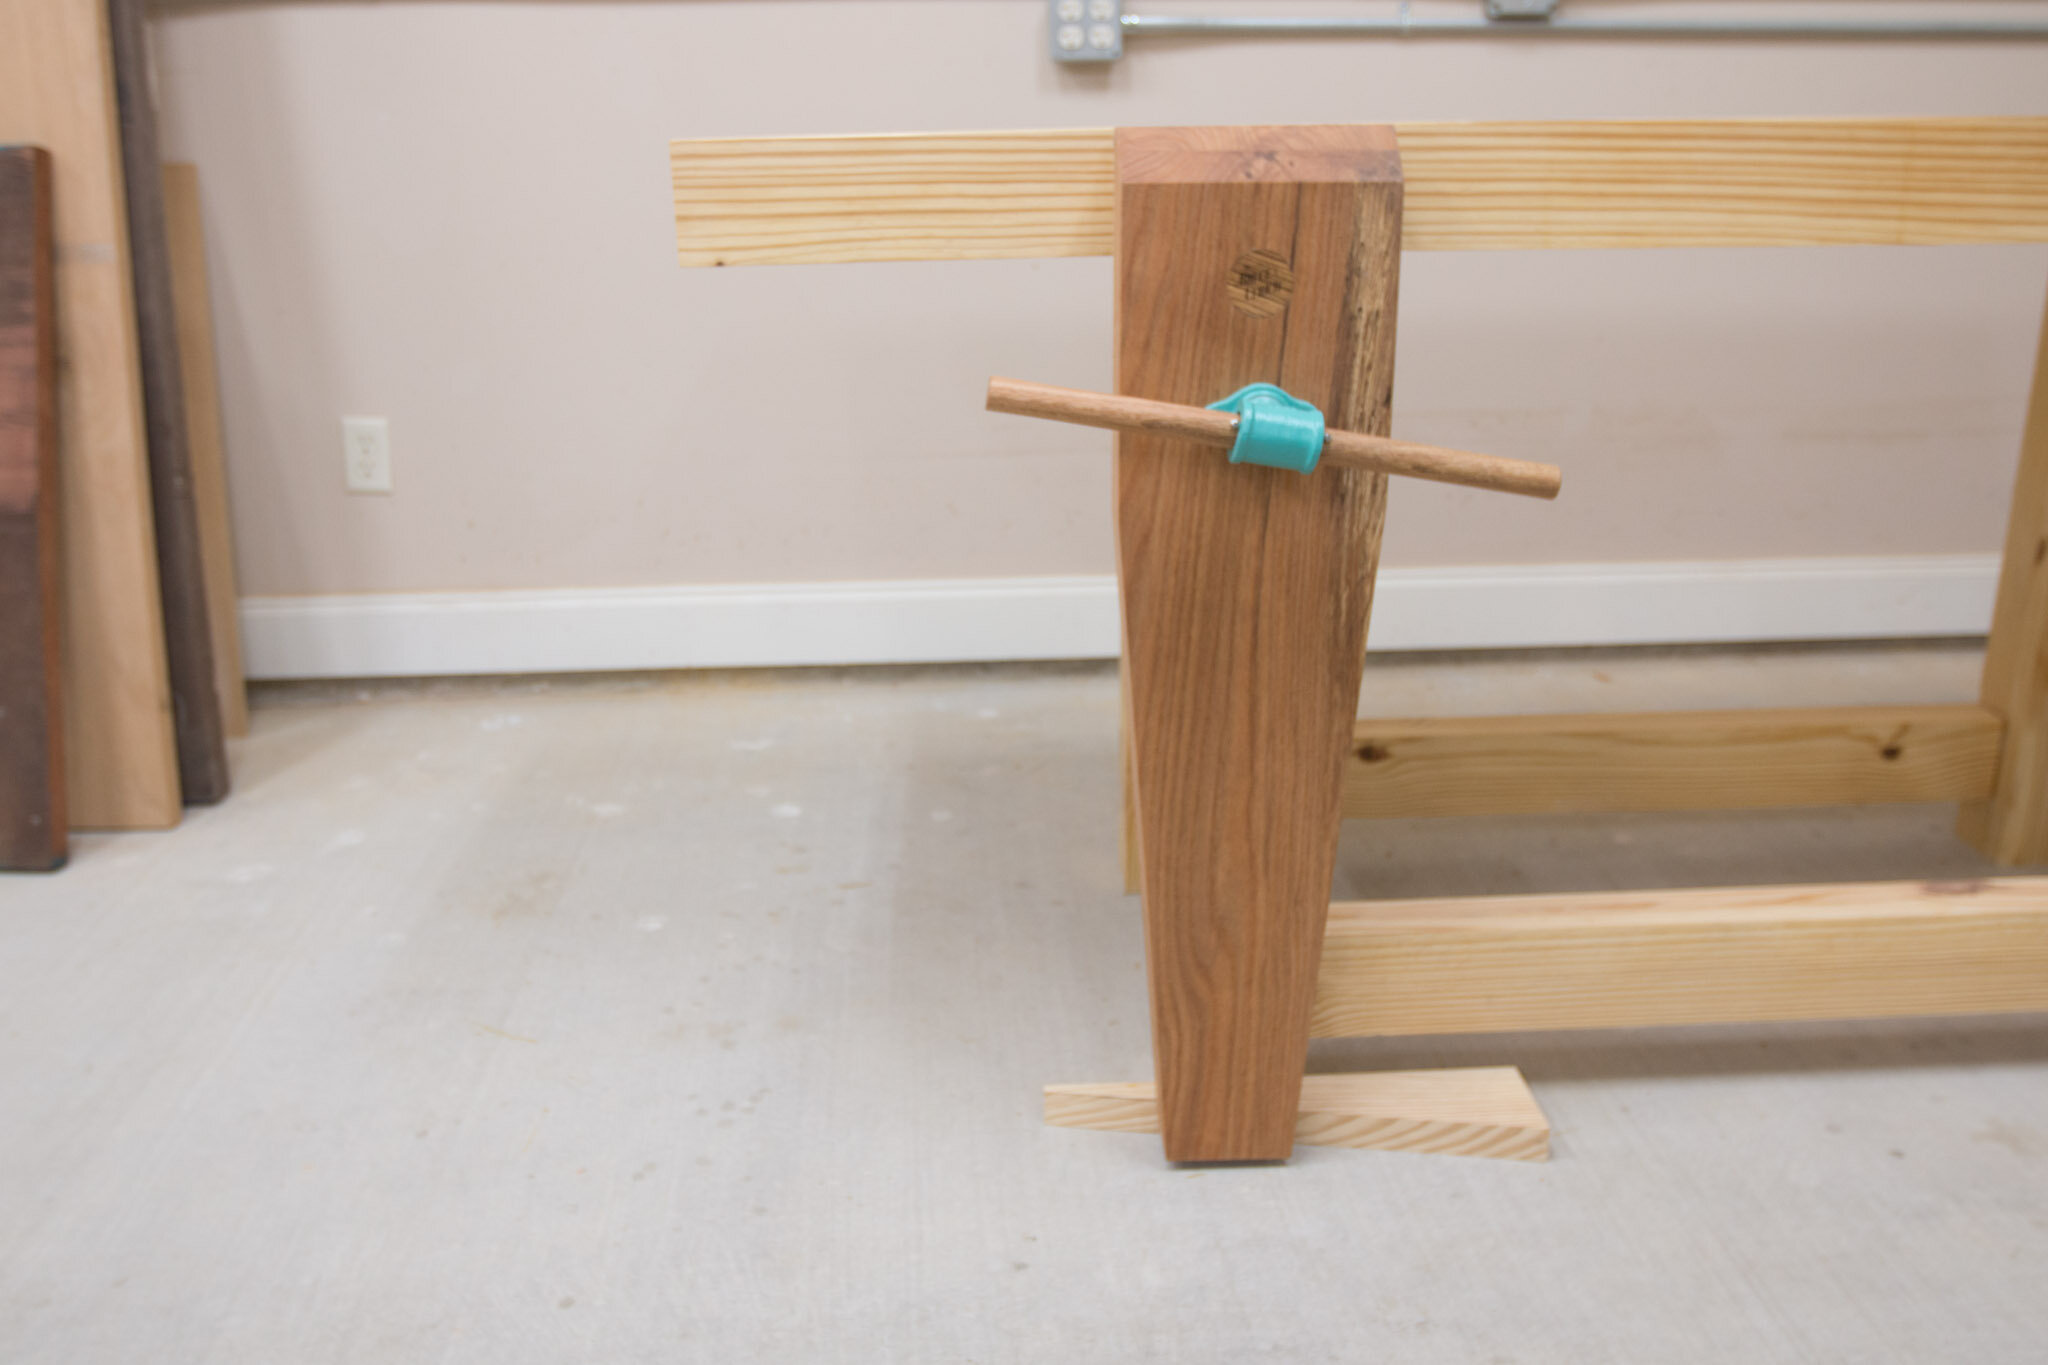
I also cut a wedge out of some pine on the bandsaw. This will be used on the floor to help keep the leg vise from racking when you clamp something at the top. I’ll explain more at the end of the post about how it functions.
Once I had the wedge cut and cleaned up, I used it to trace a line of the same shape onto the bottom of the leg vise on the back side. Then, I used a handsaw to cut out that shape.


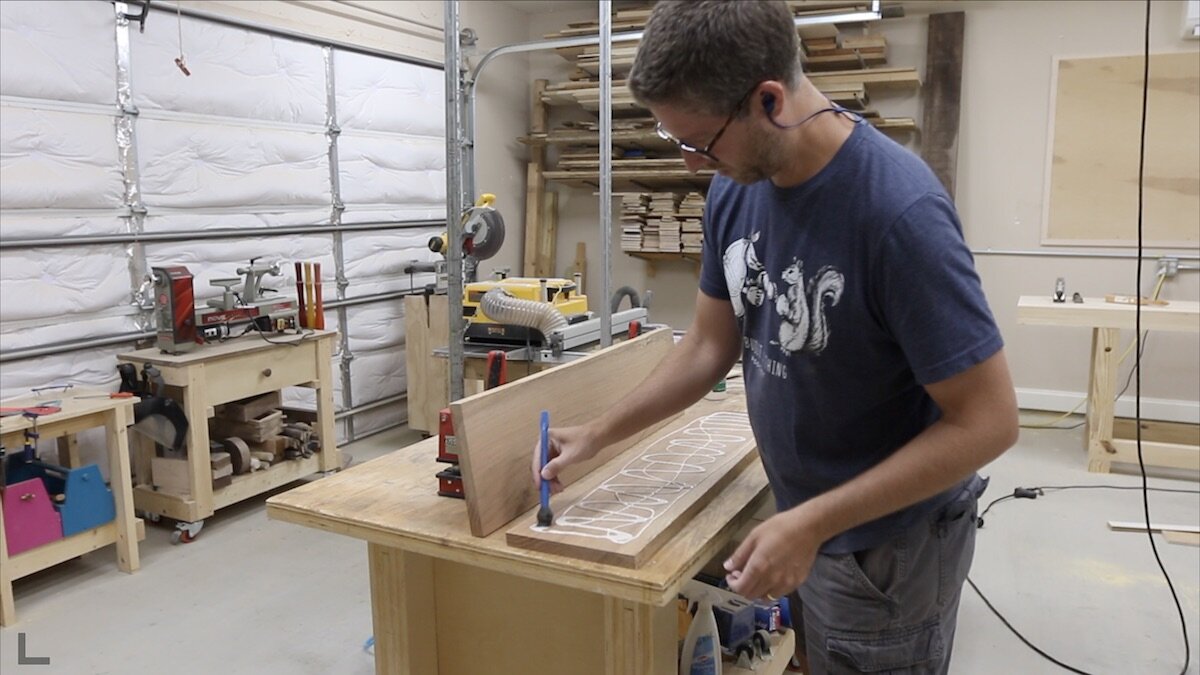
ADDING SOME DECORATION:
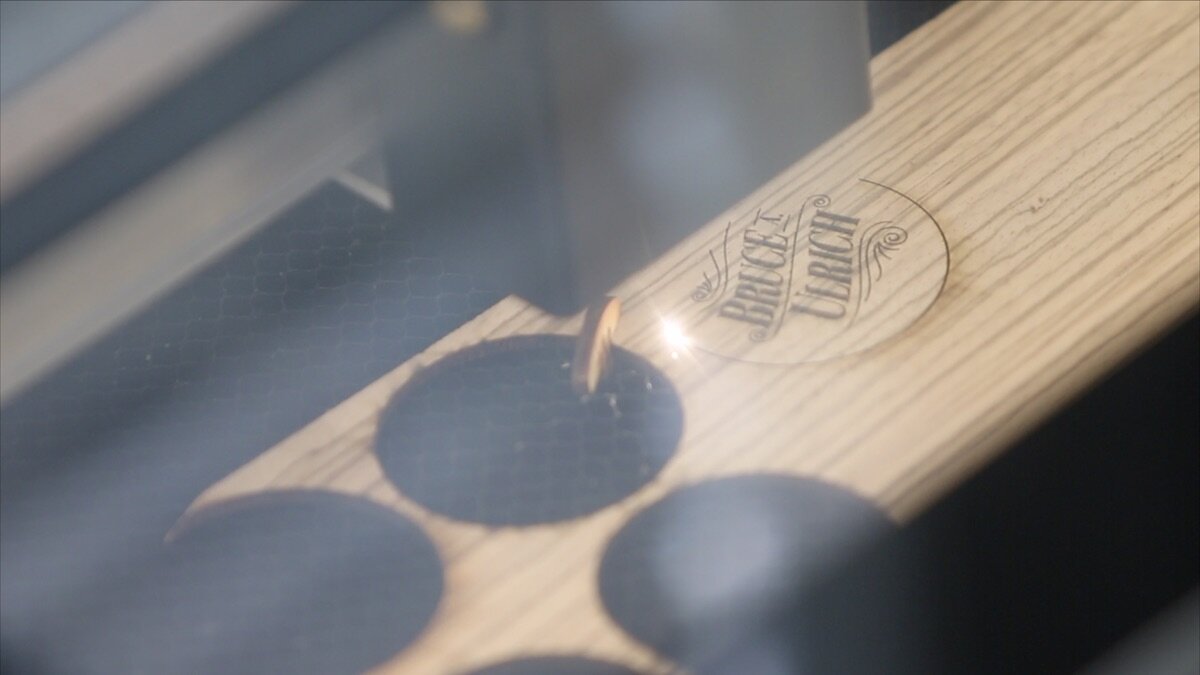
I wanted to add my logo to this workbench leg vise, and rather than using my branding iron, I used a method I’ve used on some other projects recently. I drilled out a shallow hole in the face of the leg vise. Then, I used my Glowforge laser engraver to cut out a wooden token with my logo engraved into it. This token is the exact size of the hole I drilled out with a simple forstner bit, so it fits right in. Then, I just glue it in, wait for the glue to dry and sand it flush.


INSTALLING HARDWARE:
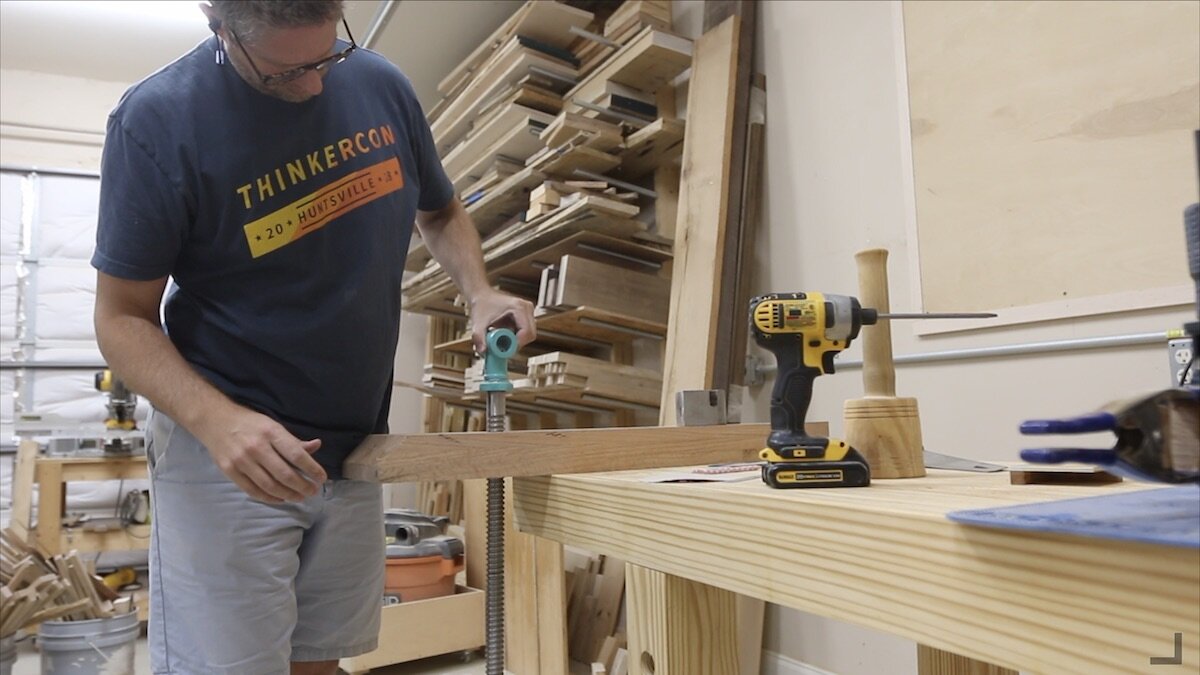
Next, I did a test fit of the hardware and marked where I needed to pre drill some holes. I removed the hardware and then used a small bit to drill some holes for the soon-to-follow screws. Then, I put all of the hardware back in and secured it.
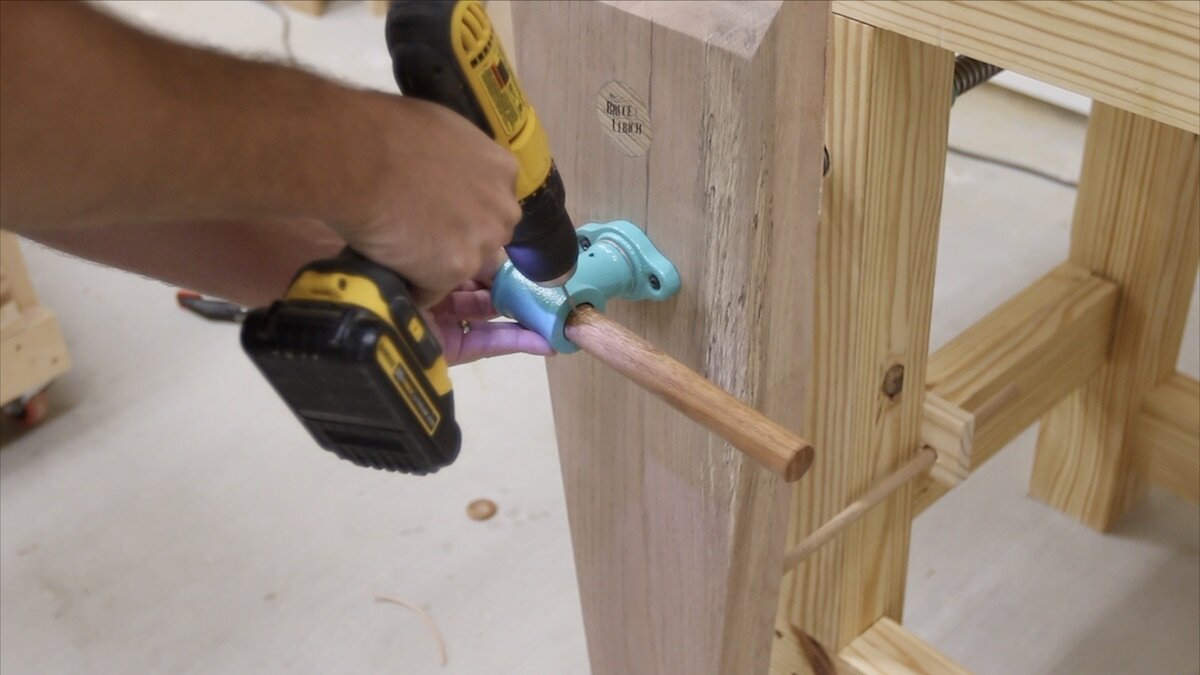
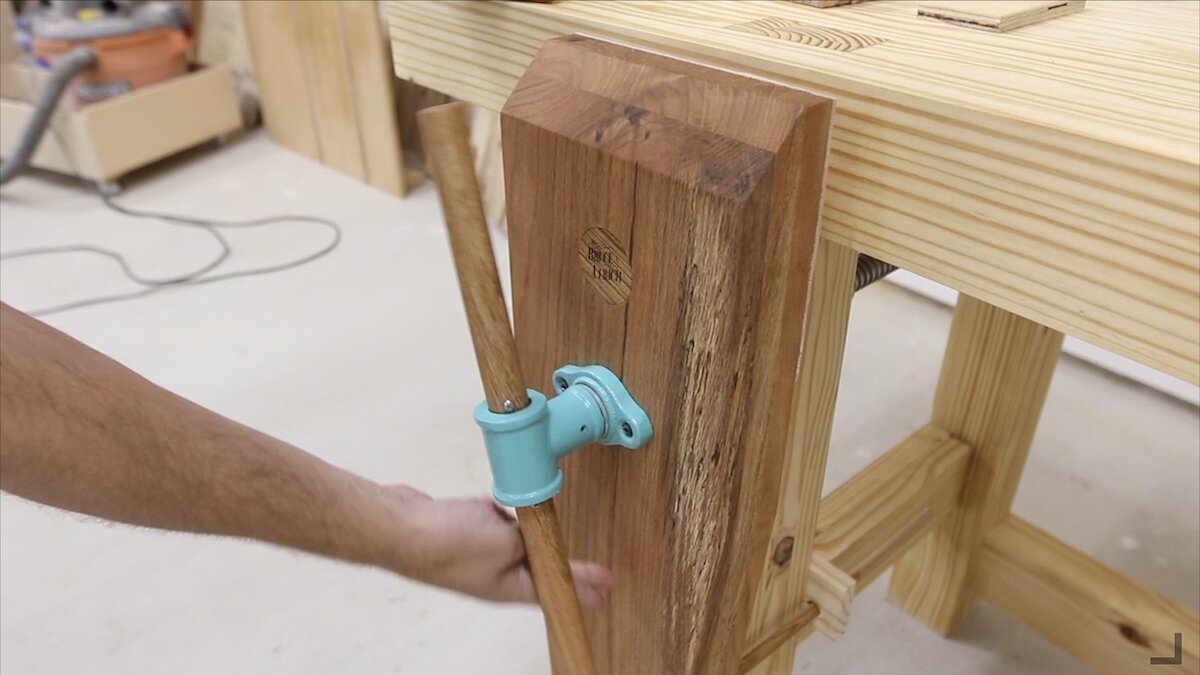
Before adding the hardware back, I drilled a hole to accept a small dowel on the back side of the vise. This would be held in place by another small piece of wood secured to the workbench base and would keep the vise from twisting or swinging side to side. It needs to be pretty tight, but not too tight. We want this thing to work very effortlessly.
Then, I just trimmed the dowel to length once everything was installed properly and I saw how much travel of the vise was needed.


MAKING THE HANDLE:
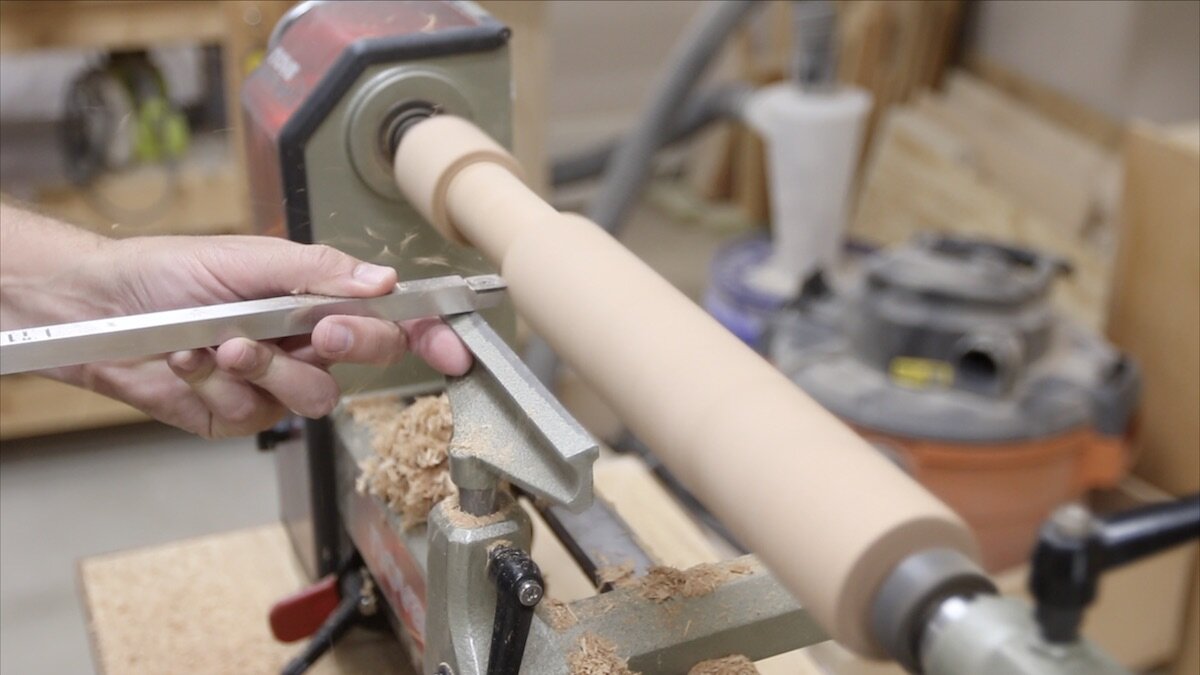
It was time to turn my attention to the handle. For the handle, I used the two wedge-shaped pieces that were cut of of the sides of the leg vise. I glued them together and then the blank over to my lathe to turn it round. I started out with a rougher, and since I was turning a simple spindle, this was not too tough. I just used some calipers to figure out how thick I needed to make the handle, and once I could get the calipers over the handle, I was done. I sanded up to about 800 grit and then applied some walnut oil as finish.
Finally, I secured the handle by pre-drilling a couple of holes on either side of the main leg vise hardware, and adding a couple of pan-head screws. These screws keep the handle from falling out either side and it ended up being a pretty easy and nice solution.


ADDING LEATHER TO THE JAWS:
So, why would you add leather to the jaws of the leg vise anyway?
Well, it really does help with grip, and from most of what I’ve seen and read, you only want to add the leather to one side of the jaws. That way, the other side remains a large flat surface to clamp to.
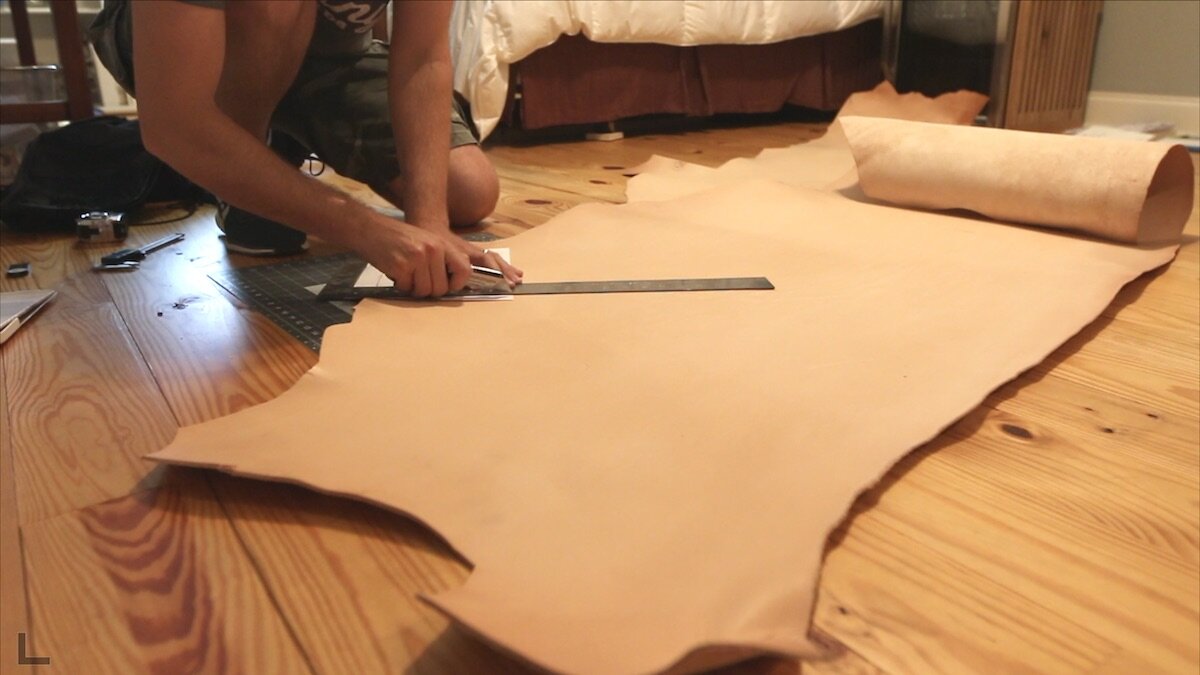
To figure out how much leather I needed, I used an old trick you might have used when you were in elementary school with some freshly-fallen leaves. I did a rubbing. I grabbed a regular sheet of paper and a pencil and just rubbed the edge of the jaws to show right where the vise jaws were. Then, I took this paper to my side of leather and cut a little proud of the line. I wanted to be able to trim it exactly flush after I secured it to the leg vise.
To secure the leather, I used contact cement. The stuff is stinky, but it works. Simply apply a generous amount to both surfaces, wait about 15 min and then stick them together. Each surface that has contact cement on it will adhere. I clamped this and let it sit for a while, just to make sure it was secured well.
Then, I could come back with a sharp razor blade and trim the leather perfectly flush with the leg vise.


ADDING FINISH:
After some final sanding by hand of 220 grit, it was time for some finish. I’m making my own wipe-on poly for this project, but I’m not going into great detail about that in this post. Stay tuned for more details about this DIY professional wood finish.
Being a wipe on finish, it is very easy to apply. Simple flood the surface with the finish and wipe in with a cotton rag. All you. have to do is make sure to come back and not leave any streaks, but that’s it!


HOW THE LEG VISE WORKS:
This leg vise has a very easy operation and utilizes a wedge on the floor and I mentioned earlier. As you can see from these photos, it can easily be used with one or two fingers, and that part impressed me.
To use it, simple grab the piece you’re wanting to hold in the vise. Close the vise until it makes a little bit of contact at the top. Then, use your foot to kick in the wedge until it engages with the vise at the bottom. Then, turn the handle of the vise about another 1/8 turn and it will be very solid. I can’t believe that’s all it takes to hold it so well, you can’t even get the piece to move when pounding on it!


CONCLUSION:
Thank you so much for checking out another project and reading until the end! If you haven’t already, please go watch the video and give me a thumbs up. It really helps! I hope you enjoyed it and be sure to brows some of the finished shots below.
See you soon!


For reference, this cutting board is a large one…12”x18”x1 1/4” thick!