Scooped Serving Boards
A few months back, I made the first scooped out section in a cutting board. I’ll go into how I came up with this concept in a little bit. This project was a fun one, and I got do use some new tools for these scooped serving boards. Watch the video and follow along with the project below:
BACKGROUND:
So, what exactly is a scooped serving board and how did I come up with this concept?
Both great questions. Let me explain. I make a lot of cutting boards for local Realtors to use as closing gifts for their clients. I was on the final stage of one of the large cutting boards (a lot of time had been put in to it at this point), and I noticed a split in the top face of the board. I would have had to pretty much start over making another board or make it very thin trying to sand down below this flaw, so I had to come up with a different plan.
I picked up the phone and called the Realtor for whom I was making this board. I explain about the flaw in the face of the board and that I had an idea to scoop it out. The scooped out sections would create some visual interest and would also serve a functional purpose: to allow olives or grape tomatoes or any number of things for a large entertaining spread to not roll off of the board.
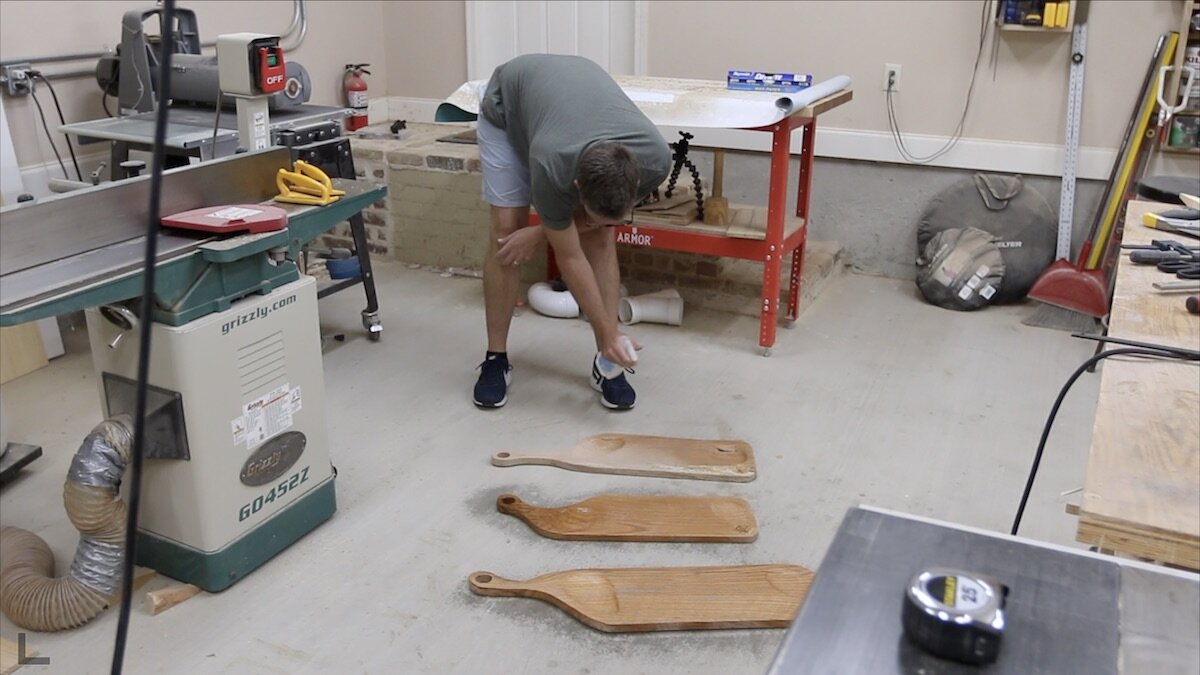
Fast forward some months ahead and I tried this same concept on some really large serving boards that did not have this same flaw. I still did the scooped out sections in them, and they have been a big hit. Now, they are something I make regularly to satisfy the demand.
TOOLS & MATERIALS: (affiliate links)
Arbortech TurboPlane - https://amzn.to/2O81E3v
Table saw - https://amzn.to/2C11FzS
Miter saw - https://amzn.to/2uC092T
DeWalt planer - https://amzn.to/2CXLyo7
Random orbit sander - https://amzn.to/2C0gR0k
Forstner bits - https://amzn.to/2pGFSGn
Bandsaw (same model as mine, but mine is anniversary edition)- http://amzn.to/2BI2xJV
Red oak
STEPS:
How do you even get started with something as organic looking as this?
First, if you’re able to find some wood with a bit of character and that is decently wide (say 9” or 10”), that’s going to work best. Also, let the wood speak to you and inform your design. What I mean by that is look at the board you have and draw your shape around any flaws if possible. If it is something you want to take the time to fill with some tinted epoxy, that would add a bit more visual interest. Otherwise, just make that part something that you cut around.
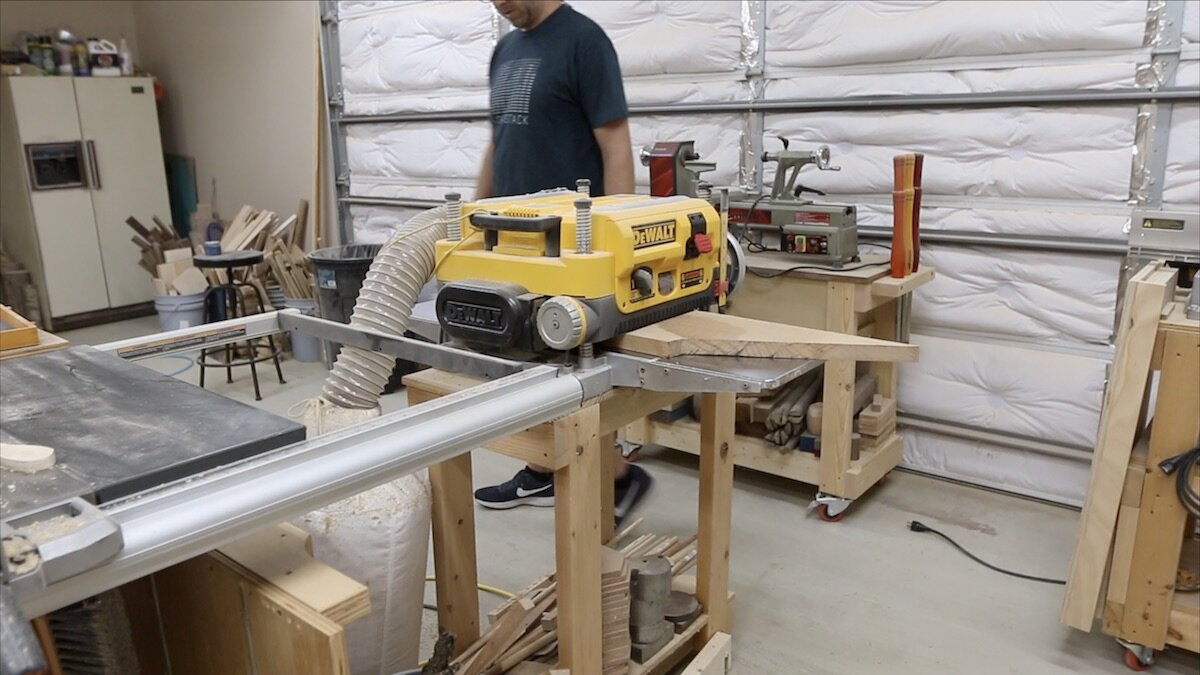
Start out by flattening your board. This board was pretty flat so all I had to do was run it through the planer a few times to clean up some of the rough areas and get the two faces parallel.
DRAW & CUT TO ROUGH SHAPE:
I started out using my jigsaw to cut this board into two different serving boards, but my blade was either just too dull or this jigsaw is really as bad as I think it is. I had to switch to a handsaw which actually ended up being faster.
Draw the shape of what you want the finished board to look like. The large scooped serving boards that I make are typically about 3 feet long. If there is a knot near one end of the board that is pretty splintered, I try to make that side the handle of the board, and I draw where the handle is around that knot so it can be cut out.


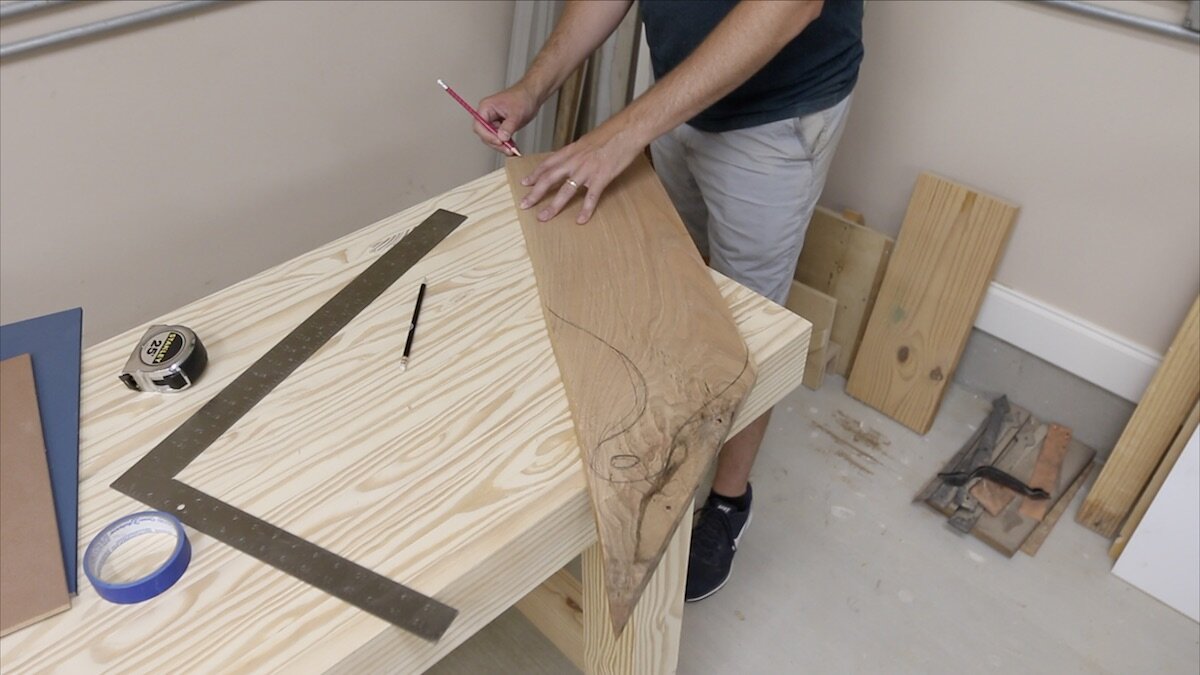
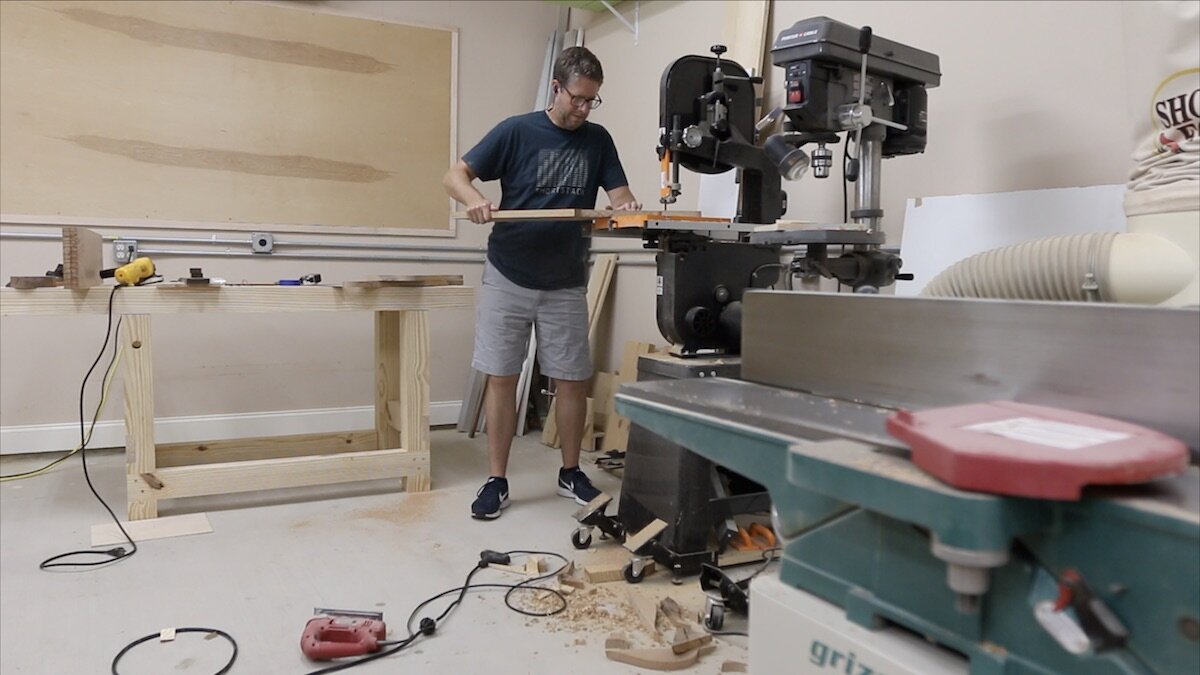
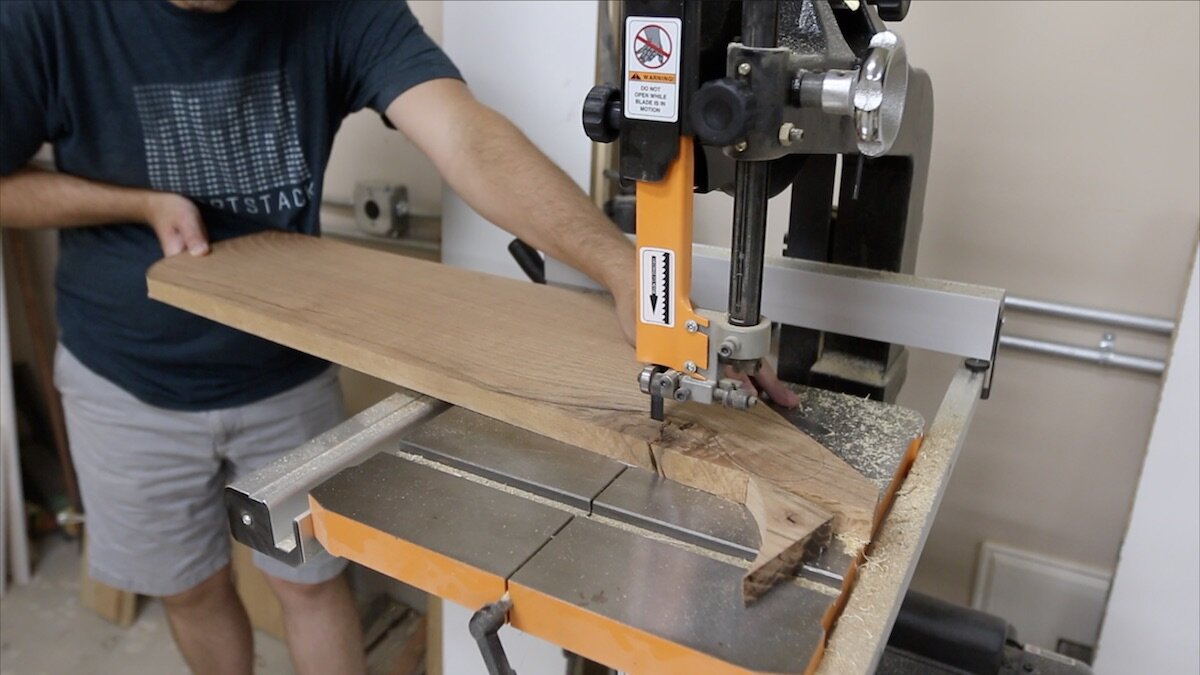
I feel pretty comfortable with the bandsaw, so that’s what I used to cut out the shape I just drew. If you use the bandsaw, take your time and don’t rush the board through the saw. Let the blade do the cutting at the pace it will, and follow along your line pretty closely. If you are not exact here, it’s not a big deal since this is all pretty organic. Just know that you want it to be close to what you drew, because you liked that shape enough to draw in on there in the first place. Stay true to what you drew.

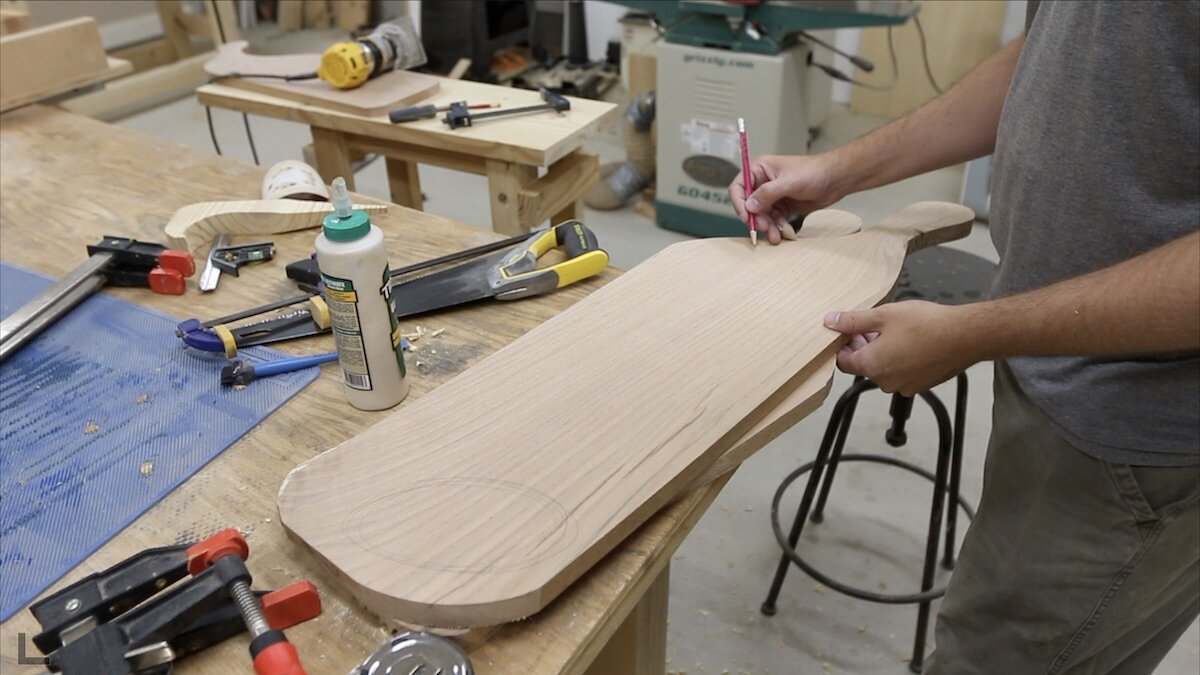
After you get the shape roughly cut out on the bandsaw, draw in the spots where you want to scoop it out. You can do this without drawing it out first, but I have found that it is easier to visualize how you want it to look before you’re in the moment and carving. You don’t want to carve away more than what is ideal for the look you’re trying to achieve.
POWER CARVING:
So, you’re probably wondering exactly how I carved these out?
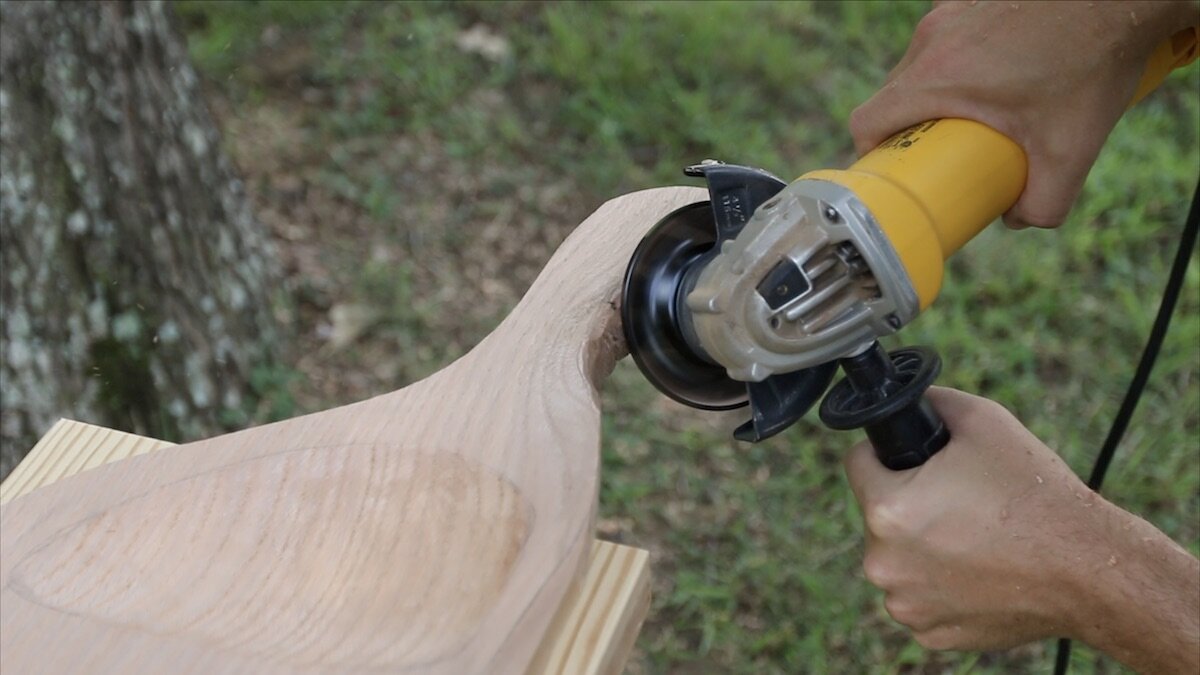
Arbortech actually make this tool that attaches to an angle grinder called a TurboPlane. They sent me one recently, and boy, have I been loving it. There is just very little of a learning curve to get the hang of this tool. I did my carving outside, as you can see, and I just happened to choose one of the hottest days of the year. I kept sweating into my face shield. ha ha
As with all wood grain, there is a direction that is best to cut, plane etc. You have to kind of start slowly and feel how it is cutting when power carving too. You don’t want to go too much against the grain, as you’ll start to see a lot of tear out. But with taking light passes and going in the proper direction, you can really remove a lot of material in a short amount of time. And the cuts are really clean!
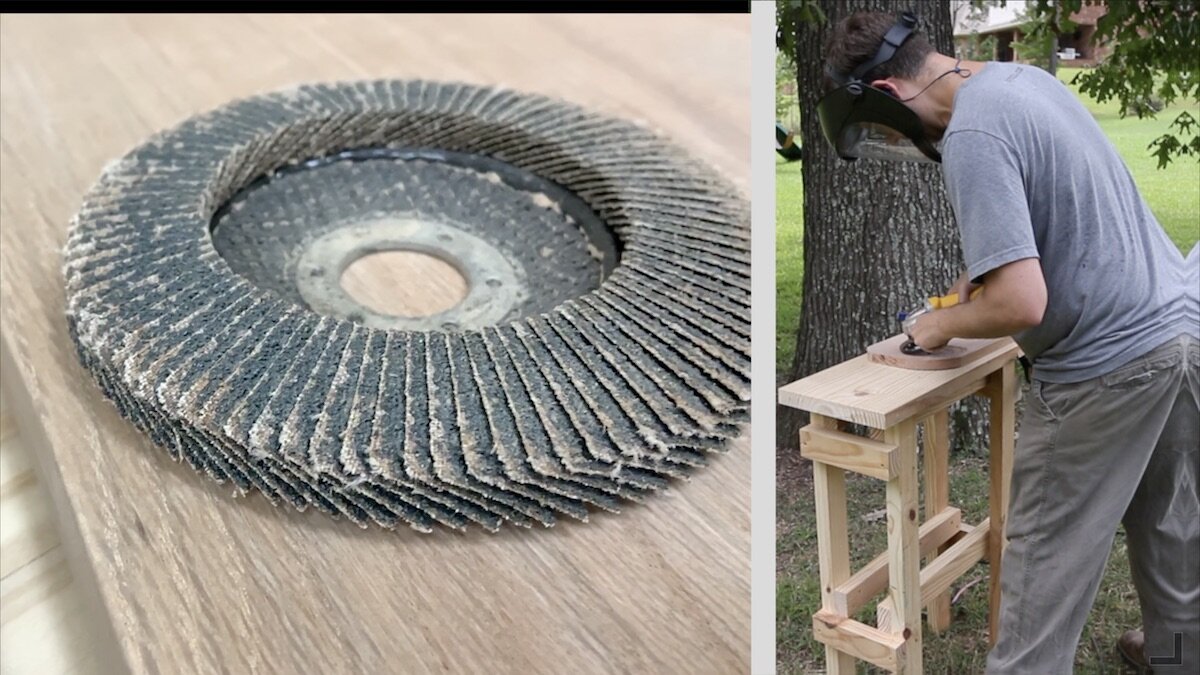
The first time I did this, I just used a flap disc sander to achieve the same look. It takes a lot longer, since it is just sanding rather than actually removing chips, but it works nonetheless. So, if you are thinking to yourself that you don’t have the money to pick up one of the TurboPlanes right now, that’s ok. Grab a flap sanding disc and go to town. If you come up with a concept that you think you’ll use on other projects, it would definitely be worth your money to get a TurboPlane. That way, you can get to your finished project much quicker and this one plane will last a lot longer than the sanding disc.


How do you know how deep to go?
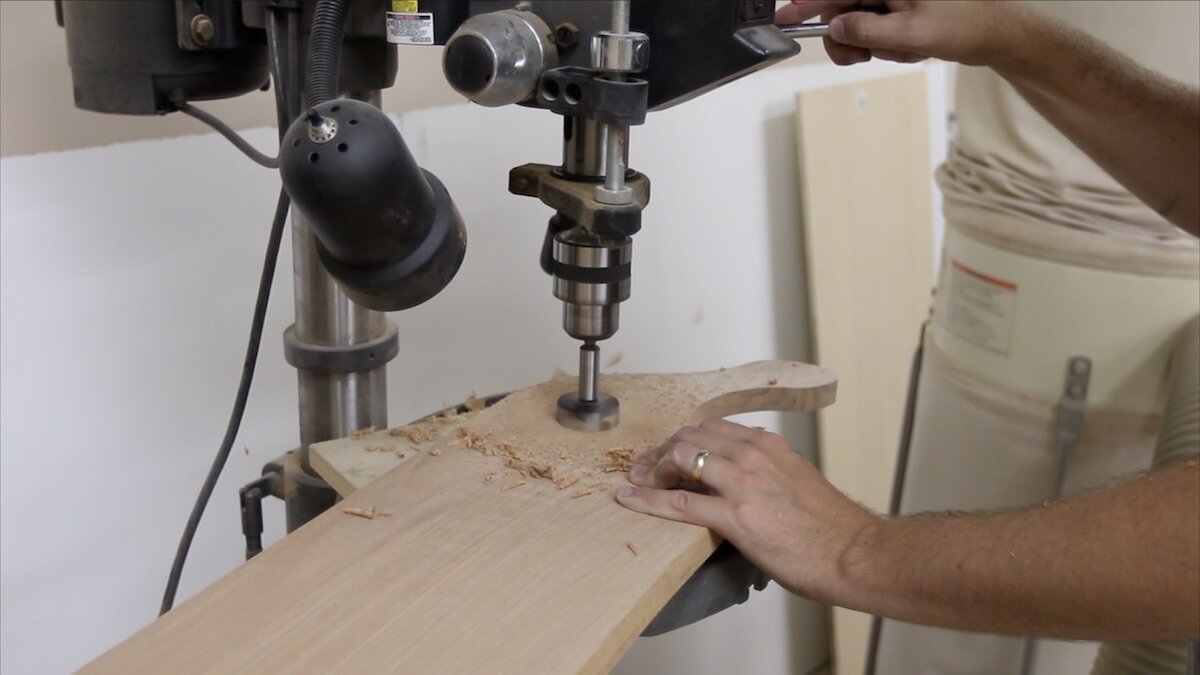
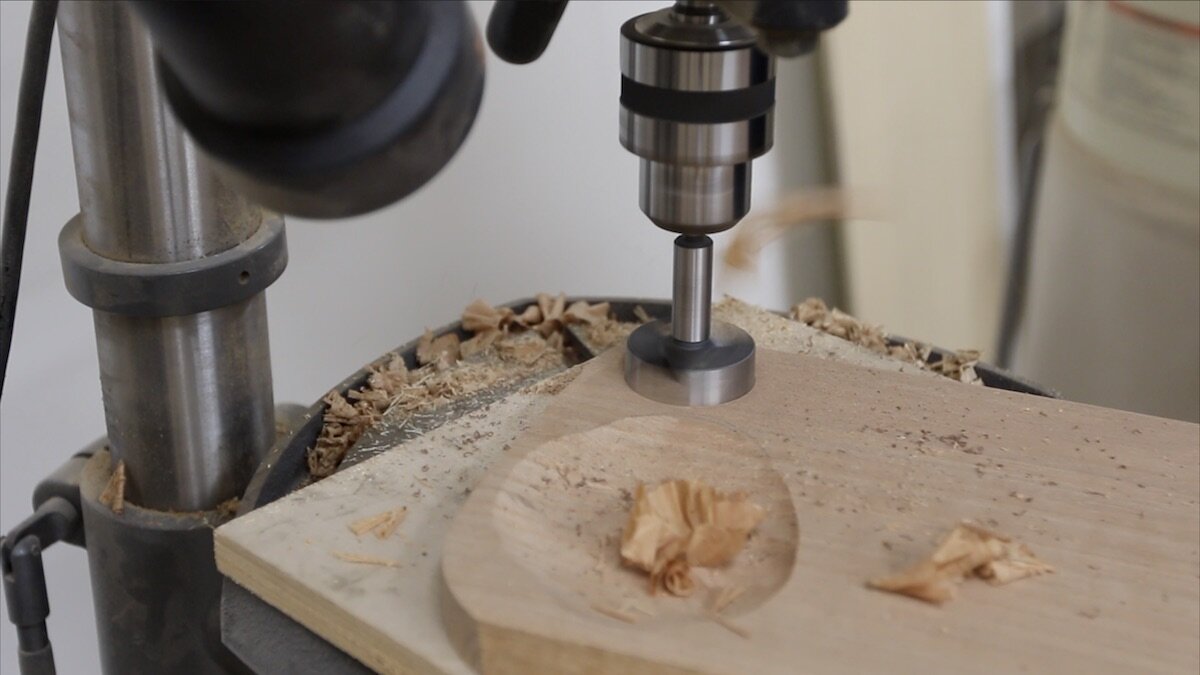
You can just kind of trust your eye as you go, stopping periodically to check and make sure you’re not carving away too much. Another way would be to drill out your final depth (obviously NOT all the way through the board) at the drill press or using a hand drill before starting to carve. I’ve used this method a pretty good bit.
Then, all you do is carve until you just make the drill hole disappear and you know you’re at the desired depth.
There was a spot on the handle of this board that was pretty rough since it was in the middle of a knot. It was hard to reach with my bandsaw, so I just used the TurboPlane to carve and shape the handle a bit too. Worked great!


ADDING SOME INLAY:
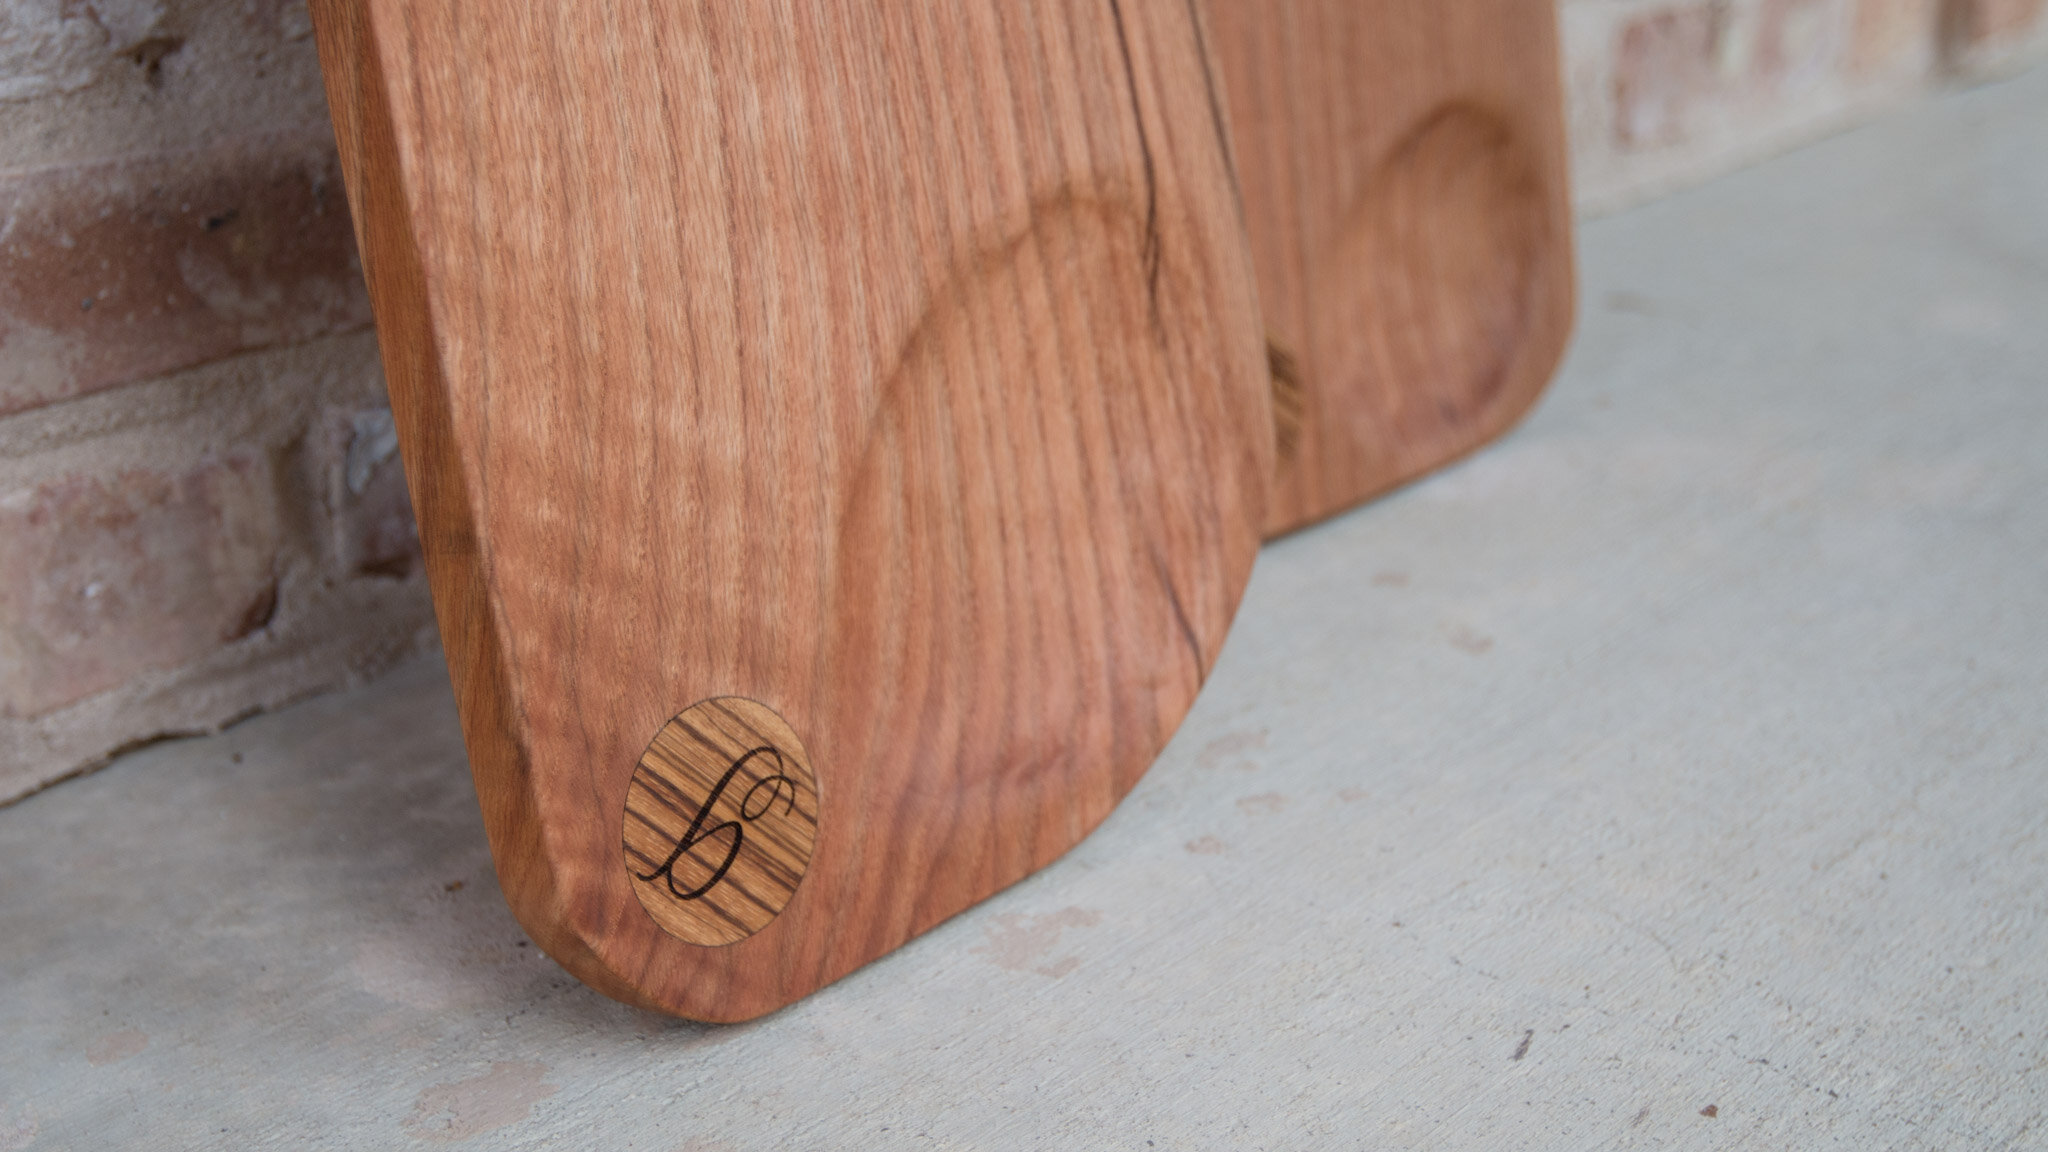
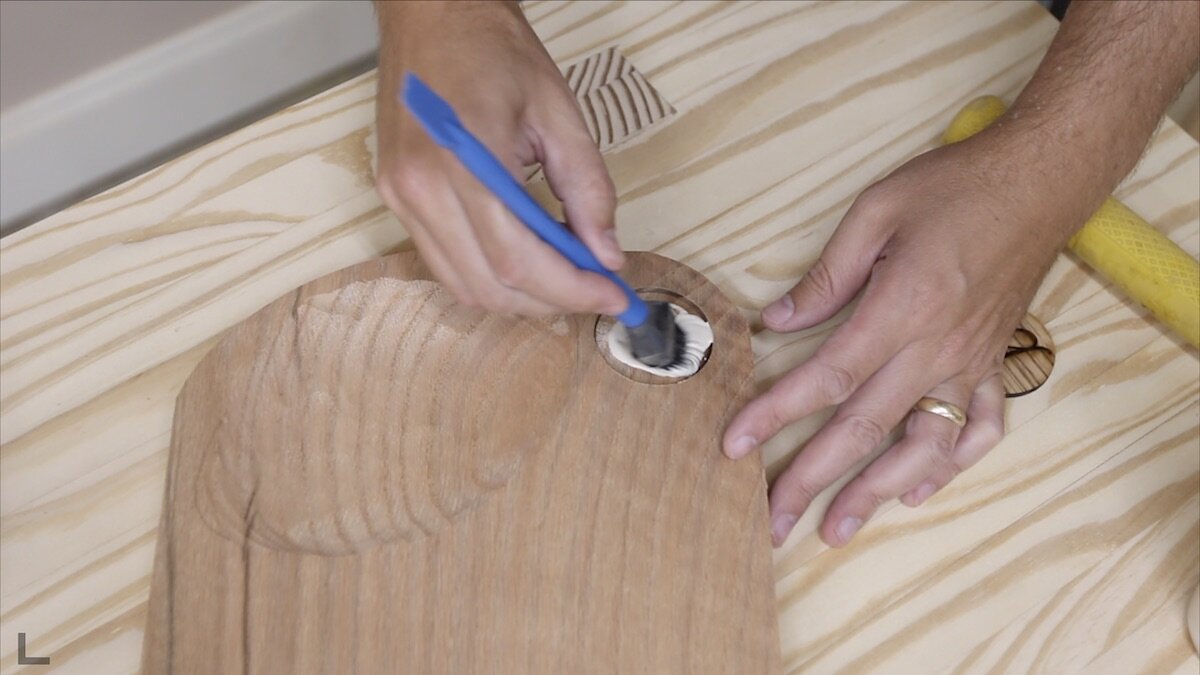
I wanted a way to make these a little nicer and more personal for the Realtors’ clients, so I laser cut some little wooden tokens out of some zebra wood on my Glowforge laser engraver.
Then, I drilled out the same sized hole in the face of the serving board, equal to the thickness of the token. I added some glue and put the wooden token right in there. I like to add it at a slight angle, just for some visual interest of the two different wood types having grain going in different direction. I think the scripty monogram is a good contrast to the kind of rustic scooped serving board.
Once the glue dries, I just use my random orbit sander to flush it with the face of the serving board and clean everything up.


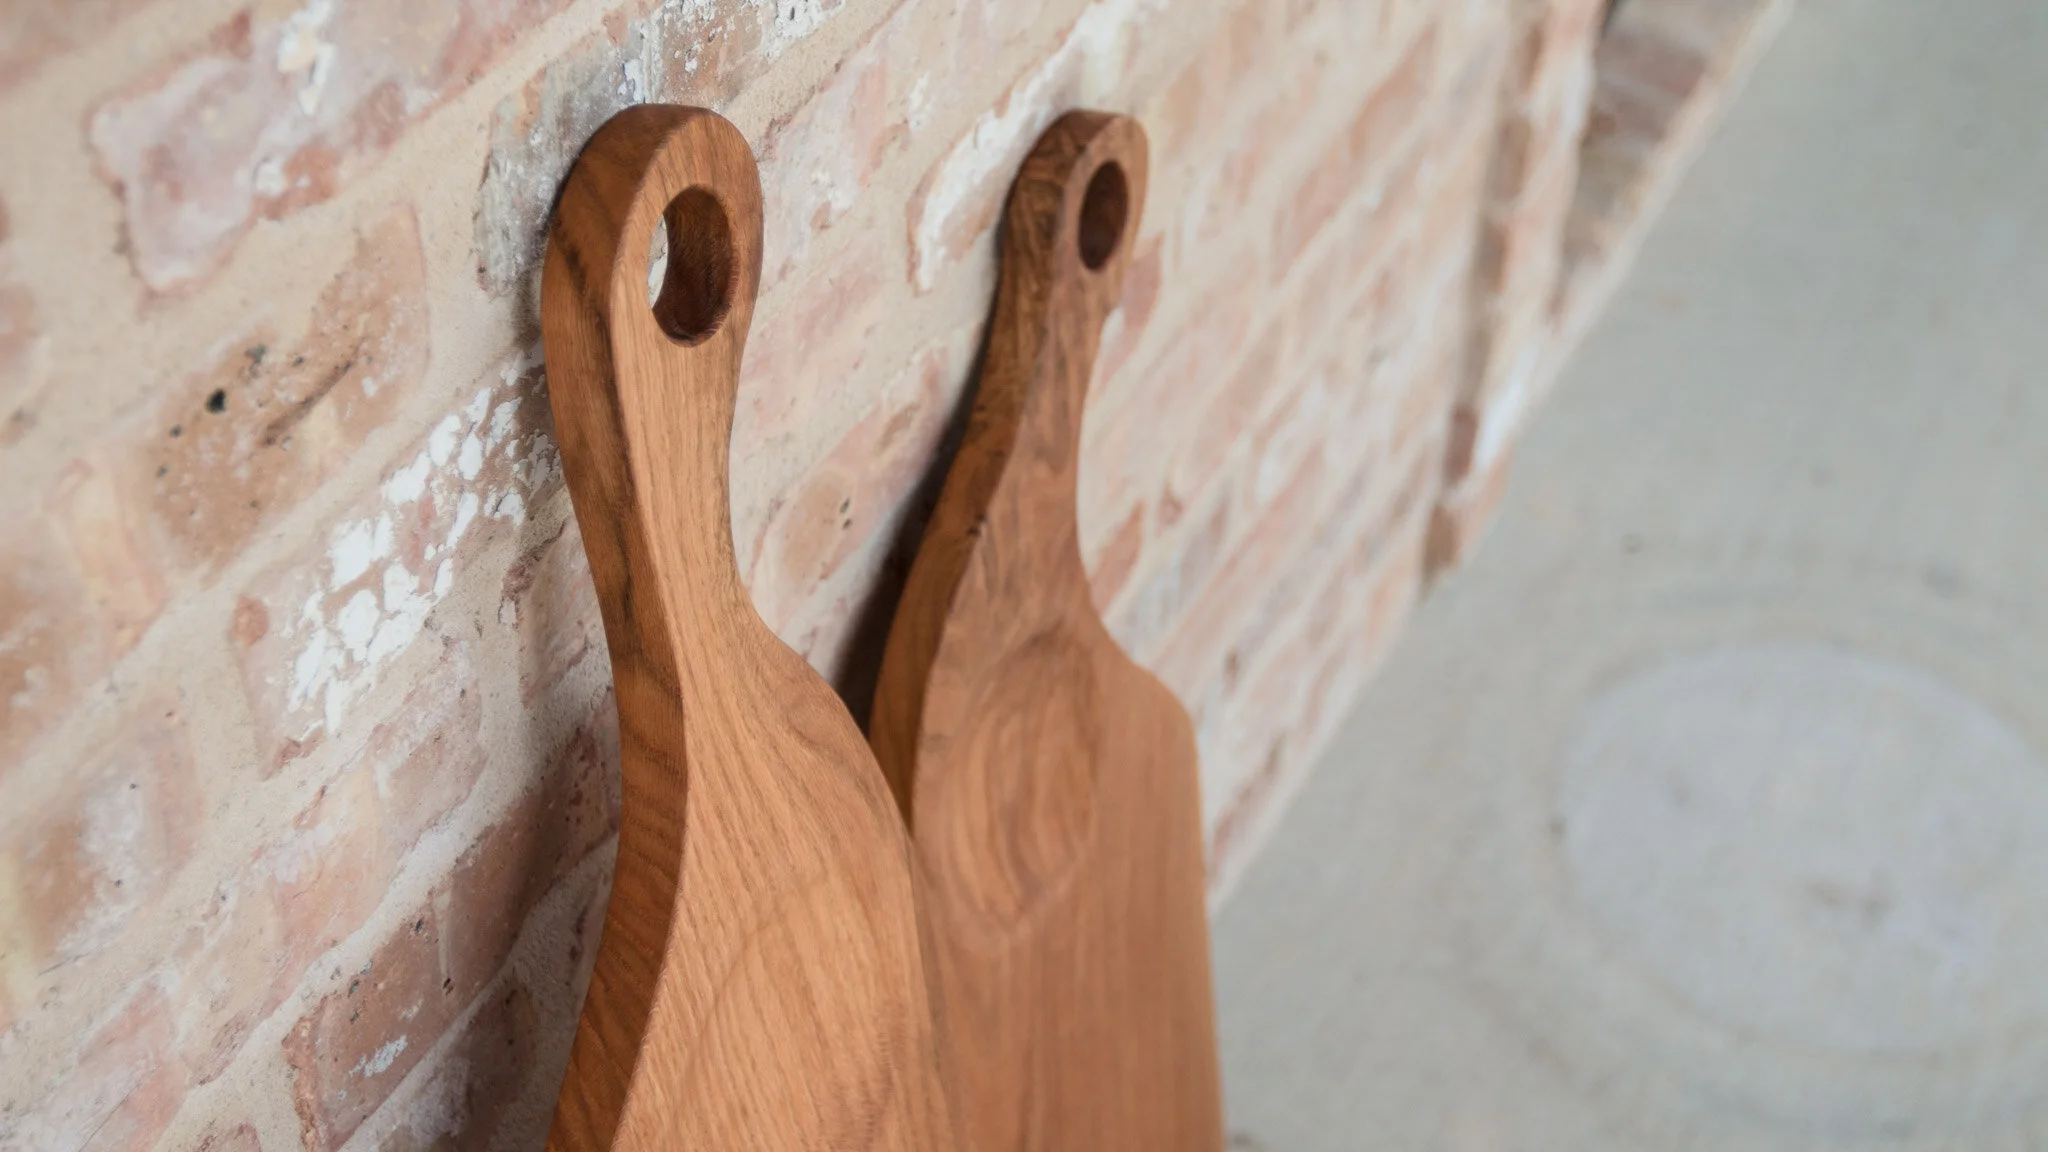
CREATING A HANDLE:
Next up is to drill out the hole in the handle. I just eyeballed what size forstner bit would look good for this size board, and drilled all of the way through. I usually add a little strip of leather once done just to set it apart from most other things you see in stores.

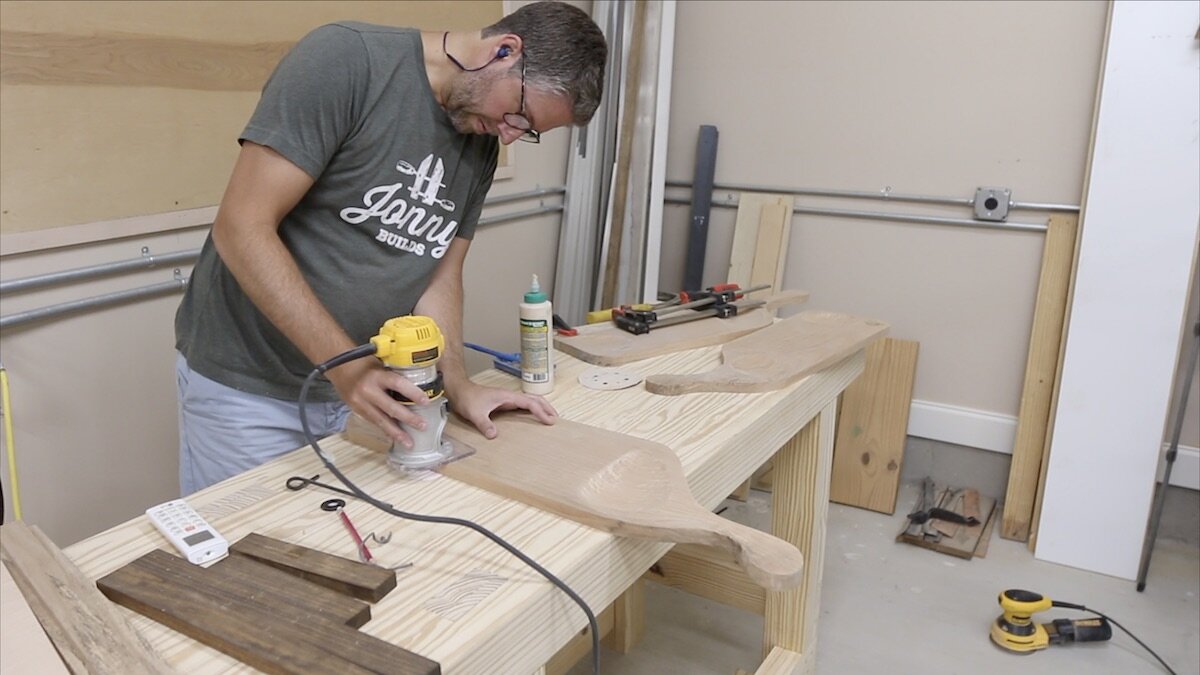
EDGE TREATMENT:
For an edge treatment, I used a small roundover bit in my router. I ran this over all of the edges, even inside the hole in the handle. That way, there are not any sharp edges when you touch it.
FILLING VOIDS & FINISHING:
Since these scooped serving boards will undoubtedly get water on them when they are rinsed off, I was sure to raise the grain before doing a final sanding. To do that, I just spray on some water, and then wipe off any excess with a paper towel. Then, when I do the final sanding with 220 grit, it will remain smooth, even if the board comes in contact with water or moisture. If you don’t do this, your client will have quite a rough board the first time it gets wet, even though you thought it was very smooth.
Sometimes, once you’ve done some shaping and sanding, some voids are revealed in the wood. These are usually just small cracks, and depending on the side of them, you might want to fill them. I have been using this black tinted medium-thick CA glue from Starbond for a while now and I’ve been happy with it. You just add a bit of it to the void, spray it with some of the accelerator and it sets within seconds allowing you do move on to the finish sanding pretty much immediately.
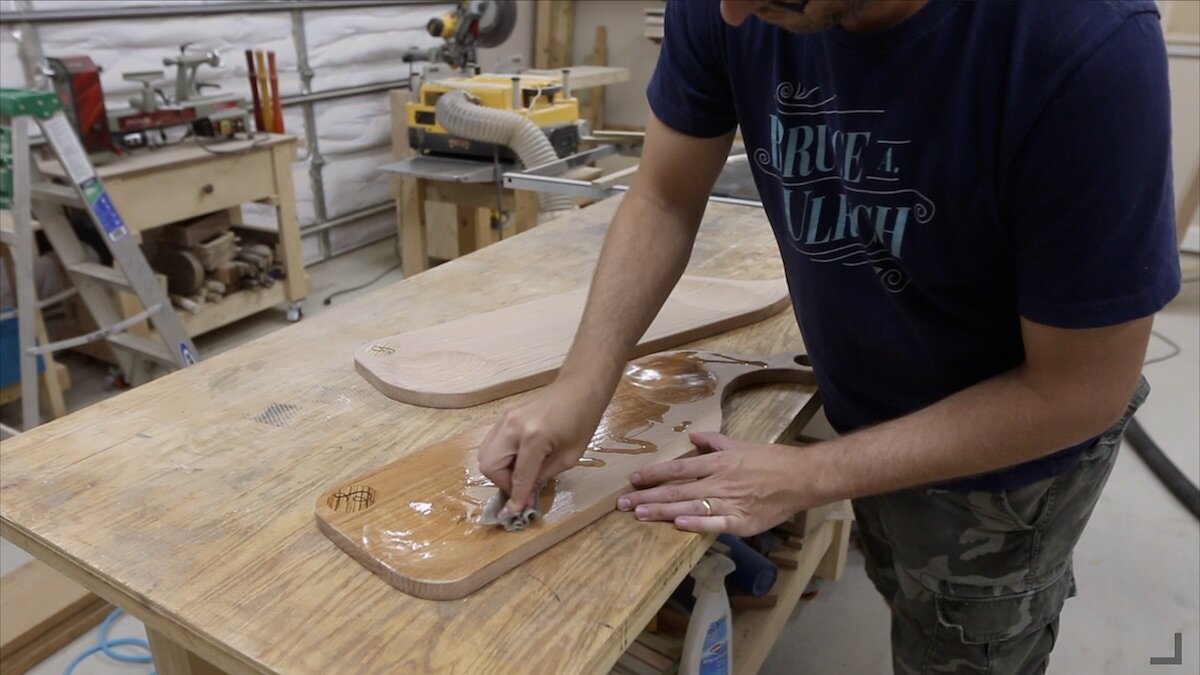
For finish, I’m using Mahoney’s walnut oil. I’ve used this stuff a lot over the last year, and I really like it. It’s such an easy finish to use. Simply squirt some onto your workpiece, wipe it in, let it set overnight and then buff off any excess. I’ve used it on quite a few other projects like my decorative wooden box and the serving tray. Be sure to go check out those posts also!


CONCLUSION:
Thanks so much for checking out this project! If you haven’t already, be sure to watch the build video. I’d love to have you subscribe to my YouTube channel if you don’t already. I’ll post some finished photos below, so take a look at those and let me know what you think!