Rikon 8" Wet Sharpener - Worth It?
VIDEO:
In this project, I unbox and use this Rikon 8” wet sharpener to see how it compares to the much more expensive Tormek system. Watch the video and follow along below:
TOOLS & MATERIALS: (affiliate links)
Tormek Knife Jig: https://amzn.to/3E0Kf4R
Rikon Wet Sharpener: https://amzn.to/3WWwWem
Strop Polishing Compound: https://amzn.to/3ttD4xn
Diamond Sharpening Plates: https://amzn.to/3g7A72h
UNBOXING:
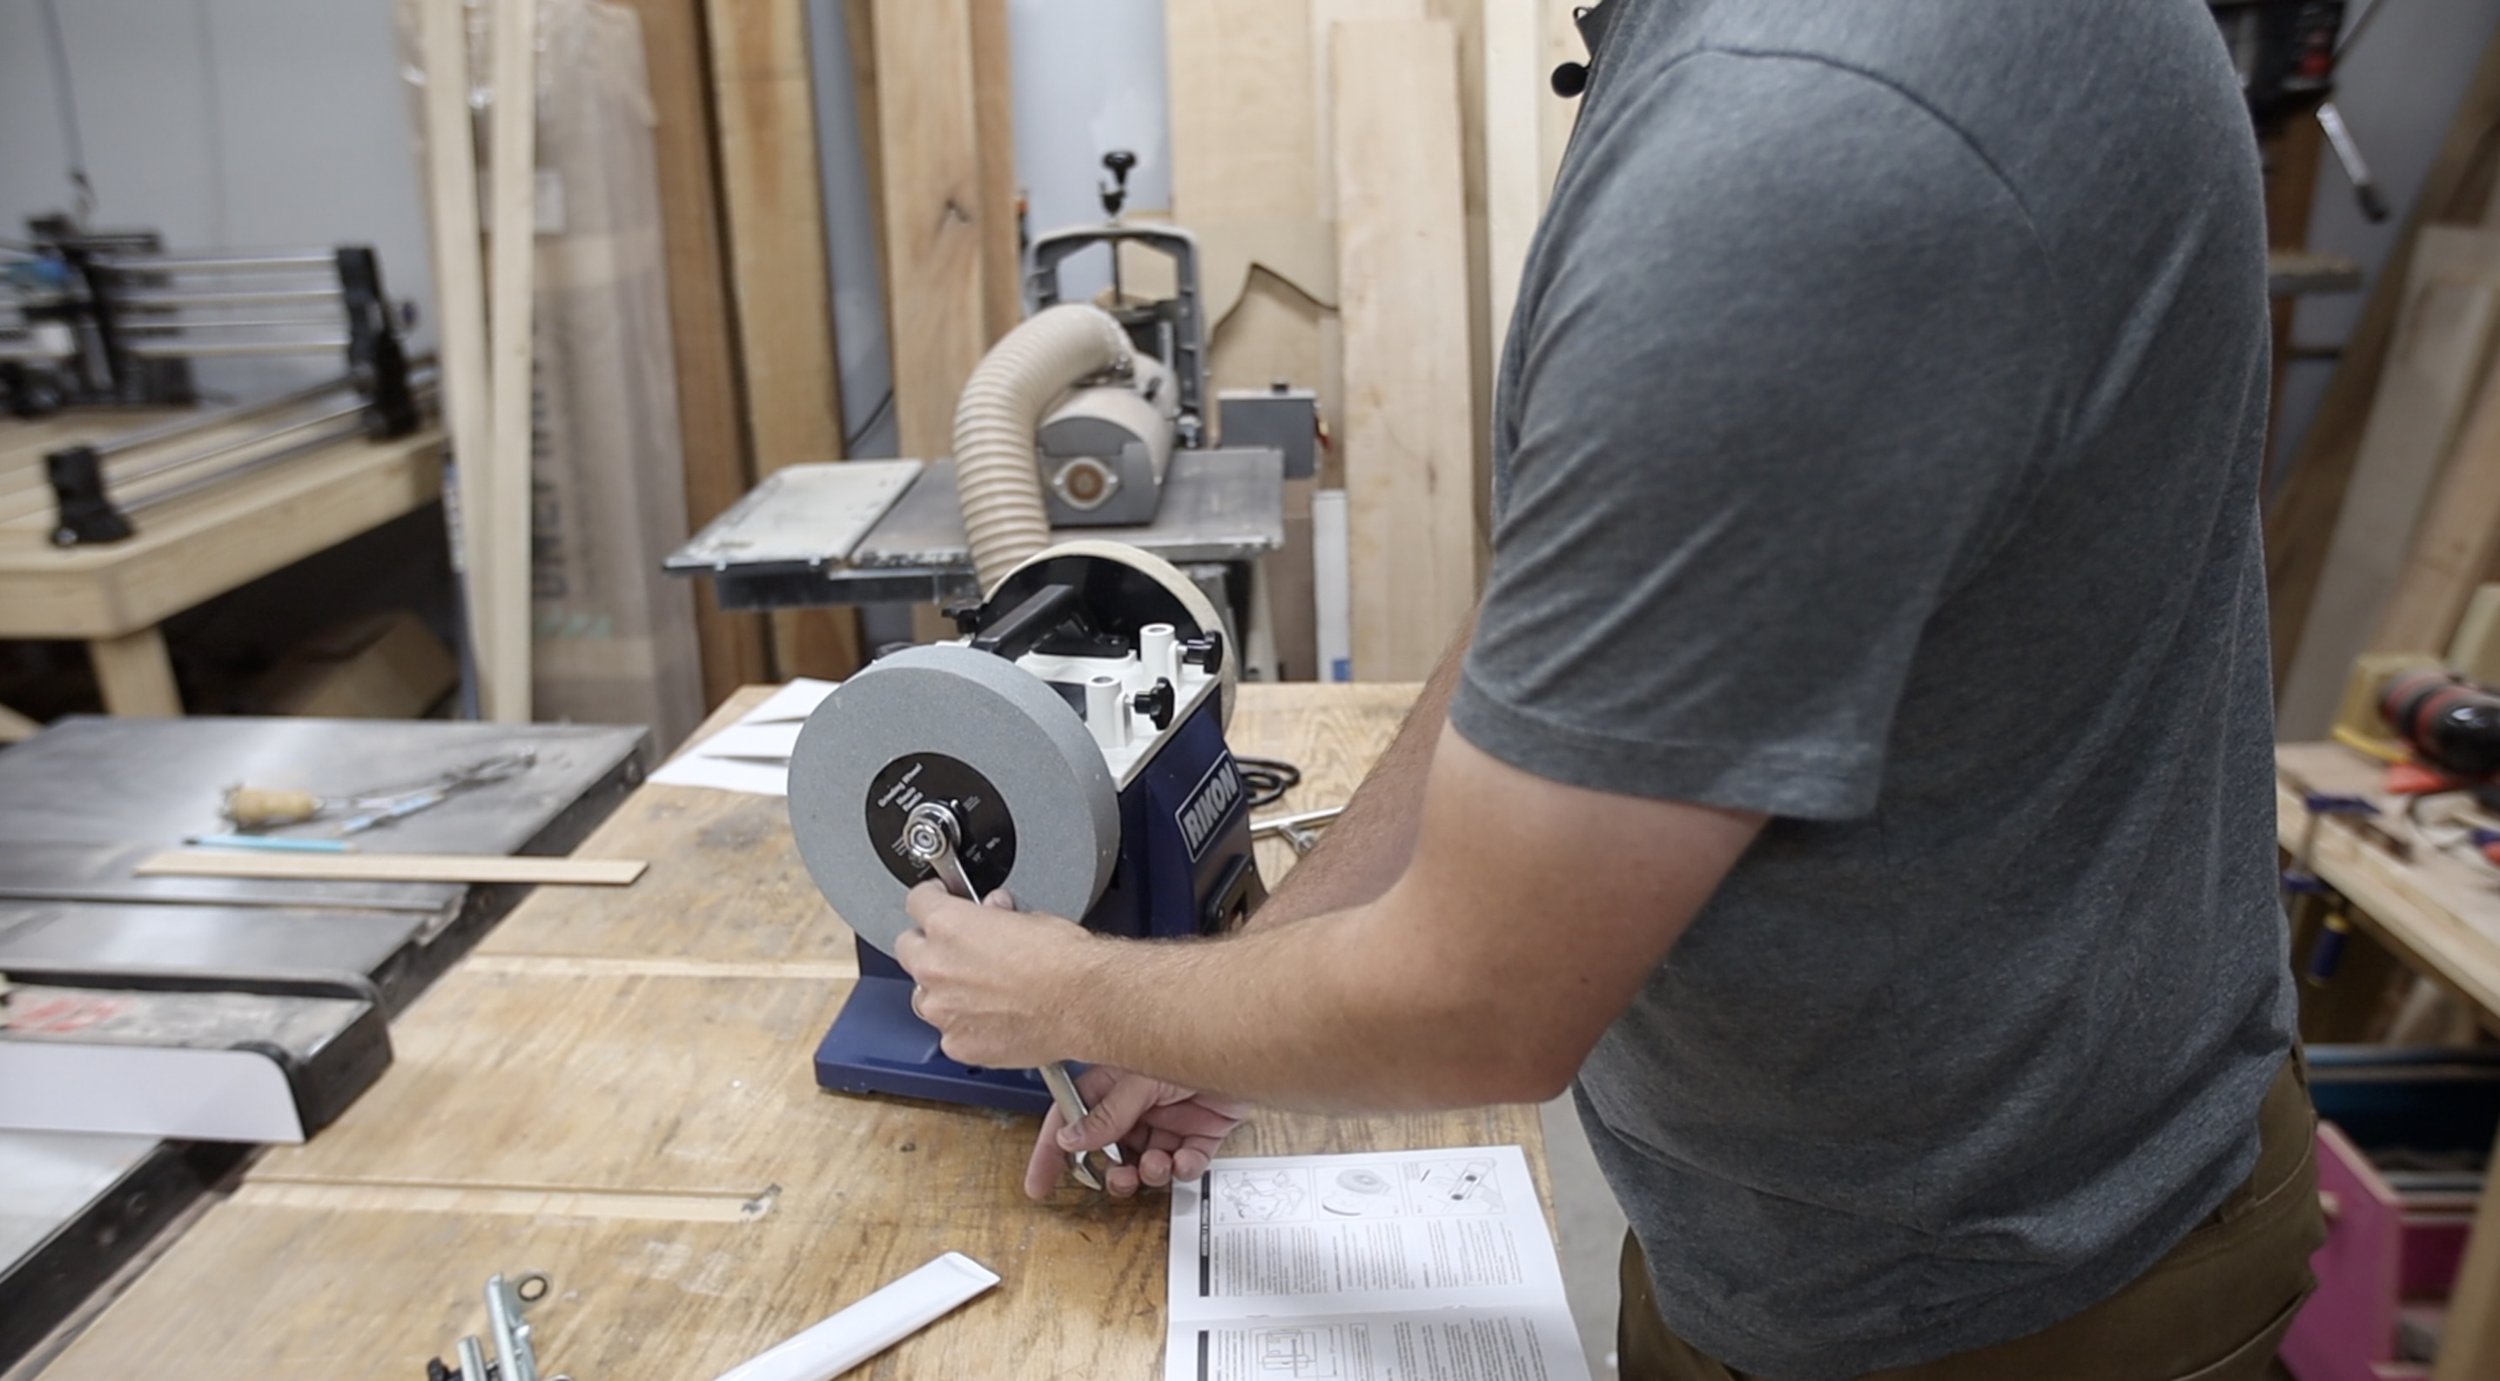
So, what comes in the box? The machine, the bar, the water reservoir, the strop compound, the grinding wheel & the angle finding jig.
It was really easy to setup. I only had to add some knobs to the machine that will hold the bar in place, and put the grinding wheel on with one wrench. (I think it was 18mm)
This machine cannot be used dry, so fill up that reservoir and spill water everywhere. Oh, that was just me? Mmmmmkay. When you put the stone in the water for the first time or the first time in a while, it might soak up a ton of water, forcing you to refill the reservoir. It is a thirsty stone. No problem, just top it off before you get started.


GETTING STARTED:
To get started, fill up the reservoir to just under the V-shaped notch on the side. This reservoir slots into a couple of holes causing the grinding stone to be partially submerged in the water.


GETTING STARTED SHARPENING:
I started with sharpening some chisels. In addition to wanting to sharpen up our kitchen knives, I wanted a good solution for sharpening my chisels and plane blades.
Sharpening chisels is pretty straight-forward with this setup. It comes with a jig to hold your chisel and ride back and forth on the rail. There are a couple of small black spacers in the jig that holds the chisels…do NOT throw those away. (ask me how I know!) They are required to make it ride perfectly on the rail.
Mount the chisel into the jig and snugly cinch the knobs so it won’t move as you’re grinding.
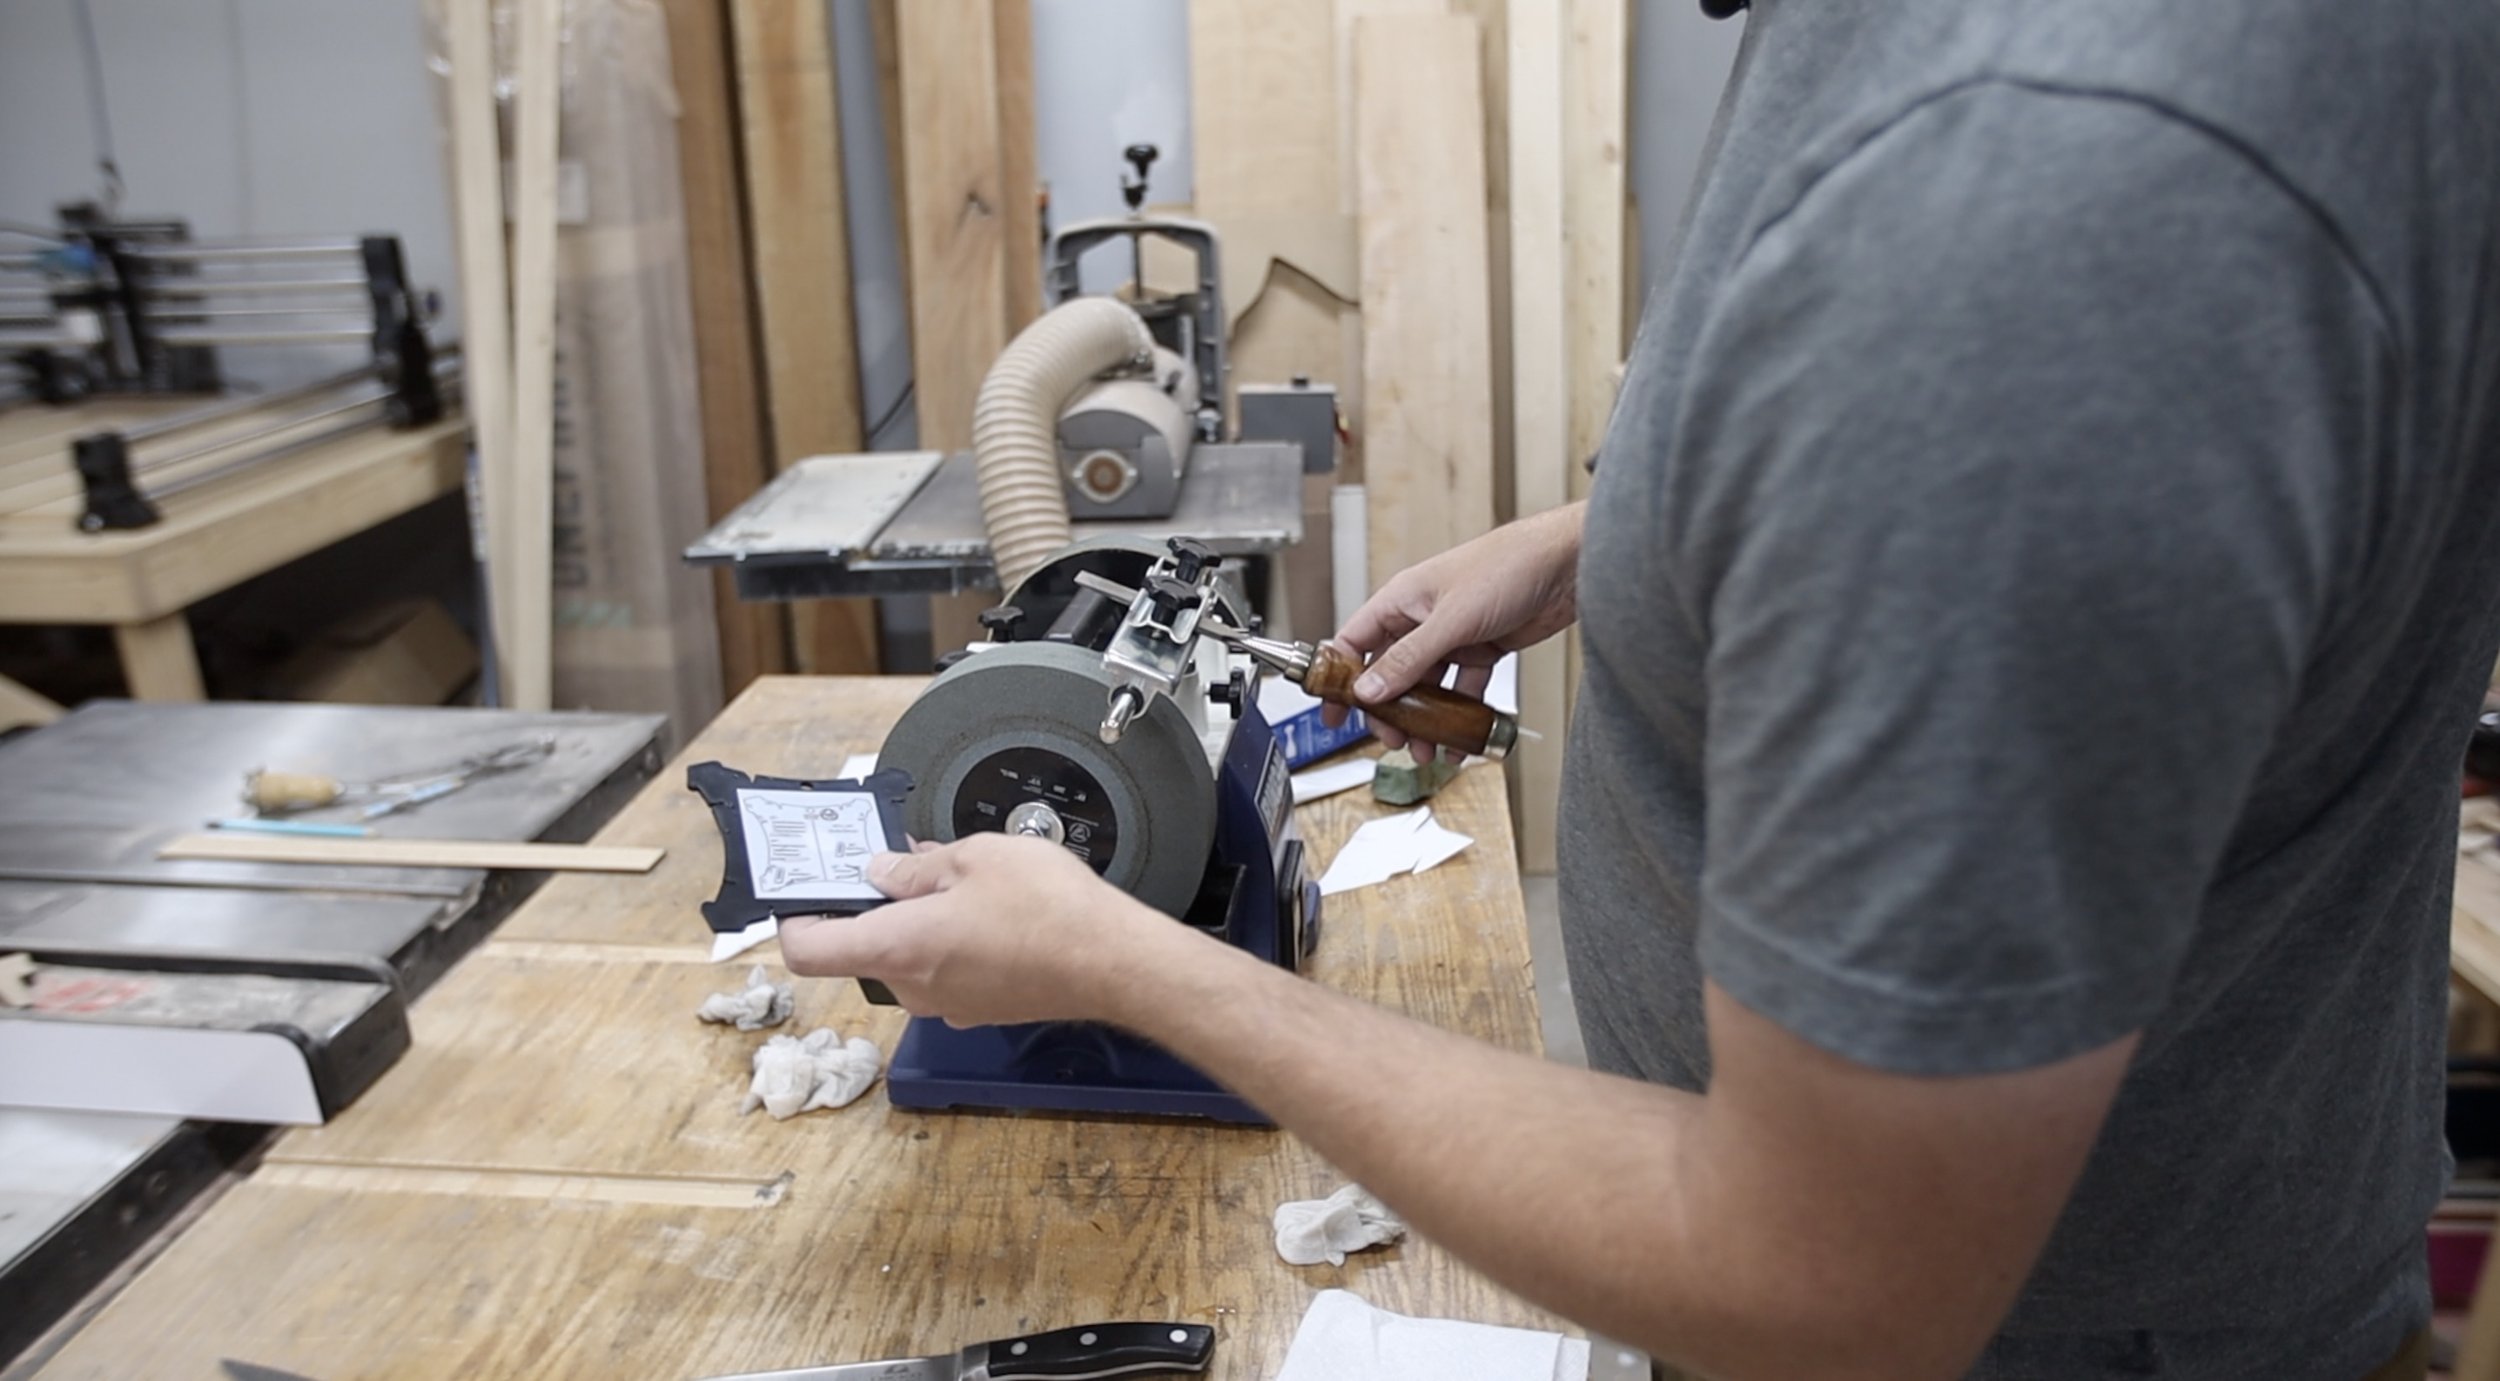
There is a small, plastic jig that comes with this setup that helps you get the right angle on your chisels, knives, etc. For chisels, you need to set it for the actual angle. For the knives, I had to set it for half of the angle, since my knives have a bevel on each side. I’ll talk about that a little more later.


USING THE LEATHER STROP WHEEL:
This machine has another wheel on the other side that is covered with leather. It acts like a polishing strop. According to the instructions, you need to kind of treat the leather before using it with the polishing compound. It was not really clear in the manual what to do for this, but with a little researching online, I saw that quite a few knife makers that use this unit use some 3-in-1 oil on it before anything else. You don’t want to soak the leather, but just put enough on that it is not dry looking any longer.
Then, you can take the tube of polishing compound (looks like a tube of toothpaste) and apply it to the leather wheel. I just put a little on my finger and applied it as the wheel was turning.
This machine can rotate in either direction, which is cool. For the leather wheel, you want to make sure that you only have it turn away from you. Otherwise, you will have it catch on the chisel or whatever you’re sharpening and it will ruin the wheel. I’ll tell some other use cases for why you would run it a different direction on the water stone a little later on.
After sharpening the chisel on the bevel side on the stone, there will be a small burr left on the flat side of the chisel. That’s what you want. You’re basically polishing that burr off using the leather wheel, so you have a cutting edge again. I just do this by hand, because it seemed to work pretty well. you can flip the rail over to the other set of holds and use the jig again if you would like. That seemed like too much setup for me, so this worked just fine.
One thing to note is that I have some of this green polishing compound that I’ve used on my strop for years. I tried it out on some of the chisels and knives and I felt like it did a better job at polishing than the stuff that came with the machine. Just wanted to point that out. (I have it linked above if you want to pick some up)


SHARPENING KNIVES:
Now, it was time to sharpen some knives. These are not the highest quality knives in the world, but they’re decent. They’ve just been a very long time (I mean a very long time) without a good sharpening. We have used those cheap little sharpeners, but that’s not good enough at a certain point.
The edge on all of our knives was actually visibly jagged from so much use over the years. It took me longer than it will in the future to put a good edge back on these, since they were so bad off.
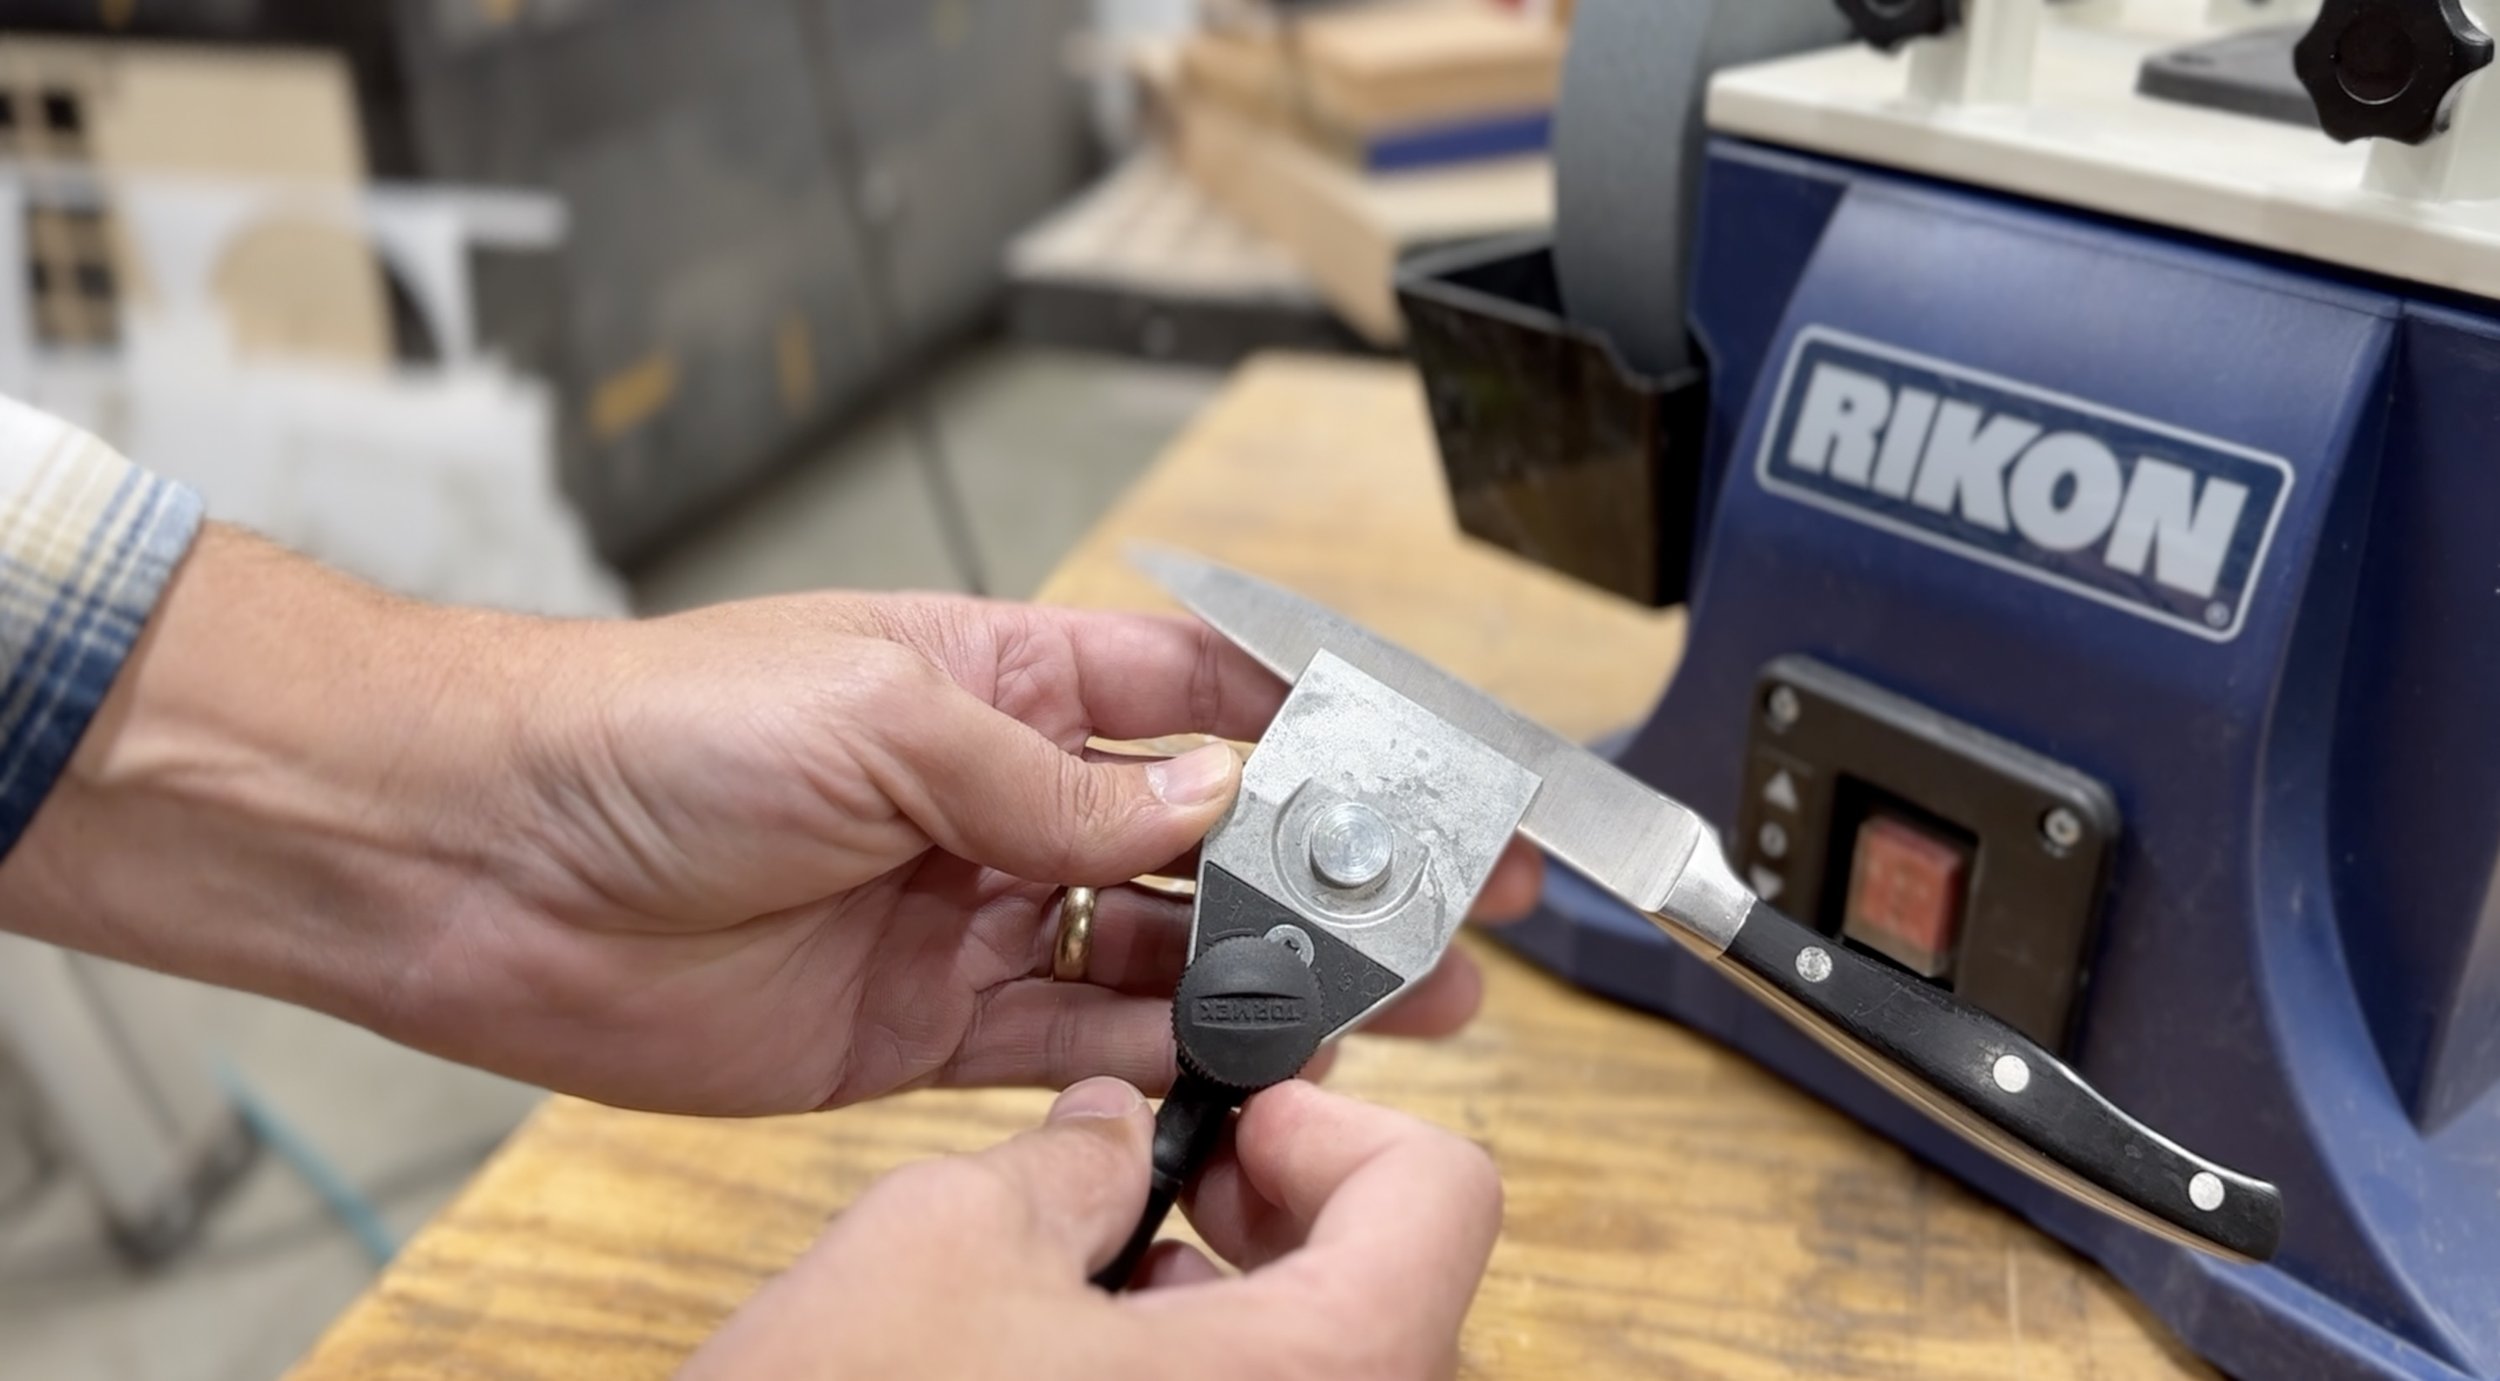
For sharpening knives, I did purchase a jig to help. It is actually made by Tormek (that other sharpening system) and works with the same rail on this machine. It was about $50 when I picked it up and boy am I glad I did. It made it very easy and repeatable.
To use the knife jig, you just clamp it as centered as possible on the knife, making the edge of the jig as parallel to the knife edge as possible. Just turn the silver knob until it’s tight, and then give the black knob a few turns after that. The black knob actually pushes down on the jig and forces the edge part that holds the knife to get even tighter. You want to make sure that is very secure so it won’t slip or change as you use it. Once secured, you just use one of the two reference points on the jig to go back and forth on each side on the wet stone. Try to take even passes on each side so that beveled edge will be the same.
Earlier when I mentioned about the direction of the sharpening stone, I said there was a reason sometimes for having the stone run toward the tool, and not away. Most of the time, this is for rough stock removal or for large things like axes. You generally want to have the stone running away from your piece that you’re sharpening for finer work.
It’s the same as with the chisel, once you get a slight burr on one side or the other and you’ve established a nice edge on the knife, remove it from the jig and take it to the leather strop wheel to buff off that burr. The polish on the newly sharpened edge will really help it cut better.


The knives were in such bad shape before sharpening them, they would not even start a cut in paper. They were so jagged, it would just grab on the edge and not cut at all. After sharpening, I was getting some pretty nice cuts in paper. I’m pretty happy with that!


CONCLUSION:
I want to say that you can take sharpening to a much, much higher level than this, and many do. I’m just not going to. This is sharp enough for me and good enough to get back to work on other things. I don’t want to just be a pro sharpener. I want to use these cutting tools.
So, would I recommend this setup as a potential alternative to the Tormek system? Yes. If you’re on a budget, you can get some pretty sharp knives and chisels with all of this like I did. I spent about $215 total on this, including the Tormek knife jig.
I’m sure I’ll get even better at using it with a little more practice down the road.
Thanks for taking the time to read through this. I really do appreciate it! If you haven’t already, be sure to watch the video of this. It might give you some insights I didn’t cover here.


