3 Easy Ways to Mark Your Work
VIDEO
In this video, I show 3 easy ways to mark your work. Marking your work is important, since it is likely a one-of-a-kind piece, much like a piece of art that an artist paints. Watch the video and keep following along below to see even more details:
BACKGROUND
Marking your work not a new idea by any means. For generations, people crafting things with their hands have left a mark of some sort on their work to signify that they made it. Authors do this by signing the book, or at least by the book showing by whom it was written. Artists typically paint their tiny name into the corner of one of their paintings. Furniture makers and makers of other things are no different. They will often mark on the underside or on the back of a piece of furniture or item that it was made by them. That way, however many years down the road, we can still see these works of art, and how they have fared over the years.
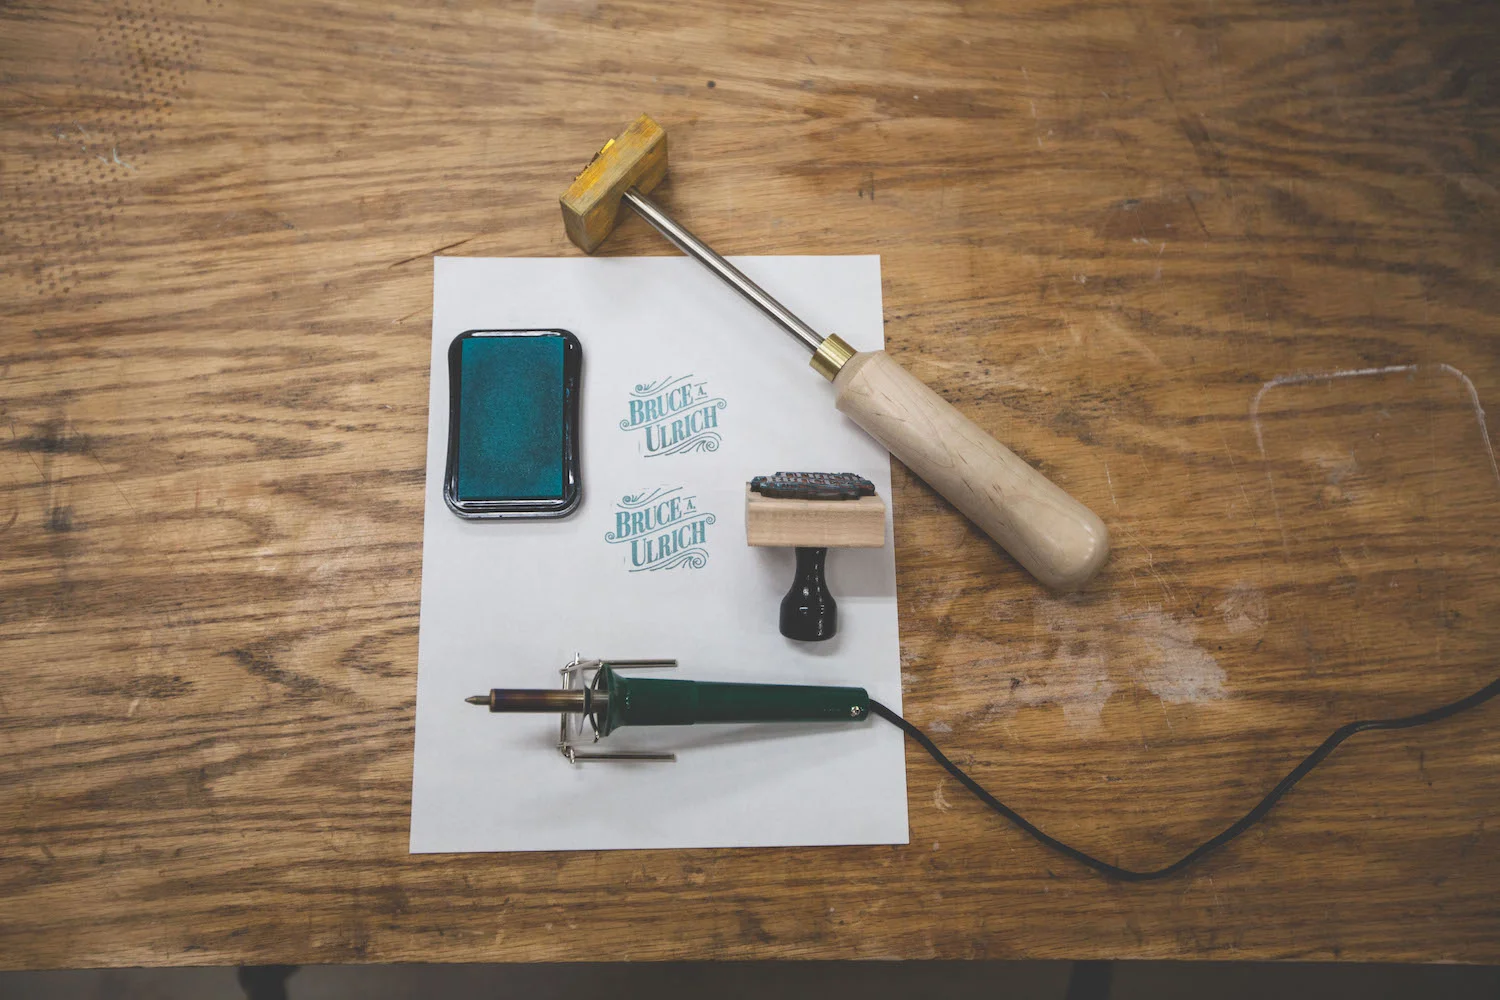
TOOLS & MATERIALS
(These are affiliate links. Clicking on them and buying anything on amazon helps support me, at no extra cost to you.)
Rubber stamp - rubberstamps.net
Ink pad - https://amzn.to/2GoES0n
Wood burning kit - https://amzn.to/2GKm9zU
Branding iron - Cranford Design Works
RUBBER STAMP
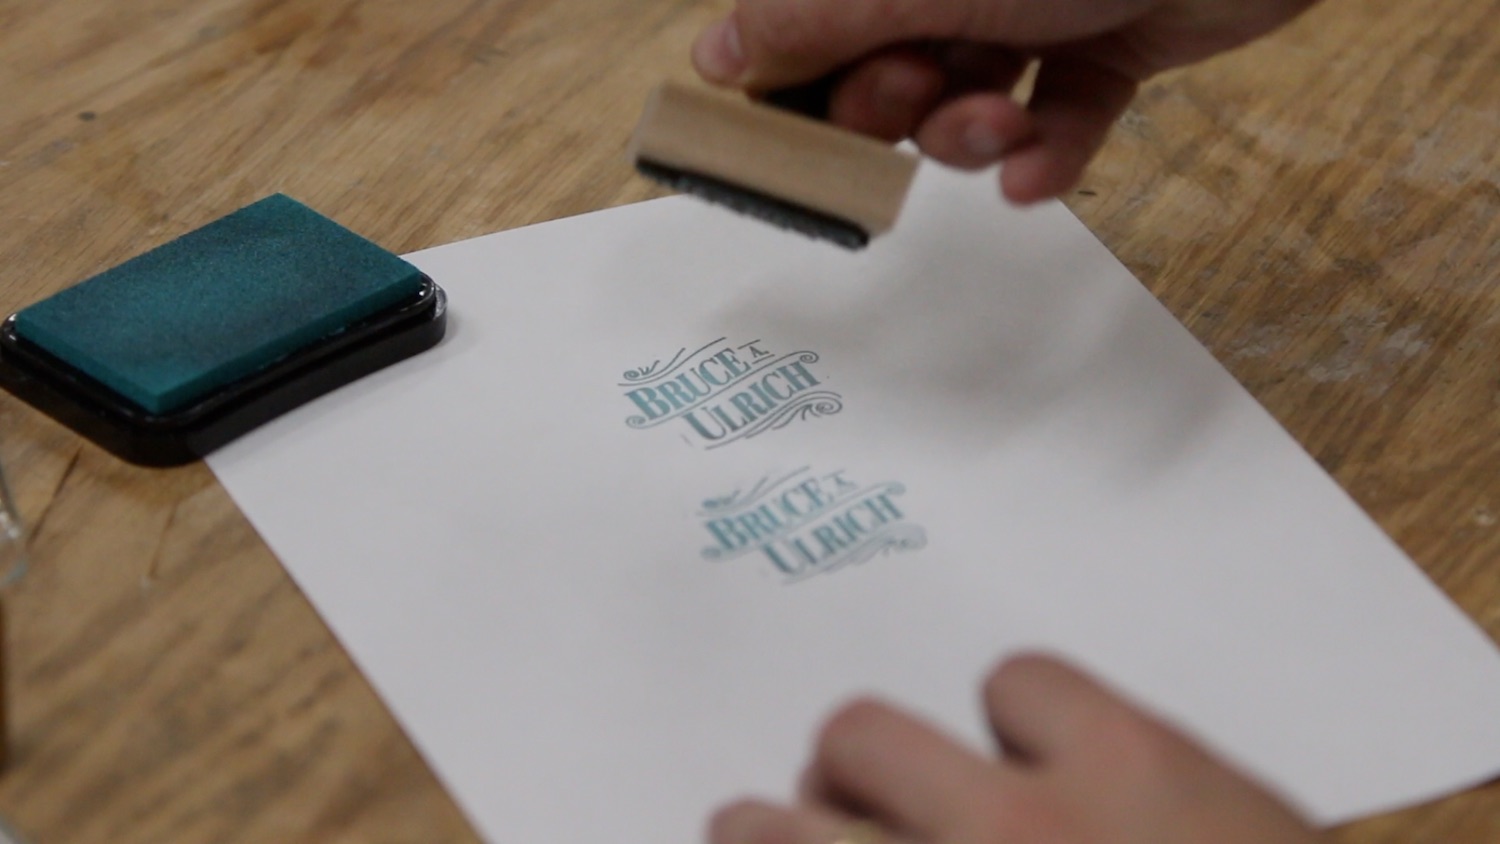
The first way to mark your work is using a rubber stamp. I have had a rubber stamp with my logo on it for a few years now. A few years back, I saw a video that David Picciuto put out on his YouTube channel about some of the things he makes for craft shows and what all he uses at the show to sell his items. He linked rubberstamps.net as a place he picked one up, so I tried them.
I was pretty happy with the speed of production and delivery, and the price was very reasonable. The one I got will run you about $11.50 plus shipping. I don't know where you come from, but that's cheap for anything really. I chose this one, because I wanted the capability to use any ink pad I chose to use, and so that I would not have to worry about finding a specific size of little ink pad that fit inside a self-inking one.
I use it on thank you notes I sent to clients, for adding my maker's mark to things I've made and any number of things. It just ads a nice touch to even some wrapping and marking pieces.
I have found that I'm not the most fond of using this as a maker's mark on things that get a pure oil finish. The ink can bleed just a bit, and I don't think it looks as good at that point. However, if you're using some spray lacquer or some other type of film finish, you should be fine. I have put this on many things that have lacquer as a finish, and it looks great!


WOOD BURNING KIT
Next, you can use a wood burning kit to mark your work. This takes a bit more work than the stamp, but it is definitely more long lasting.
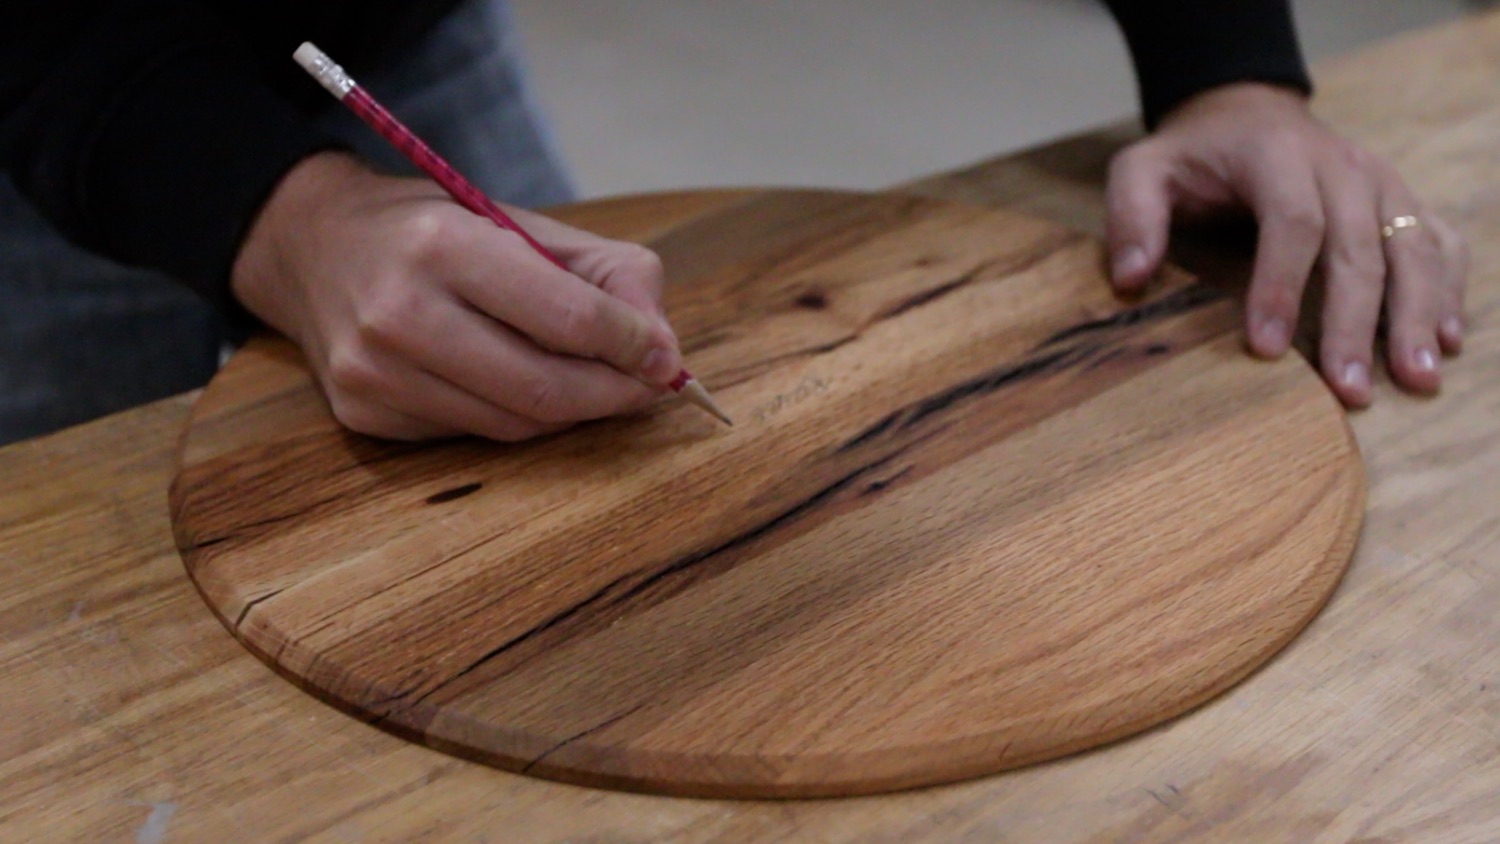
The kit I bought was from Michael's craft store, but here is the same one from Amazon, if that's what you like. It costs $14.49, but you can pretty much always get a 40% off coupon for one regularly priced item, so I used that. After the discount, it was just under $8.50, and that's cheap enough to experiment with something.
How I've had success with the wood burning is to actually draw out my name or logo in pencil right on the wood. Then, once the wood burner is heater up fully, I start tracing where the pencil is. You have to be careful with some woods like oak, because the wood burner wants to heat more in the soft parts of the very open grained wood. This gives an uneven look for your mark, but I kind of like the hand-drawn aspect of it.

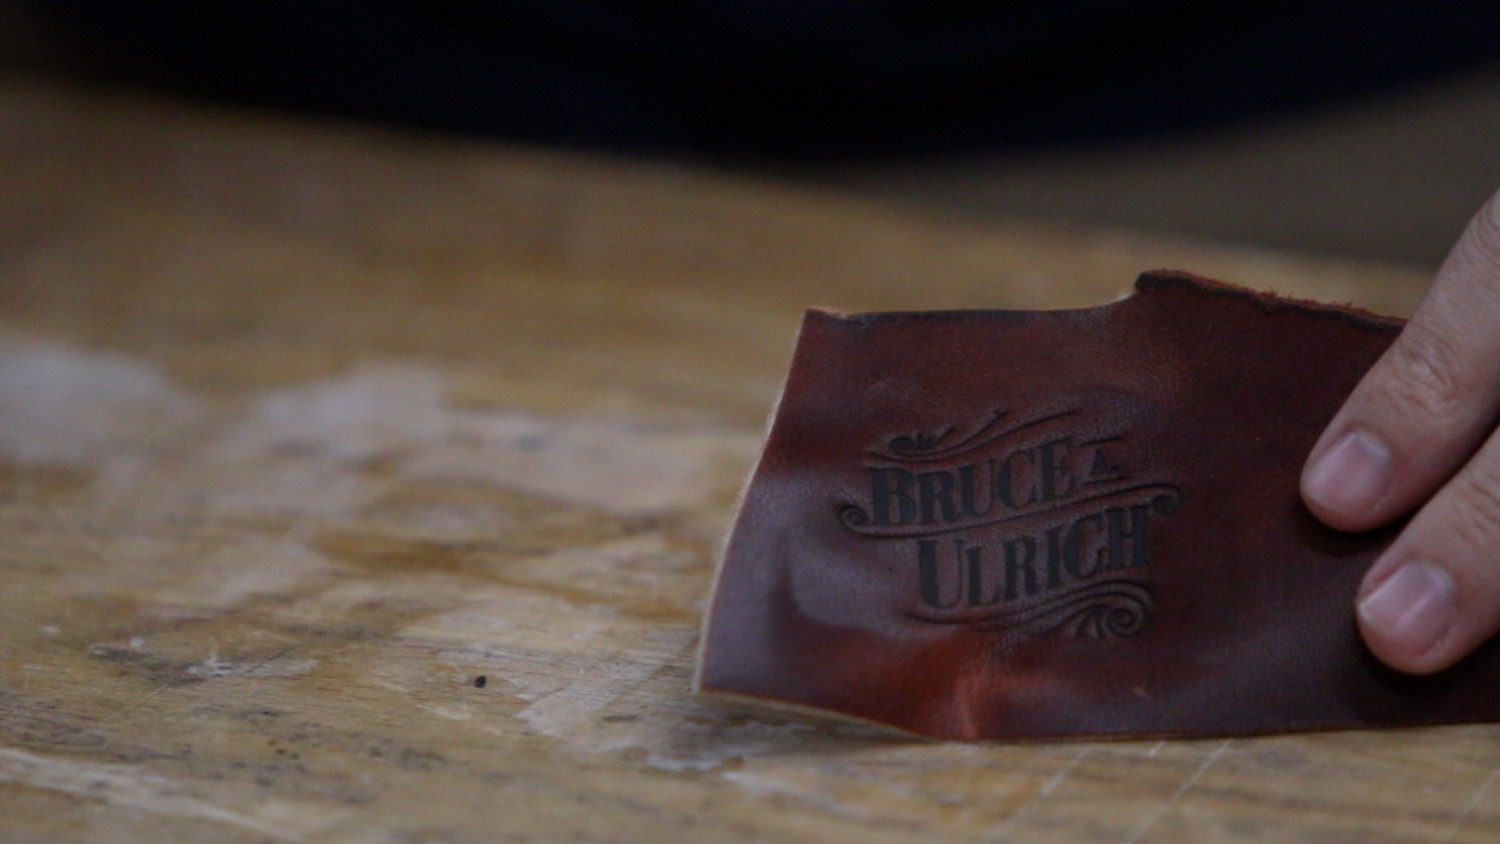
BRANDING IRON
The last way to mark your work is with an actual branding iron. They are now often made from brass, like the one I got from Cranford Design Works, but they're still called branding irons. There is some steel in there...the rod that goes between the head of it and the handle, but nothing else is "iron" about it.

This one I have is pretty unique from what I've seen. It has a solid brass head, and it has a little set screw in the side. That set screw allows you to loosen it and remove it from the handle. Then, you can add in another steel rod that enables you to use this branding iron in a drill press or larger press of some kind. I think that's pretty neat! And I've seen it used in both ways...and it works well! Many tools that claim to have dual use just don't work very well for both things, in my opinion. This one seems to excel at both.
All you do is heat up the head of the branding iron with a torch. The one I have is just a Bernzomatic propane torch. Once it is heated sufficiently, you can burn in 3 or 4 marks before it cools off too much. Overall, I see myself getting a lot of use out of this tool.
This is the most expensive of the 3 options, but it will leave the most lasting impression, and it will last the longest as a tool to use. It is very well built, and you'll probably only ever just need the one, as long as you still have that logo or mark. A kit like this from Cranford Design Works is going to cost a decent amount more than the other two methods, but it will last a lifetime. You are likely to never have to replace it if you take care of it...oh, and if you don't change your logo!
NOTE: If you end up getting a branding iron from Cranford Design Works, put "Bruce A. Ulrich" in the special requests field so they know I sent you to them. They are local to me (in Mississippi) and I always like supporting local craftsmen.


CONCLUSION
I wanted to do a quick video and post about ways to mark your work. I know a lot of people already do mark their work, but for those who don't, or who might not have thought about some of these methods, I wanted to offer some ideas. Also, I wanted to break down the costs of each of the items so they were a little less unknown and daunting for anyone looking to purchase one of these options.
Thank you for taking the time to check out this project! If you haven't already, also watch the video on my YouTube channel, and let me know if you have any questions or comments. I will see you next time!