Decorative Wood Box // First Box DIY Woodworking
VIDEO
In this video, I show how to make a decorative wood box out of red gum and white oak. This DIY gift box was a lot of fun to create, and had a few challenges along the way. Watch the video below or follow along to see exactly how I did it:
BACKGROUND
I needed to make this box as a gift for someone. I started putting together ideas, and I really didn’t know what wood I wanted to use at first. Well, I found this piece of red gum in the shop that came from Philip Cranford of Cranford Design Works (If you remember, that’s the company where I got my branding iron from. Still love that thing…check him out if you’re needing one!). When I bought a bunch of white oak from him a while back, he gave me a piece of red gum. I had never worked with it before, but I really like how it looks. I might have to seek some more out.
TOOLS & MATERIALS (affiliate links)
Mahoney's Walnut Oil: https://amzn.to/2CJTB6P
Rockler glue applicator: https://amzn.to/2Ap8I44
Table saw - https://amzn.to/2C11FzS
Supermax drum sander - https://amzn.to/2q1u6GG
DeWalt planer - https://amzn.to/2CXLyo7
Jointer - https://amzn.to/2myoGBj (Mine is a Grizzly, but couldn't find a link for it)
Wood glue - https://amzn.to/2LiVSfe
Painter’s tape - https://amzn.to/2Fv3Uix
Bandsaw (same model as mine, but mine is anniversary edition)- http://amzn.to/2BI2xJV
Random orbit sander - https://amzn.to/2C0gR0k
STEPS
I started out by milling down the single piece of red gum I had. One side was pretty flat already, so I just started sending it through the planer a few times to get the other side flat and parallel to the one good side.
Then, I resawed the board. Resawing is just when you take a board that is say 1.5” thick, and cut it along the thickness so that you can get more yield out of the same piece of material.
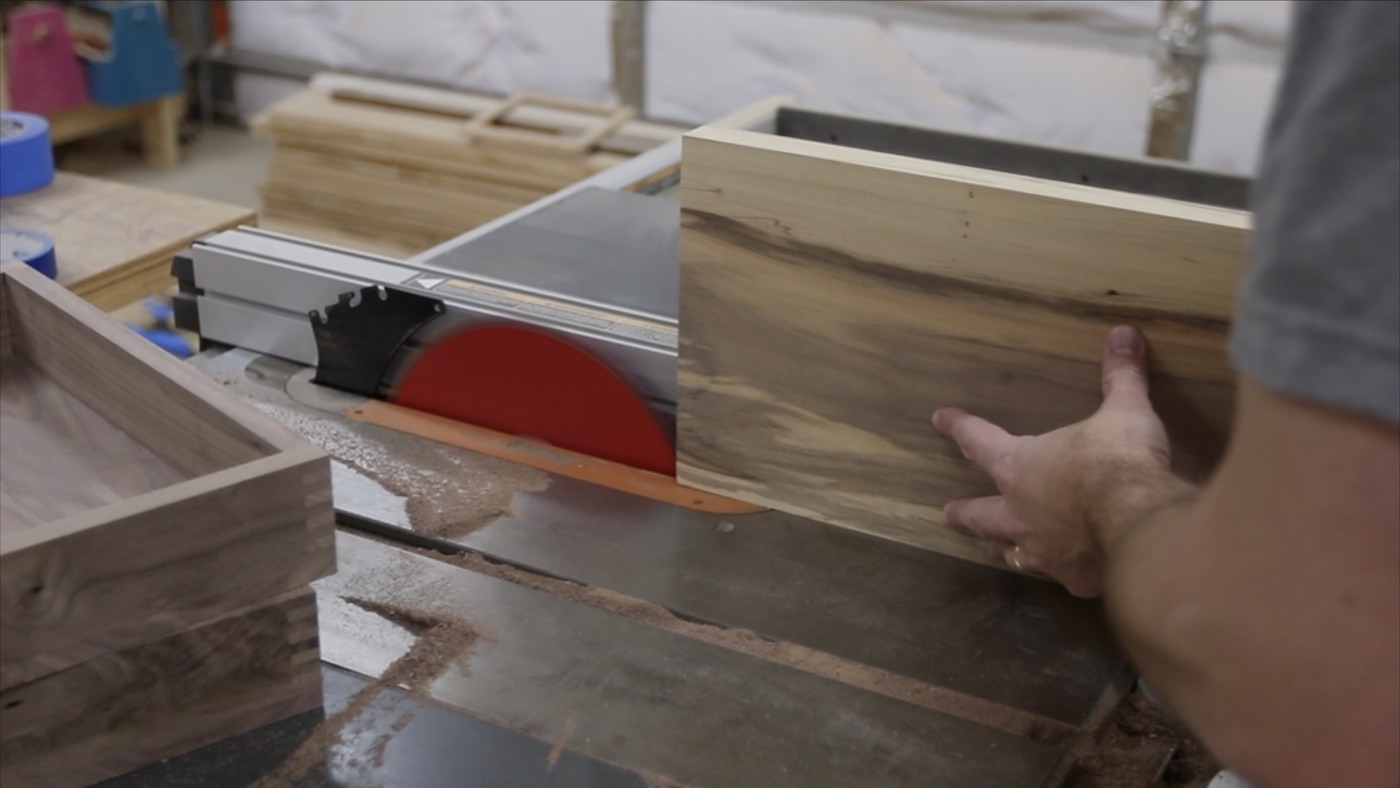
I wanted to do this on the bandsaw, but it was wider than the max that my bandsaw could resaw, so I took it over to my tablesaw. I had to raise the blade all of the way up (which will only cut about 3 1/8” above the table) and make a cut. Then, I flipped it end-for-end and ran it through again.
This left just a little bit in the middle where the blade could not reach all of the way through, so I had to finish off the cut with my pull saw. 40 minutes later, I was finally done with that. I had no idea it would be that much sawing by hand. Needless to say, I was a bit sore for a few days after.

CUTTING MITERS
Next up, I cut the miters. I did this at the table saw, but in hindsight, I probably should have used the miter saw for this. The way I did it, I was not able to get a continuous grain all of the way around the box sides. I was able to match up the grain pretty well though, so unless you have a very trained eye, you don’t even really notice it.
TIME FOR A GLUE UP
Glueing things together can often be stressful. This was far from stressful on this project. It was as simple as laying out a few pieces of painter’s tape on my workbench, then laying the box pieces on the tape, end-to-end. Then, I just kind of “rolled” it up, and all of the miters came together. And pretty nicely, I might add. There were a couple of them I had to finesse a bit more and just add some more tape to clamp them better, but that’s not bad.


SPLITTING INTO TWO
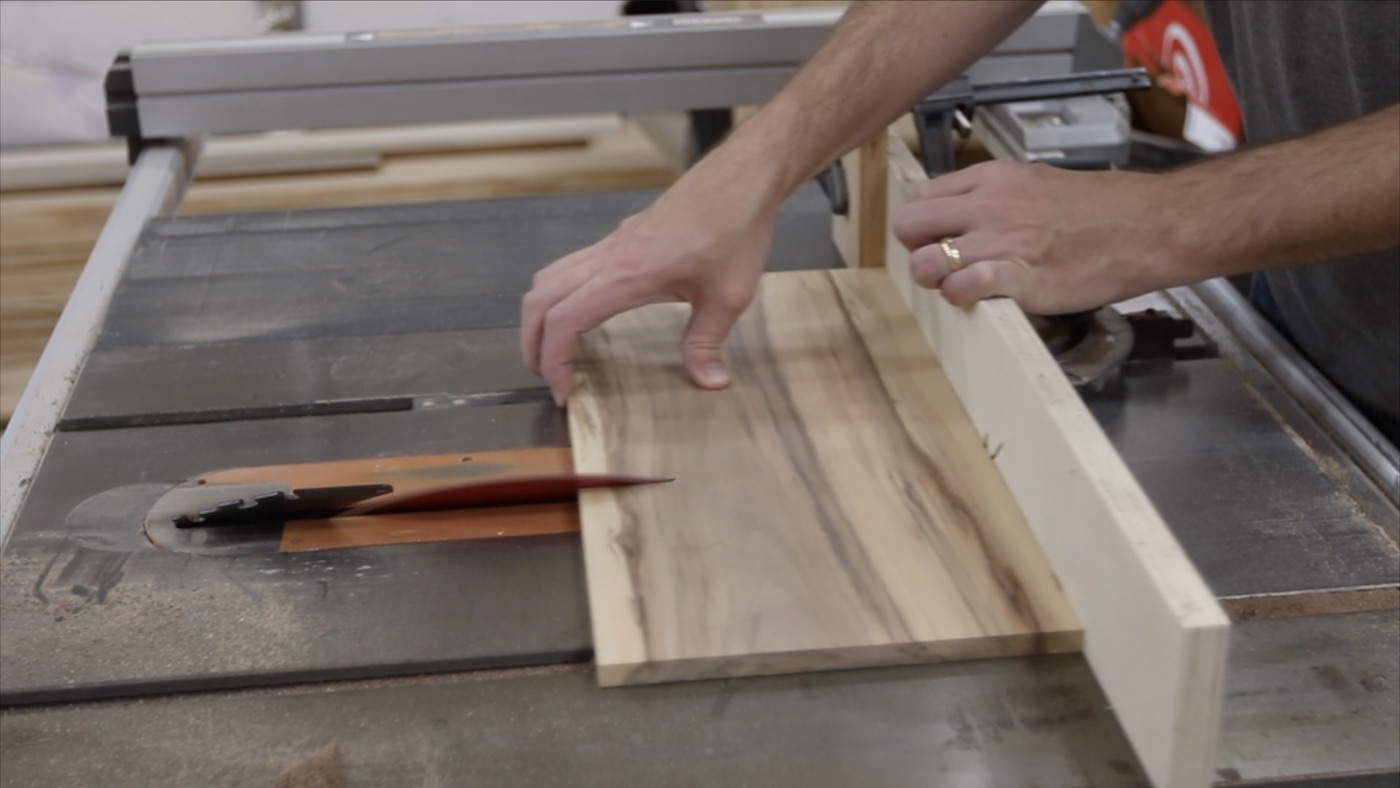
Once the glue dried and I saw how large that one box would be, I decided to cut it in half and make two boxes out of it. I took it over to the tablesaw to do this. I only used one of the halves for this build, so I’ll save that other one for another fun box. Maybe I’ll use walnut for the top and bottom? Hmmm…

MAKING THE TOP AND BOTTOM
For the top and bottom, I used white oak. I rough cut a couple of pieces at the miter saw and then milled them with some trips through the planer and on the jointer.


Then, it was time for some laser engraving! That’s even fun to say. I have the Glowforge laser engraver and I used it to engrave a large rooster into the top of the box lid. The recipient of this gift box really likes roosters, so that’s the reason for this particular shape.


CUTTING THE SPLINES
At this point, it was time to cut the splines in the miters. I pulled out my spline jig for the tablesaw, and cut splines all the way around the box (on all corners) in two different spots. I know some people put on a flat grind blade for this, but I just used my combination blade and it seemed to yield decent results for me.

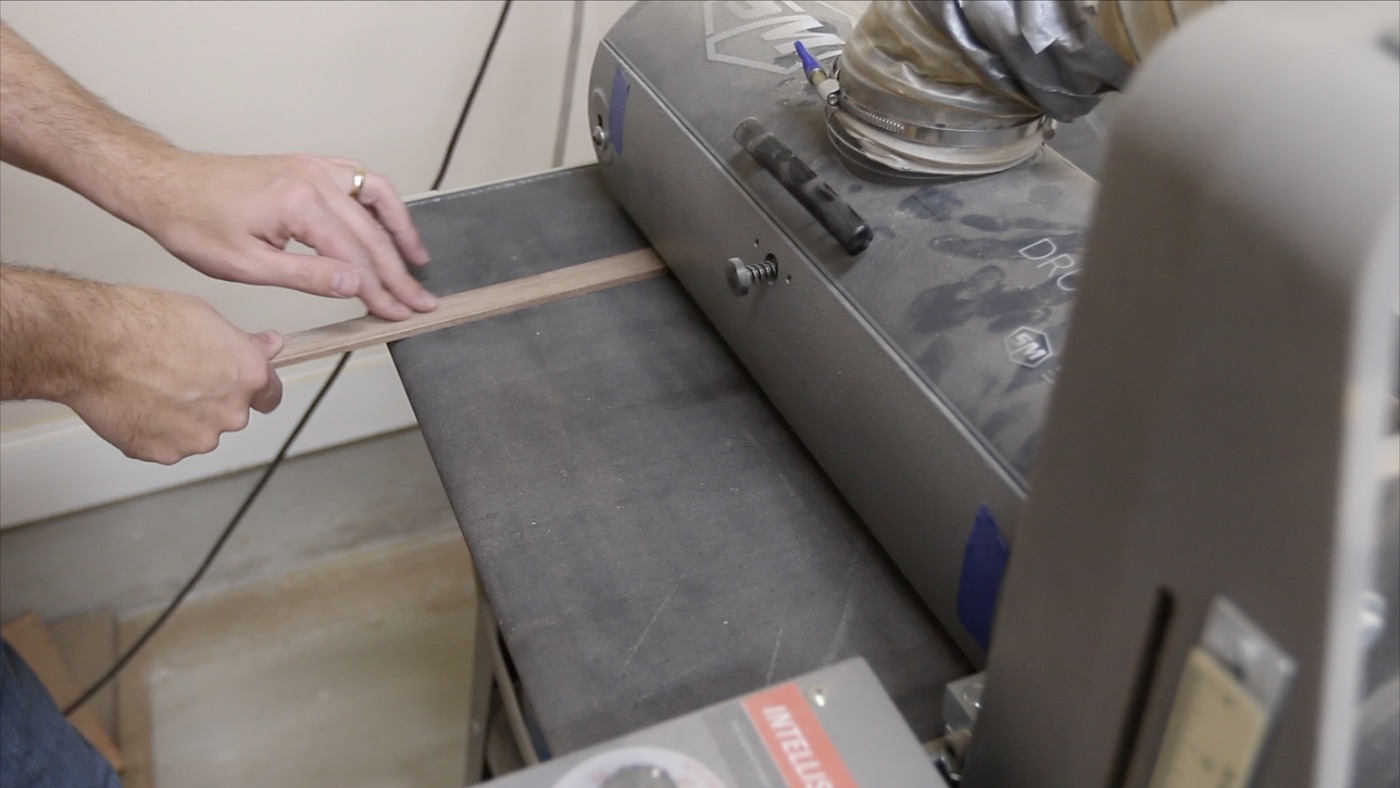
I used the drum sander to get the precise fit for the spline material. In this case, I’m using walnut.
Then, I mark where each of the splines will be in the long piece, and cut them out on the bandsaw.

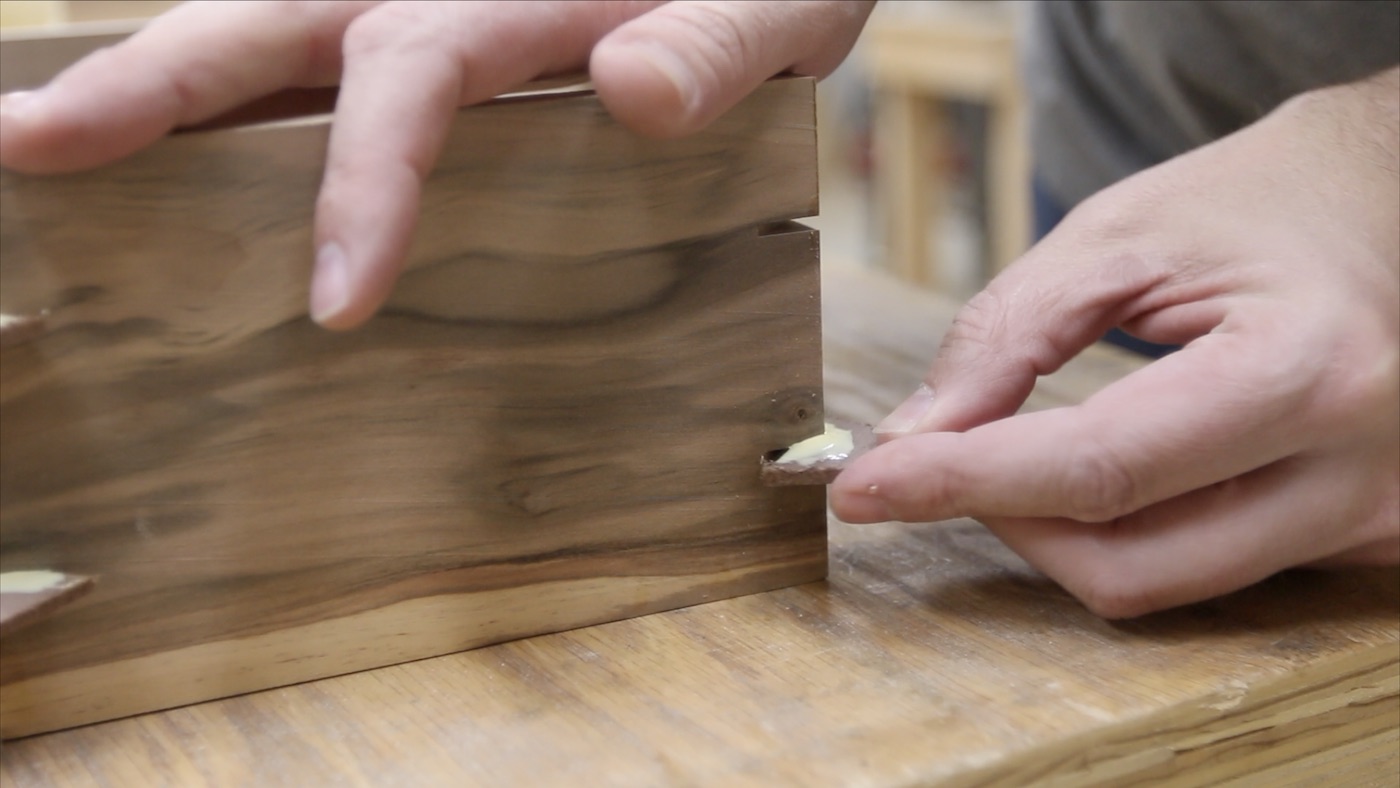
Next, I glue in all of the splines. This is not really difficult, but you want to make sure you get the splines seated all of the way down into the groove you cut for each one.
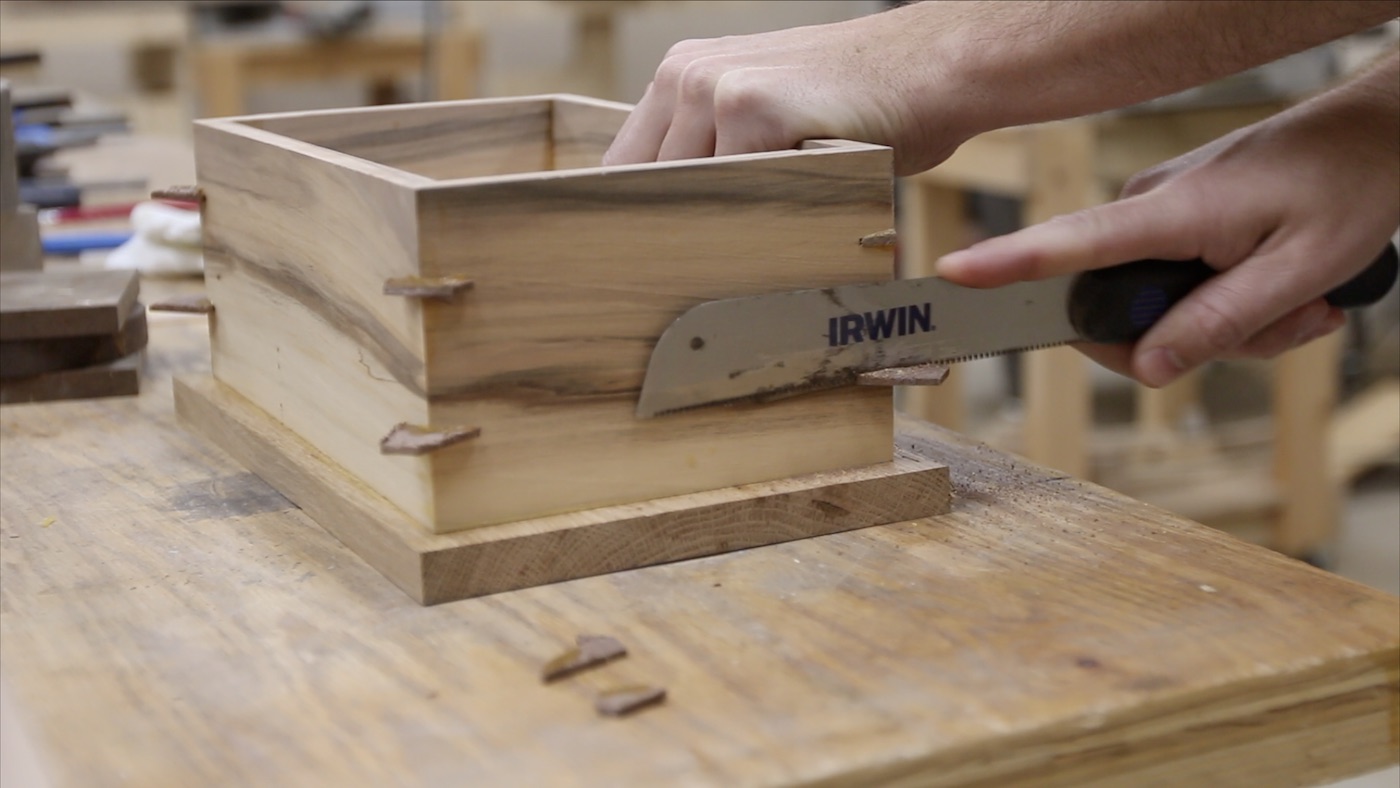
Then, I use a flush trim saw and a bandsaw to cut off all of the excess spline material, as well as trim the bottom of the box to be very close to the sides.

FITTING THE TOP
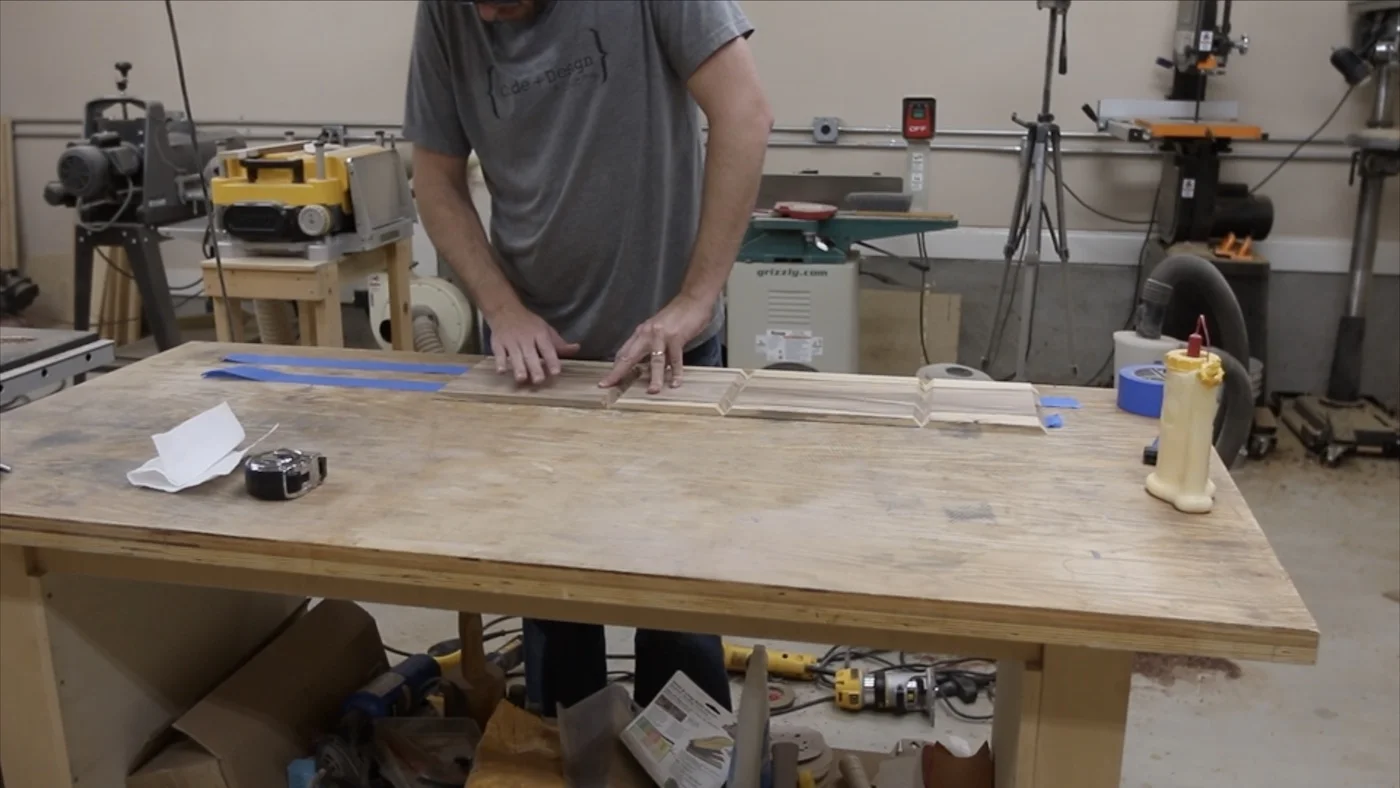
I left the top a little large on purpose so I could trim it to size later. That way, it was not as important that the engraving be exactly centered. I put the top down on my bench and laid the box on top of it. That way, I could see where to center the engraving. I traced that line on the inside of the box, and used that line to make the inset part of the lid.

I put on a dado stack on my tablesaw and then cut away all around the top to match where those lines were. This would allow the lid to sit down inside the box a little bit.

Then, I had to clean it up just a bit with a chisel and some sanding. The box lid had warped a little bit since I milled it down, so the dado stack took a few uneven passes. Nothing a few chisel passes couldn’t clear up!
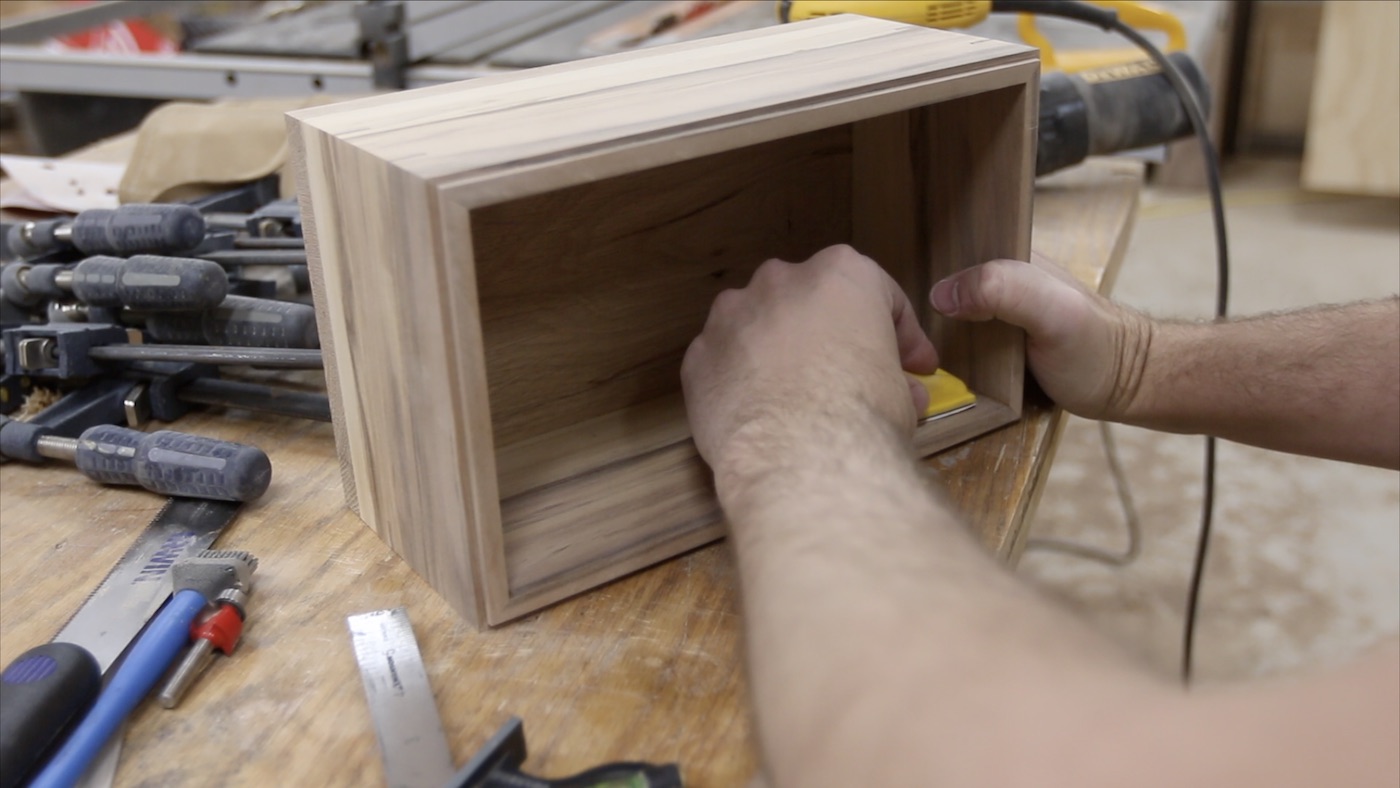
The box top was still a little bit larger than it needed to be. I wanted the sides to protrude out, but not as much as it was. It already had the recess that would fit down inside the box, so I turned it upside down and traced the outside of the box. Then, I could use this line and a ruler to determine a distance all around the lid that I could trim off to make it even.

Off camera, I used a flush trim bit in my router to trim the bottom of the box flush with the box sides. Then, TONS of sanding.

Side note: if you want to follow along with projects while in progress and get some behind the scenes interaction, follow me over on Instagram @Brudaddy.
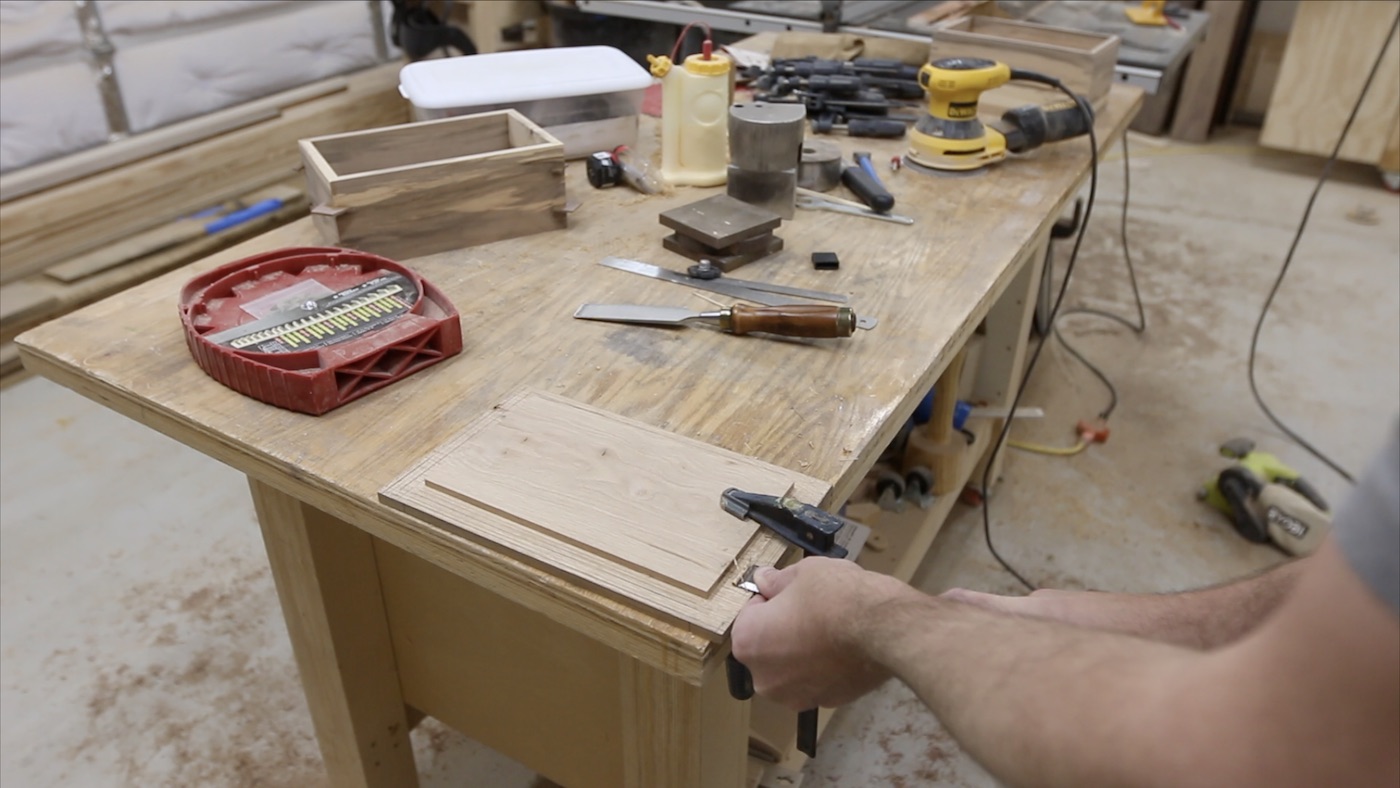
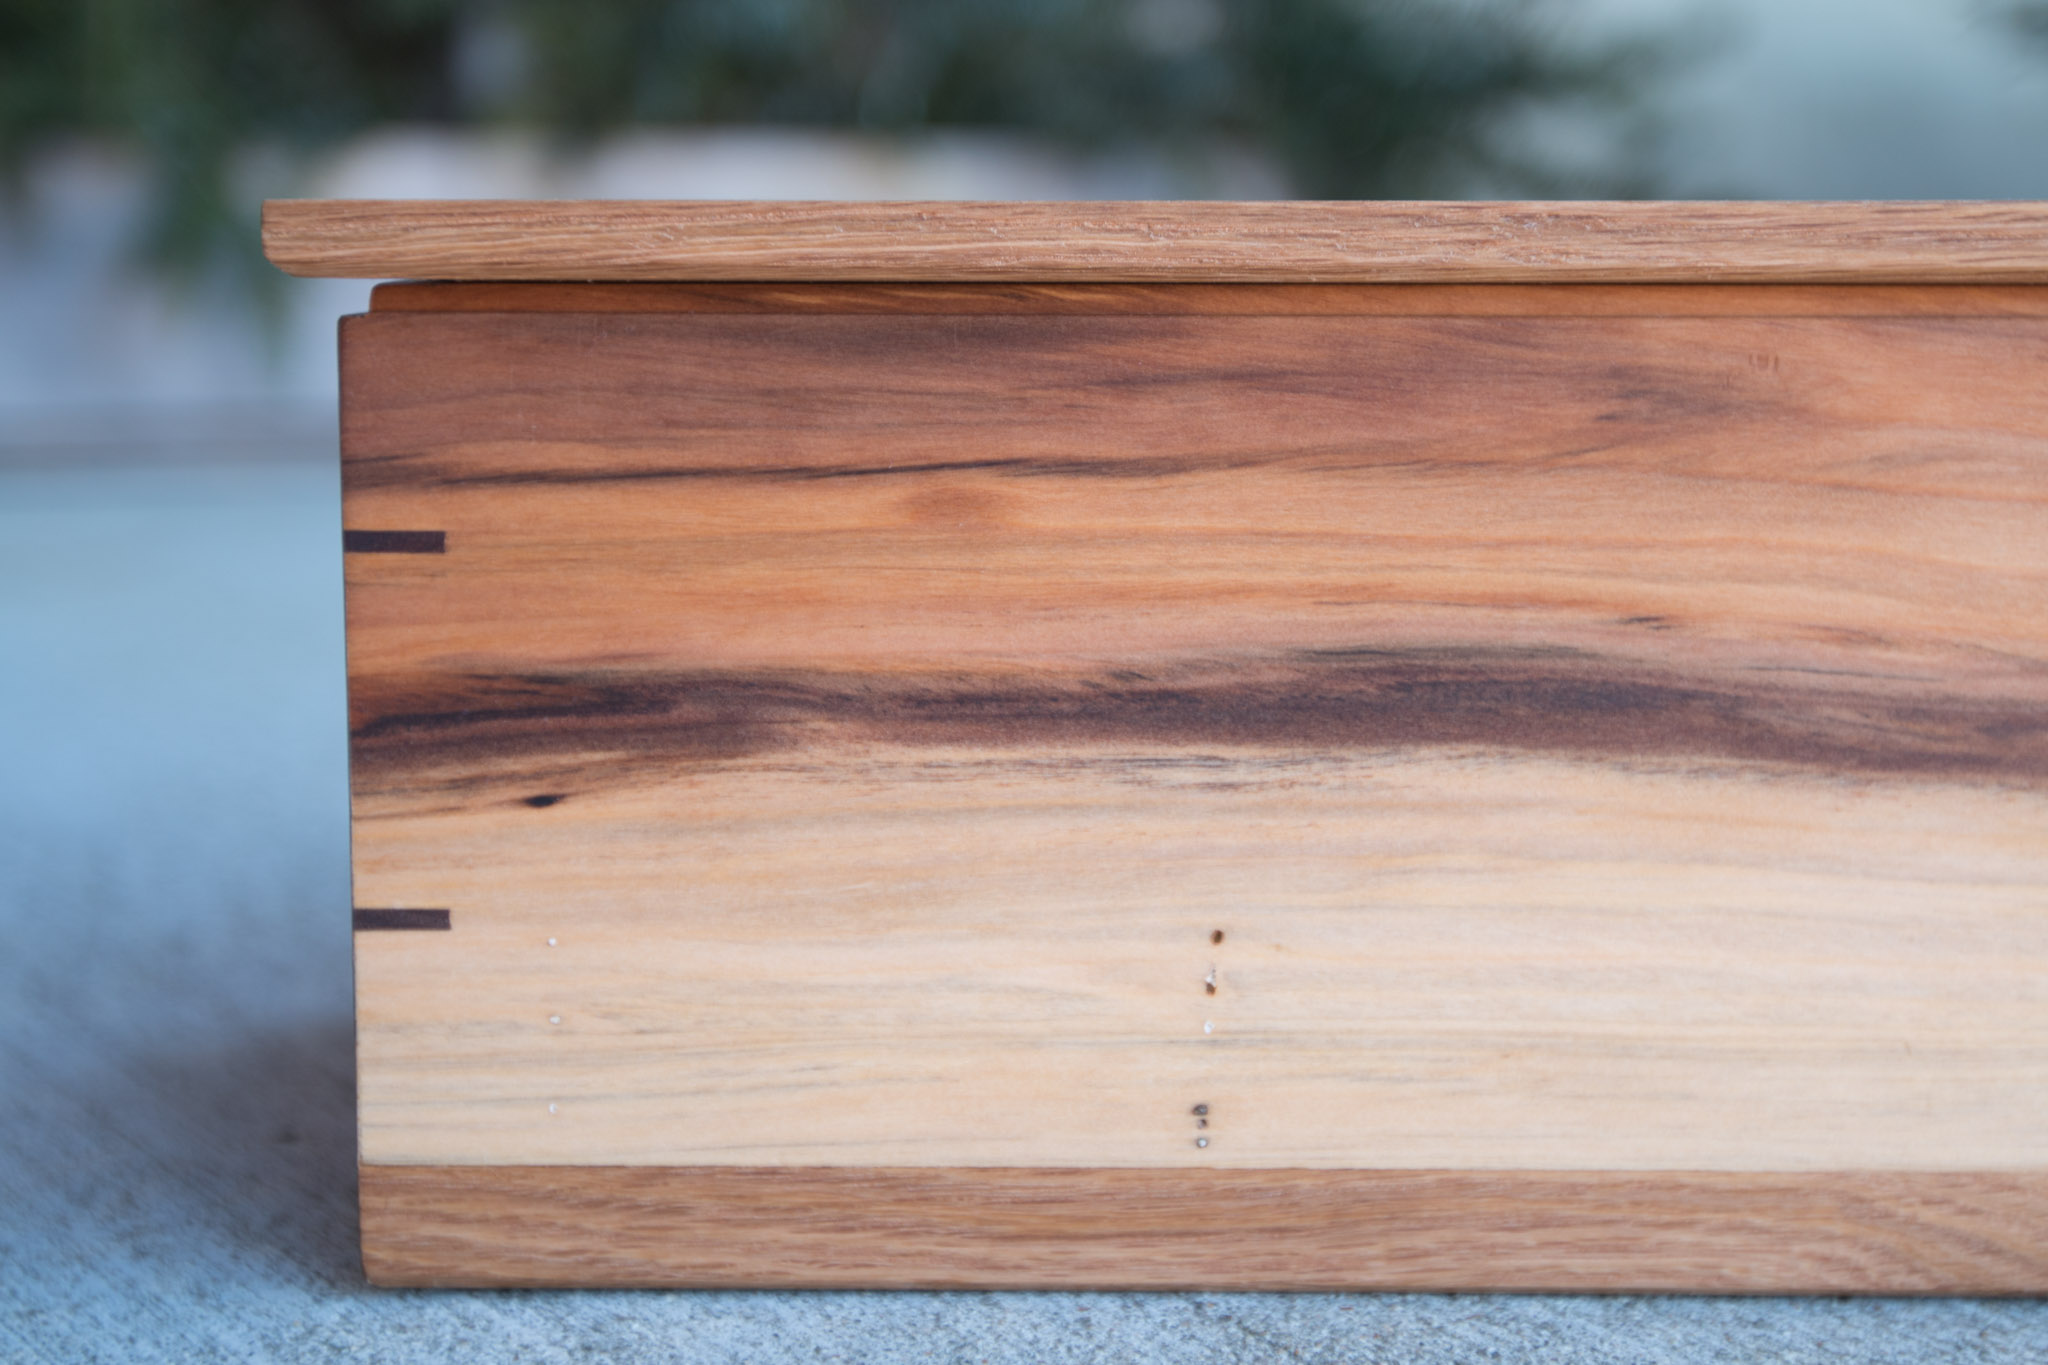
I used the tablesaw to cut a small rabbet on the outside of the box. This would act as a shadow line. After a bit of hand sanding, I used a block plane on the bottom of the box to give a slight shadow line when the box was sitting on a surface. This is a neat trick and it appears to make the box almost float. I put a slight chamfer on the bottom of the lid as well, so it would have a lighter feel.


FINISHING
Finally, it was time for finish. A while back, I was sent this bottle of Mahoney’s Walnut Oil finish. I really like this stuff. I’ve used it on quite a few projects and so far, I’ve liked it on everything. It goes on smooth, it doesn’t stink, it dries quicker than many other oil finishes I’ve used and it leaves a great looking finish with a low sheen. Big thanks to those guys for sending this to me and letting me try it out!


CONCLUSION
This was another fun project, but not without its challenges. The white oak I used for the lid kept trying to cup on me, even after multiple milling sessions. I was using that piece with the bark inclusions, so maybe that was the reason, but it kept presenting problems. I was able to overcome those though, and the box turned out great.
Thanks so much for checking out this project! If you enjoyed this box project, why not check out another one? I made one out of zebrawood and maple. I’ve got lots more projects on my site that might interest you, and be sure to check out my YouTube channel for full build videos also!
See you on the next project!
What do you think? Do you like the choice of walnut splines with this red gum wood?
Thanks for following along with this project! If you haven’t already, I would appreciate it if you would watch the video, and then give it a thumbs up on YouTube. That tells YouTube that you liked it, and that they should show it to even more people.
See you on the next project!

