Stitching Pony for Leather
VIDEO
In this project, I will show you how to make a stitching pony (also called stitching horse) to aid with your leather work. I'm sure it could be helpful in other projects involving stitching, but I've primarily seen them used in leather working. Watch the video to see all of the steps along the way, or keep reading below:
BACKGROUND
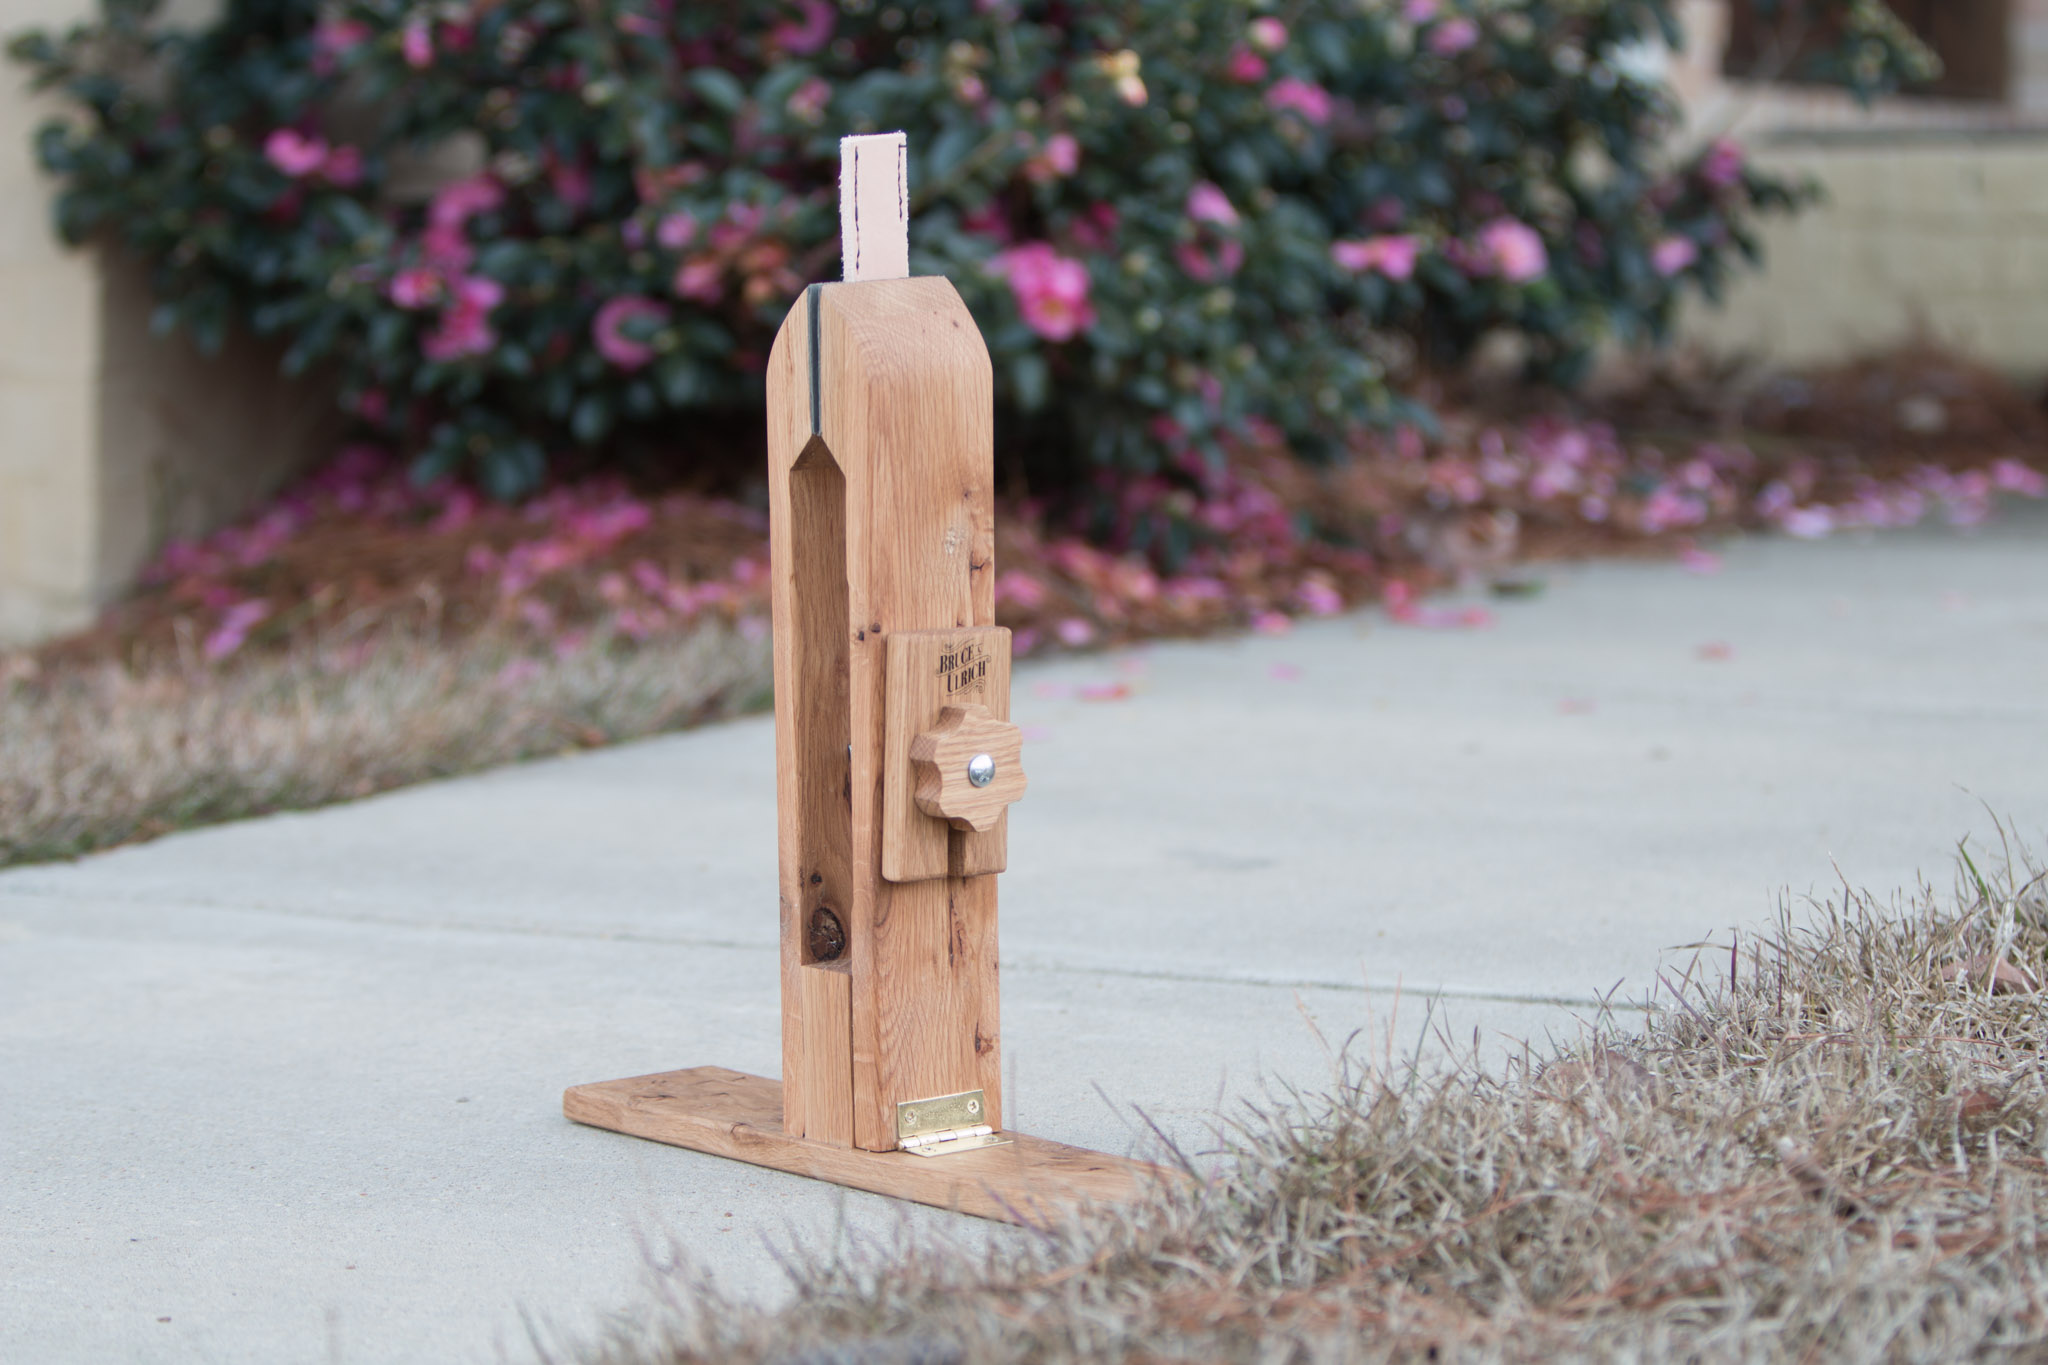
I've done a little bit of leather work in the last couple of years, but I've always wanted to do more. Well, I'm making an attempt at this, and the start of that is building this stitching pony. The stitching pony helps so that you can use both hands on your project, not having to hold a clamp or use your other hand to hold the piece.
I've got a project coming up soon that will have some leather work as a part of it, so this tool will be very helpful. I can't wait to share that with you soon, but for now, let's get on with building this stitching pony.
TOOLS & MATERIALS (affiliate links below)
Mahoney's Walnut Oil: https://amzn.to/2CJTB6P
Rockler glue applicator: https://amzn.to/2Ap8I44
Table saw - https://amzn.to/2C11FzS
Supermax drum sander - https://amzn.to/2q1u6GG
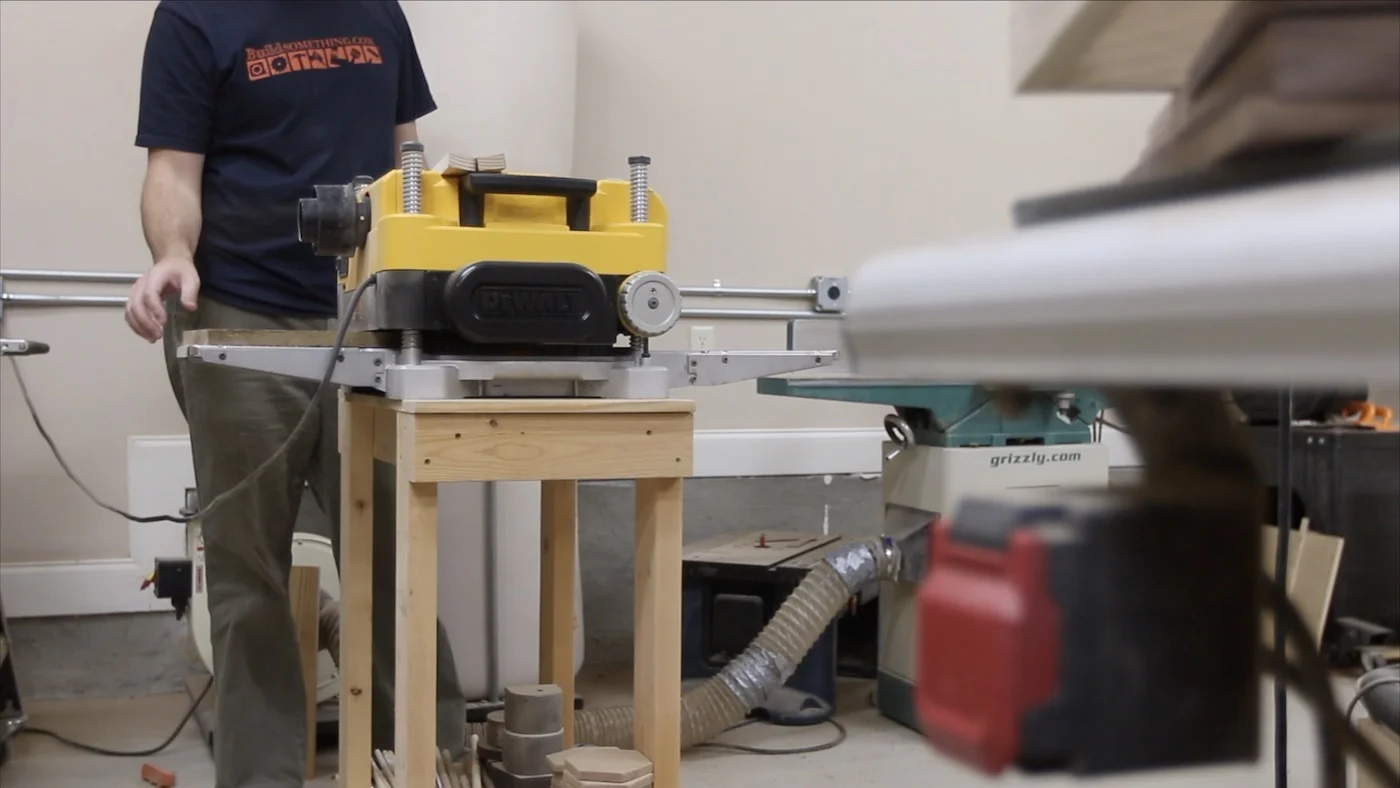
DeWalt planer - https://amzn.to/2CXLyo7
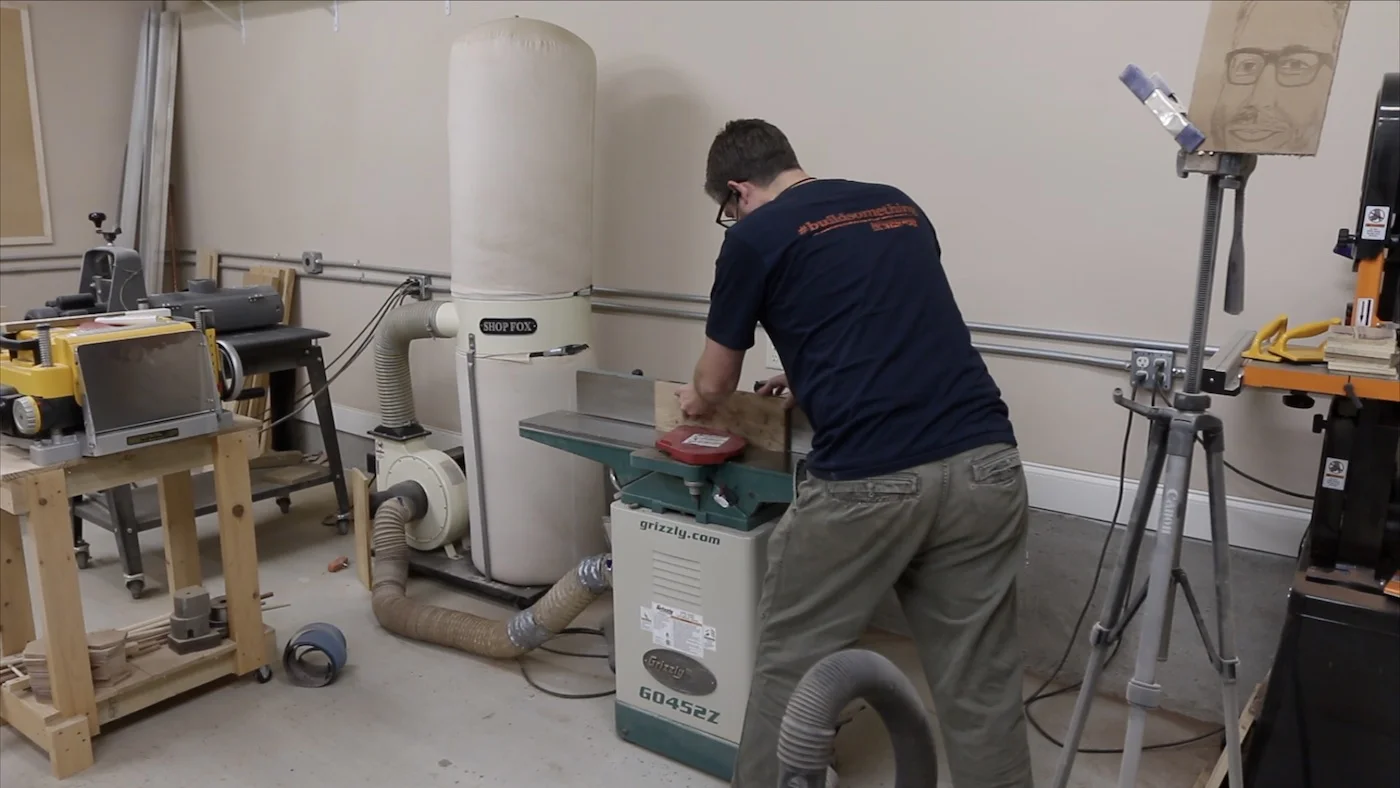
Jointer - https://amzn.to/2myoGBj (Mine is a Grizzly, but couldn't find a link for it)
Wood glue - https://amzn.to/2LiVSfe
Painter’s tape - https://amzn.to/2Fv3Uix
Bandsaw (same model as mine, but mine is anniversary edition)- http://amzn.to/2BI2xJV
Random orbit sander - https://amzn.to/2C0gR0k
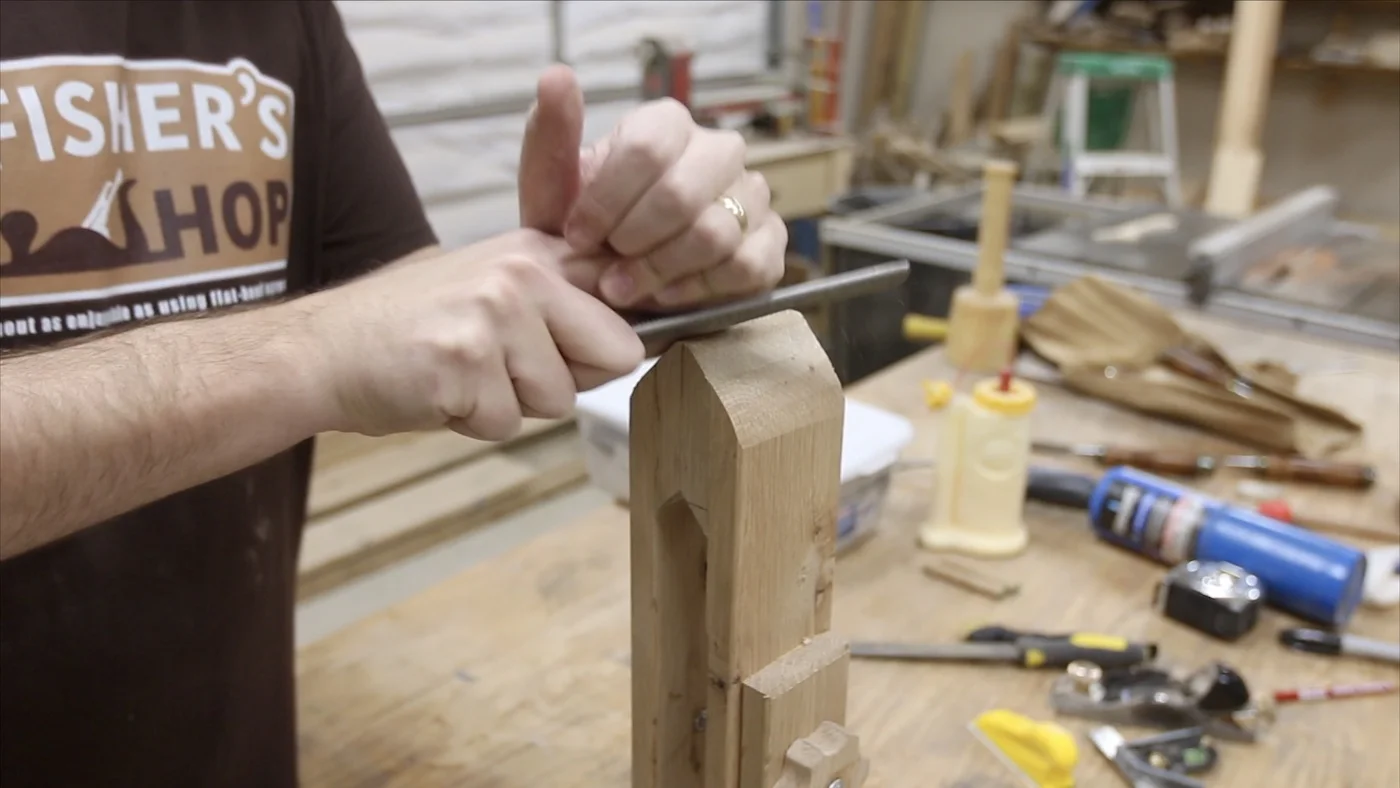
Files - https://amzn.to/2JM32UC
Trim router - https://amzn.to/2J8acm9
Angle grinder - https://amzn.to/2QDsDlp
STEPS
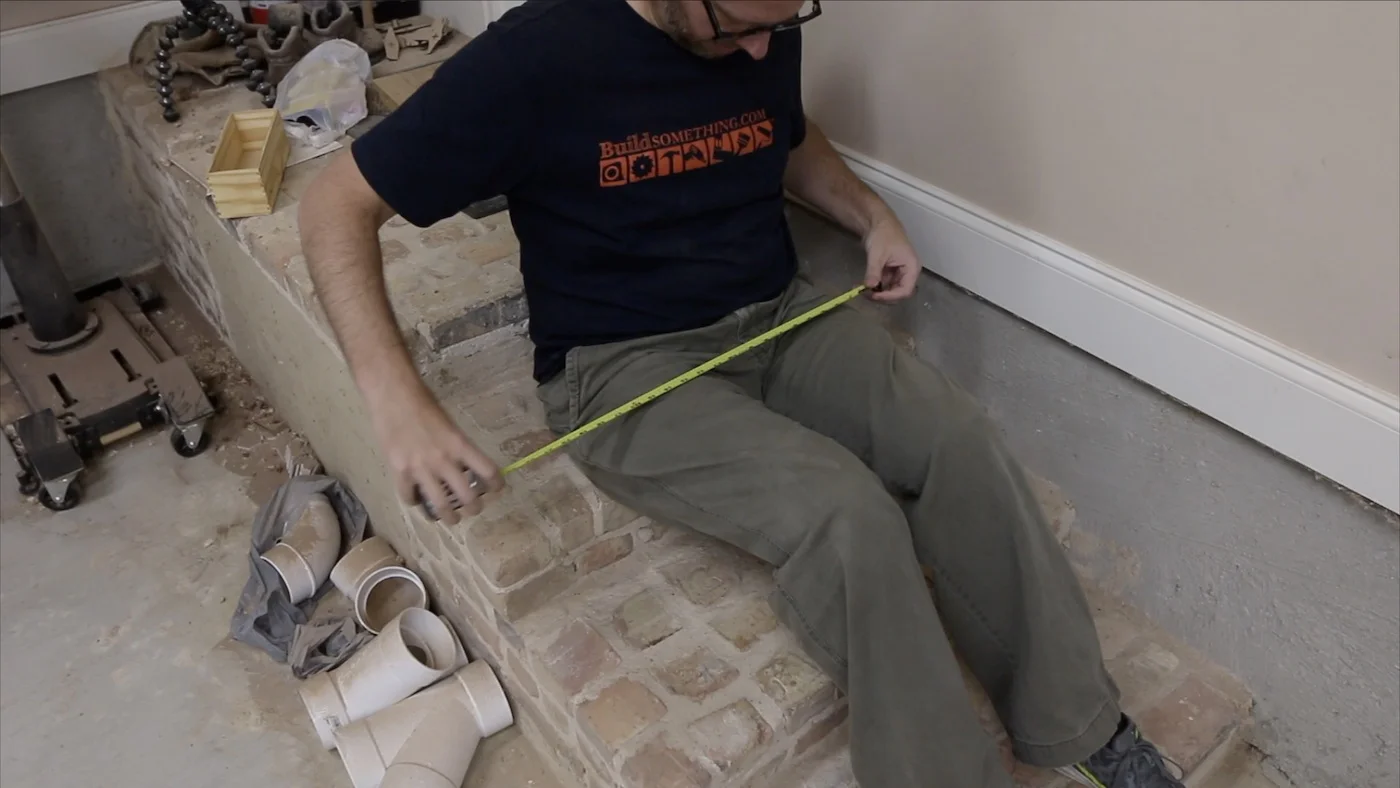
The first step was to measure the width of my lap, and how high I would need the stitching pony to be when sitting. These dimensions would allow me have a starting place that I could refine later.
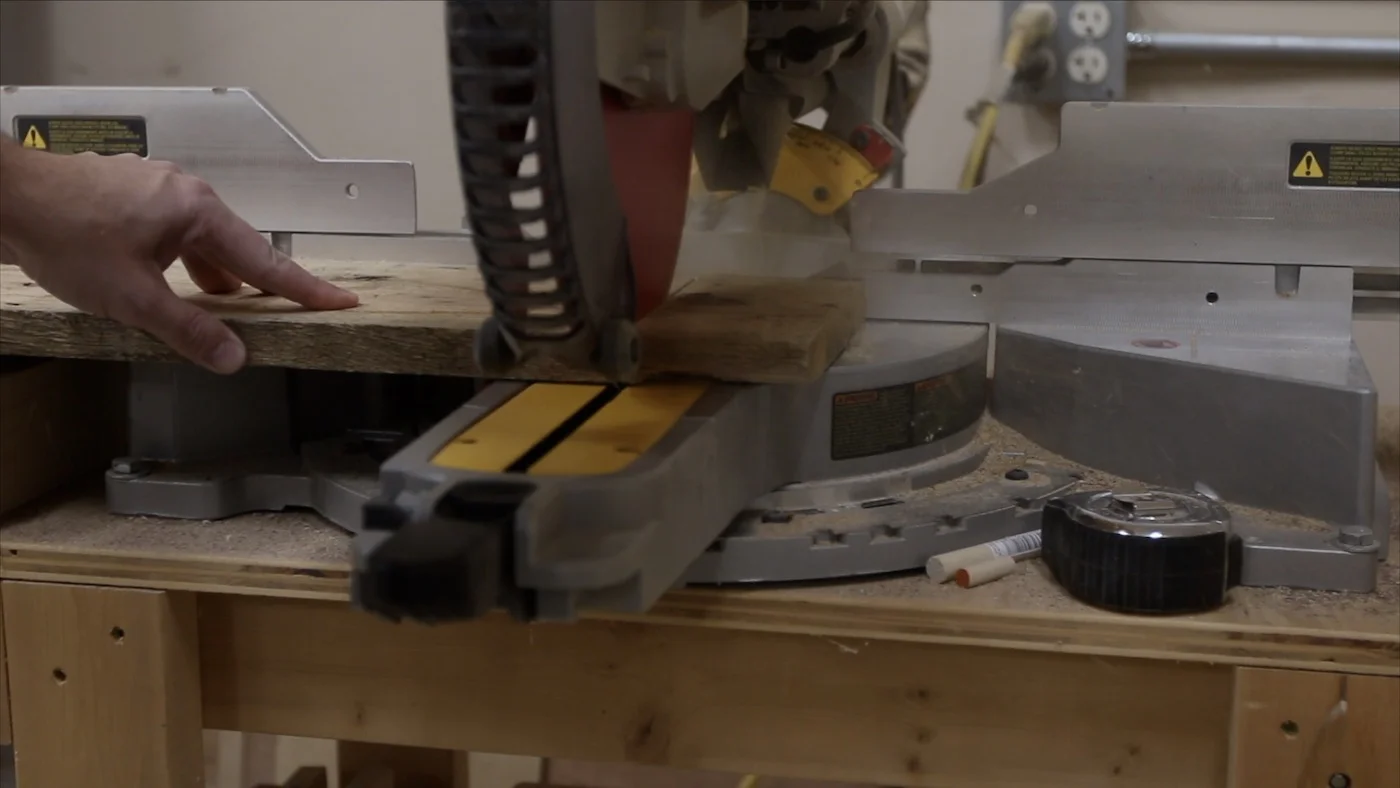
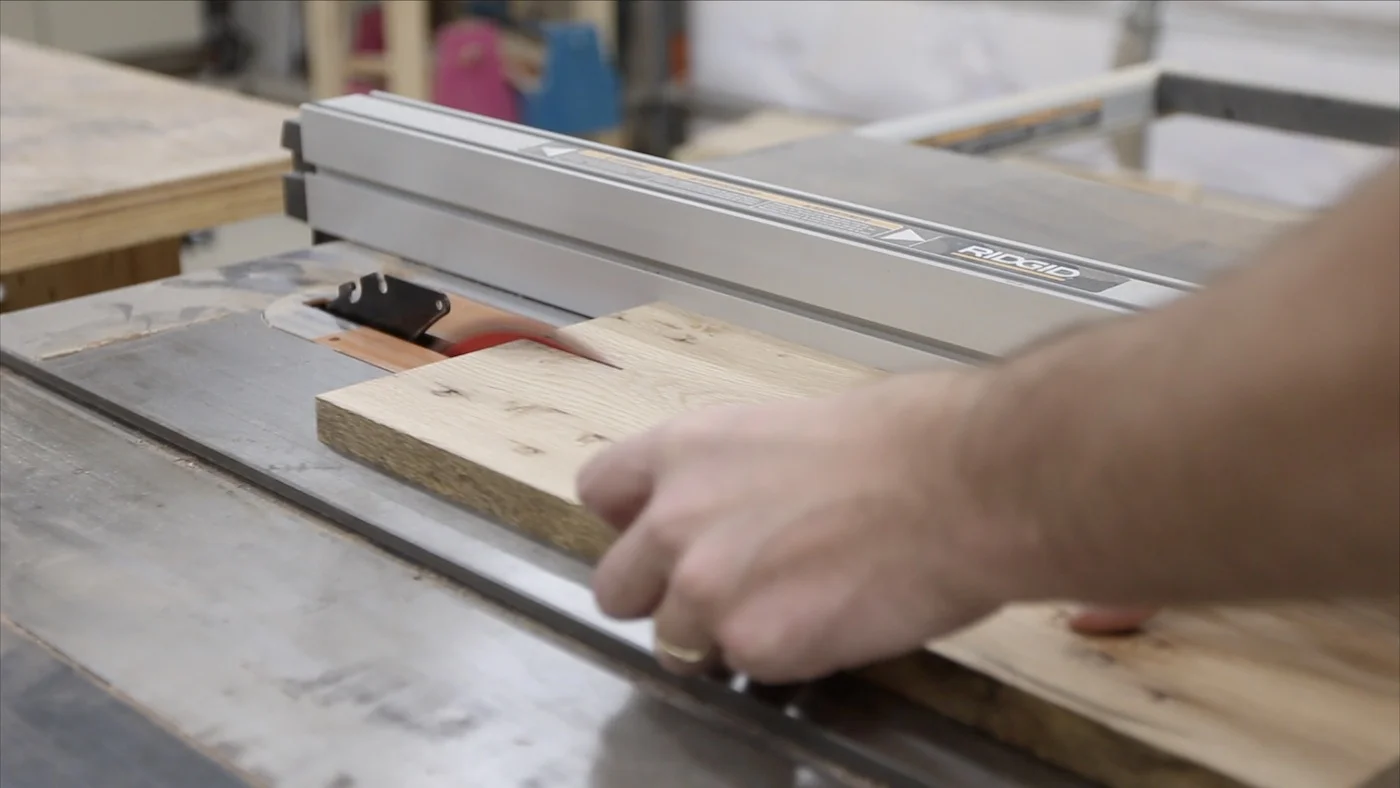
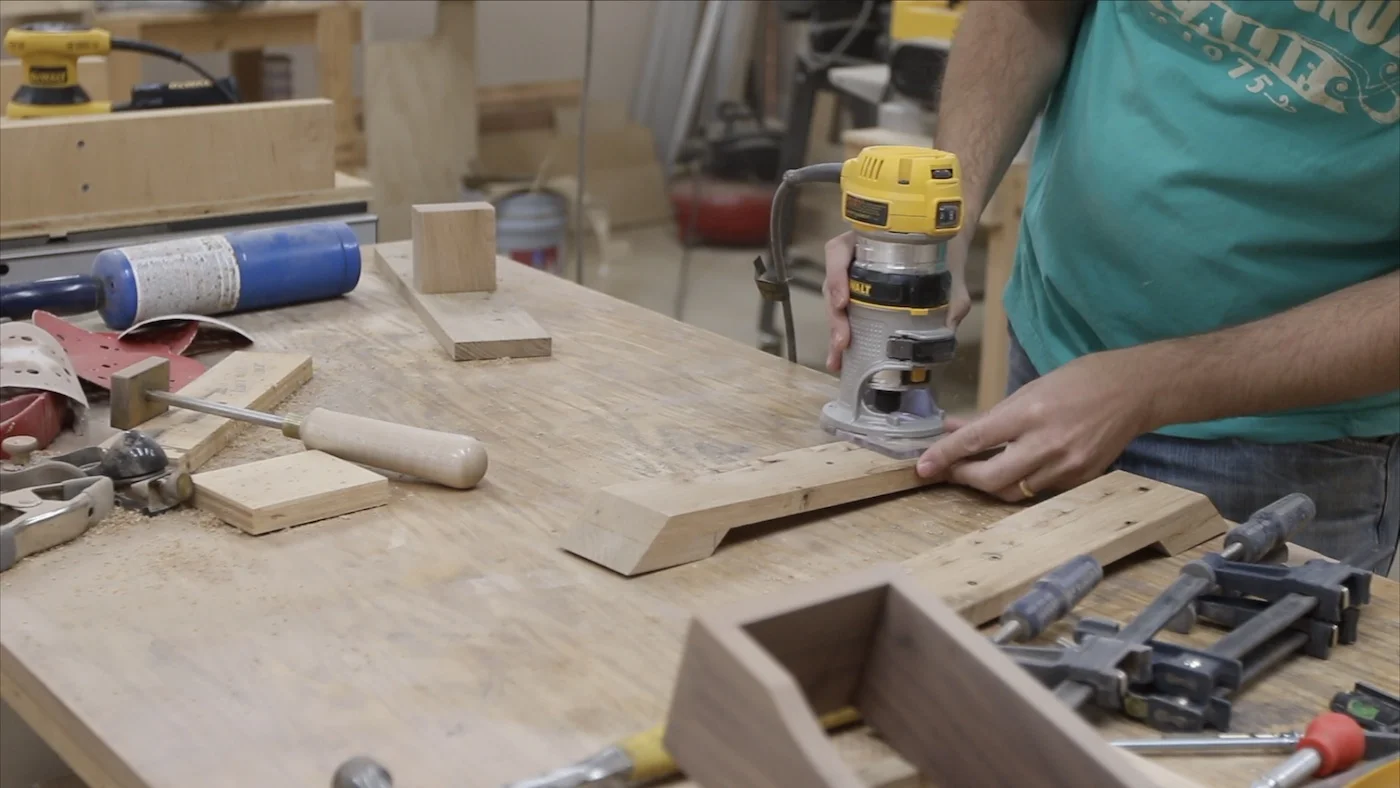
Then, I grabbed a piece of rough sawn white oak that I had and cutting it to the rough length of the pieces I needed at the miter saw. Then, I ran it through the planer a few times. This particular piece was flat enough, I didn't have to use the jointer to get a flat face first. Then, I used the jointer to make one edge flat and square to the face, before taking it over to my table saw and ripping them all down to the same width.
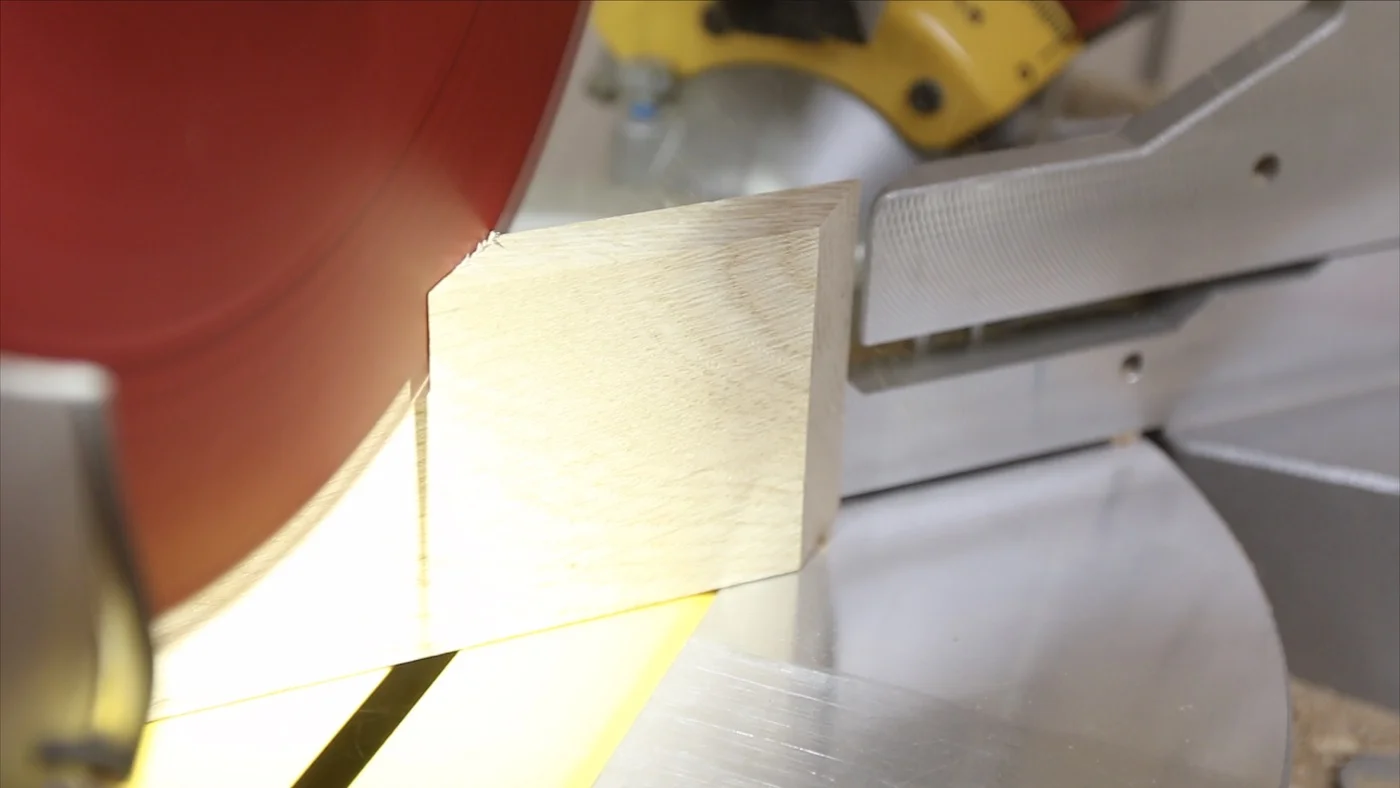
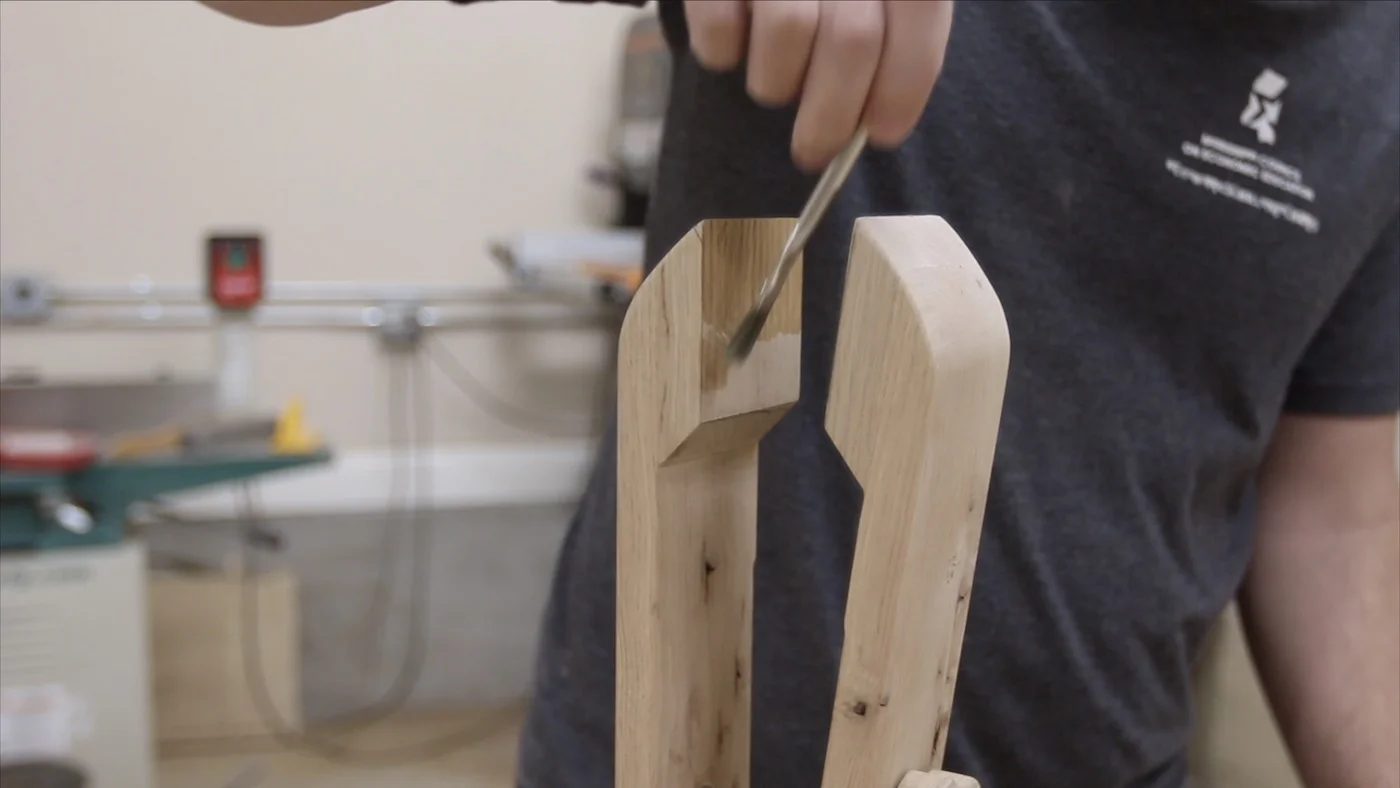
From there, I took it back to the miter saw and started cutting a few of the pieces that would make up the jaw of the stitching pony at a 45 degree angle. For the longer, outside jaw pieces, I just needed one 45 degree angle to be cut. For the inner jaw pieces, I had to cut both sides at a 45 degree angle, but they were parallel from one end to the other. (It'll make more sense when you see the photos)
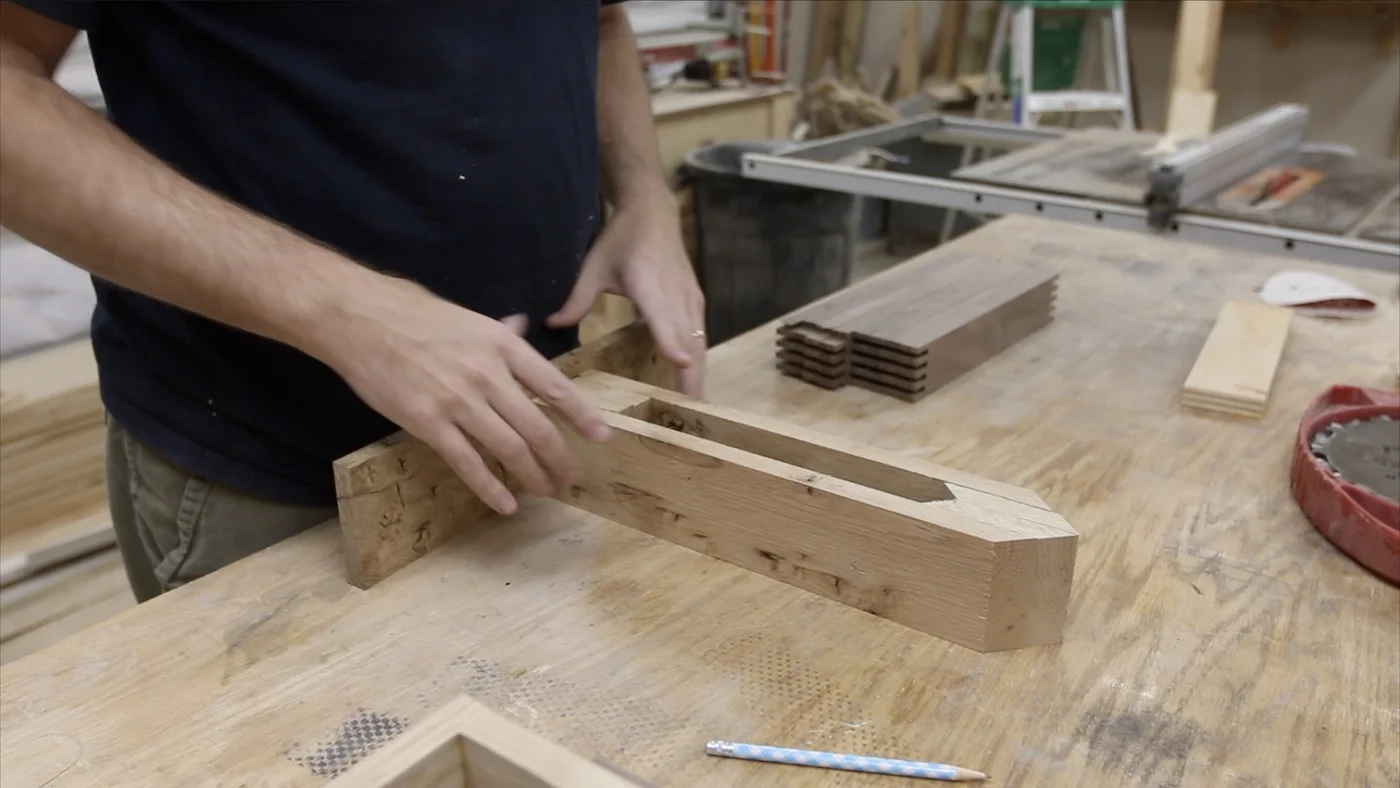
Then, I just had to start gluing the jaws together. The longer pieces would get the smaller, inside pieces glued to them, and I just used some heavy steel blocks as clamps.
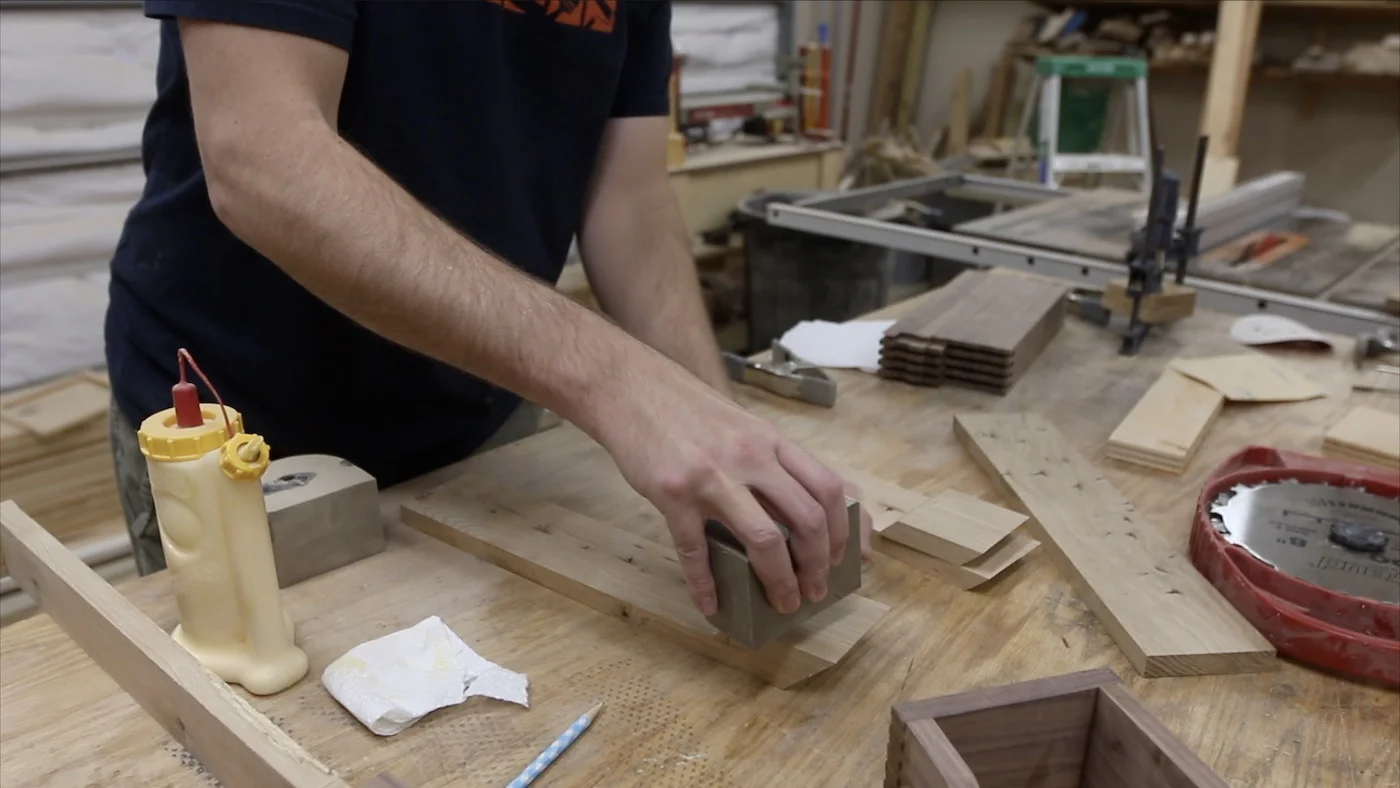

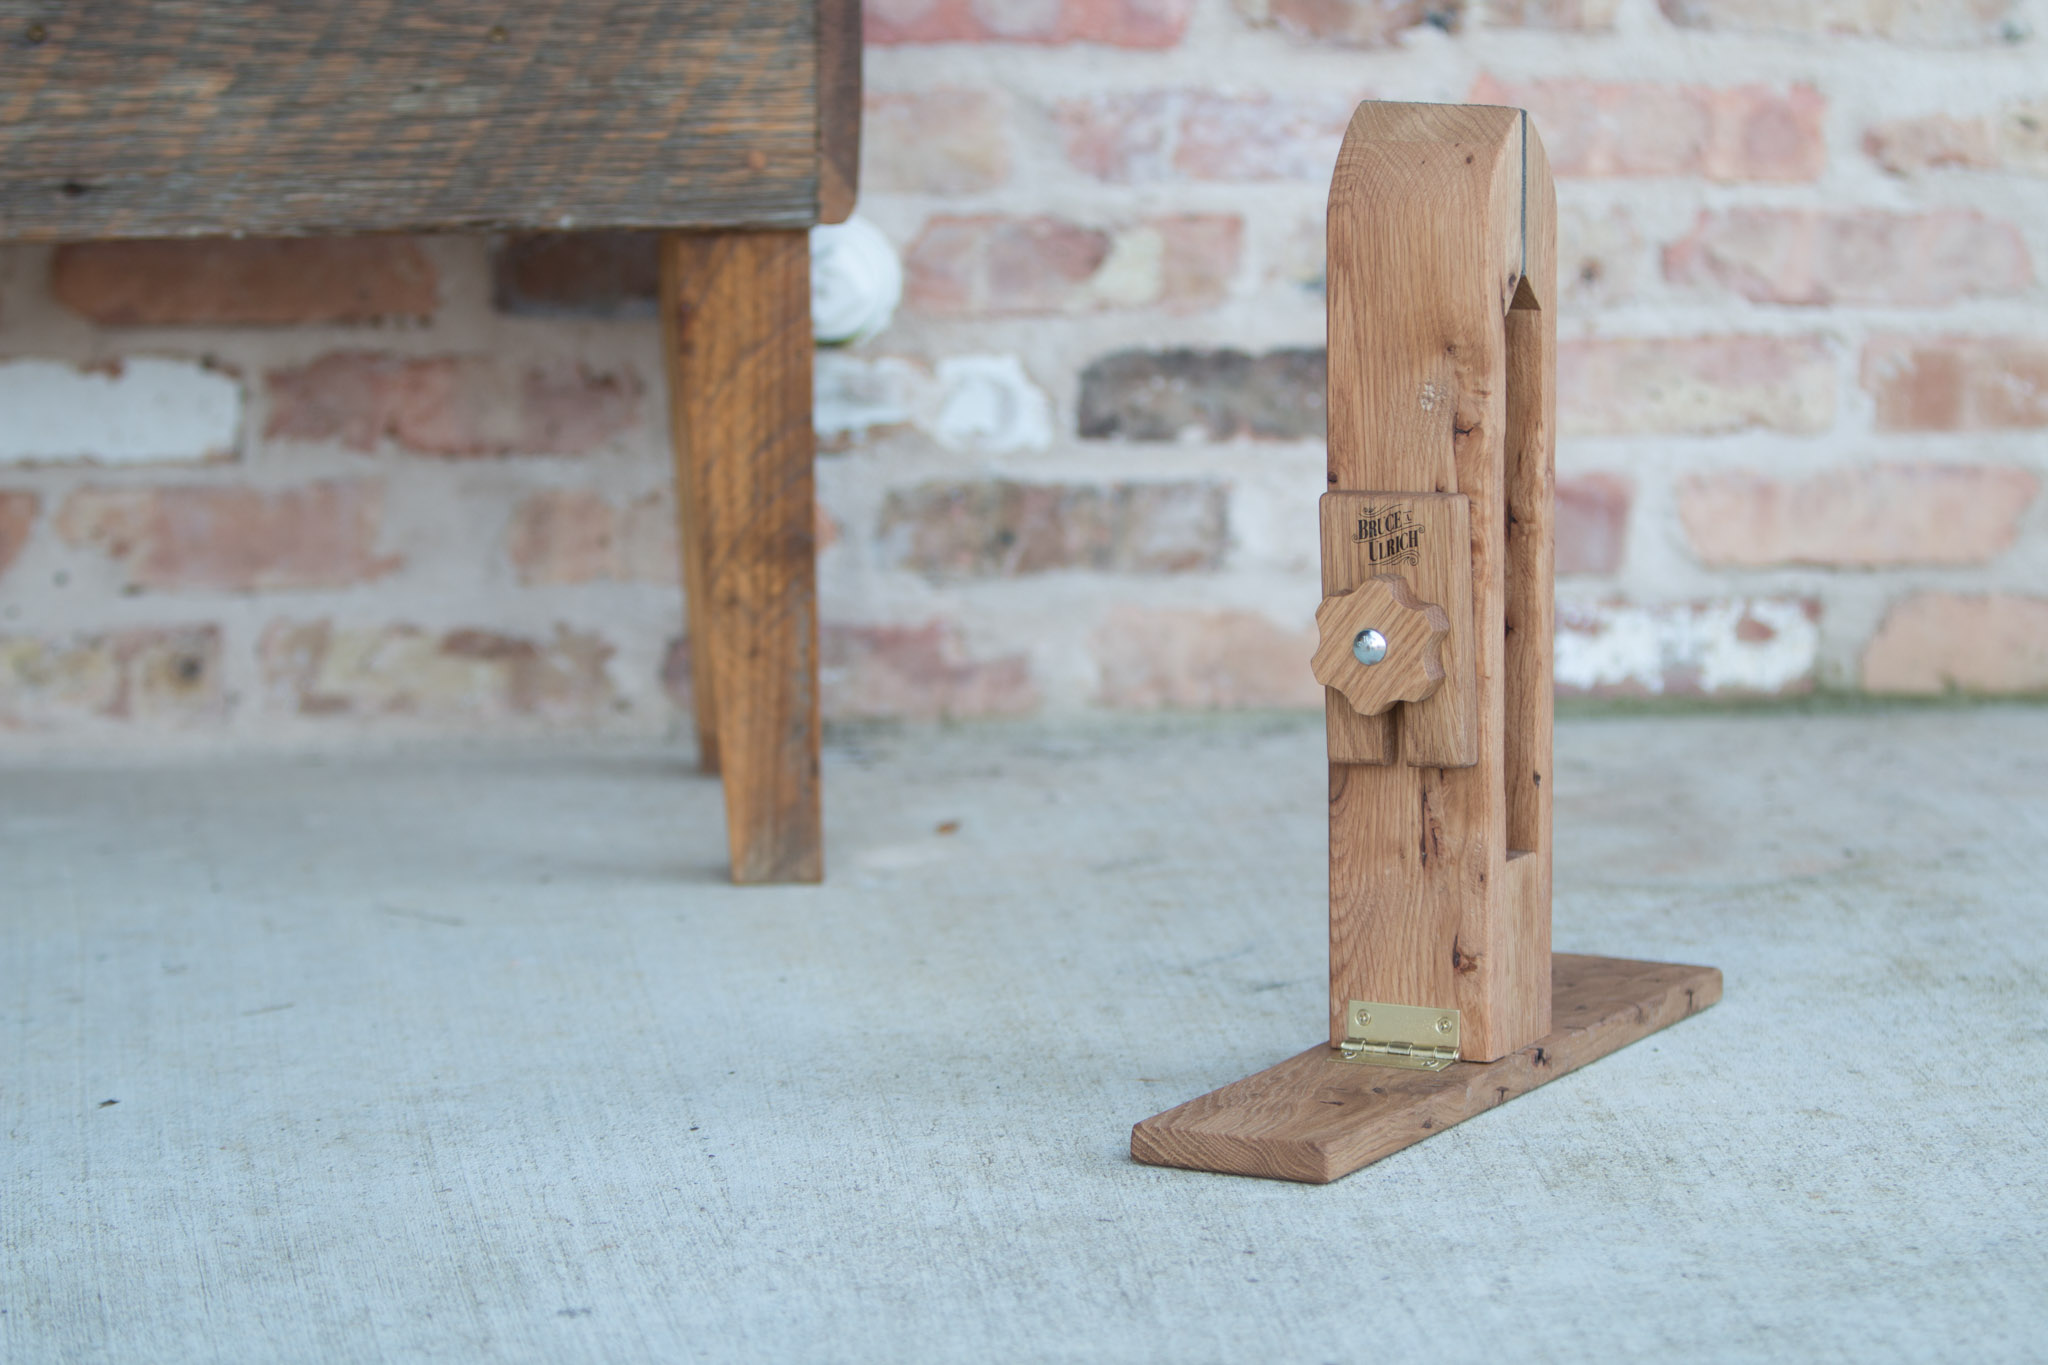
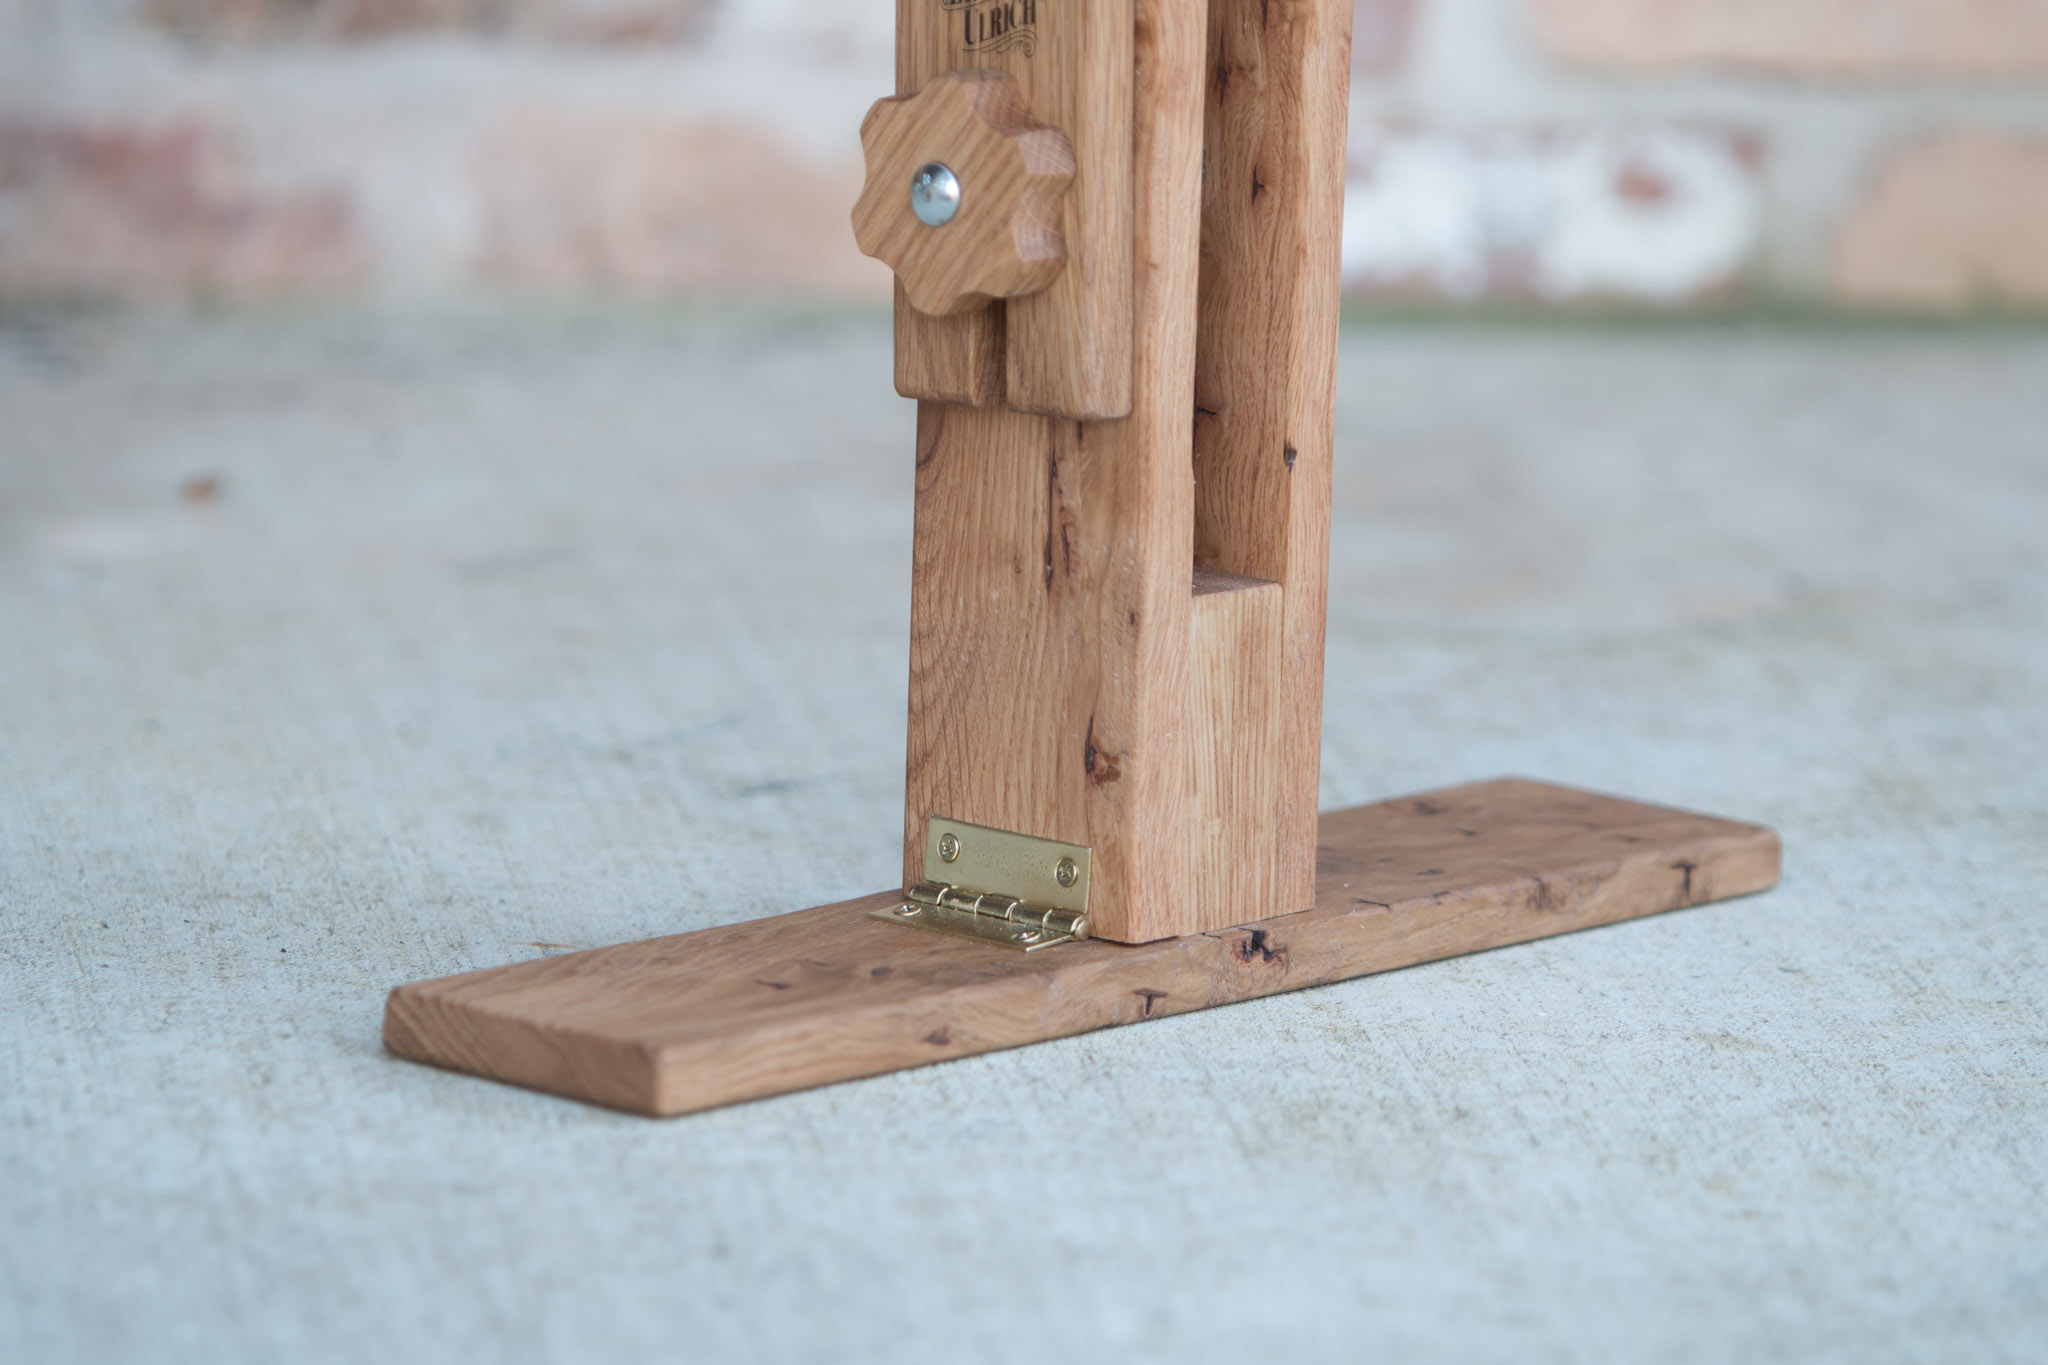
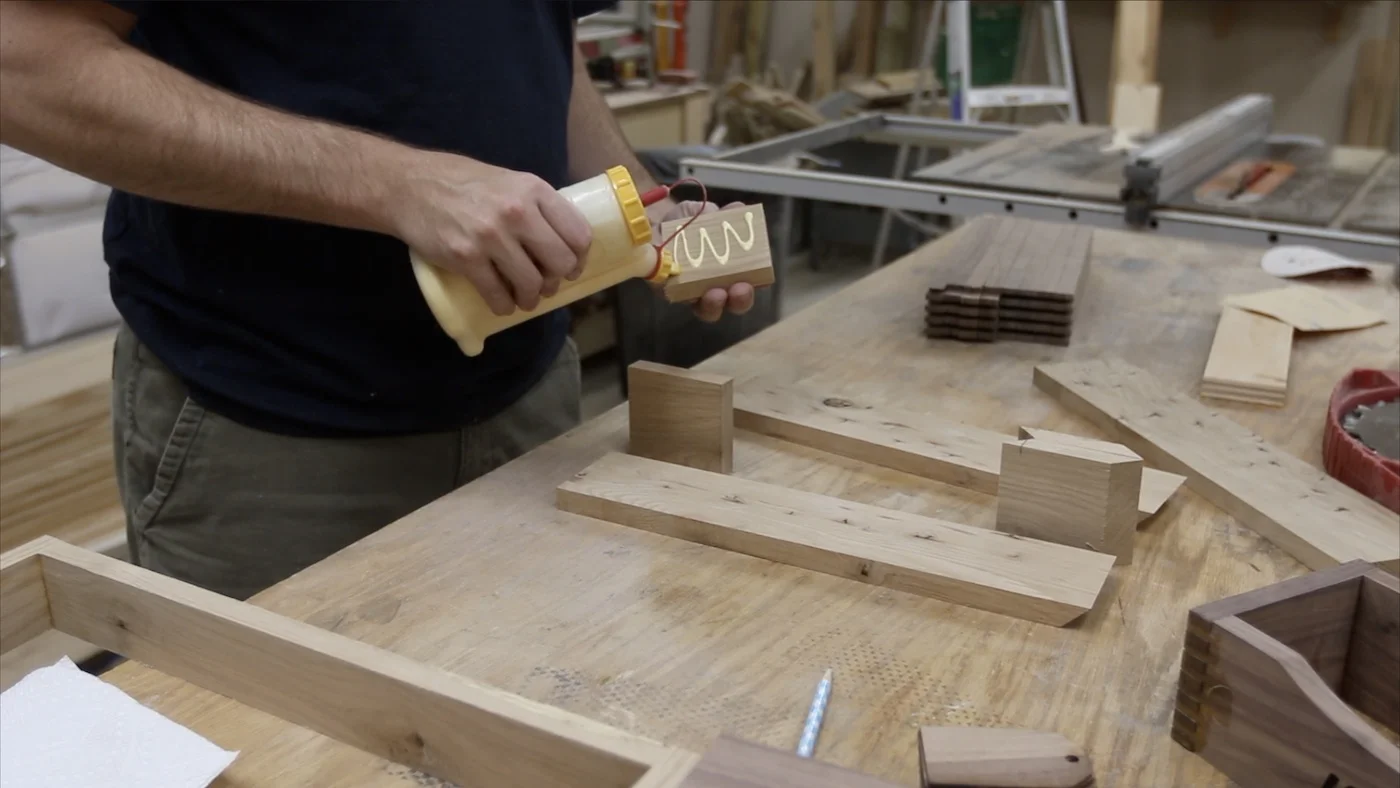
Next, I moved on to the lower part of the stitching pony. Out of the same material, you need to cut two pieces that are only a few inches tall. They get secured to the base and act as your spacer so that the jaws meet properly. It is important that all of this material be the same thickness. That way, your gaps and spacing will all be equal from the spacers at the bottom all the way to the top of the jaws.
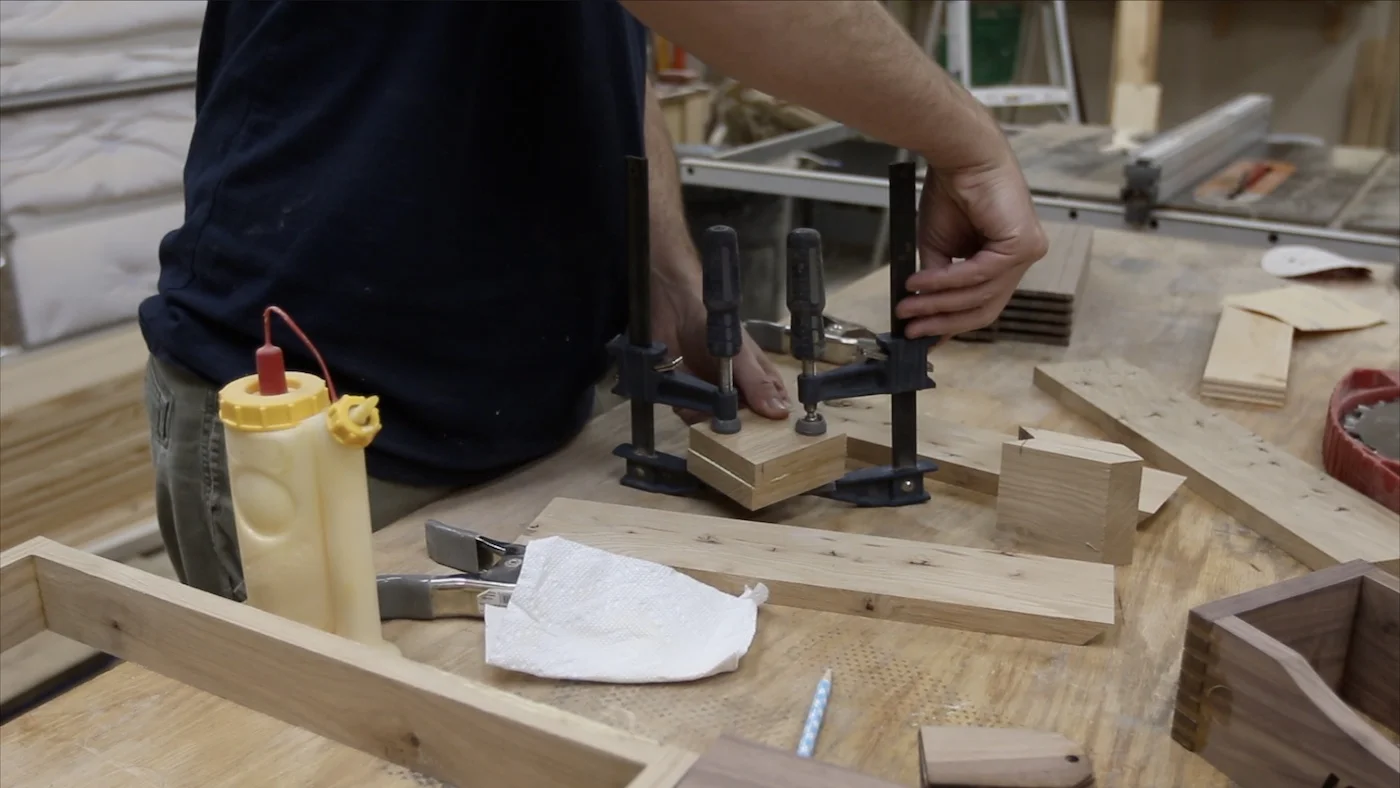
Then, I glued the two bottom blocks together, sanded them back perfectly level, and glued them and one of the long arms of the jaw to the base.
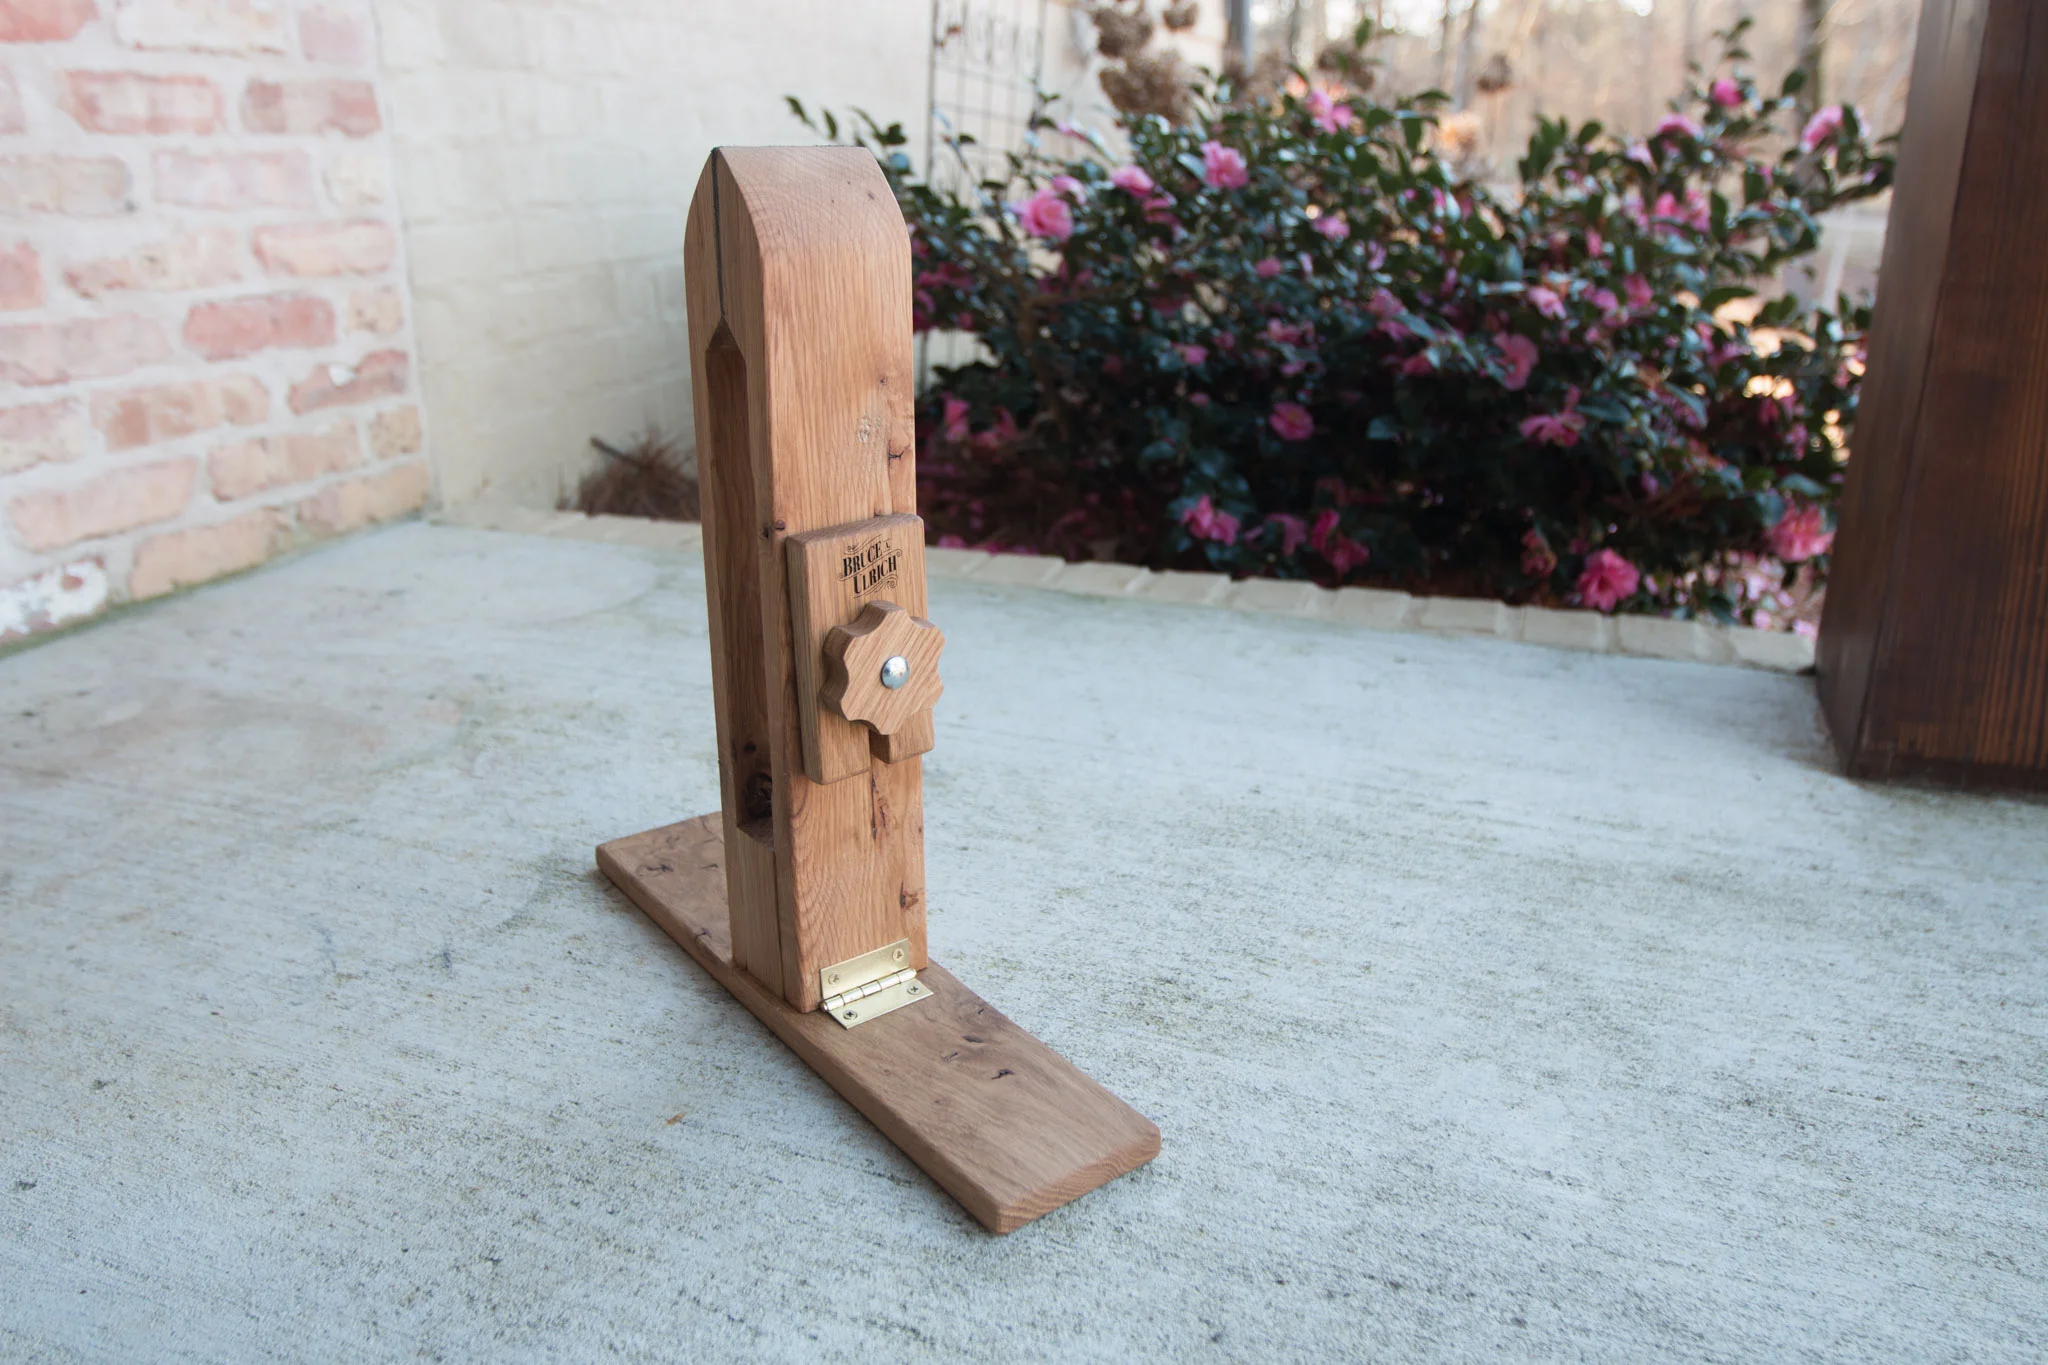
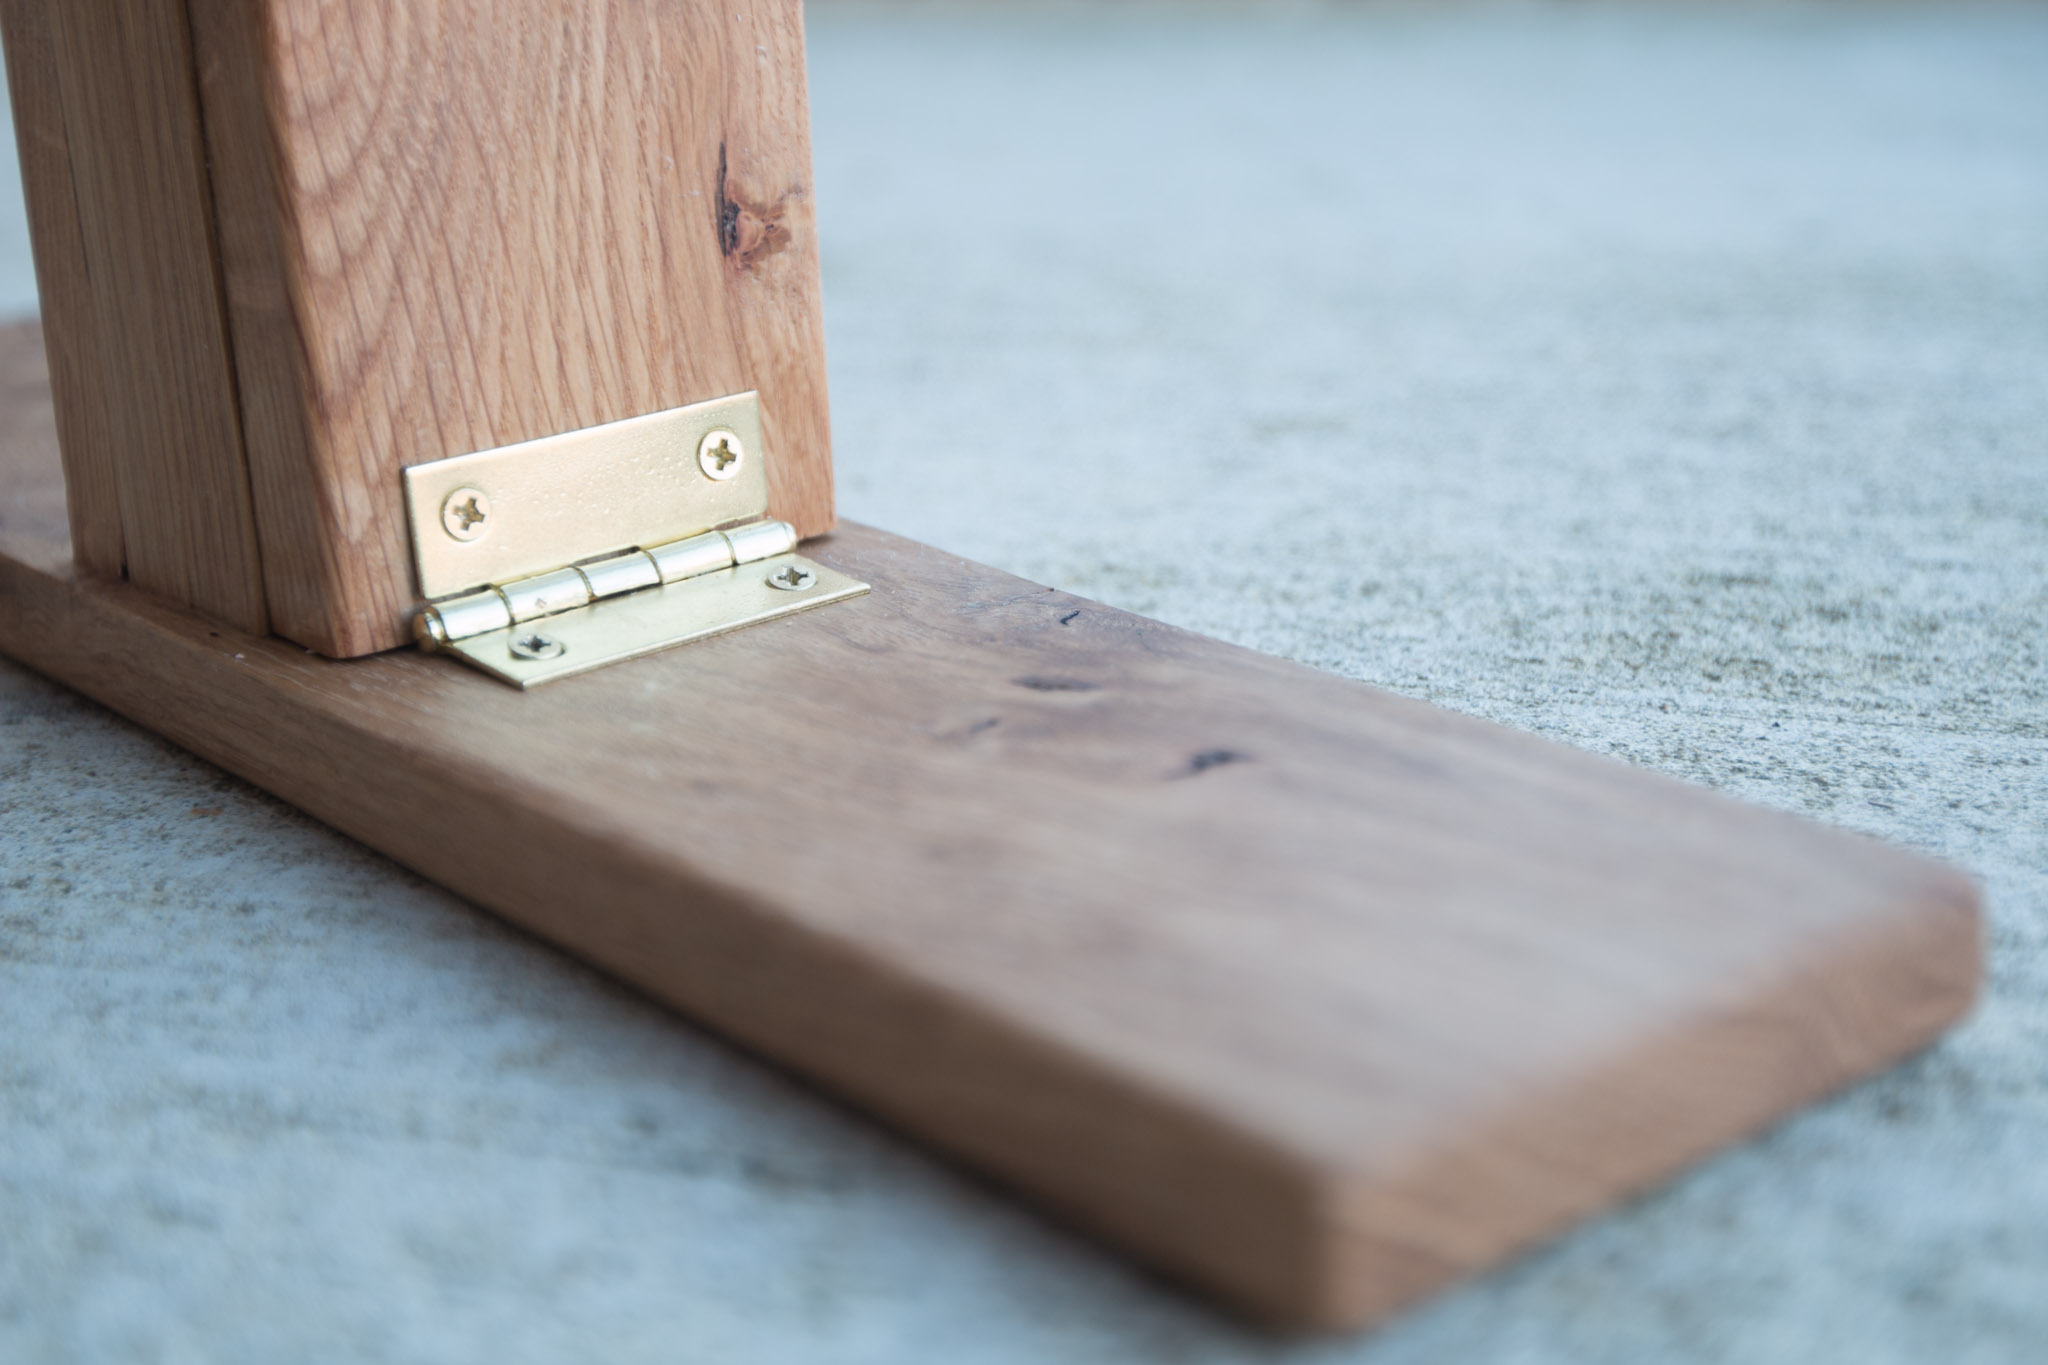
THE BASE
The base of the stitching pony goes out in both directions and acts as a clamp for this tool. You can actually sit in a chair with the two pieces of the base under your legs, and it holds the entire apparatus steady so you can still use both hands to stitch your work.
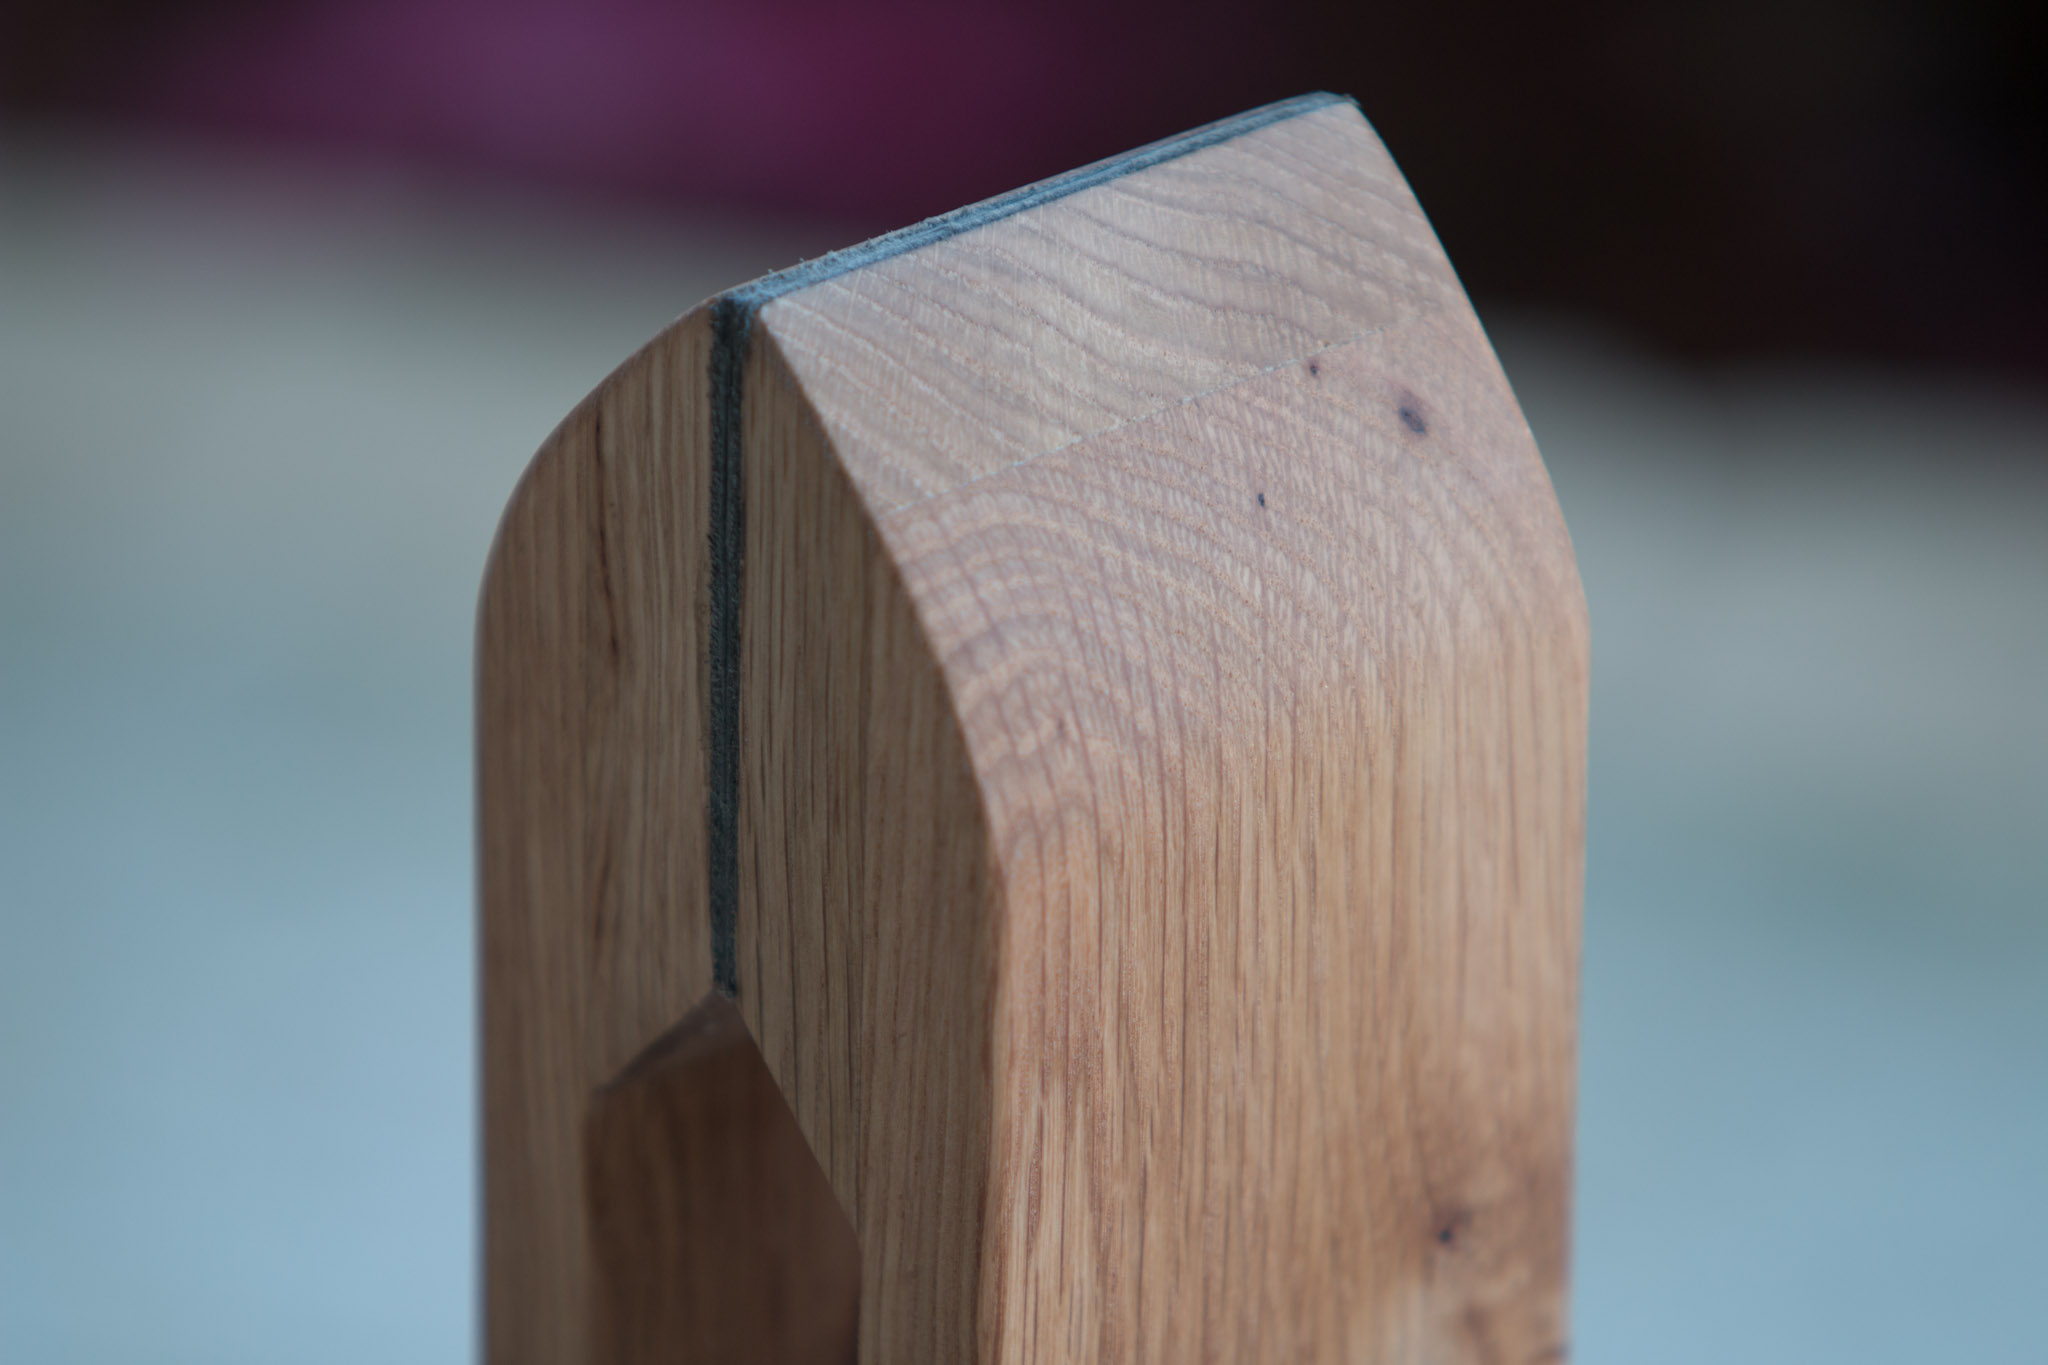
Before adding the other side of the jaws, it is a good idea to do some initial sanding and rounding over the edges a bit. You don't want any sharp parts or corners poking you as you're working with this stitching pony. I used a 1/8" roundover bit in my router to ease some of the corners.
I glued on the spacer piece to the base, and secured it with some screws from underneath. I used a straw to clean up some of the glue that squeezed out.
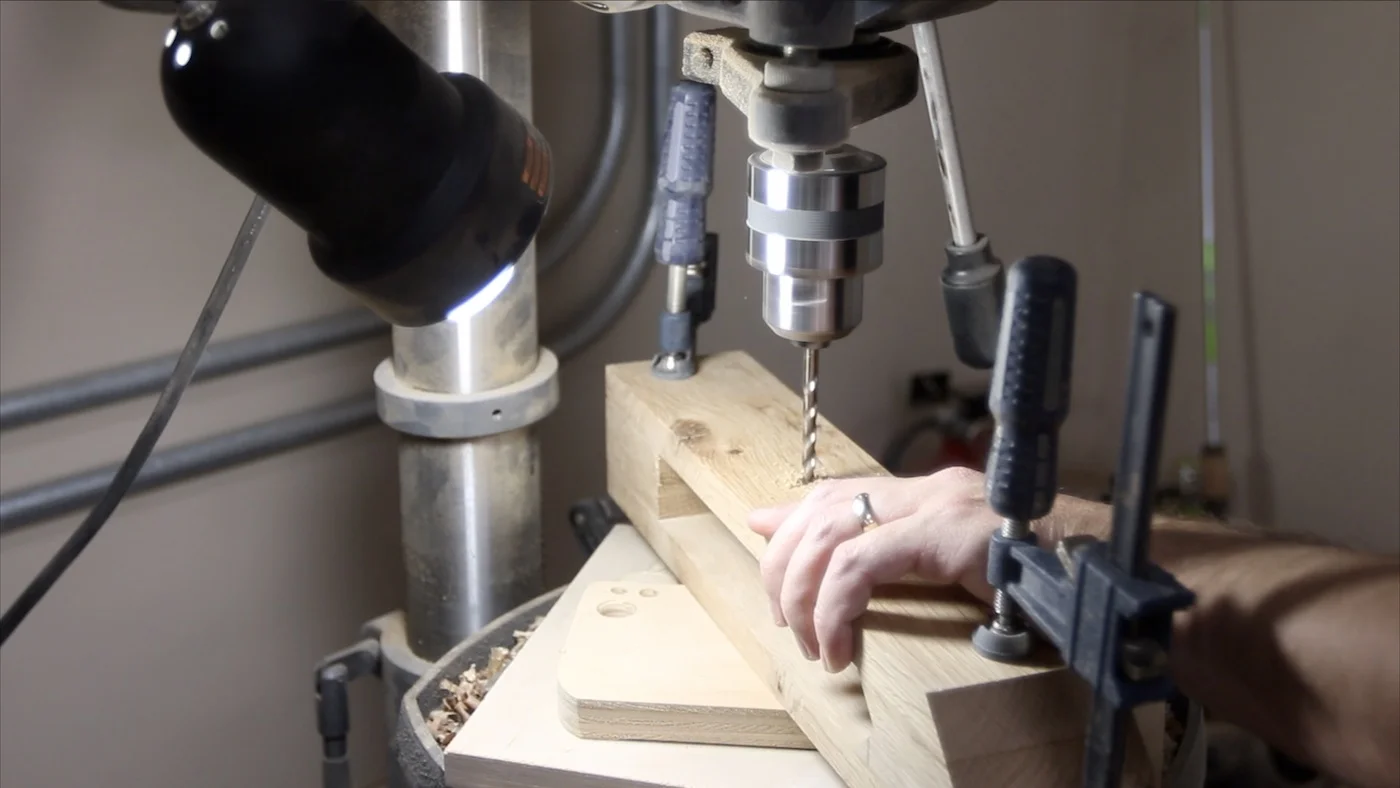
DRILLING FOR THE BOLT
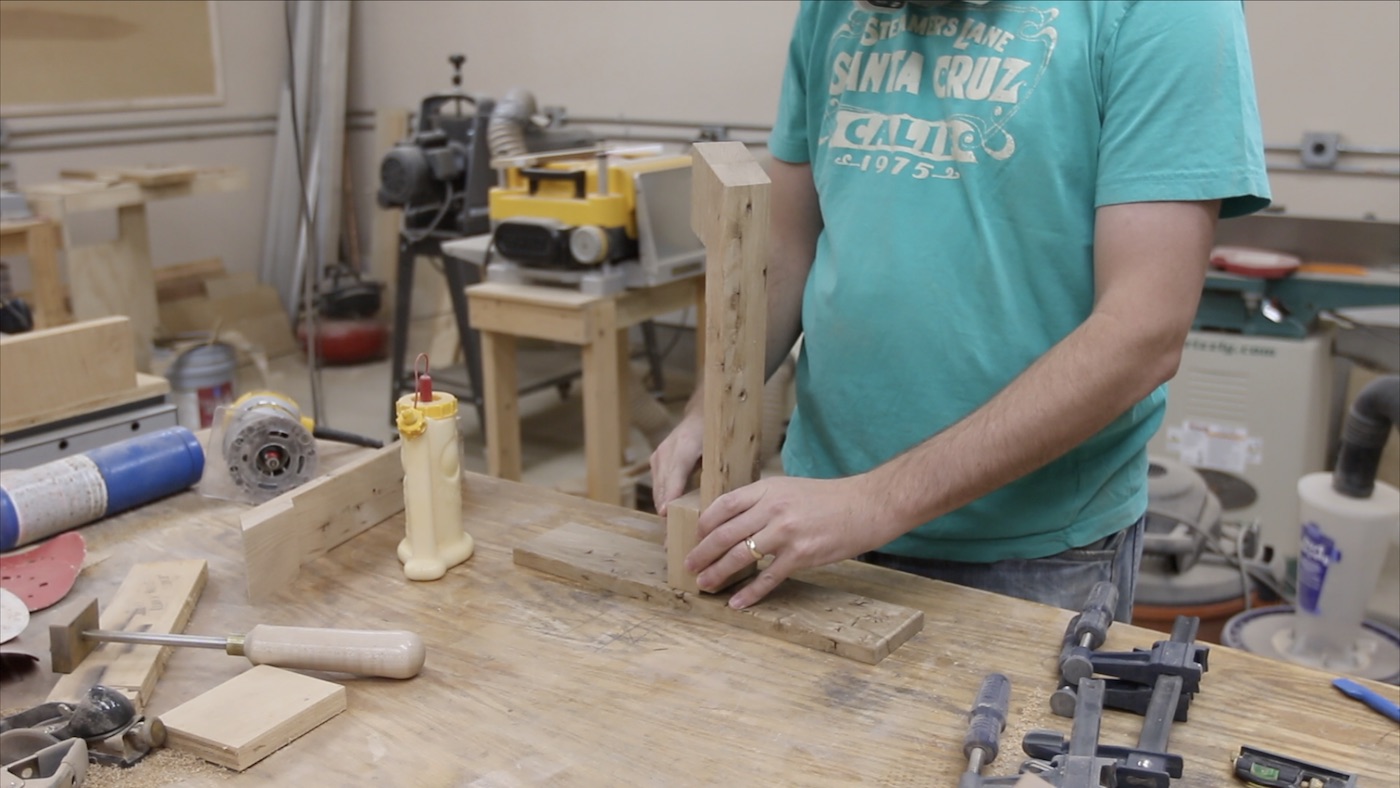
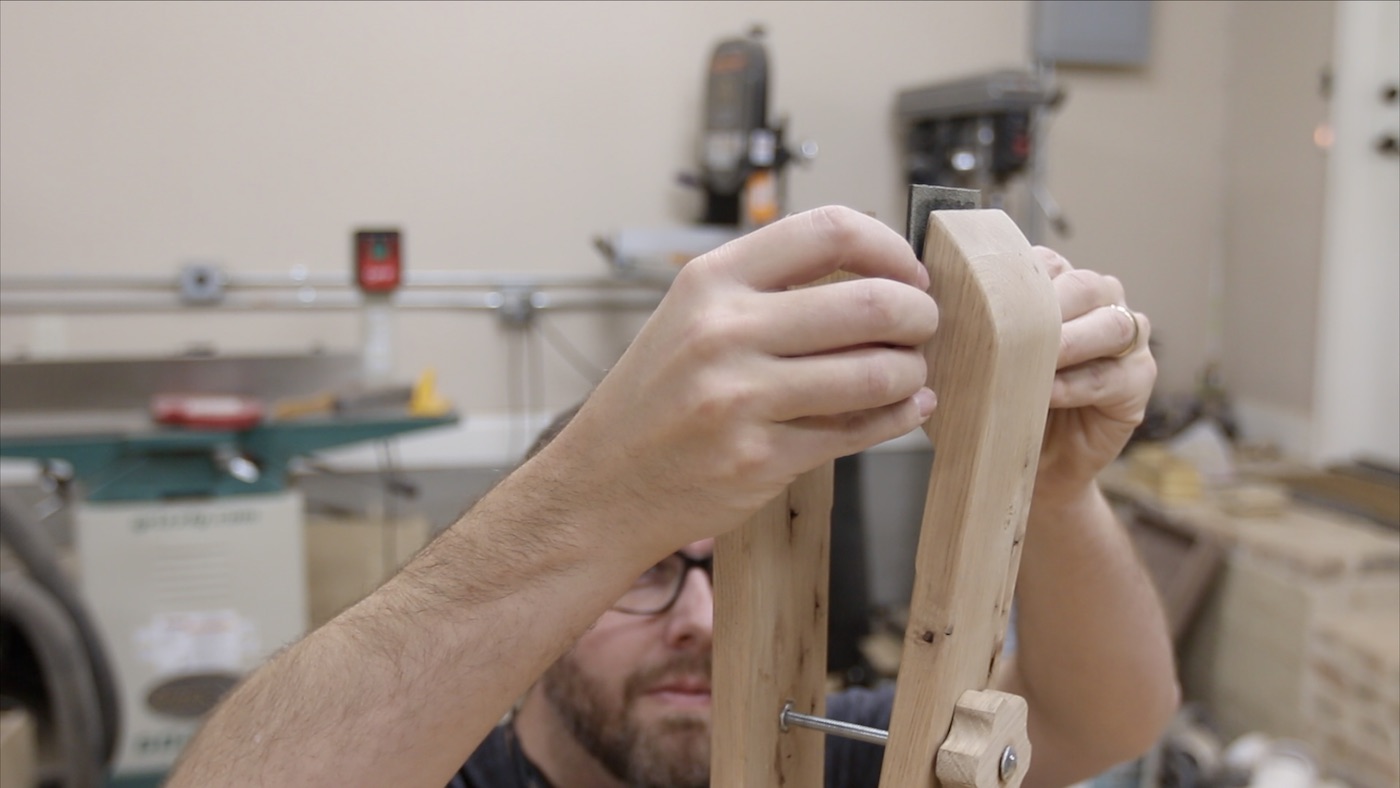
Before moving on, it is important to clamp both of the jaw pieces where they will ultimately go, and drill all the way through both of them. That way, they will line up later.
SECURING THE FIXED JAW
The fixed jaw can just be glued at this point to the base and to the spacer block that has already been glued to the base. Just be sure to keep it flush to the sides of the spacer block…it should be the same width since all of the pieces were ripped at the same time.
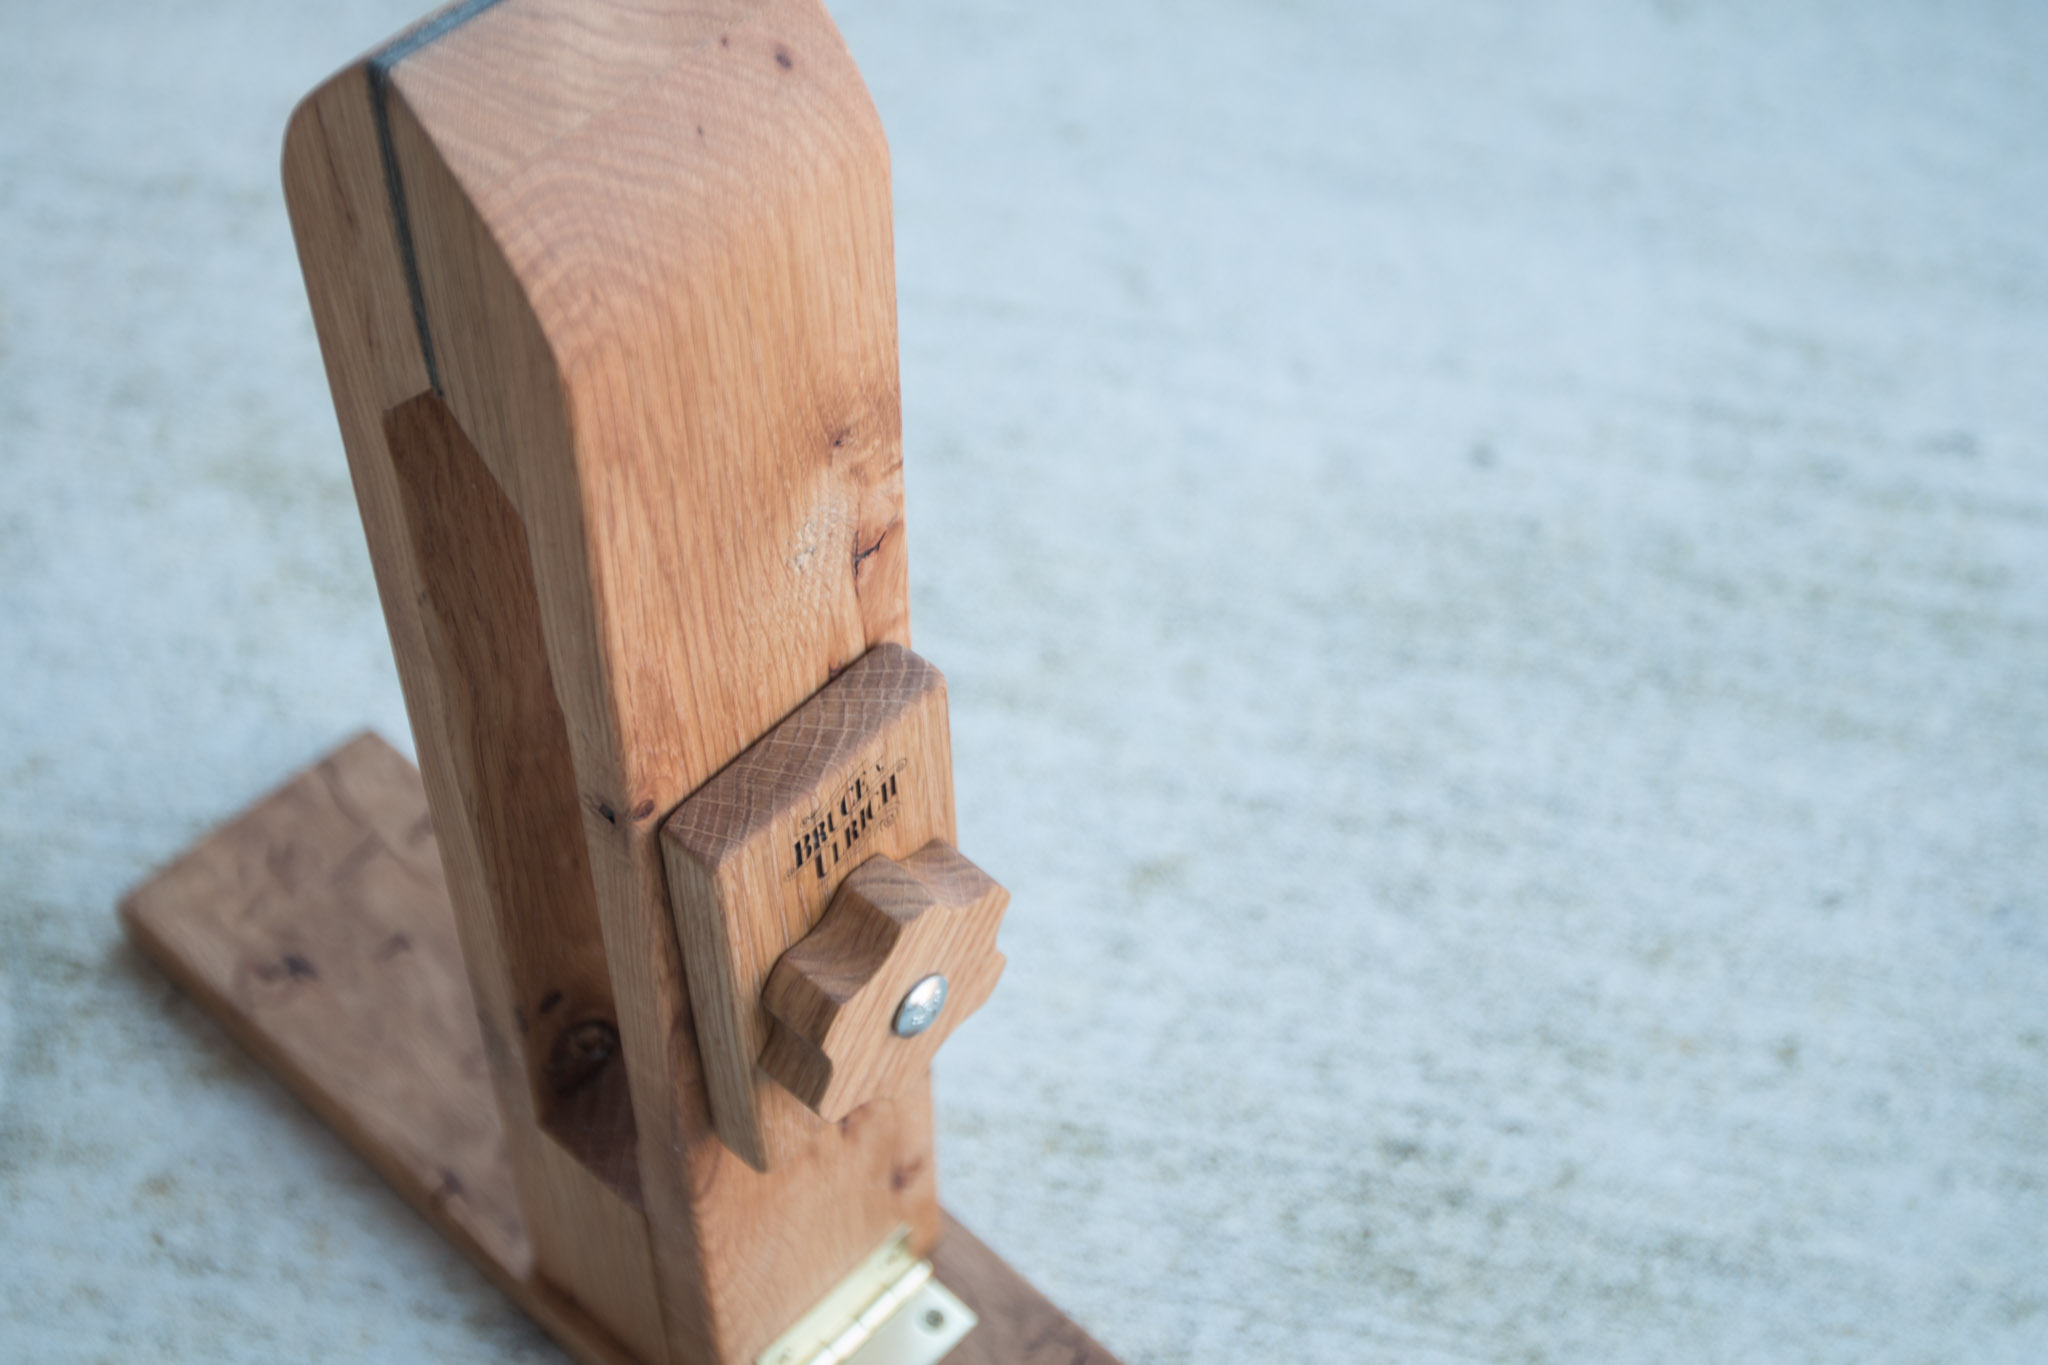
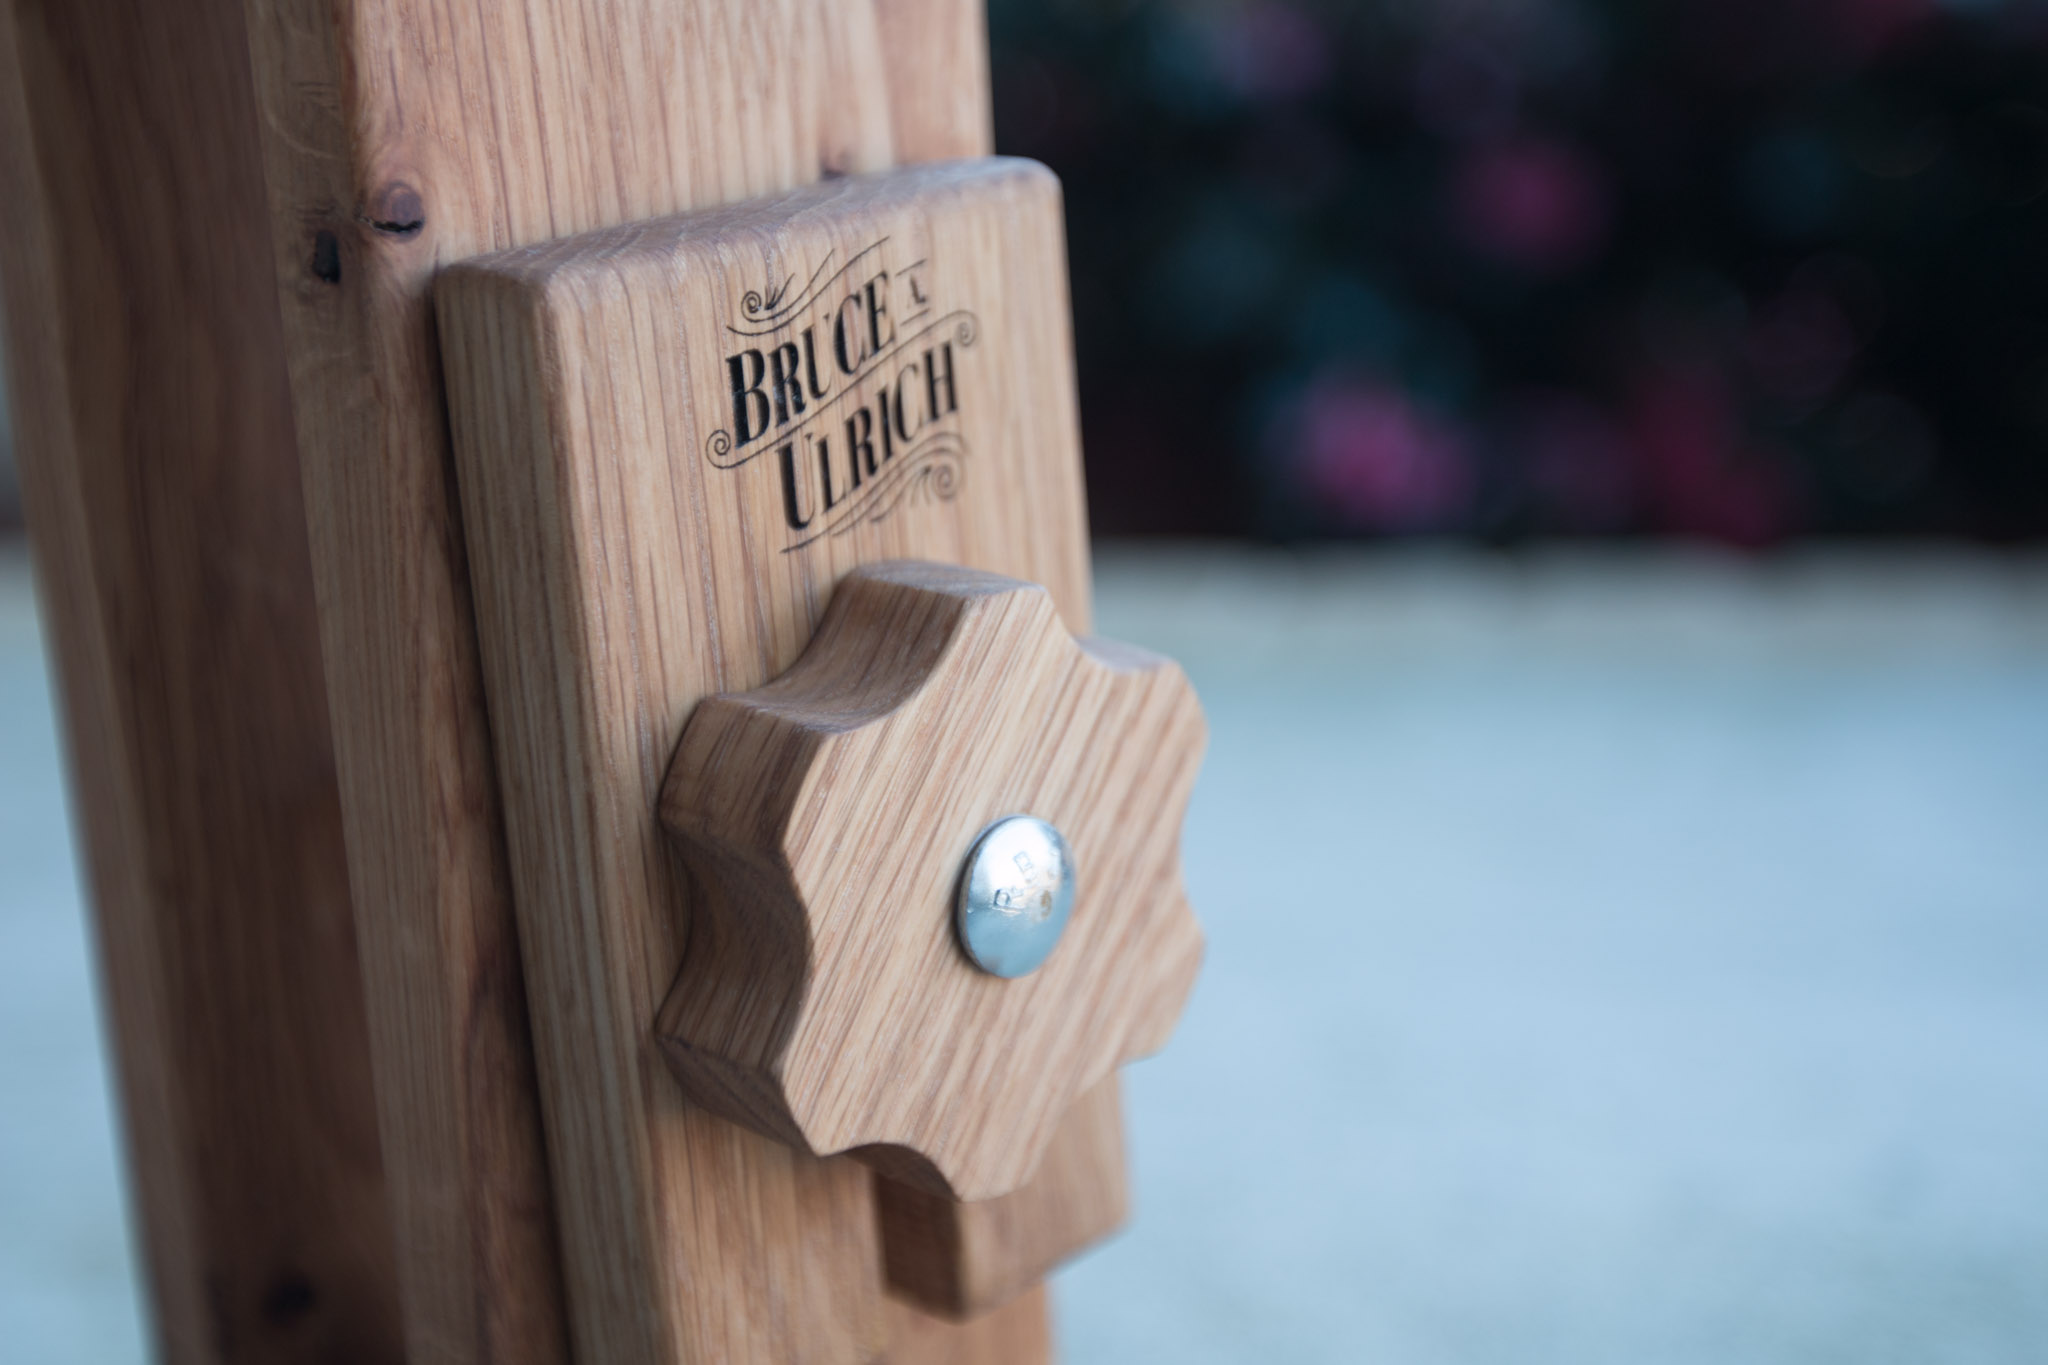
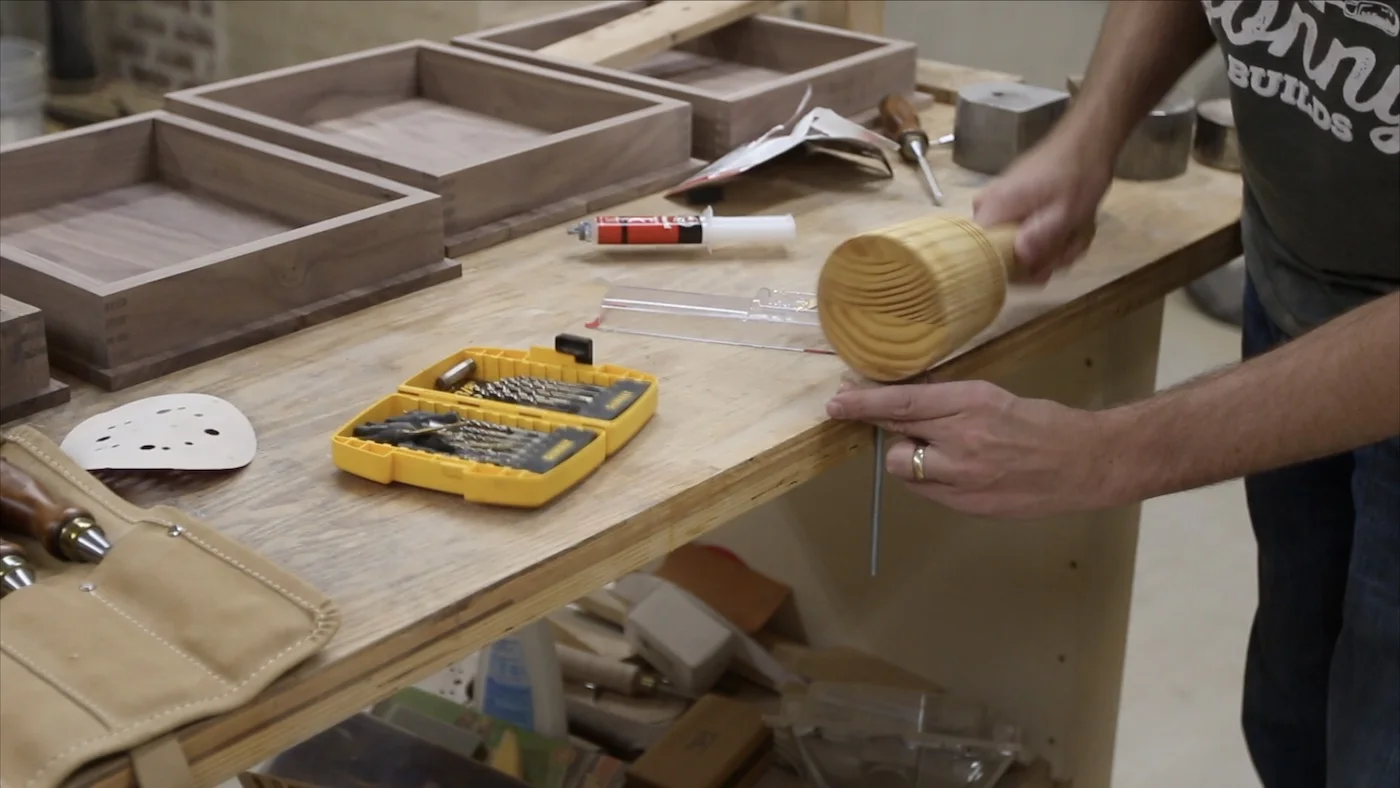
MAKING THE WOODEN KNOB
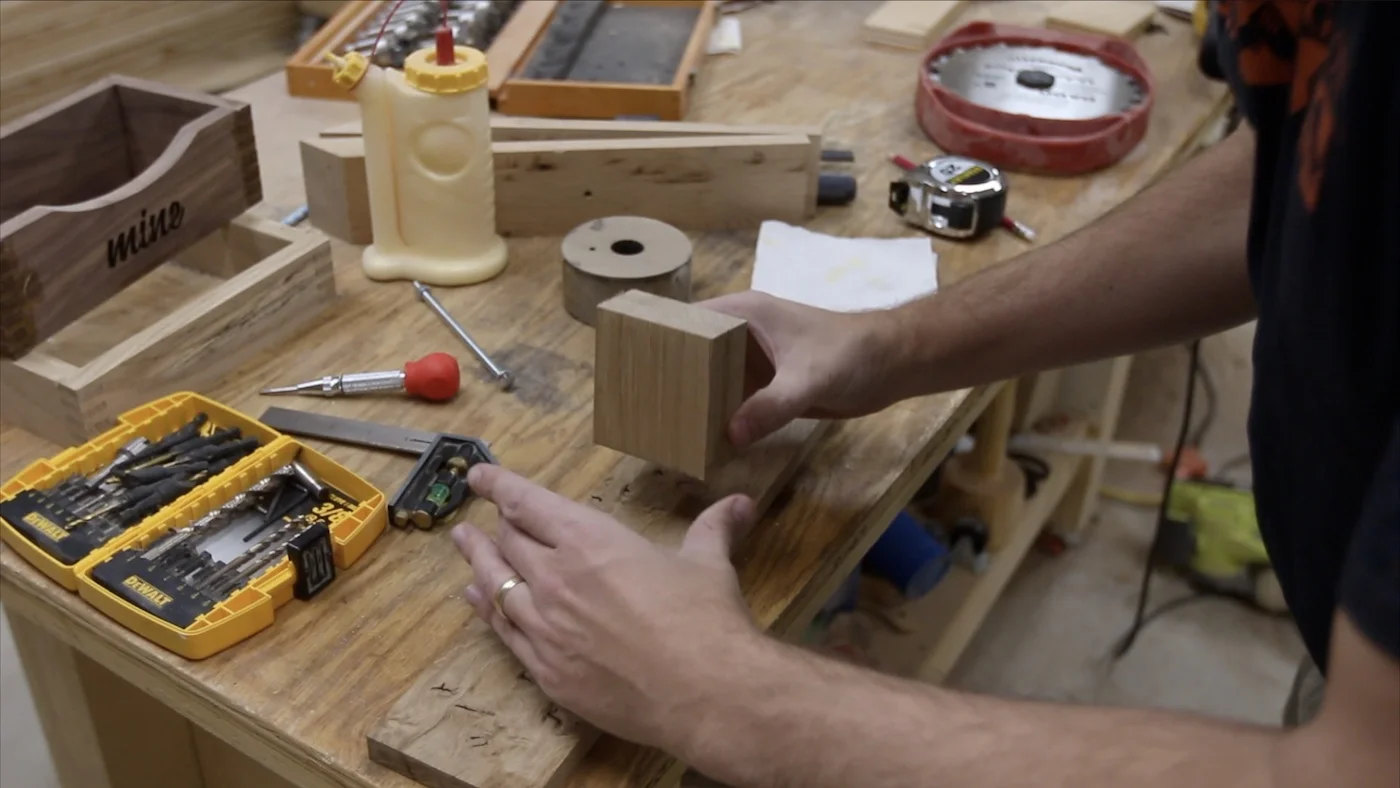
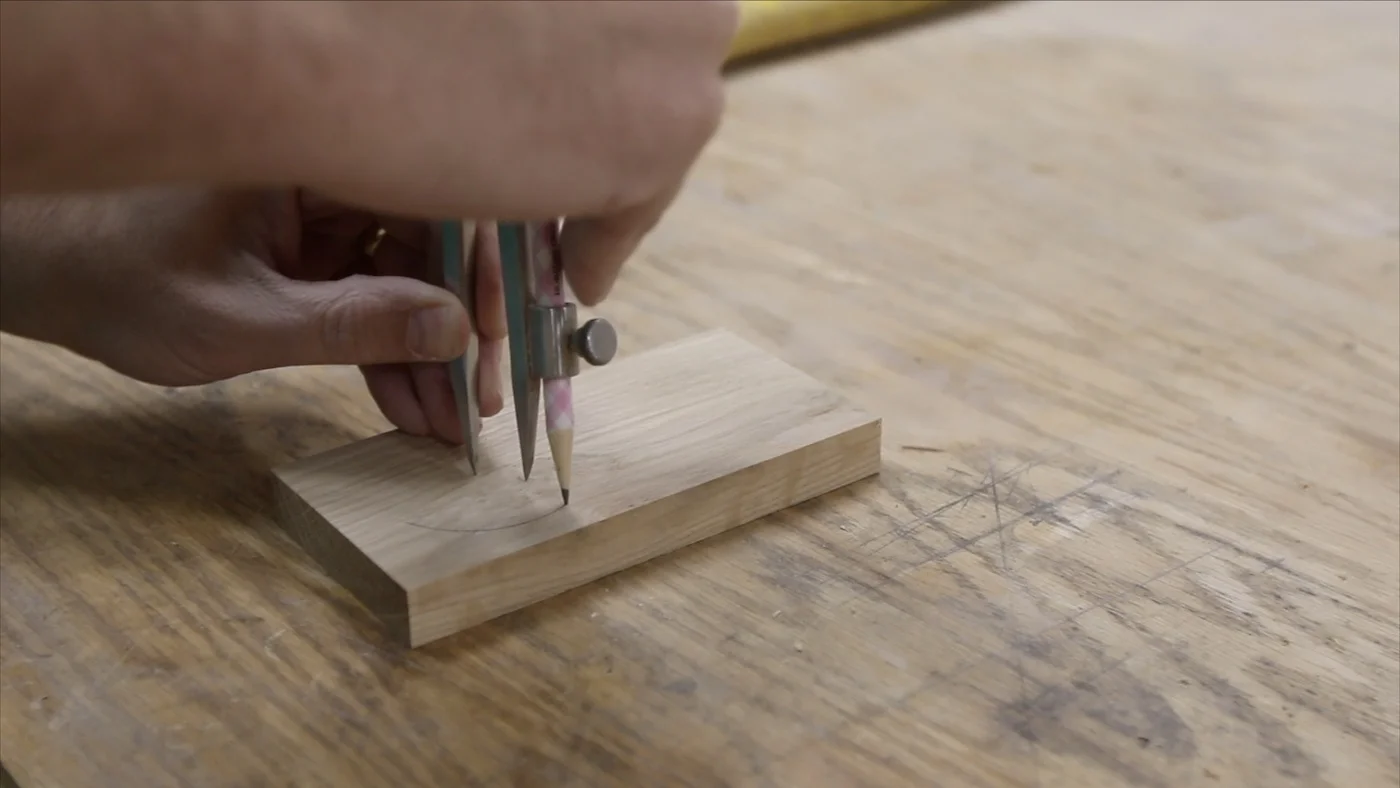
There needed to be a way to cinch the jaws together, and I've seen many ways to do this. I took the opportunity to try my hand at making a wooden knob, since I had never made one before. I set out to try to accomplish this without seeking any additional information online. I've seen people do it before, but not recently, so I wanted to just pull on the knowledge I've absorbed over the years.
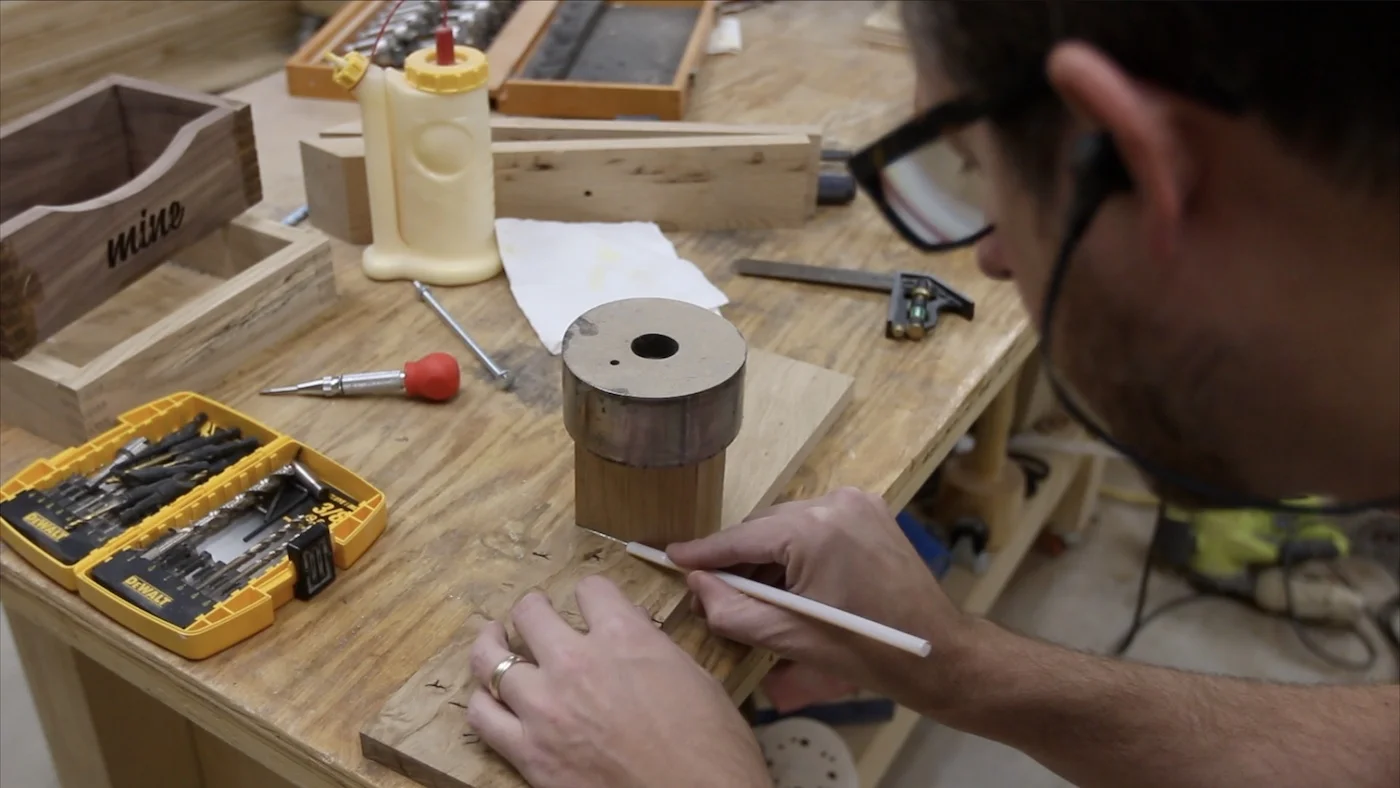
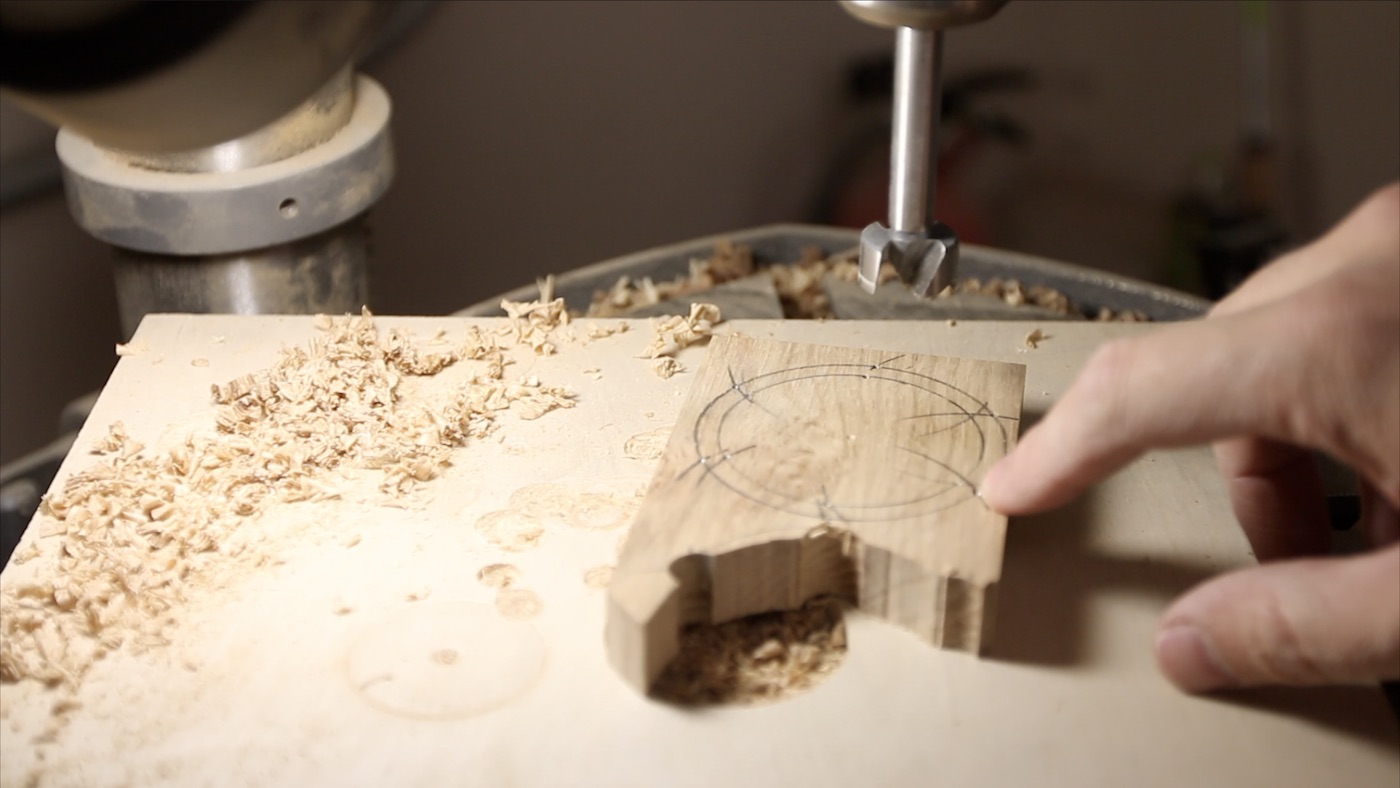
I drew a circle on another piece of white oak with my compass. Then, I used the radius (1/2 the diameter), and starting on a part of that circle I just drew, I marked where it intersected the previously drawn circle in both places. Then, I placed the point of the compass on one of those new intersections, and did the same thing...drawing another two intersections. I did this until the circle was evenly sectioned out.
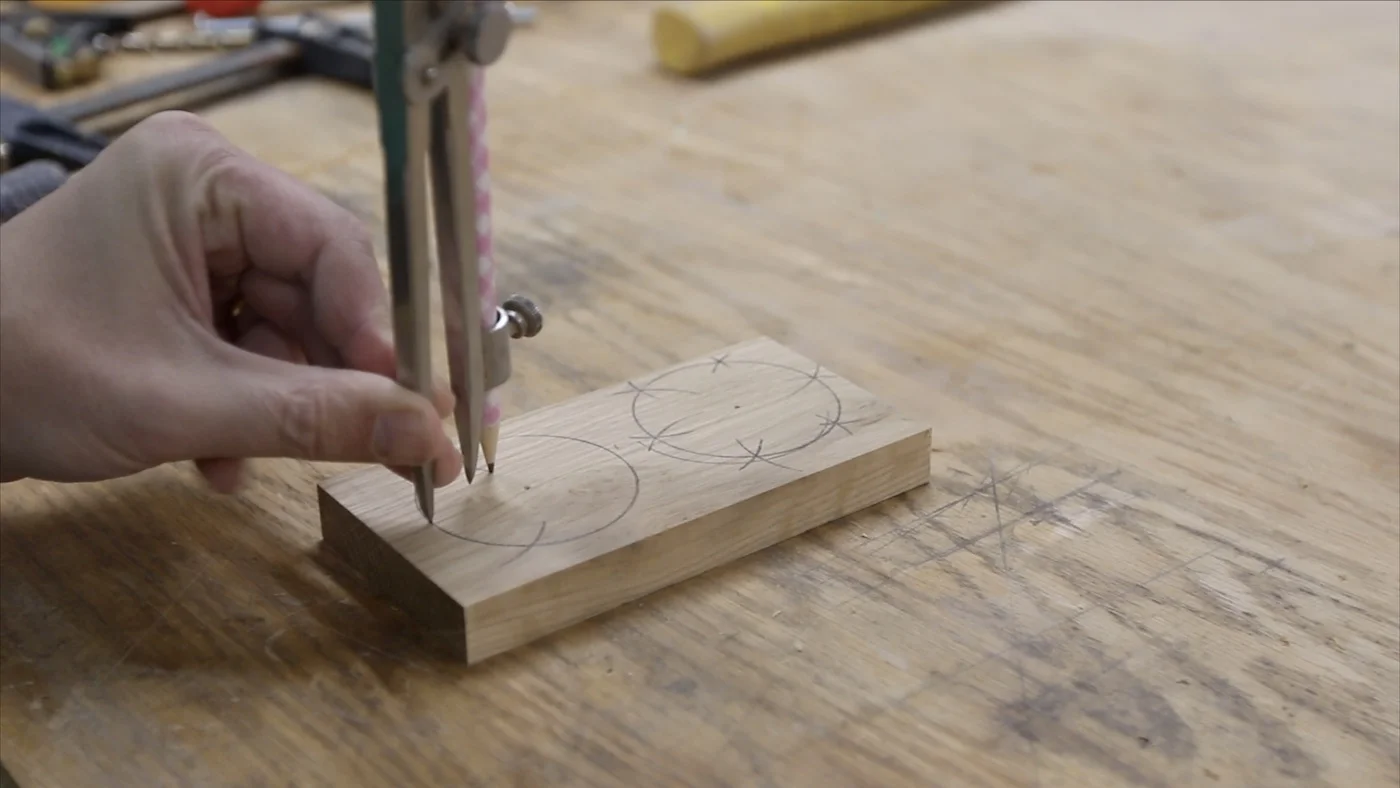
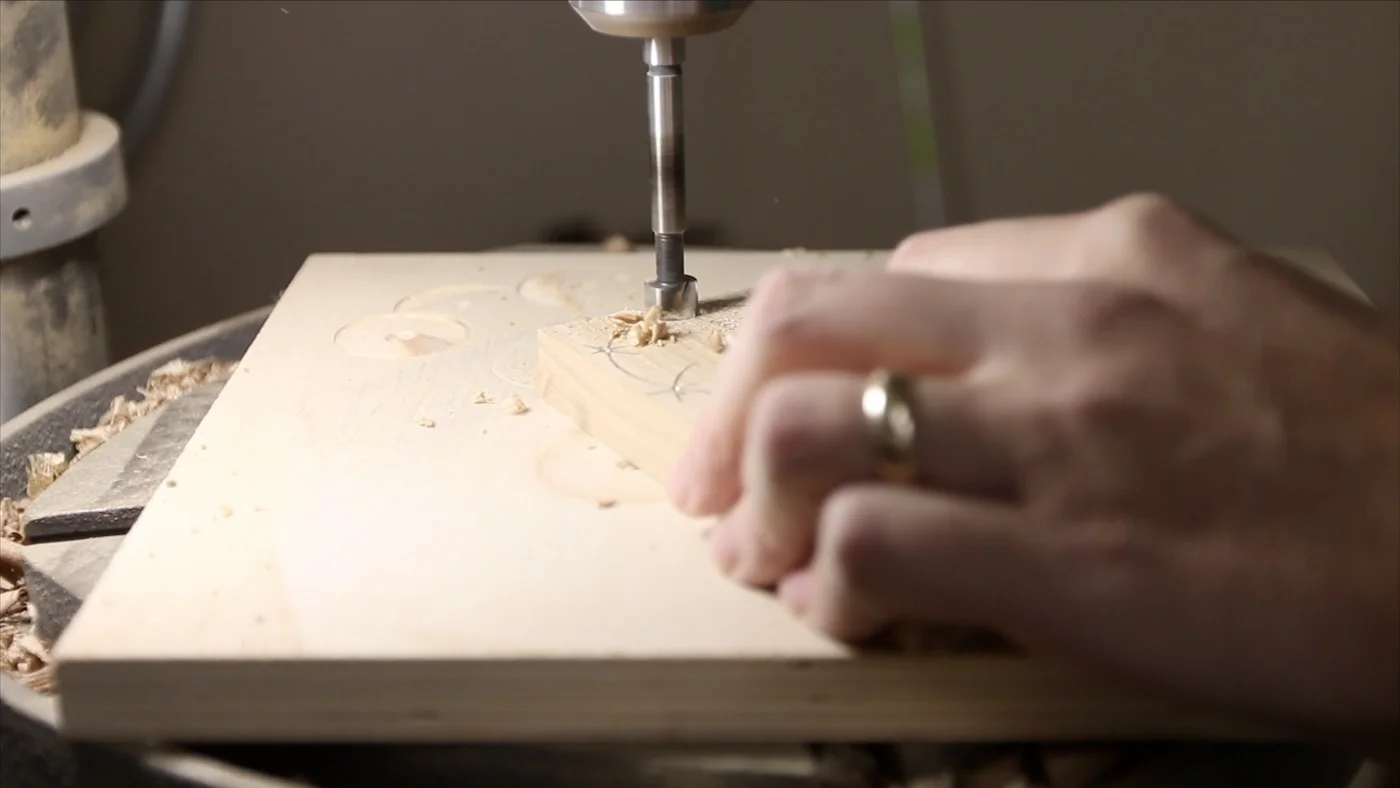
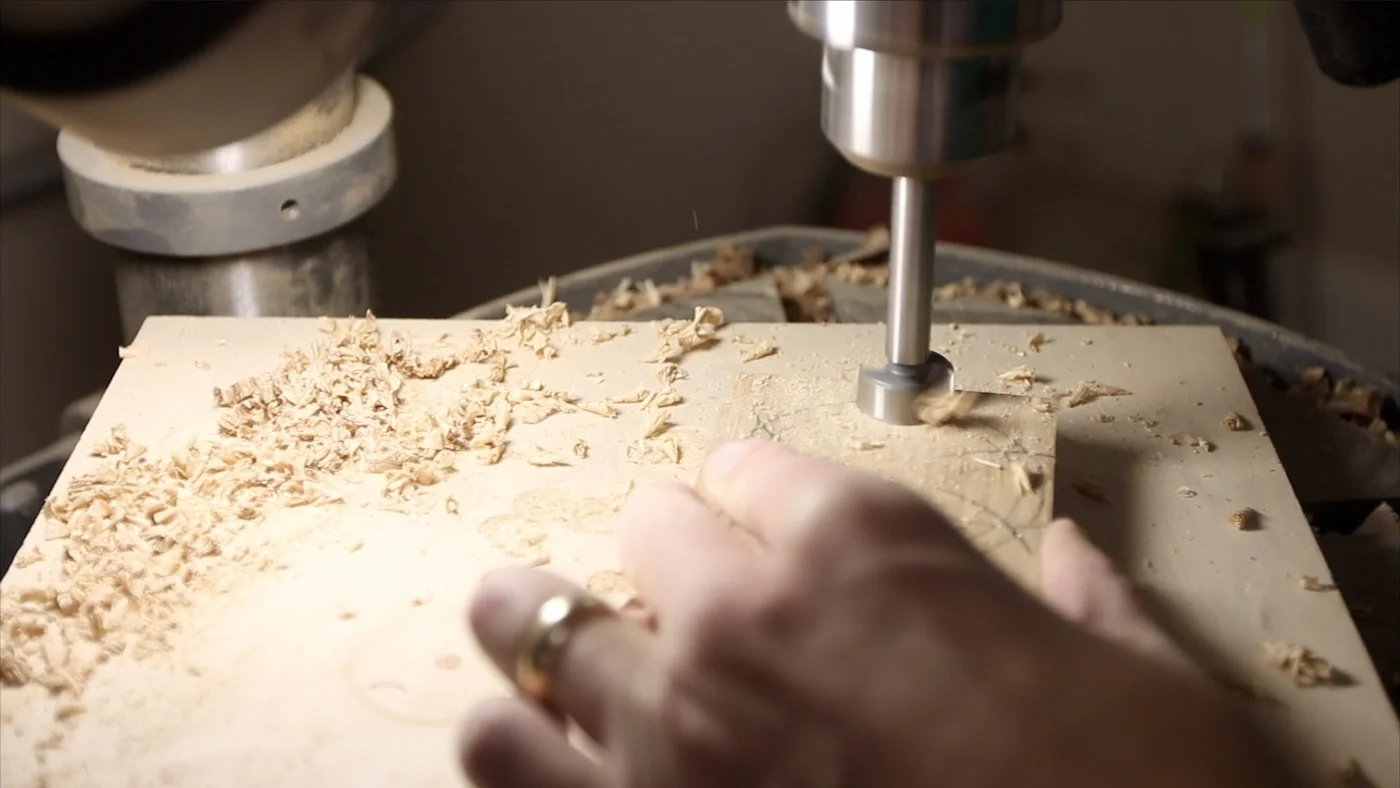
Then, I used my center punch to put a divot in those spots so they could be drilled out on the drill press. I don't remember the specific size of drill bit I used (because I ended up using two different ones and doing them two different ways, just to see which one I liked better for my hand), but I drilled all the way through at those spots.
I took this funny looking piece over to the bandsaw and cut out the circle I had originally drawn, leaving me with a round knob.
I wasn’t perfectly happy with how deep and sharp the curves were on this first one, so I decided to try another one.
For the second knob, I tried something a little different. I wanted the indentions to be more inset than they were on the first one, so I did all of the same steps as the first one. However, I drew a circle slightly on the outside of the original circle, and that's where I marked my intersecting radius lines. Then, I drilled those out (on the larger circle) with a larger drill bit than before. The result was more of a sweeping curve for the knob indentions, and it seemed to fit my hand better after cutting it out on the bandsaw.
In the photo below, you can see the two different knobs. The one on the left is the second one I made, with more sweeping curves that are shallower. The one on the right is the original. I think it is still a good knob, but the curves where the bit cut are just a little sharper and deeper.

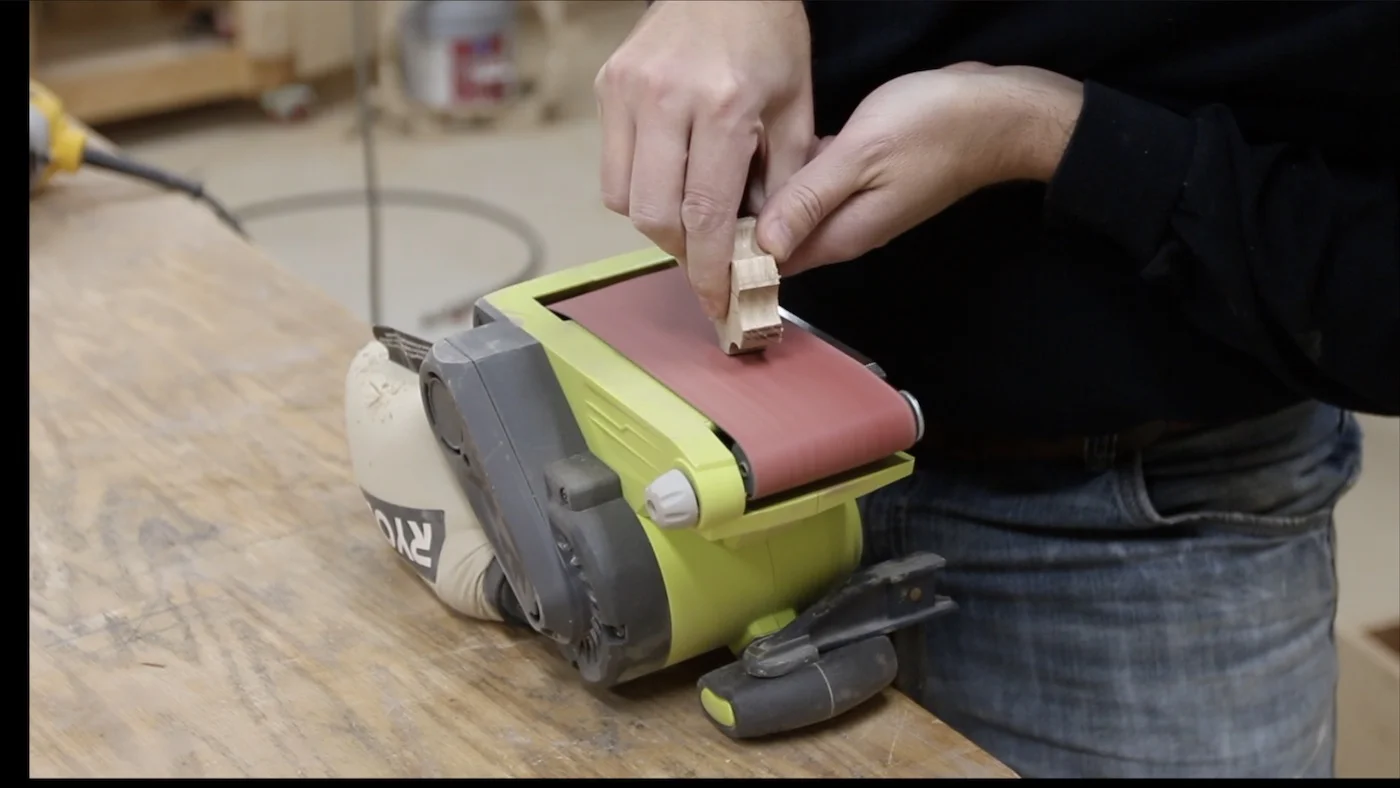
I refined the shape of the knobs on my belt sander. It was an interesting experiment to figure this out, and I kept the other knob, just in case I have another use for it in the future. I didn’t like it quite as much as the second one I made, but it is still a nice wooden knob.
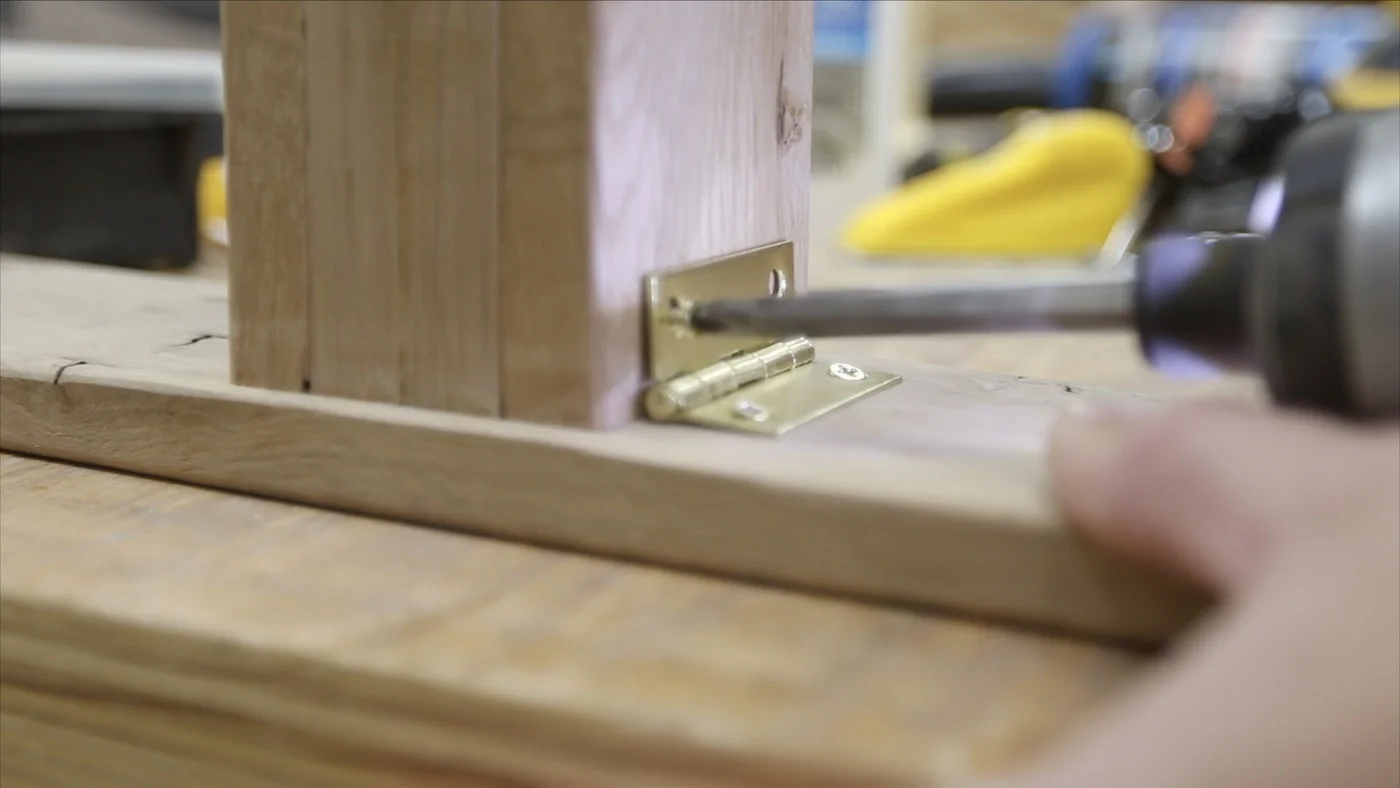
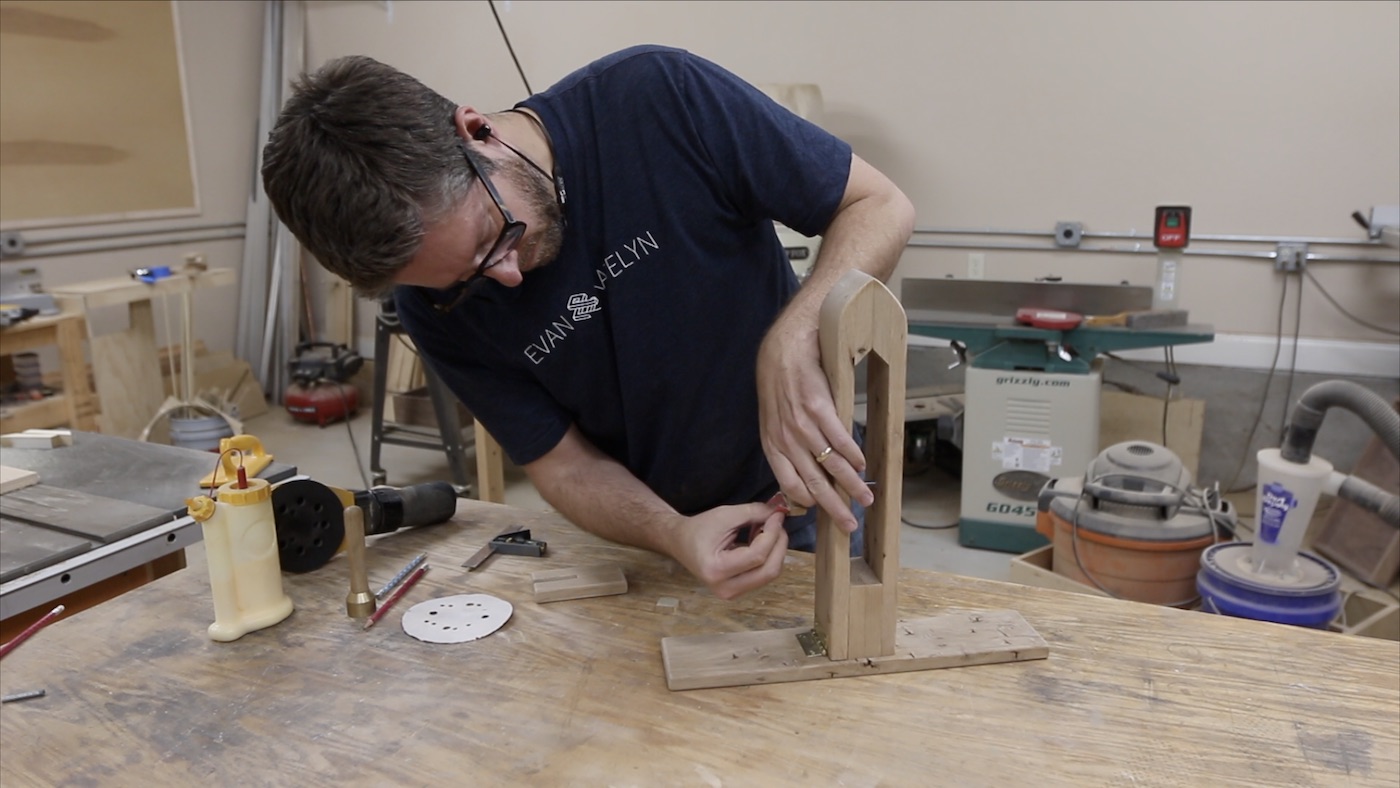
ATTACHING THE HINGED JAW
The other jaw is a hinged jaw so there is some flexibility with the size of material that can be held. It needed to be attached by a simple hinge to the base and spacer block near the base. I used a brass plated hinge for this, since I thought it looked nice and didn’t really matter too much how strong it was.
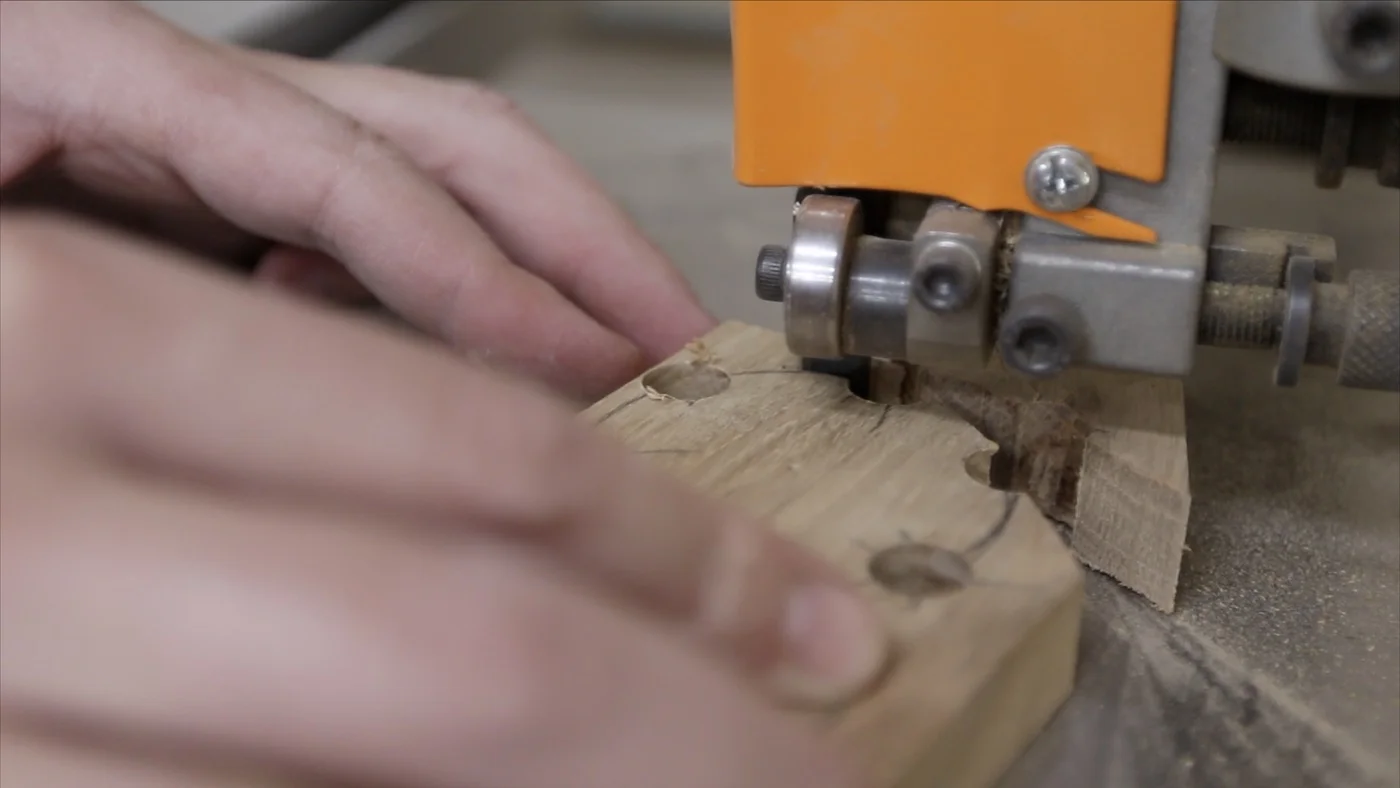
I came up with this shim idea, so it would allow the jaws to open wider than usual, but I would not have to sit there and crank the knob forever. This would allow most of the bolt to be hidden within the jaw piece, and when I needed something extra large to stitch, I could grab the shim, move it, and the large piece would fit in there nicely.
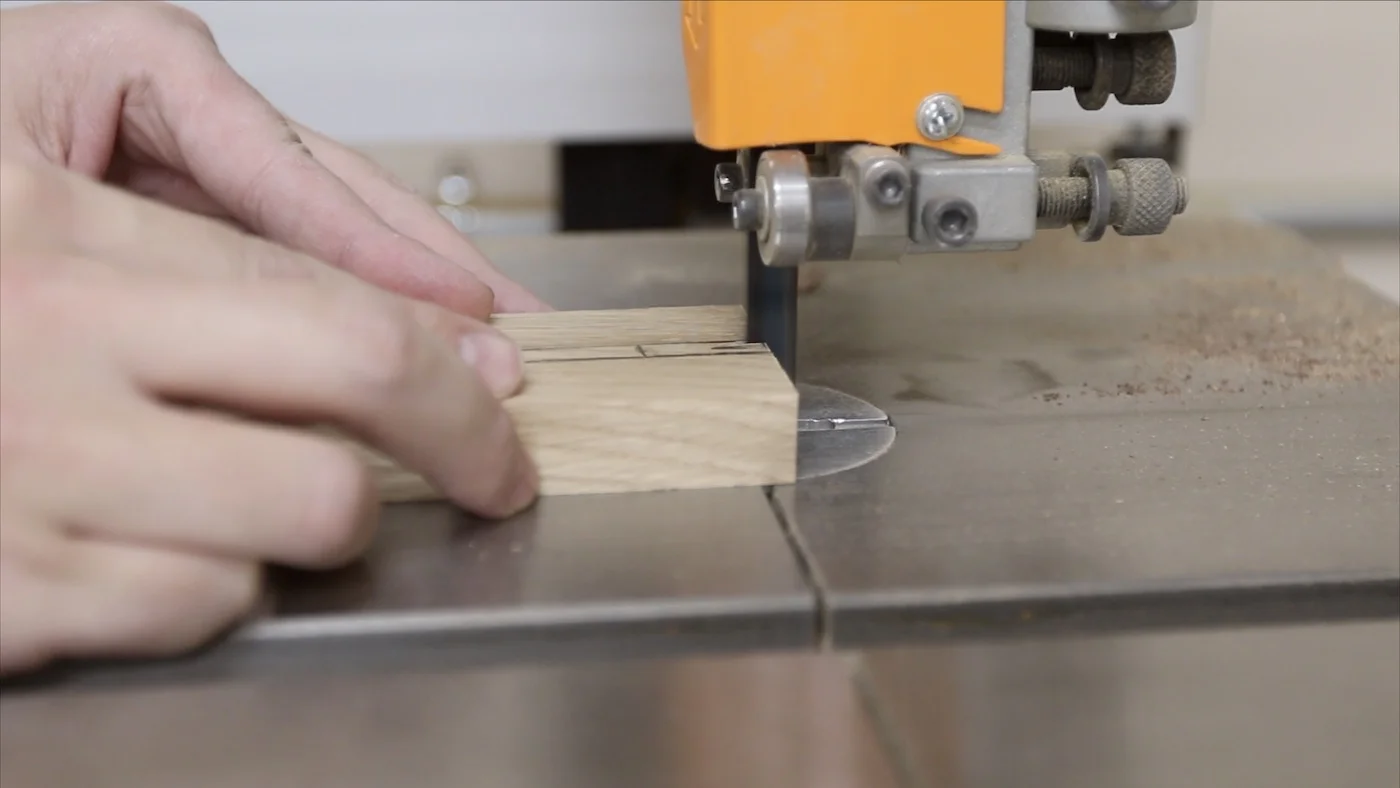
I started out by marking how large the bolt was on a scrap piece of the same white oak. Then, I took it to the bandsaw to cut out that notch. I made it go over halfway through the piece, so it would sit down onto the bolt far enough and have plenty of room for the knob to tighten against it.
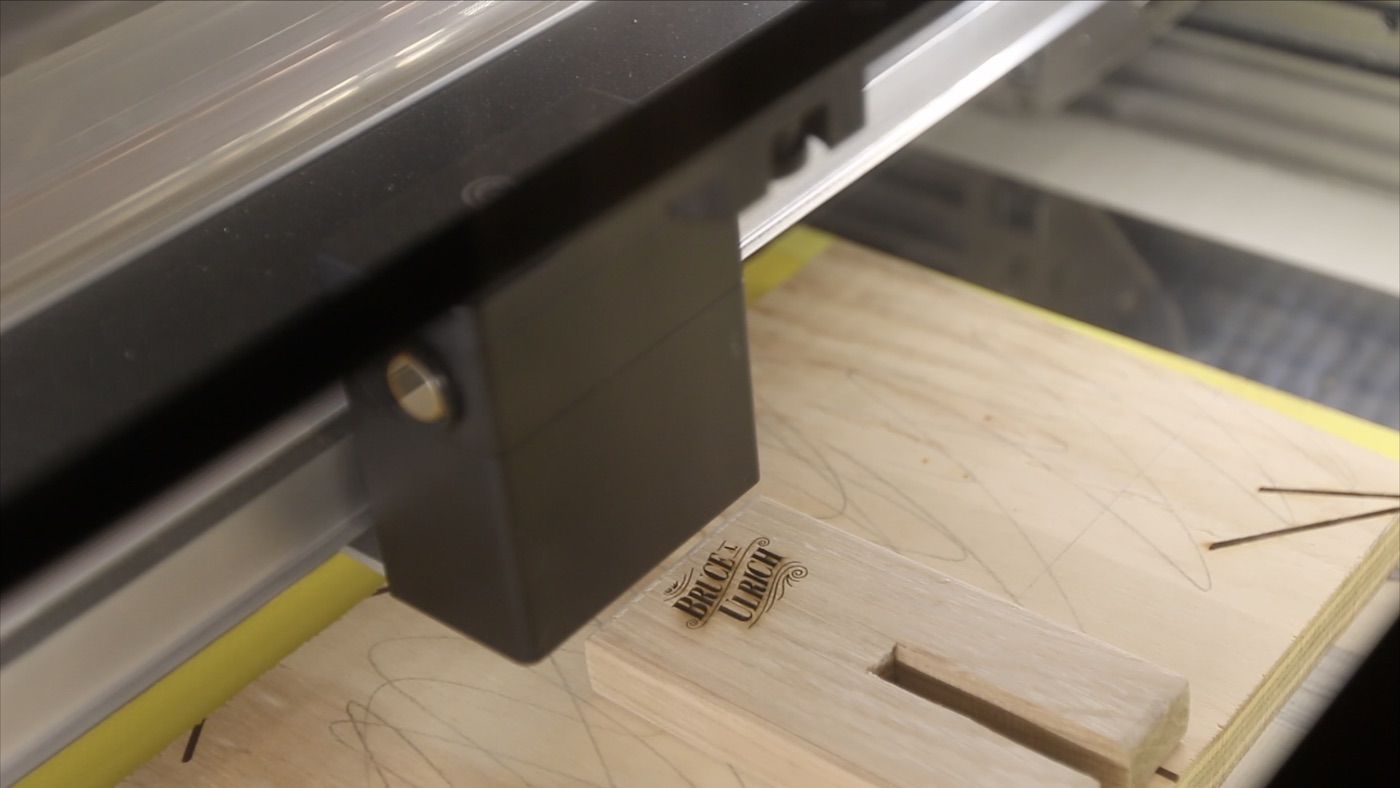
After rounding over all of the corners, I took this shim piece to my laser engraver and added my logo. It seemed like the perfect spot for that type of thing.
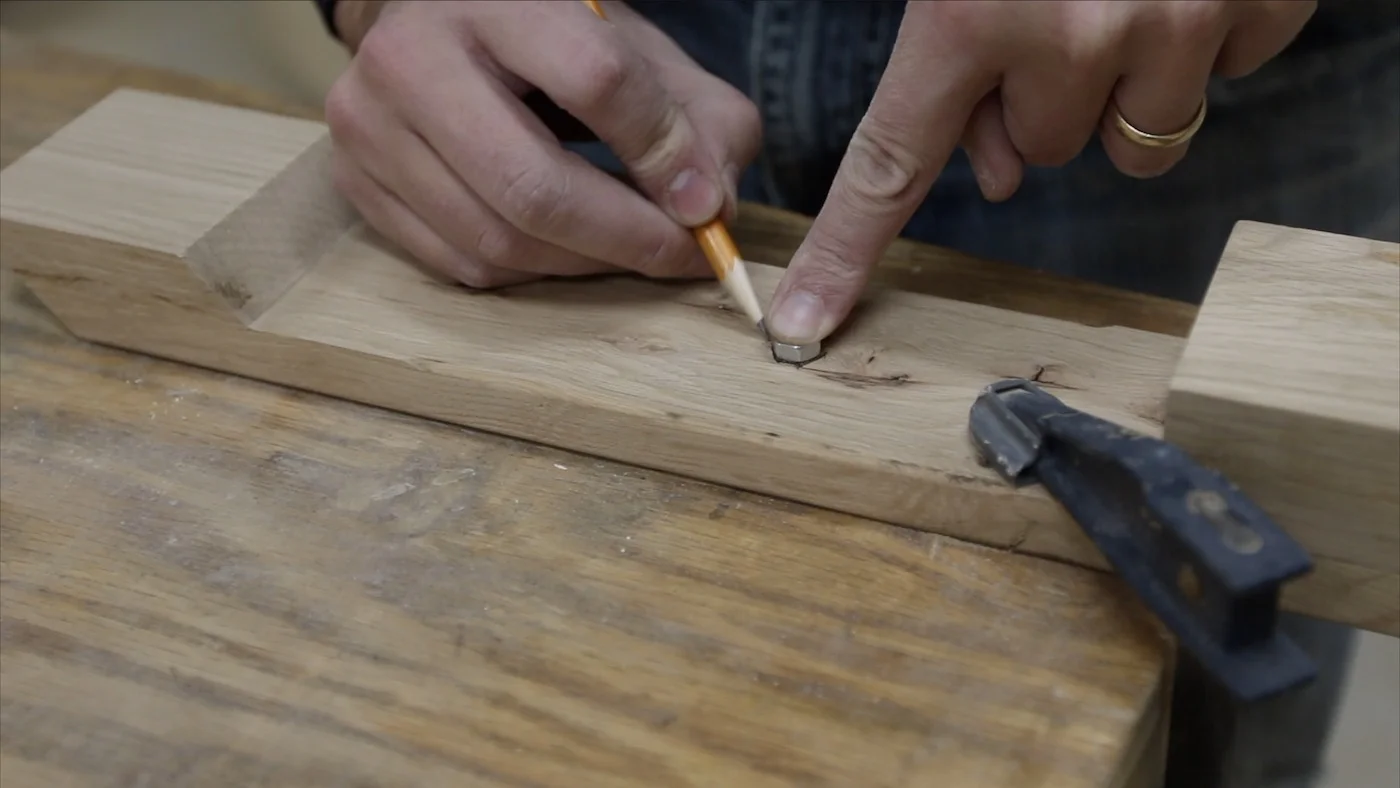
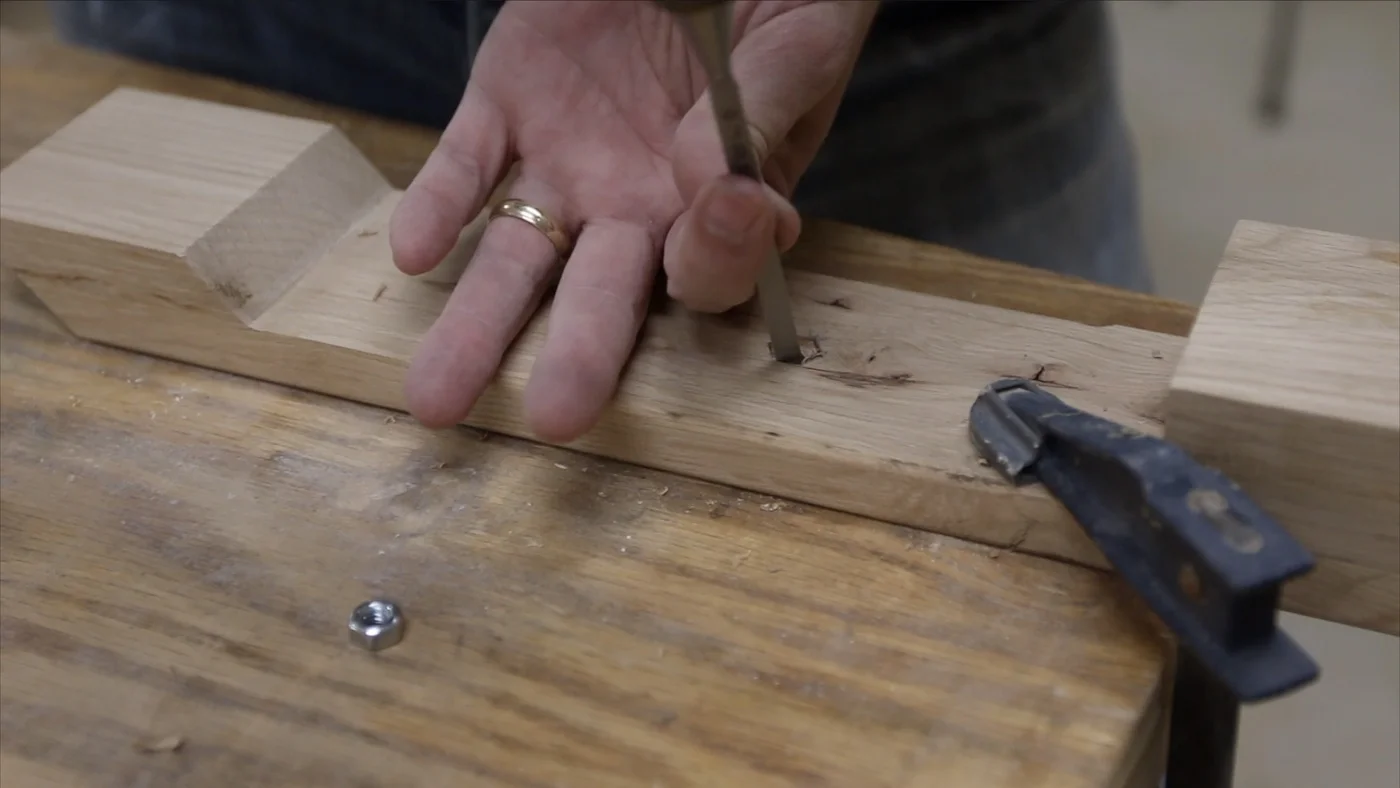
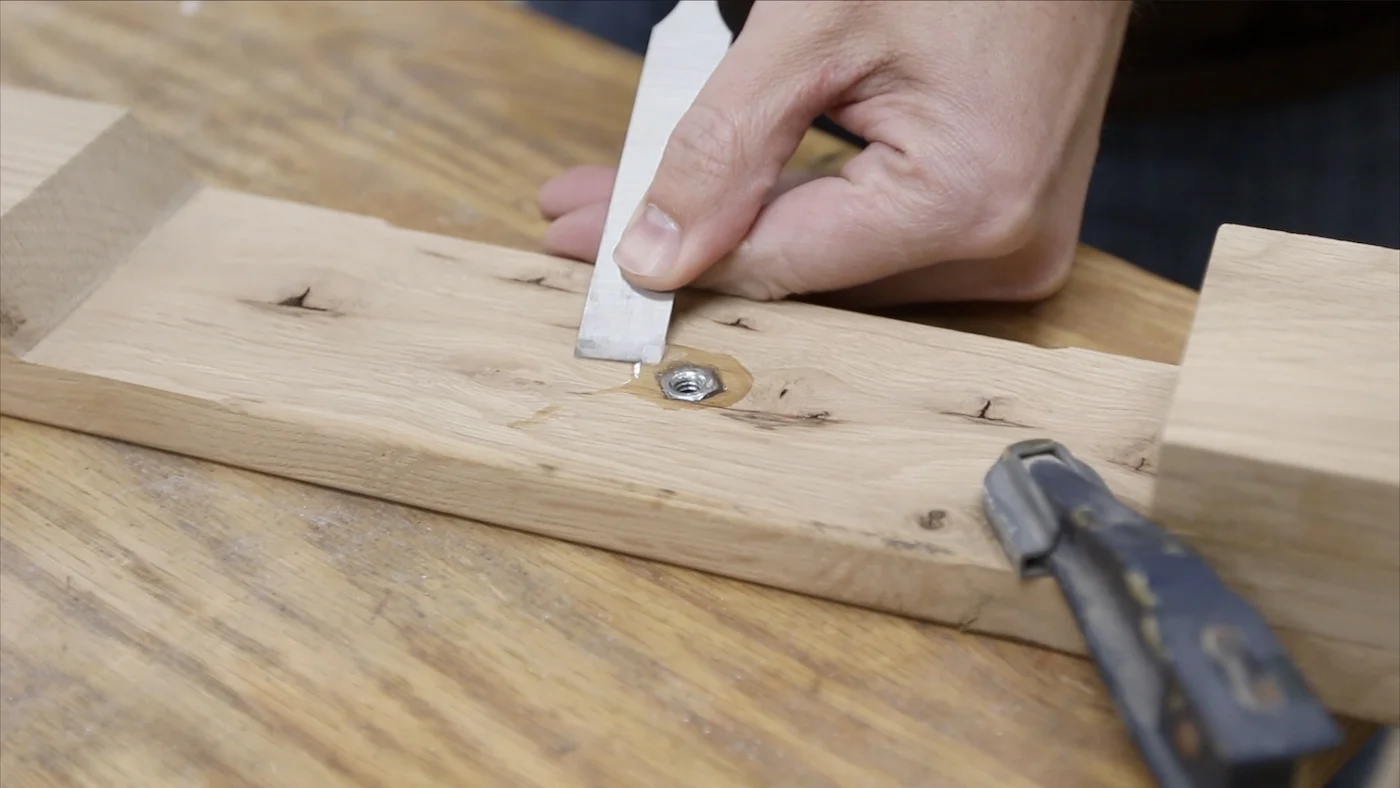
So, let’s back up just a little bit. I needed to add a nut into the hinged jaw, so this part actually happened before securing the hinged jaw to the base. This would be at the point the bolt would come through, and it would just give it something to grab.
I started by marking out where the nut was with a pencil. Then, I started chiseling away until I could get it deep enough. I’m not that good with this type of chisel work, but I want to get better, so I had to practice on this. It helps to remember that you can just take your time and work on it gradually until you’ve cut out all that you need to.
Next, I hammered the bolt into the wooden knob I made. I used some quick setting epoxy to secure it into the handle. The hole through the knob was just large enough to allow the bolt through, so when I hammered this carriage bolt in, it sat into the hole quite well.
Then, it was time to clean up some of the extra epoxy. I used a torch, but I’ve seen people like my buddy Jonny Builds use a heat gun to warm the epoxy slightly, and then it comes right off with a chisel. This worked great!
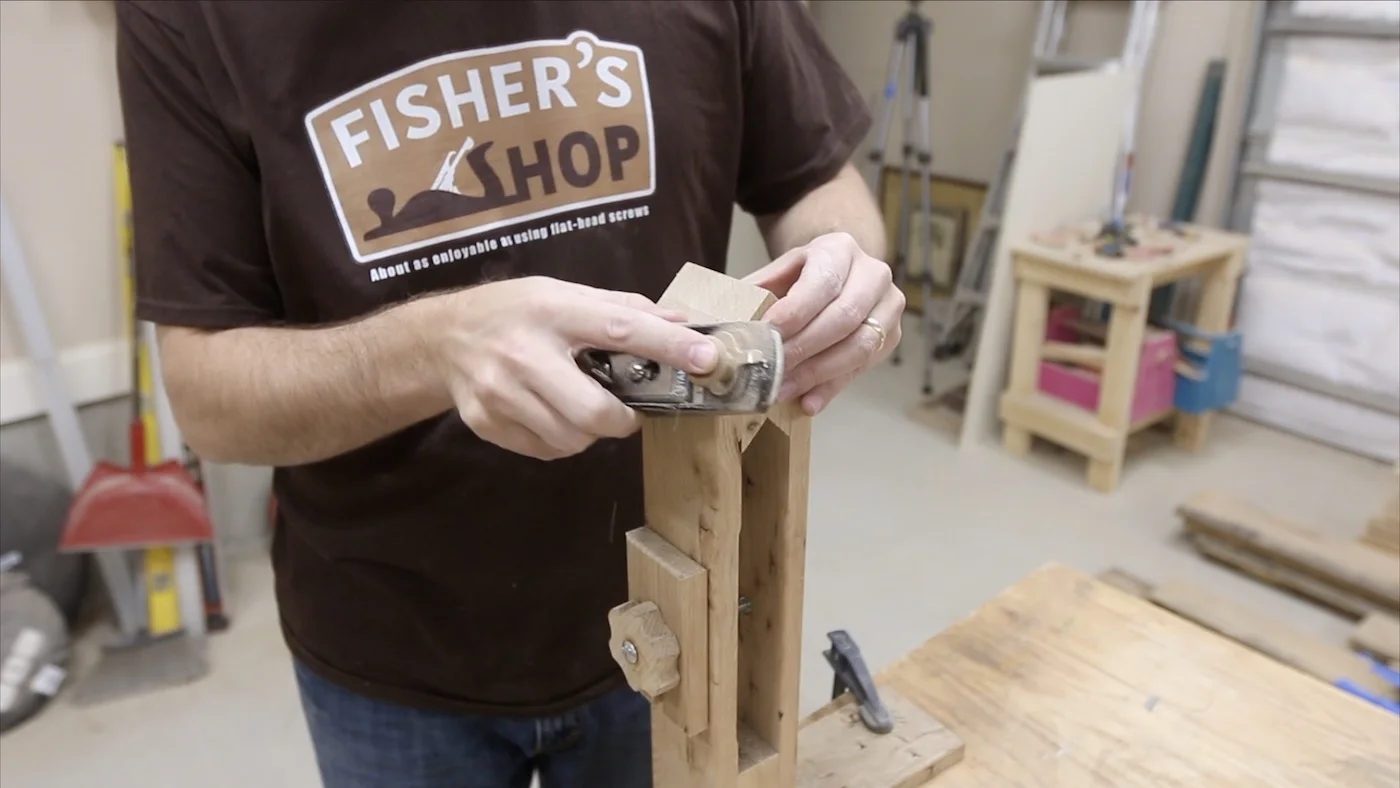
ADDING THE BOLT & KNOB
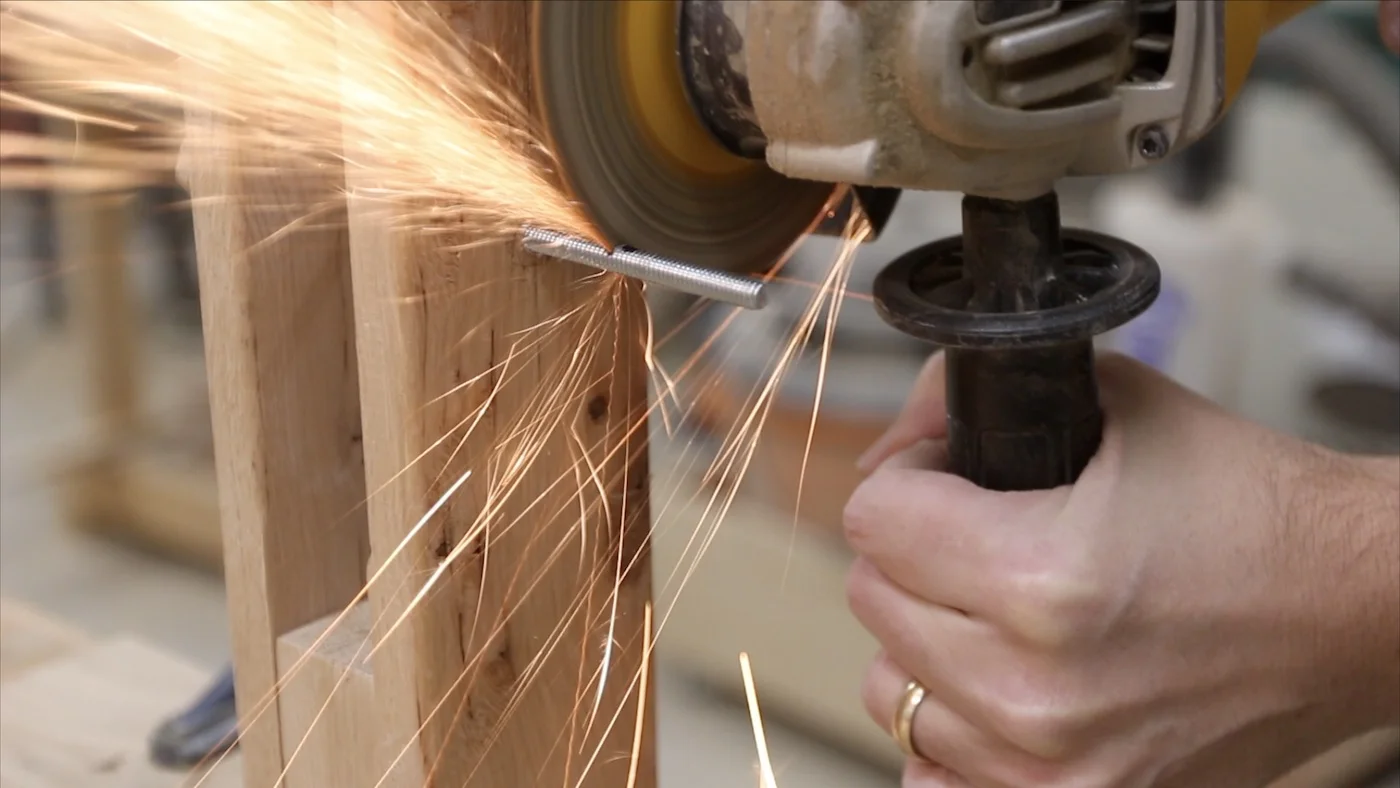
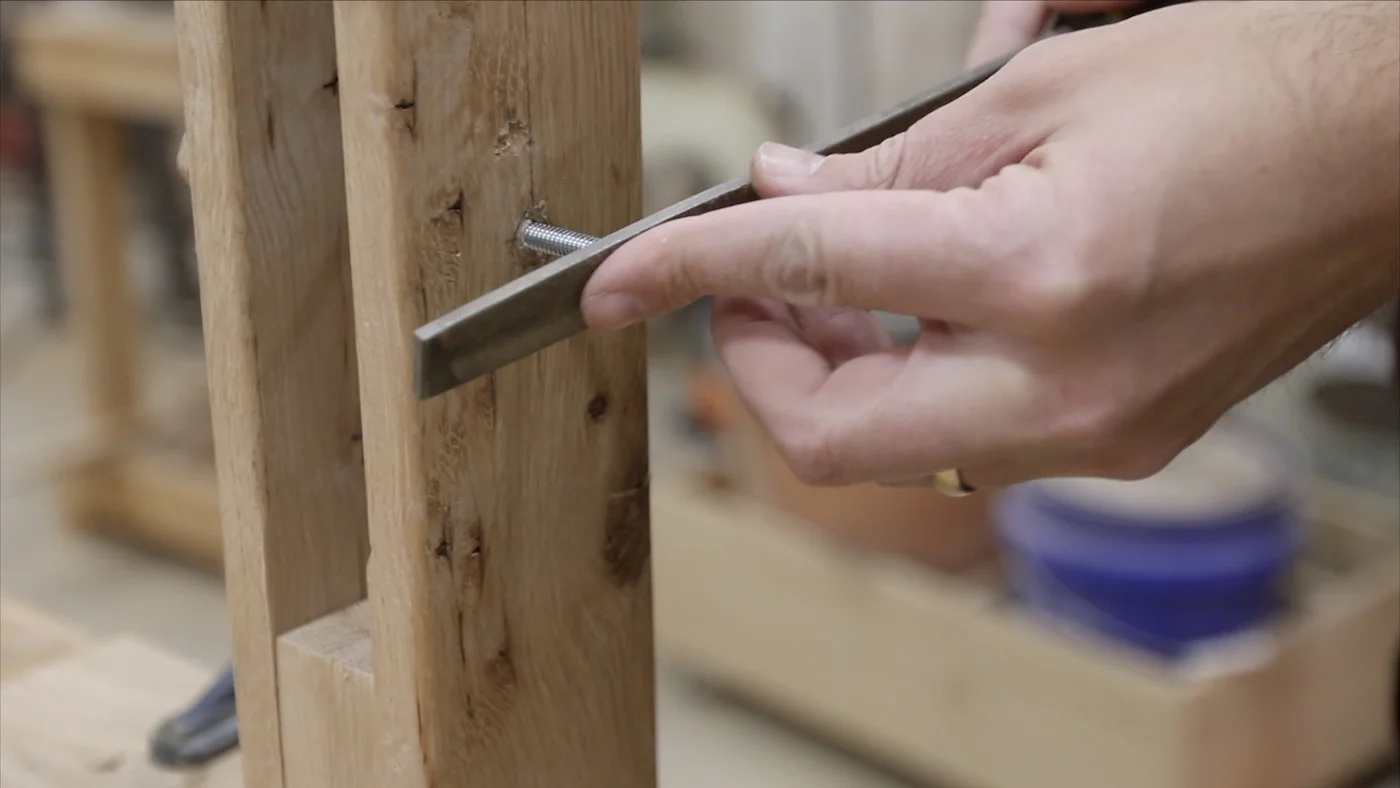
Once I started assembling everything and I put the bolt through the work piece, it was sticking out way too far on the other side. I knew I bought too long of a bolt, because I was just going to trim it to whatever size it needed to be. I opened the jaw as wide as I thought it would ever need to be, and put a mark on the bolt at that point on the other side.
Then, I put a cutoff wheel on my angle grinder and cut off the bolt where I marked the line. This left a little bit of a burr on the end of the bolt, so I just used a file to get rid of that burr and smooth it out.
REFINING AND SHAPING
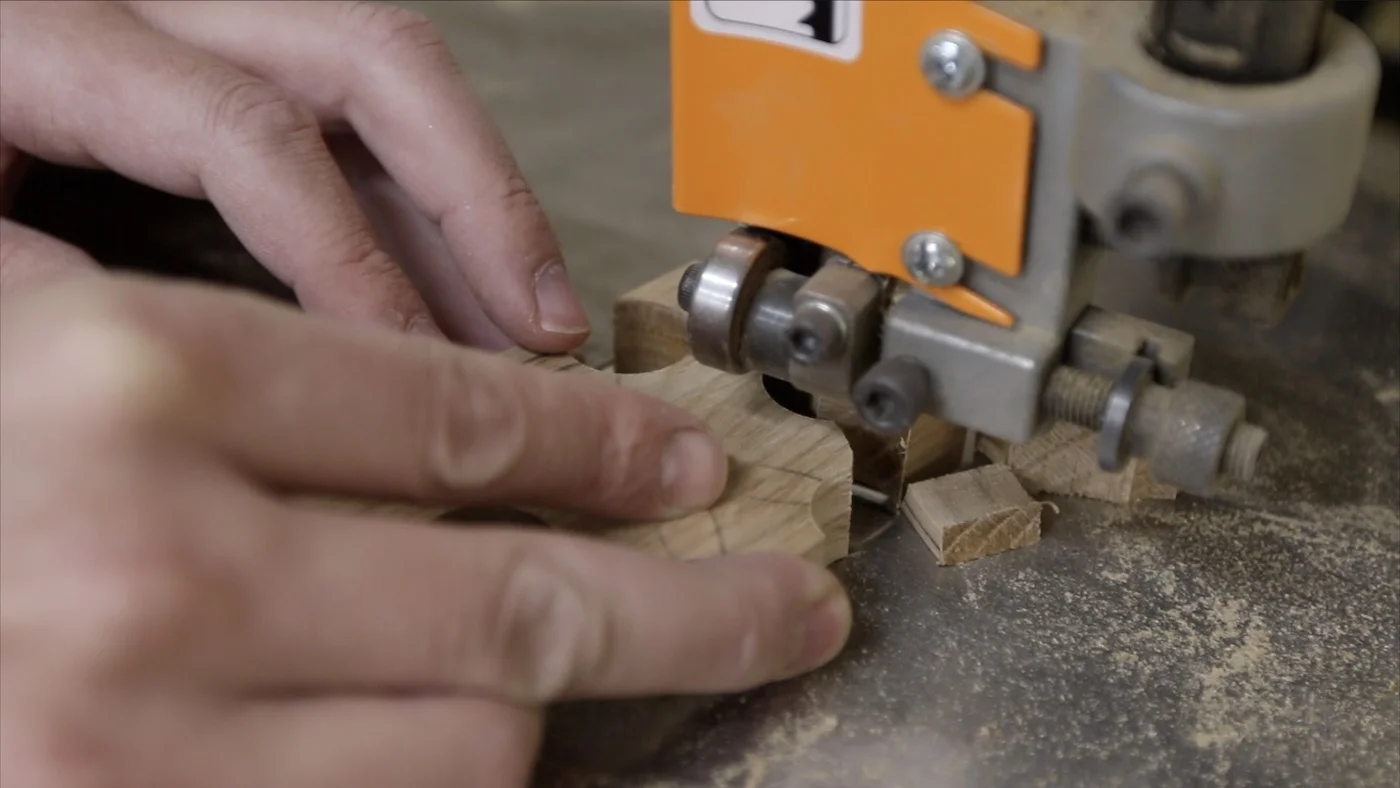
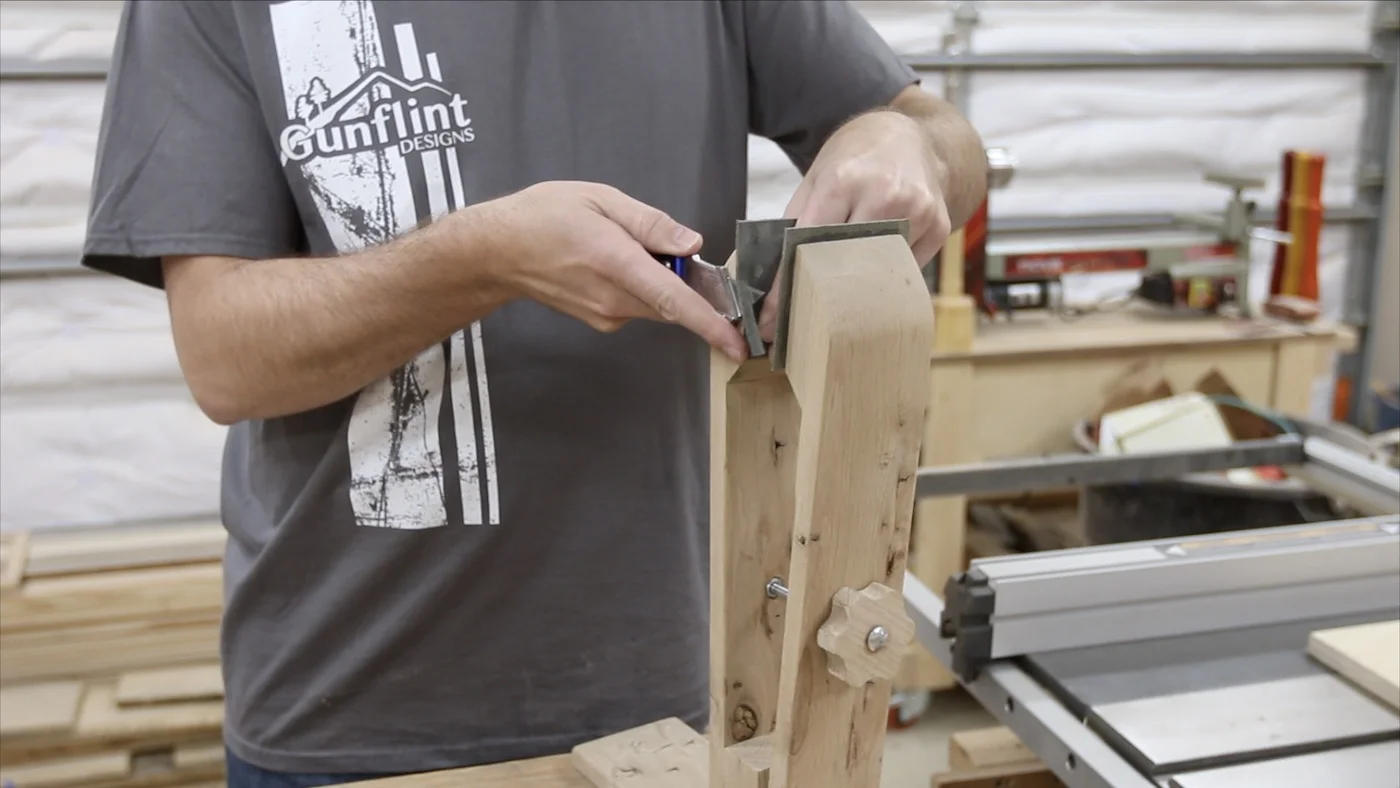
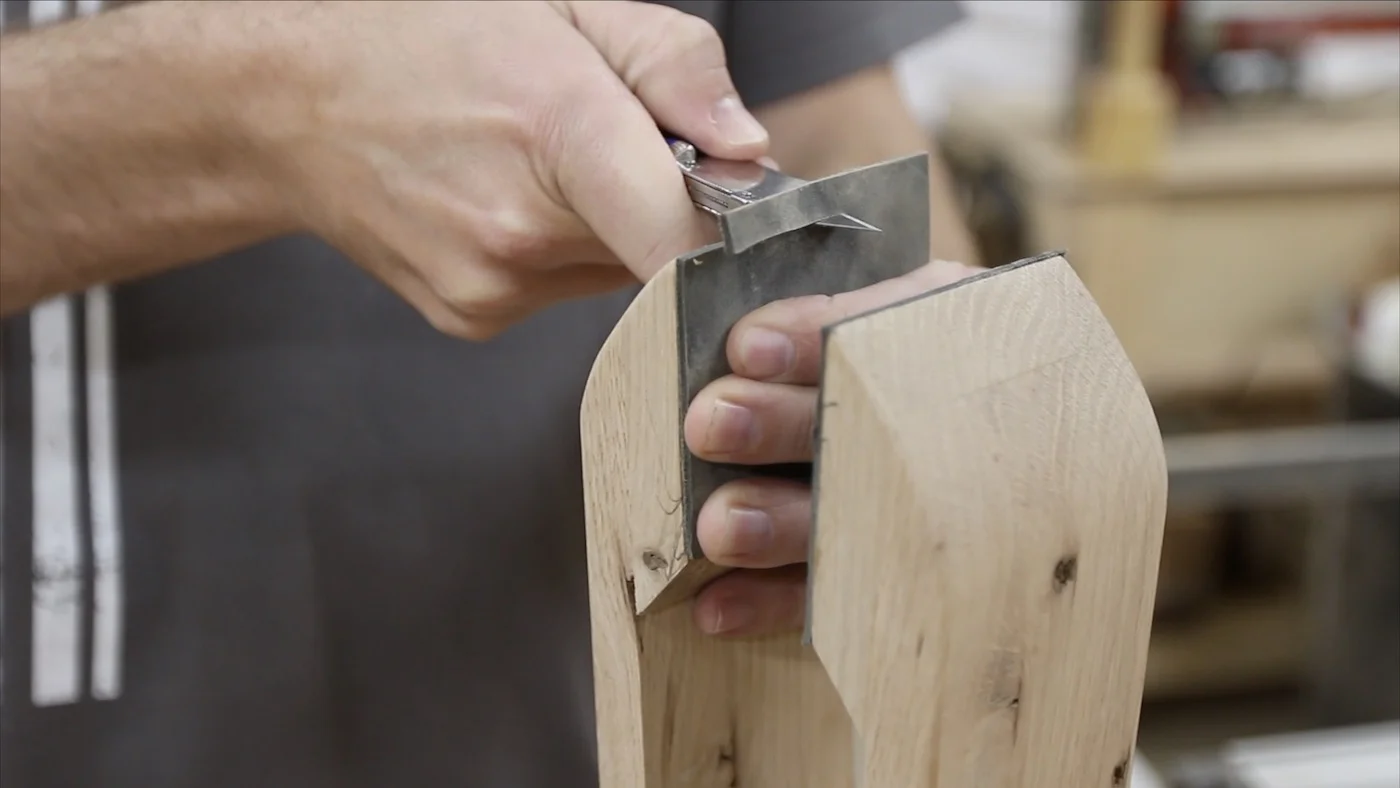
The inside of the jaws needed a bit of refining with sand paper for them to meet just right. It is important that they meet as flush as they can.
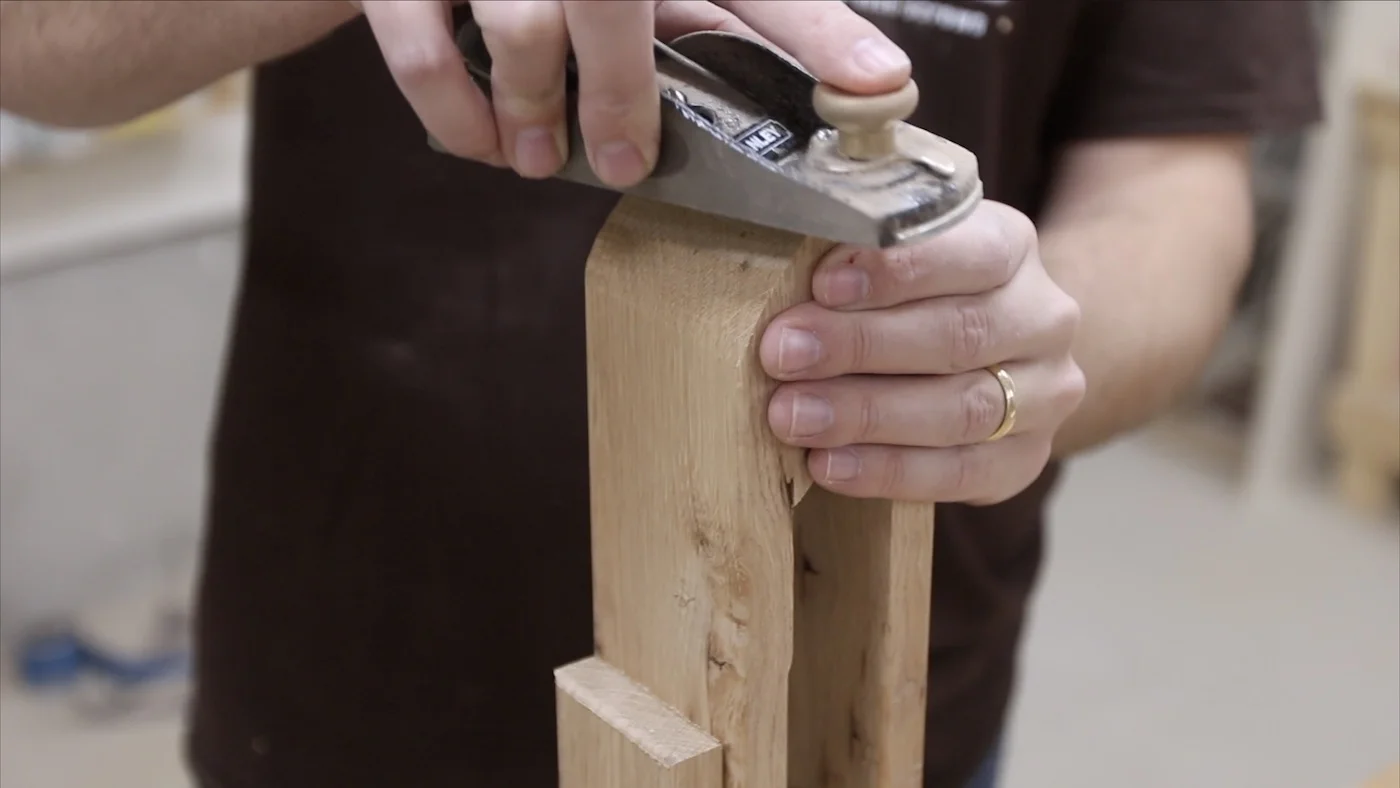
I wanted to shape the top of the jaws a bit, rather than having the angular look that they had at this point. For this, I used my block plane, a rasp and my random orbit sander. I did the rough shaping with my block plane, being careful to not tear out the grain. Then, I refined it a bit more with a rasp, smoothing out some of the shape here and there. Finally, with the sander, I just removed any of the rasp marks and make it smooth to the touch.
SANDING
At this point, it was time for some hand sanding. I just sanded by hand with 220 grit sandpaper. The little bit of smoke stain that the laser left after engraving my logo was easily removed with some light sanding with 220 grit.
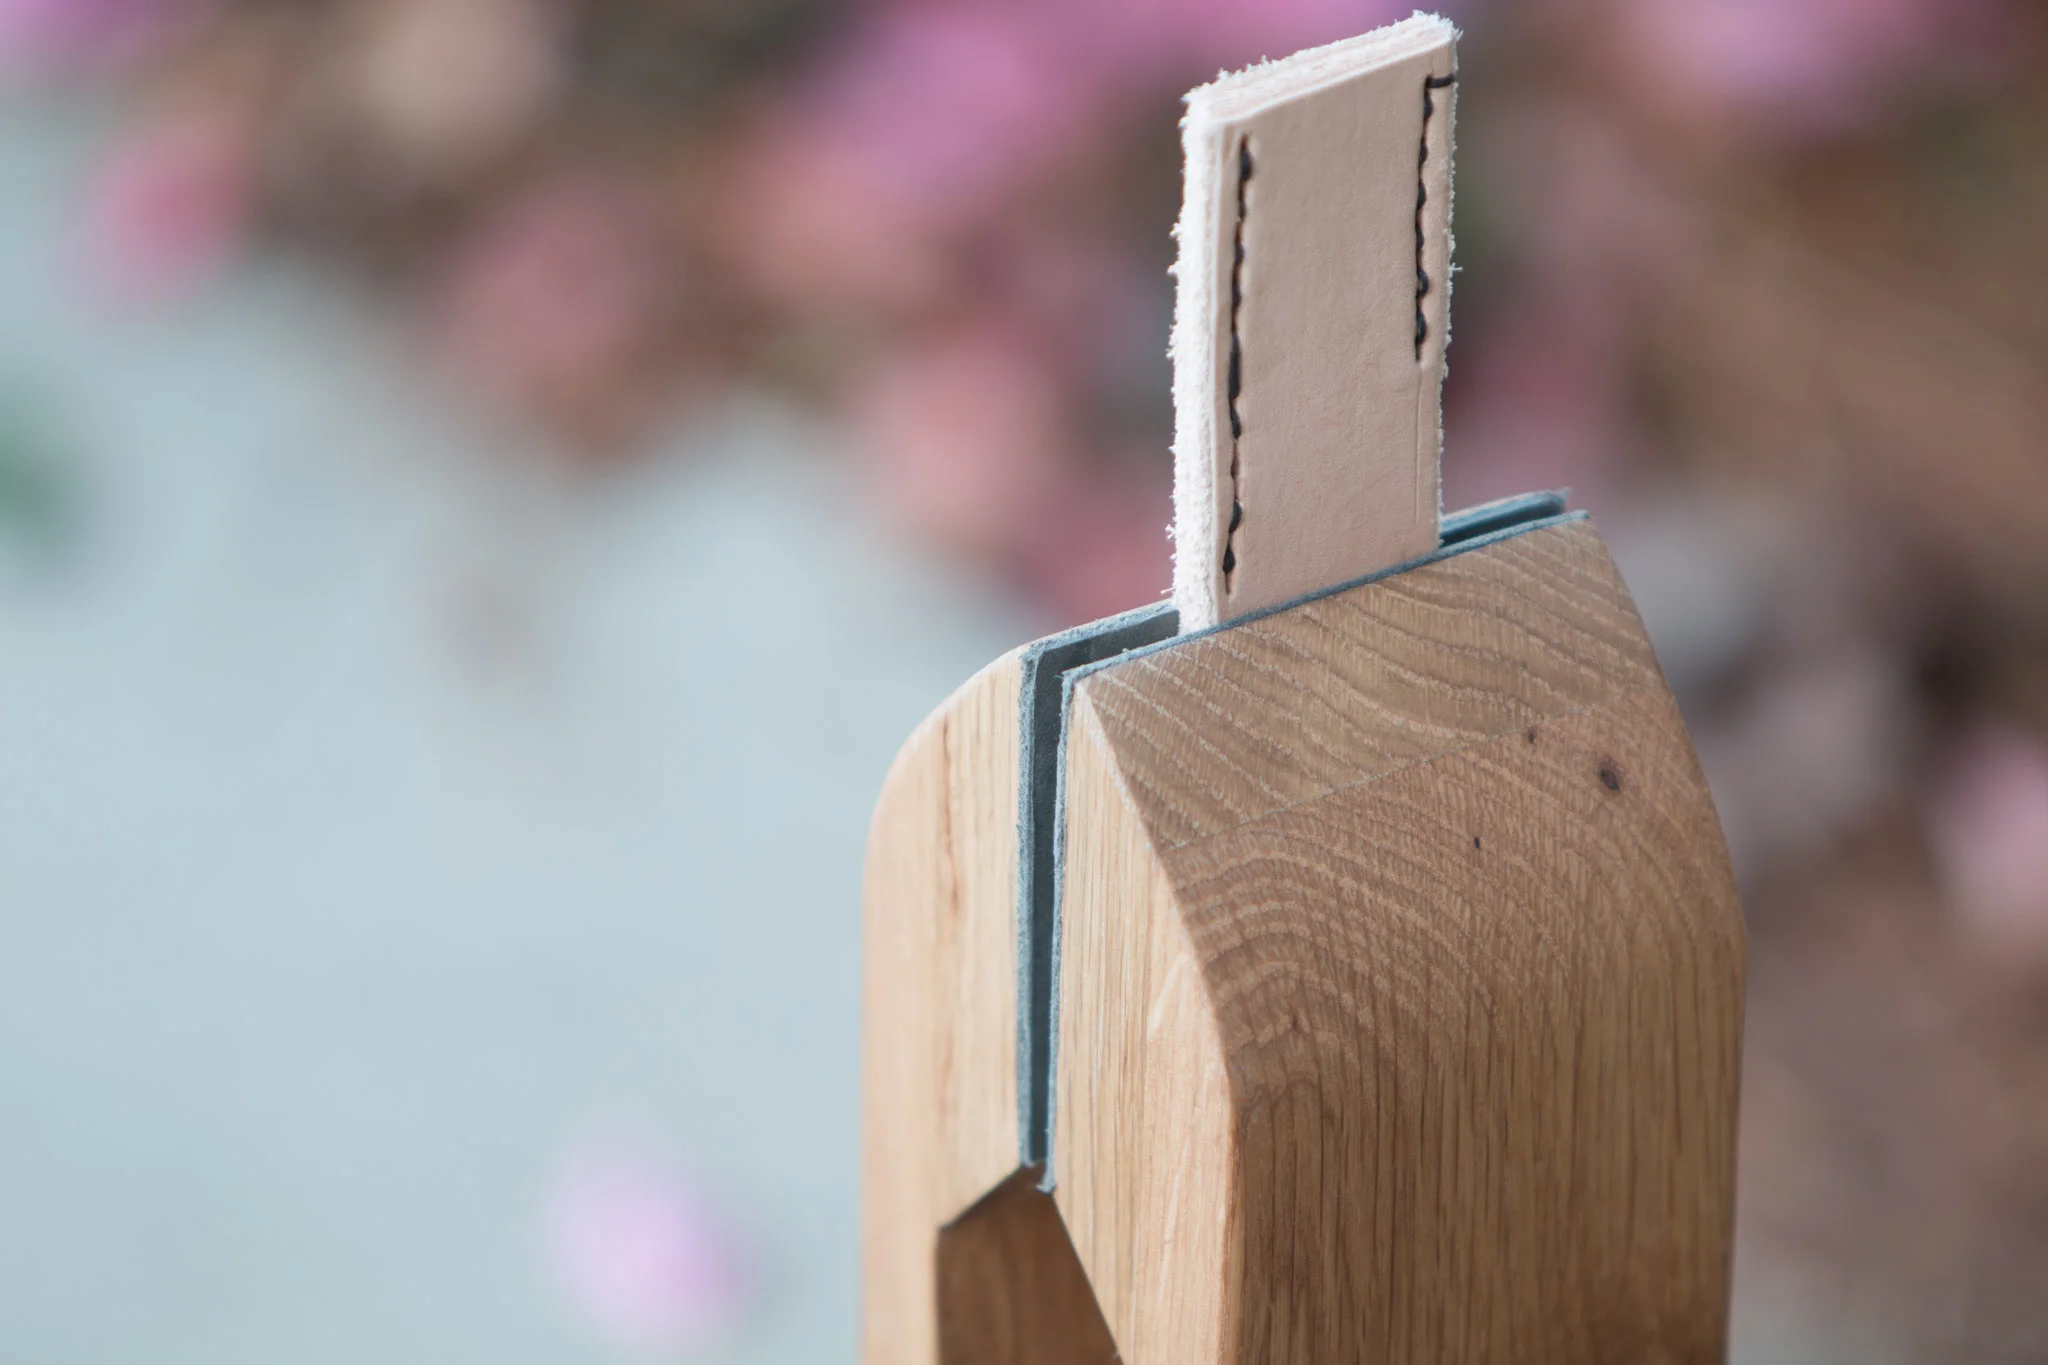
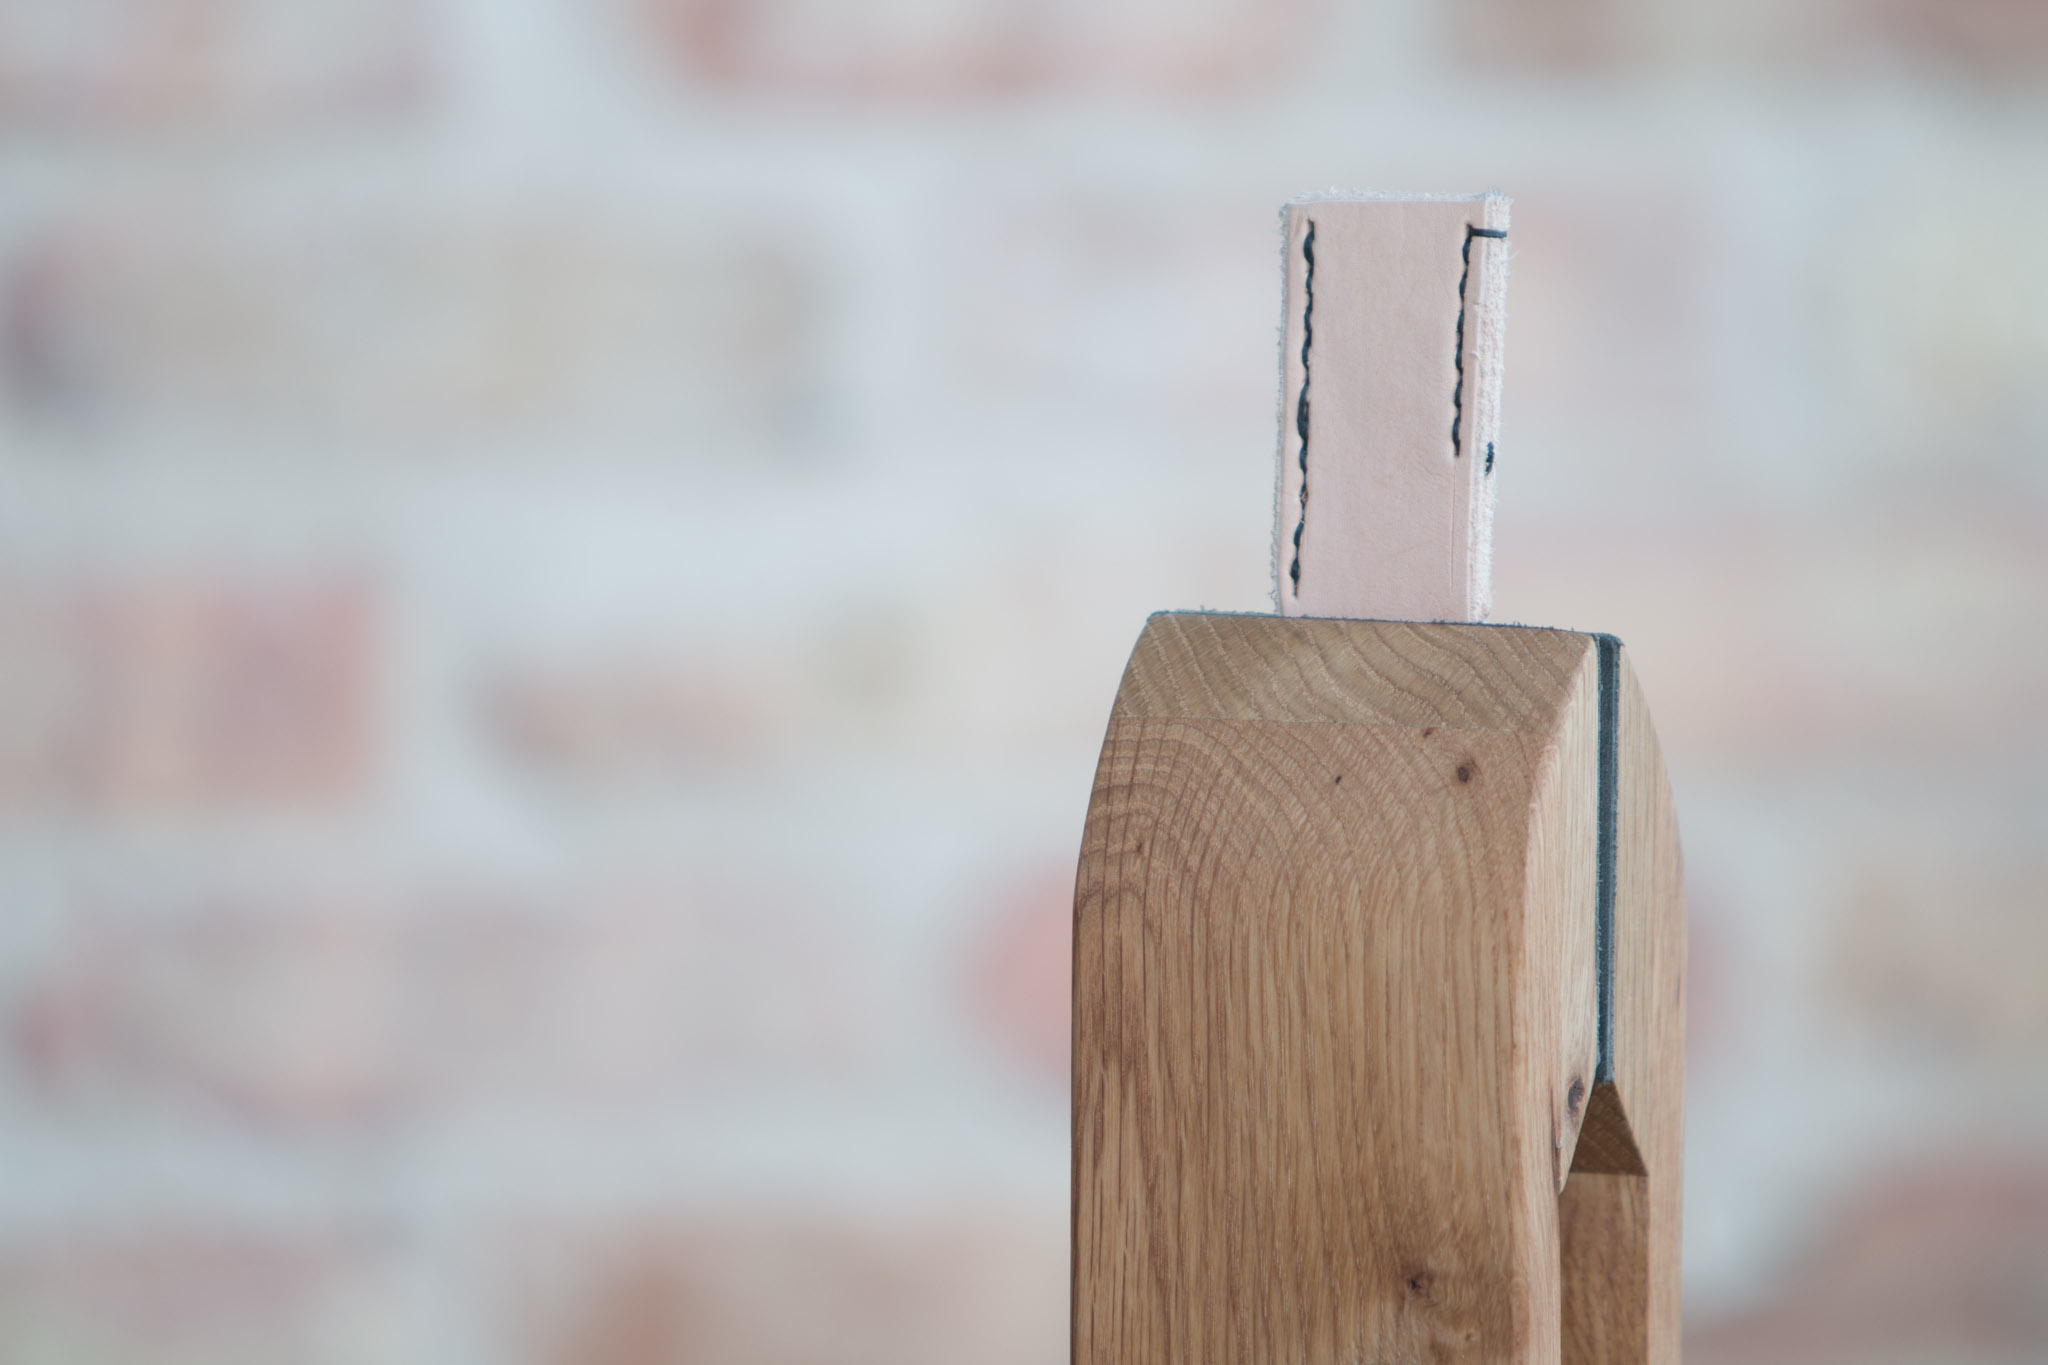
ADDING LEATHER
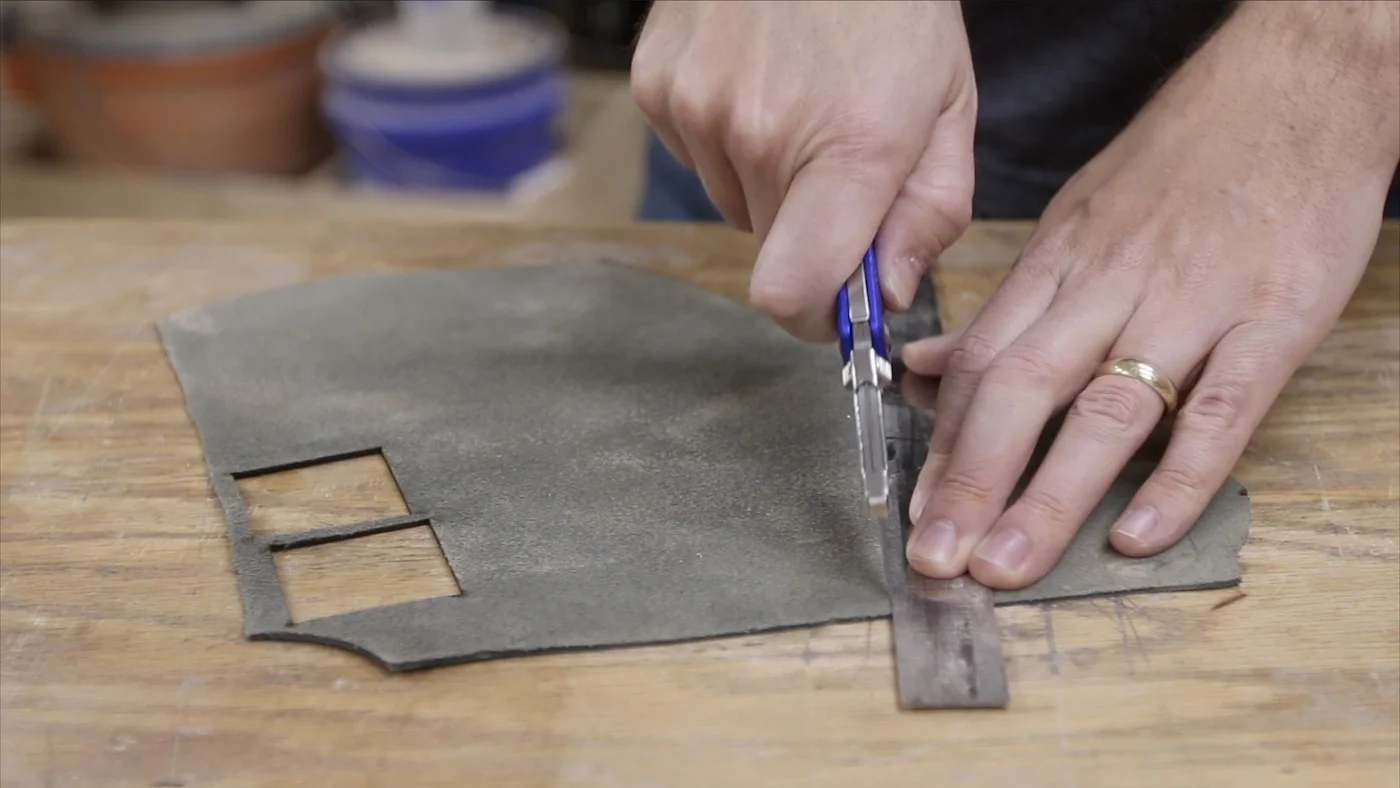
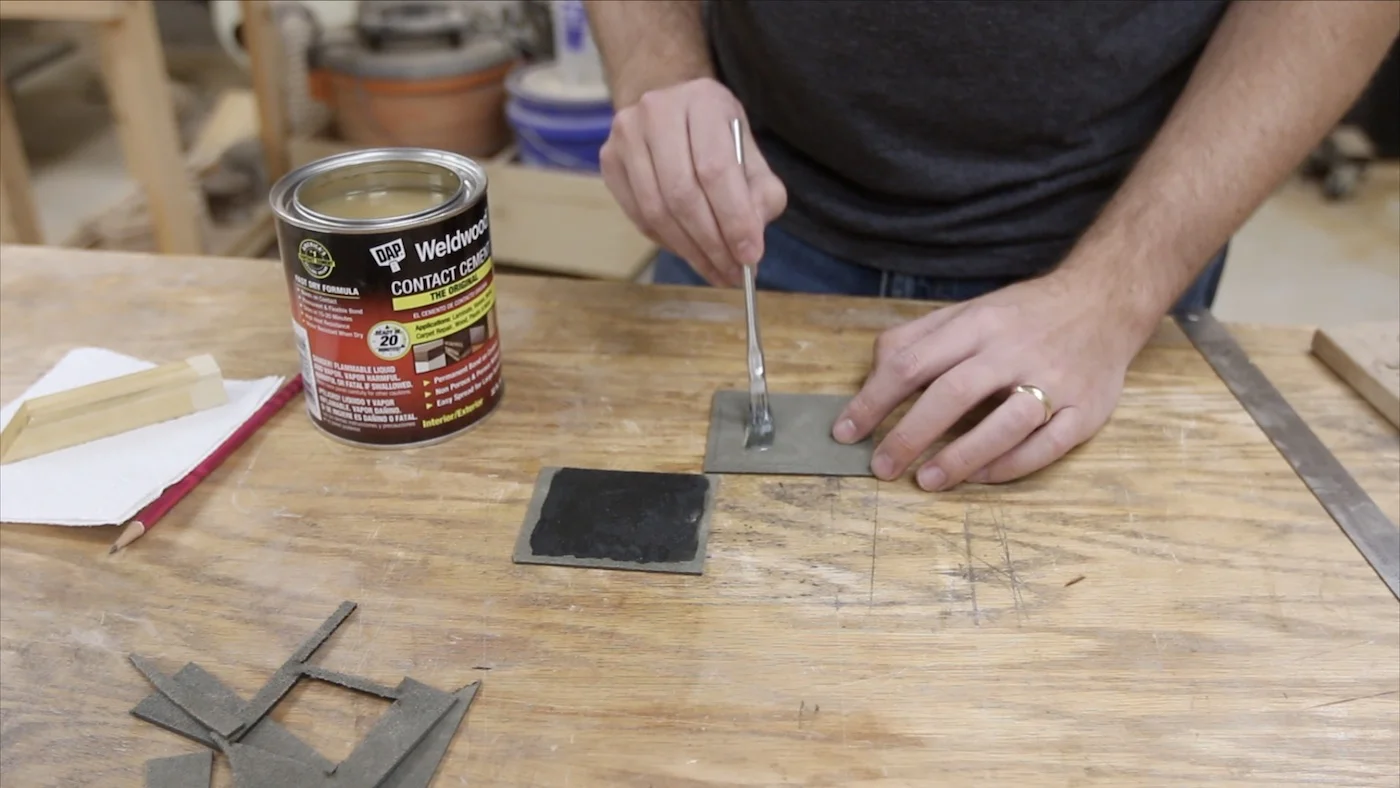
Adding leather to the inside of the jaws greatly increases the holding power of this stitching pony. I found a piece of scrap leather, and rough cut it to the size of the jaws. Then, I added some contact cement to the inside of the jaws as well as to the leather. How that stuff works is that when it is applied to two surfaces, and then it starts to dry a bit and get tacky, you stick it together. Then, it is bonded pretty much instantly. I just left the two jaws clamped together overnight with the contact cement on there and then came back the next day and trimmed off the excess leather.
FINISHING
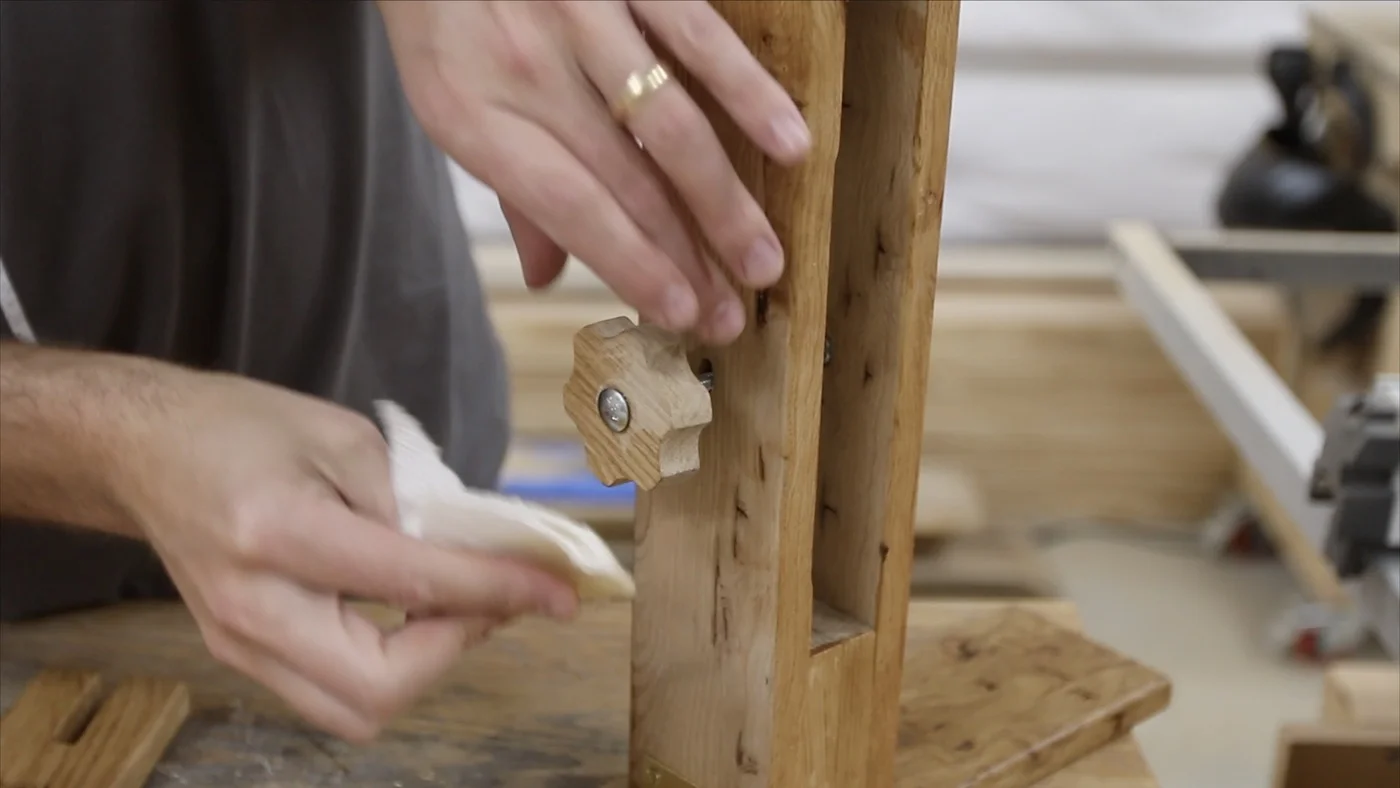
When everything felt nice and smooth to my hand, it was time to apply some finish. I didn’t really want something heavy on this thing, since it is really just a tool. I did want to protect it a bit though, so it was back to Mahoney’s walnut oil. I used this in my last project, and love how it looked on the white oak, so I went back to it again this time. (I’ve linked to the exact stuff above in my “Tools & Materials” section.)
CONCLUSION
Well, it’s done. That seems like a ton of steps for such a small project, but it really was not too involved. I love how it turned out and I’ve already used it to help stitch another leather project.
As I’ve mentioned, I have another project coming up soon that needed some leather as a part of it, so this tool is going to help greatly in that. Stay tuned to see that that is…I think you’re going to like it!
Thanks for sticking around and checking out another project! Let me know if you have any questions, and if you haven’t already, watch the video. It really help YouTube show it to more people if you leave a comment there and give it a thumbs up.
See you really soon on the next project!