Garage Door Insulation // How To Install
VIDEO
A few months ago, I decided to insulate my garage doors. All of the kits I saw were not rated very high, so when I found this kit that was rated at R-8, I went for it. Take a look at the video and let me know what you think:
BACKGROUND
Months back, during the brutal, Mississippi heat, I installed these garage door insulation kits from Owens Corning. I happened upon them while researching. I could not find them in one of the stores, but Lowe's had them available online, so I bought them and had them shipped to my house.
I purchased two kits, since I have a double garage door. However, I have oversized doors (as you'll hear more about later), so I actually didn't quite have enough for what I needed.
I just needed to try to control the amount of heat and cold that was leaking into the shop, mostly via this large door. It is metal, so in the summer, it would really hold a lot of heat.
TOOLS & MATERIALS
Insulation kit - http://amzn.to/2pakMk2
Utility Knife - http://amzn.to/2DriLEc
Foil Tape - http://amzn.to/2FJnVgE
STEPS
Starting off, you want to make sure everything on the door is pretty clean. I vacuumed it all off, and even wiped it down. You have to stick some adhesive to the door panels in a later step, so it is important that it can stick well to the surface of the door.

I bought two kits of this garage door insulation. It is made by Owens Corning, and it is rated at R-8, which is about double what I've seen some of the other, rigid foam kits claim. I would like it to be more than even R-8, but that's better than any others I have seen.

The kit comes with everything you need: gloves, adhesive squares, alligator clips (not sure what to call these, so that's what I landed on), rolls of insulation.

The instructions say to lay all of the insulation out the night before so that it can regain its shape from being rolled up. HINT: you want to make sure your floor is clean when you lay it out like this.

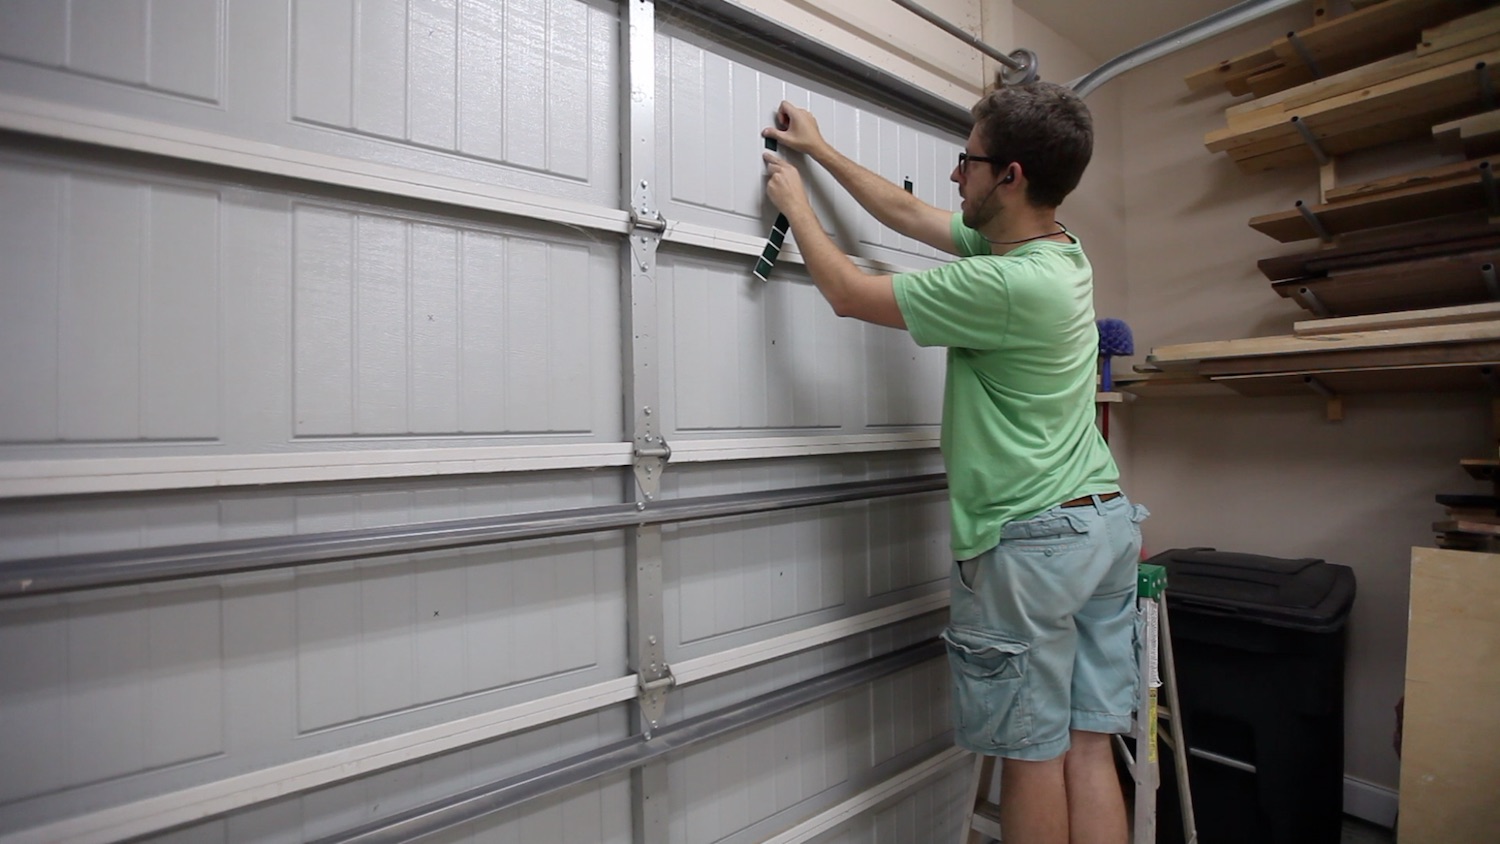
The instructions tell you how to measure out everything and mark it, but let's just say, you measure to find the center of each panel on your door, then you half it again. That way, you will end up with two spots on each panel.

Use a marker to place an X in each place, so you can come back quickly and just attach all of the adhesive.

The outside of our garage door has these decorative handles. The people who installed those handles used WAY too long of screws, so I just used a cutoff wheel on my angle grinder to trim them up.

Now, it is time to start adding the adhesive where you marked. These are pre-cut squares included in the pack. And they are quite sticky!
I ended up messing up. I read the directions wrong, so I doubted myself when I was about halfway through. I started removing some of the adhesive squares and moving them. Anyway, that didn't work out well. The reason I started removing them in the first place was that I didn't have enough to finish. Well, that's not because I measured wrong...it was because my garage doors are oversized. These kits are meant for a standard door, which is 7'6". Mine are 8'.

Anyway, I reached out to Owens Corning and told them the problem. Their Customer Service Dept was great! They asked how many I needed specifically, in order to finish the job. I told them, and a few days later, all of those adhesive squares and alligator clips were waiting at my door!

I removed the mishaps with a razor scraper. This was not an easy task! They are really meant to stick on there for life.

I added back the adhesive where it was supposed to be, and I am just about back to square one at this point.

Once the adhesive was in place, you peel off the other side of protective paper. Then, you can add one of these alligator clips. I was sure to orient them all the same way on the garage door side, just to make it easier as I came back with the others.

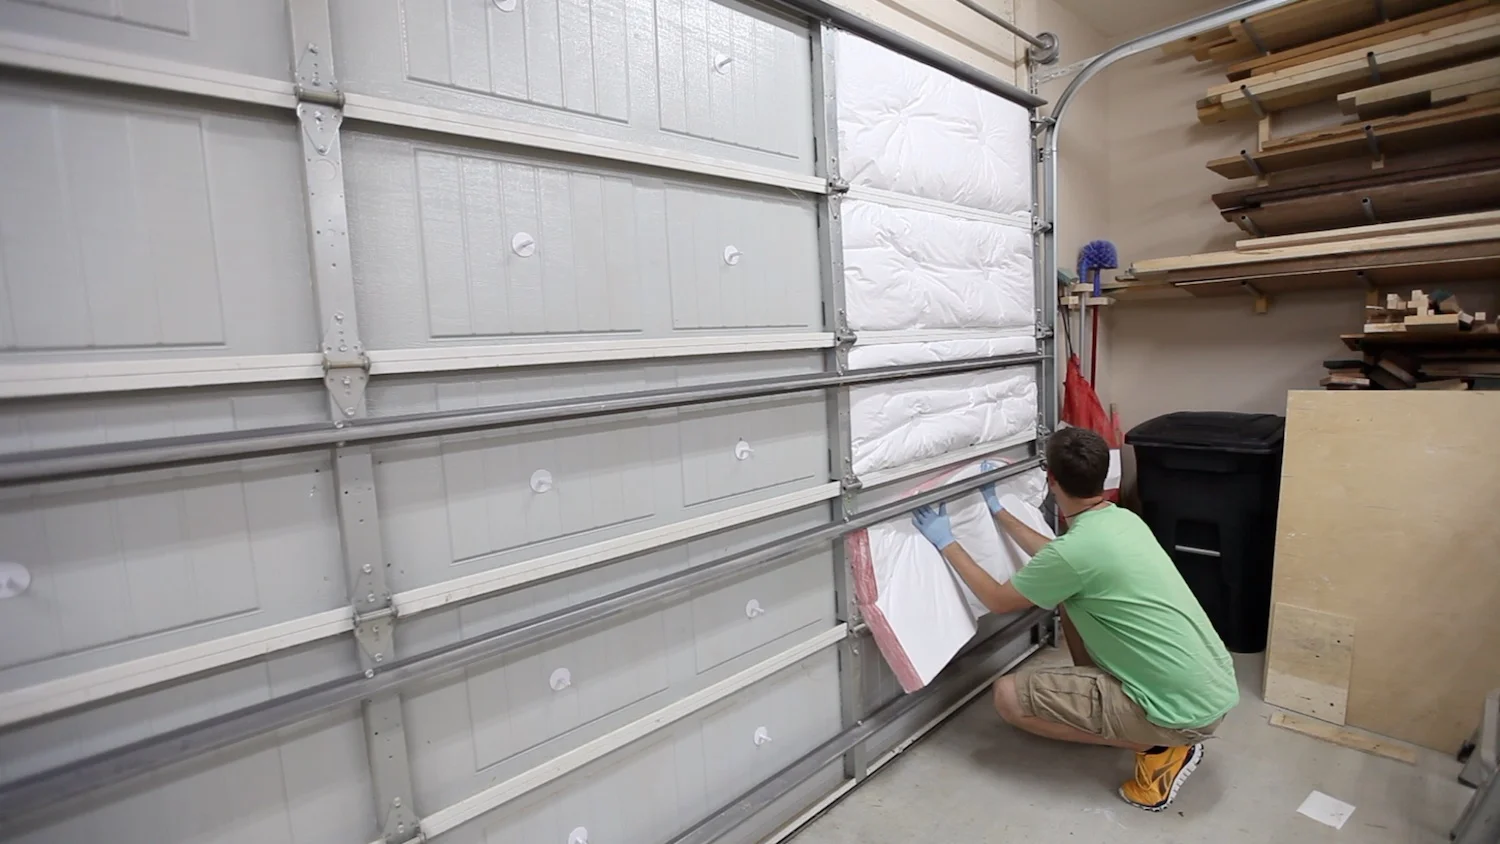
Now, it was time to start adding the insulation panels. You have to kind of work them up into the corners. At first, it seems that you will not be able to get the pieces to say in place, but they do once you get all of the sides tucked in.

Once in place, take a utility knife and cut a small X in the insulation where the alligator clip is. You'll be able to feel it from the back side. Then, help the alligator clip through the insulation to where it is showing. I found that I needed to use the knife to push back some of the insulation so that the other mating alligator clip would seat properly.

Then, just pop on the other alligator clip. When you do it right, it has a very satisfying "click" that happens.

I decided to use some foil tape around all of the vertical edges. The way my garage door is, and I suspect with many of them, one panel can be tucked in, because there is a lip, but the other one cannot, because there is no lip. It just kind of flops there. Well, I didn't think it would fall out, but I just wanted to trap more of the heat/cold in the insulation by using the foil tape.
I knew the foil tape would stick to the metal really well, but I wasn't sure about this vinyl backed insulation. It did stick to that pretty well too. Not as good as the metal, but better than I thought.

CONCLUSION
So far, I have liked the result of these garage door insulation kits. They seem to do a pretty decent job of keeping the cold out or the heat out. I do plan to get a mini-split unit for the shop at some point, so this will just add to that.
Thanks so much for checking out this project! If you have any questions or comments, I'd love to hear them. Also, but sure to watch the video and I talk to you soon!

