Making the Fisher's Shop Flip Top Cart
VIDEO
In this project, I make the flip top cart design that my friend Drew Fisher of Fisher’s Shop developed. It was pretty cool to build from someone else’s plans, because you always notice different ways that they do things than how you would do them. Follow along with the video and the steps below:
BACKGROUND:
My friend, Drew Fisher (we do a podcast together with another guy, Mark, from the Gunflint Designs channel called We Built A Thing, if you didn’t know. There’s a little preview at the beginning of the above video.), came up with this concept and made a video about it. However, I wanted one for my own shop, so I thought it would be fun to take his plans and see how it was building from those plans.
In the screenshots below, and when you hear me talking about the steps, you’ll hear me say, “we did this or we did that,” because I had my friends, Jennie and Davis, in the shop with me building this project. It was fun to get to build and have a good time in the shop with other woodworkers. Be sure to go watch their video they put out at the same time, because it includes me and a deep dive into some of my processes.
TOOLS & MATERIALS (affiliate links)
Miter Saw: https://amzn.to/2uC092T
Jigsaw: https://amzn.to/2NKB539
Bandsaw: http://amzn.to/2BI2xJV
Circular Saw: https://amzn.to/35nNfVO
Table Saw: https://amzn.to/2C11FzS
Drill & Driver: https://amzn.to/2sL543O
Screws: https://amzn.to/36cTsEq
Pocket Hole Jig: https://amzn.to/2RaK53B
Black Iron Pipe: https://amzn.to/30NVxpn
Floor Flanges: https://amzn.to/38qZu5A
Surge Protector: https://amzn.to/30EF1Yz
Random Orbit Sander: https://amzn.to/2C0gR0k
Wood Lathe: https://amzn.to/38nvPKF
Trim Router: https://amzn.to/2J8acm9
Drill Press: https://amzn.to/2QZv5Te
STEPS:
This project started out by breaking down all of the materials. There is one sheet of 3/4" plywood and a half sheet of 1/2" plywood.
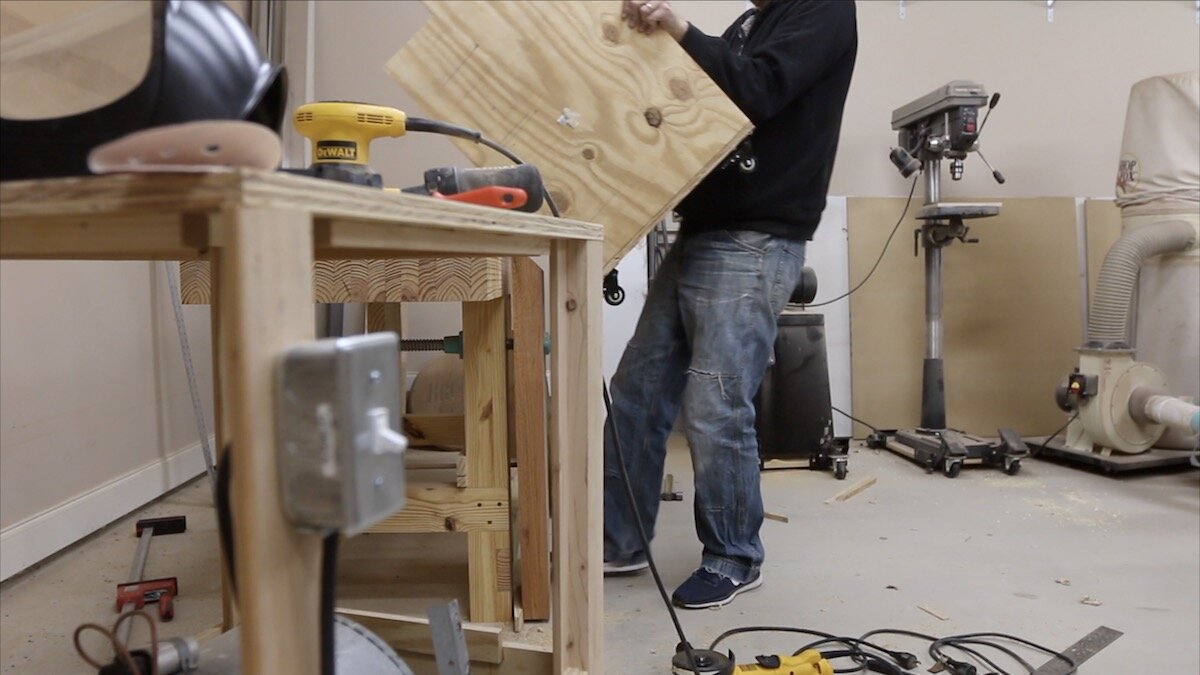
For the full sheet, we started out using the circular saw, and then moved to the table saw. Breaking sheet goods down like this is safer since you can handle the pieces more easily. I use some 2” rigid foam and then put the plywood on top of that. Measure where you want to make the cut, put a straight edge where your circular saw’s sled can run right along that, and make the cut, plunging the saw’s blade into the rigid foam.
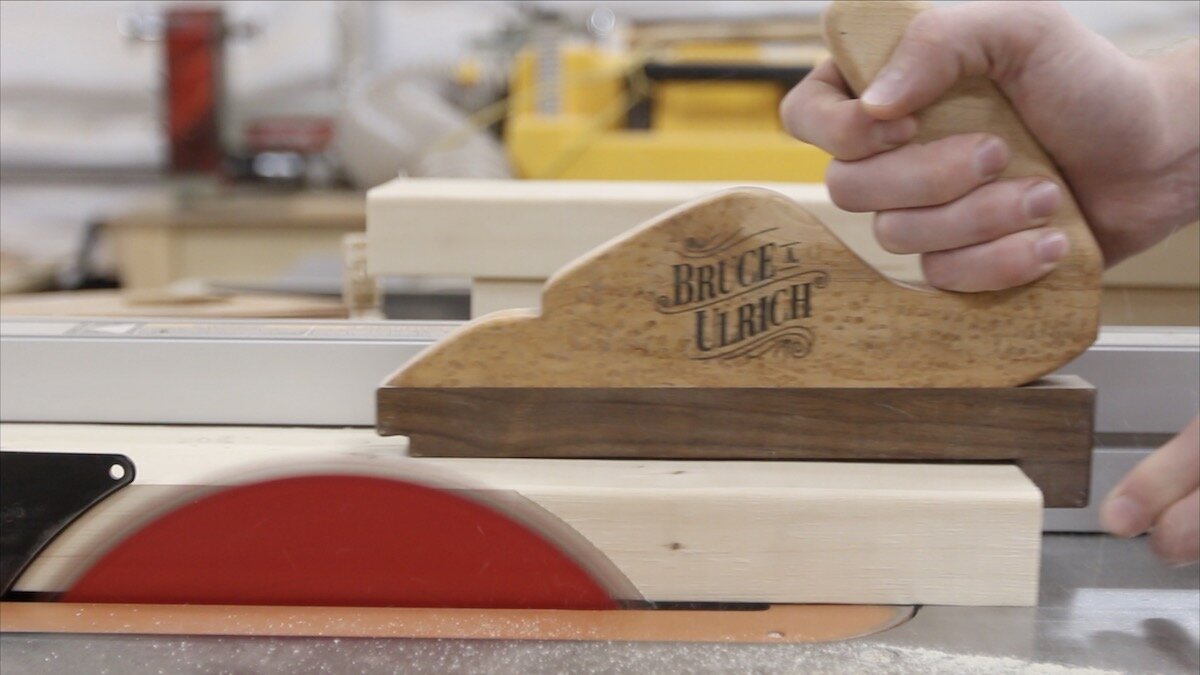
Once we got the plywood into more manageable pieces, we took them to the table saw to cut them to the finished dimensions.
TURNING THE DRAWER PULL:
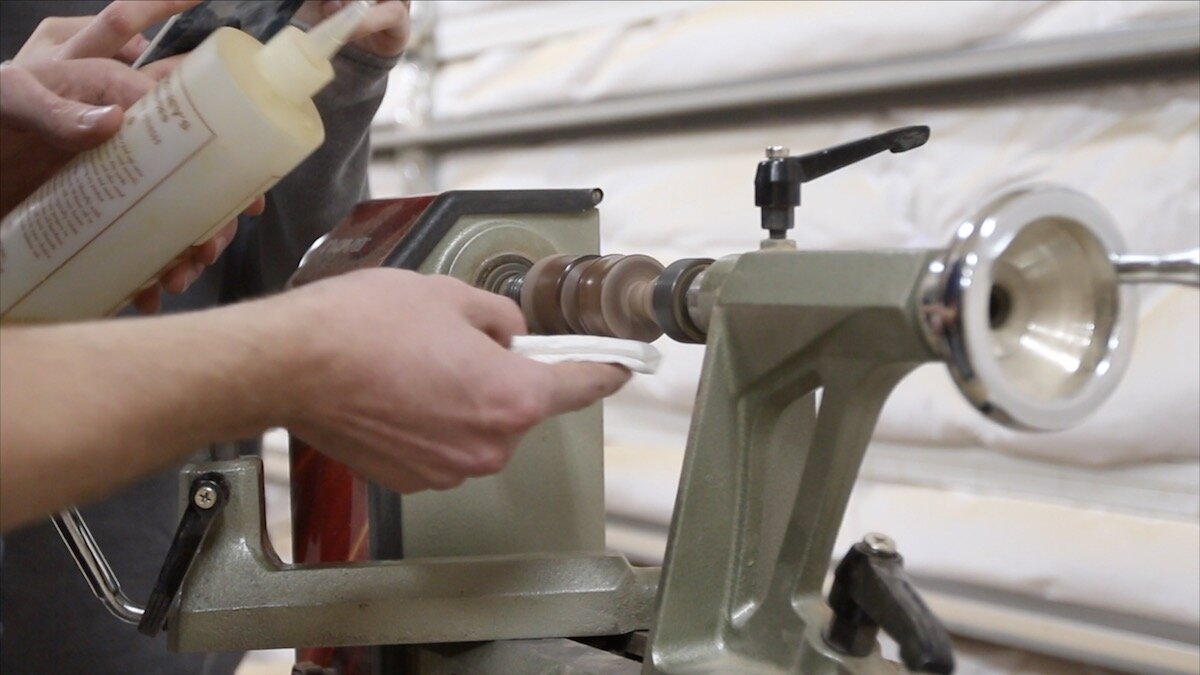
Once that milling was out of the way, we turned our attention to the knob for the drawer. Davis wanted to turn something on my lathe, so we found a piece of unnecessary walnut, chucked it in the lathe, and he started turning. I gave him free range for what style of knob he wanted to create, and he ended up making a drawer knob that looked like an actual, mini door knob. I think it's pretty cool!
We got a little distracted later that day because Jennie wanted to turn something on the lathe also. We found her another, longer piece of walnut, put it back on the lathe, and she started turning. She ended up turning a French rolling pin and I love how it turned out!
MAKING THE DRAWER FRONT:
I moved on to milling up a nice piece of white oak for the drawer front and then Jennie started breaking down the 2x4's for the structure of the flipping part of the cart. This is pretty much the only part of Drew’s plans that I altered. I wanted to use this piece of white oak that I had, and it was slightly less wide than what his plans called for, so I just adjusted the plans a bit. It ended up making it harder to get into the drawer section and secure that section to the sides, but I got it to work.
MILLING UP THE 2X4 STRUCTURE:
We ripped off the rounded edges of the 2x4 and then started laying out some of the cuts that needed to be made on the sides.
DRILLING HOLES FOR THE PIPE:
Next, we drilled out the holes for the pipe to go through, and then cut the side profiles with a combo of the jigsaw and the bandsaw.
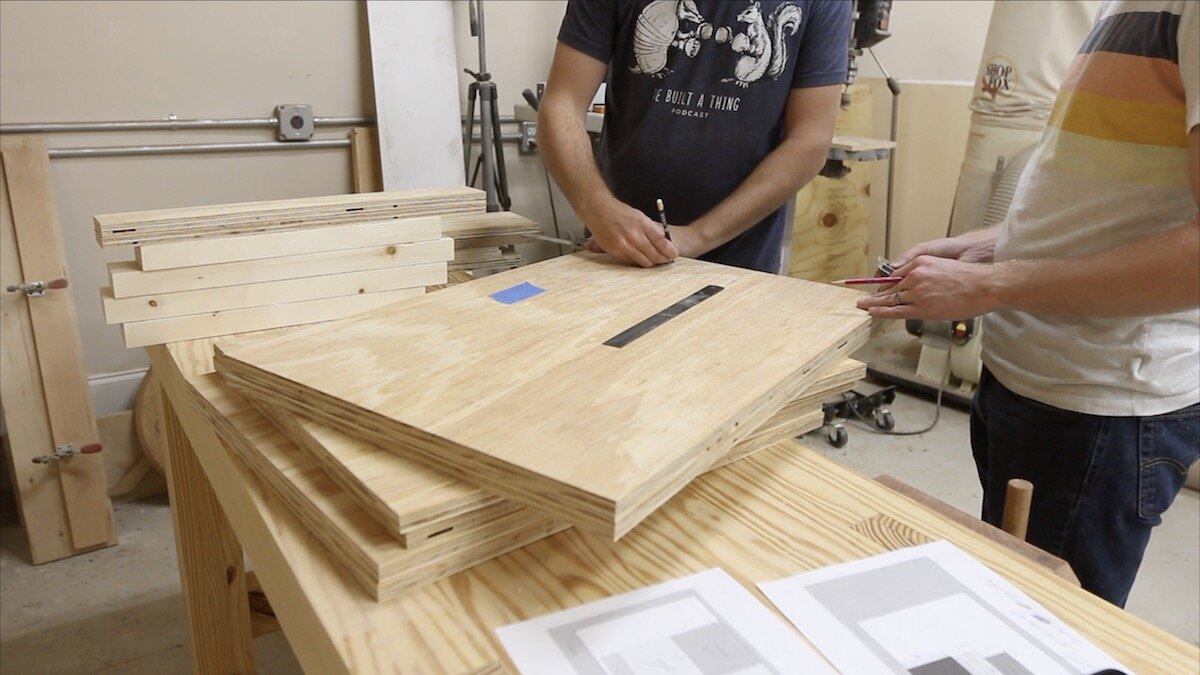
Drew’s plans have a series of cuts that need to be made on each of the side pieces, so it operates smoothly when being flipped. We referenced his PDF plans and marked out where those cuts needed to be made.
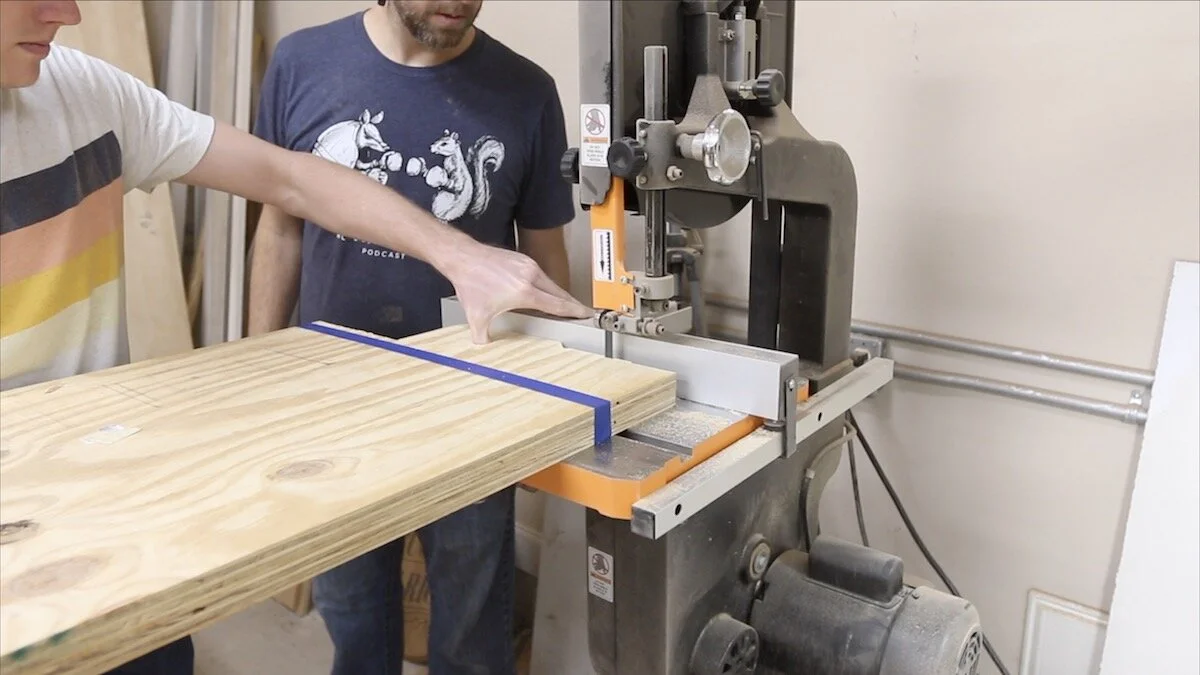
Then, we made all of the cuts with a jigsaw and finished up at the bandsaw. We had a little bit of sanding to do since the jigsaw left a little bit of a rough and uneven edge.
DRILLING POCKET HOLES:
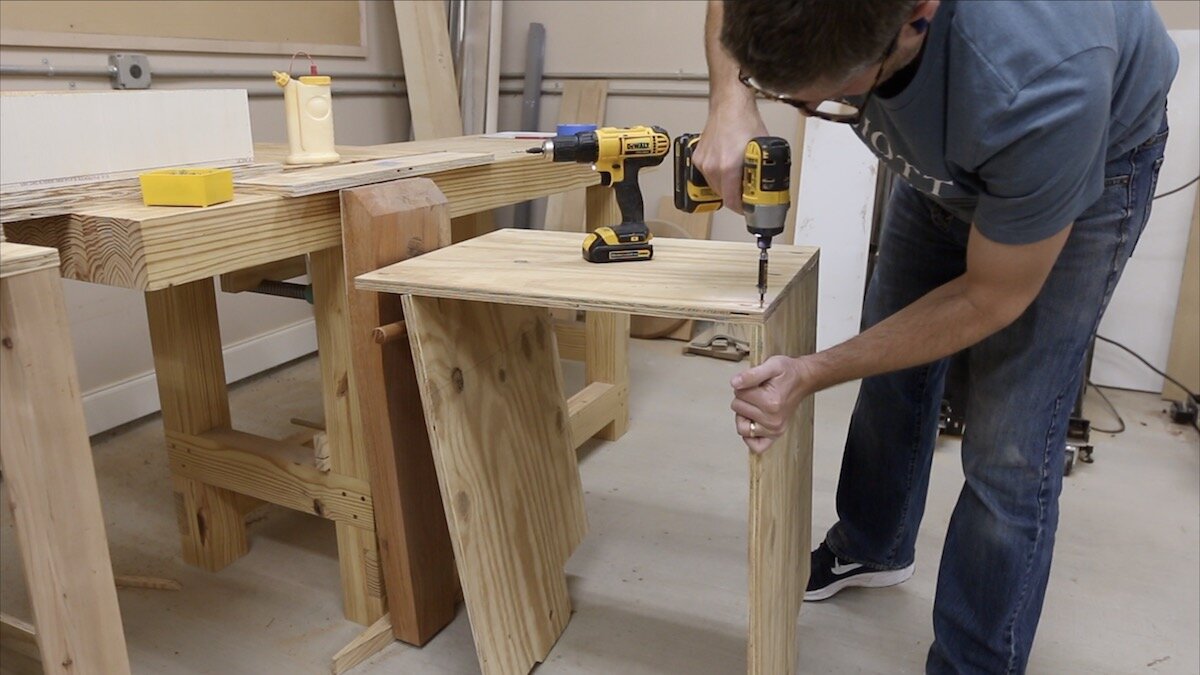
We needed to attach the sides to the bottom, and pocket holes were the easiest way. Then, I was pretty much on my own. We ran out of time to finish the project together, since Jennie and Davis has to get to their next destination.
ASSEMBLING THE DRAWER:
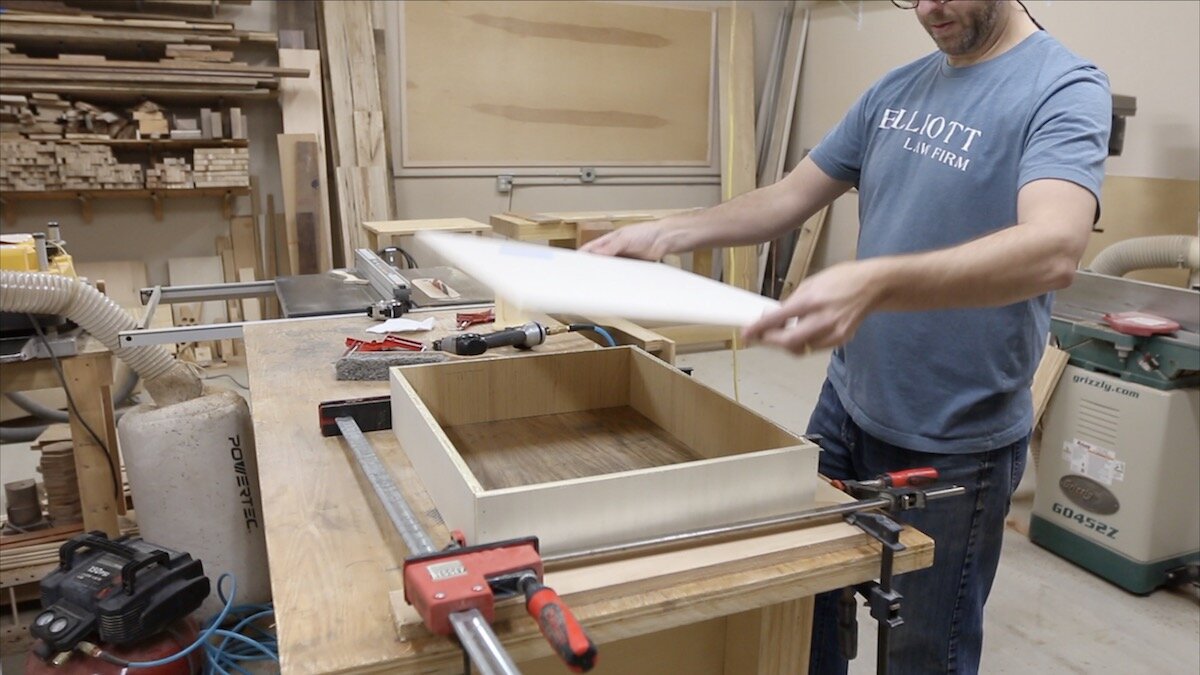
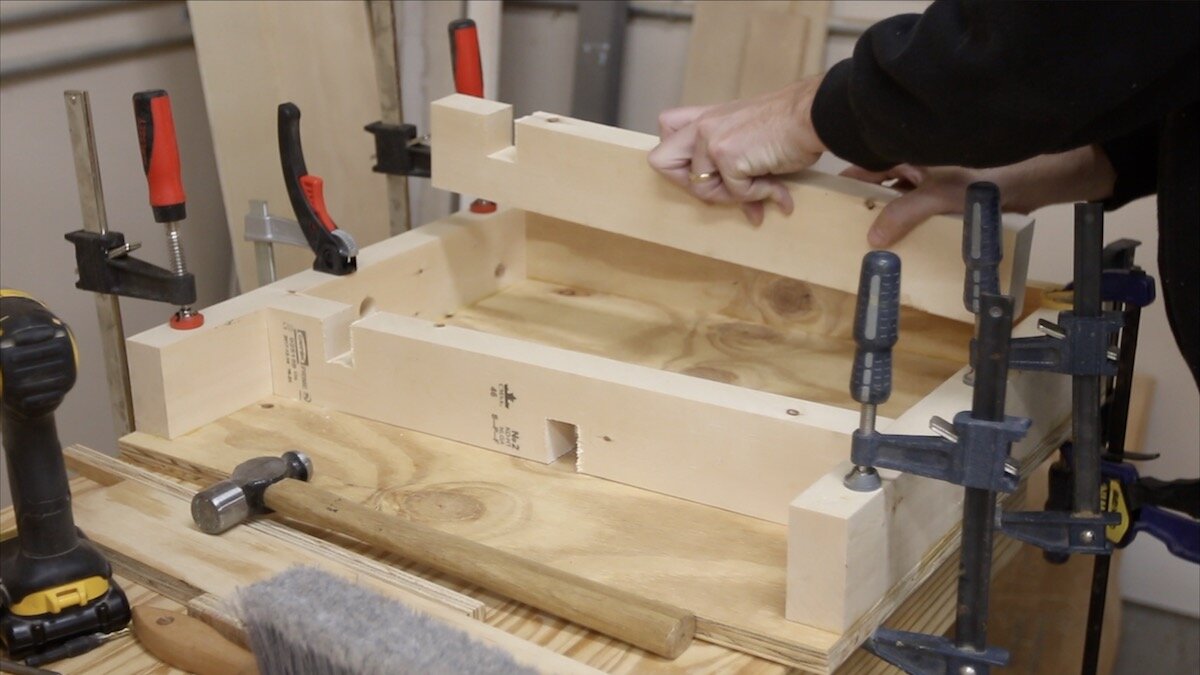
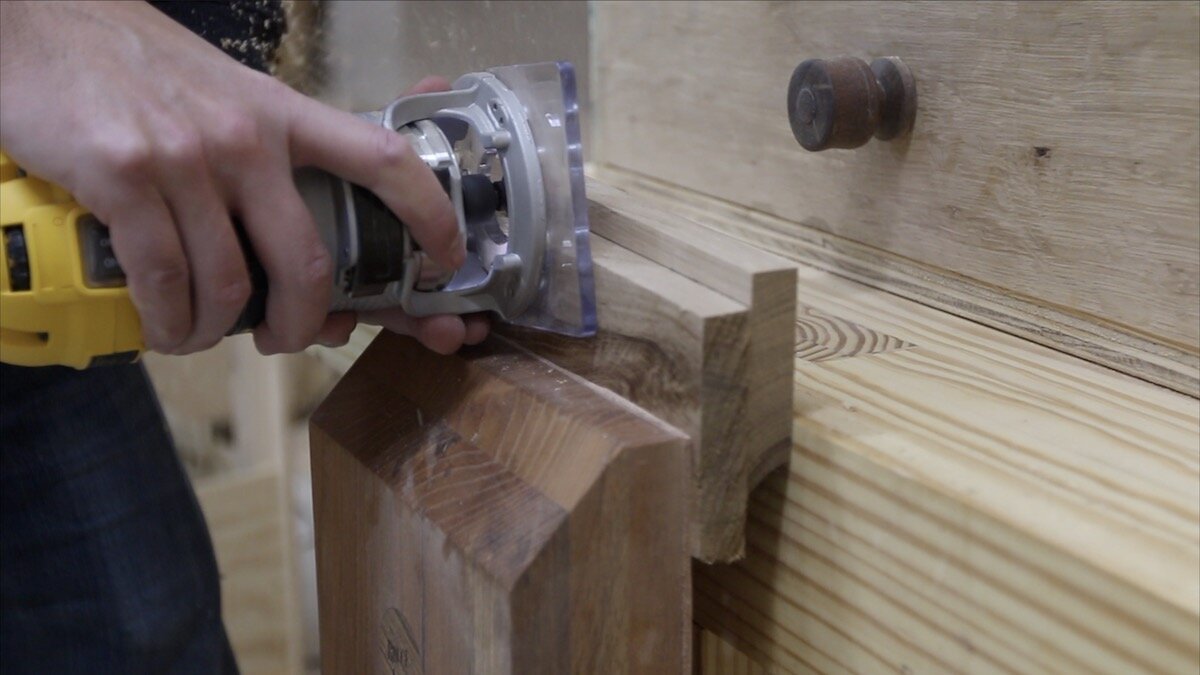
I assembled the drawer using glue and some brad nails. This drawer will not see very heavy use and this will be plenty strong enough for this application. I used a trim router with a flush trim bit to trim the plywood bottom to size. It ended up being slightly over-sized.
ASSEMBLE THE CASE:
Then, it was time to start working on the case.
I laid out the cuts that needed to be made in the top piece and handled that on the bandsaw. It sure was helpful to have these plans to reference on my phone while I was building.
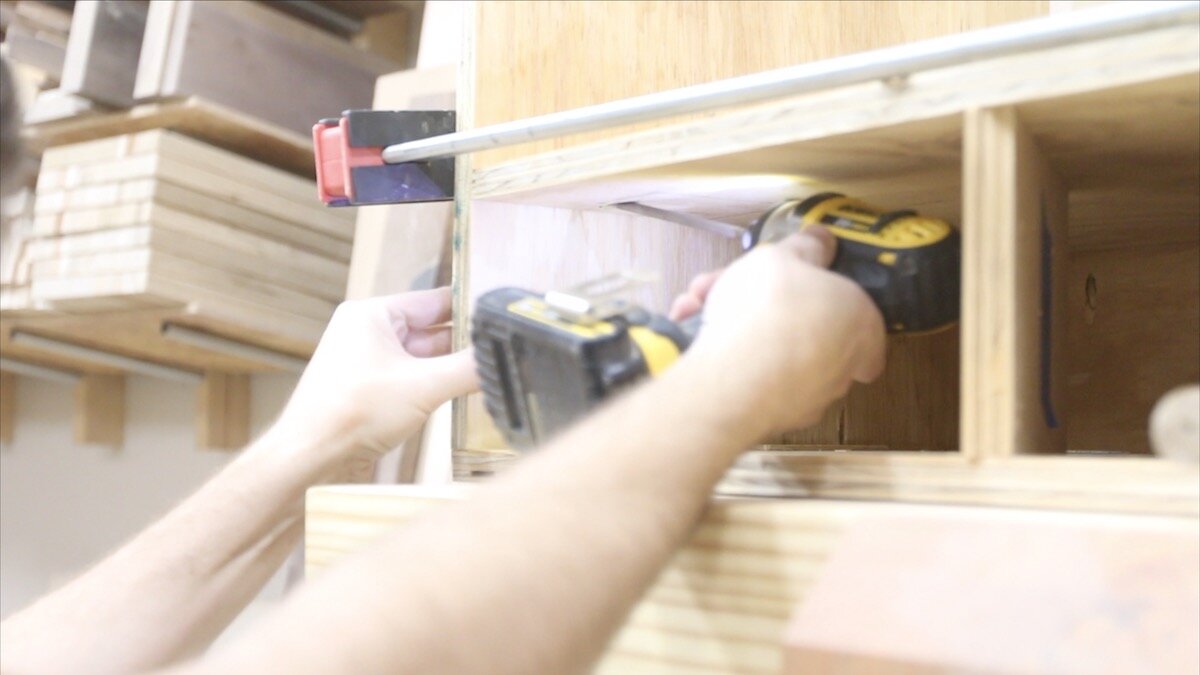
I added some more pocket holes for the drawer component and started assembling.
INSTALLING DRAWER SLIDES:
Now it was time to install the drawer slides.
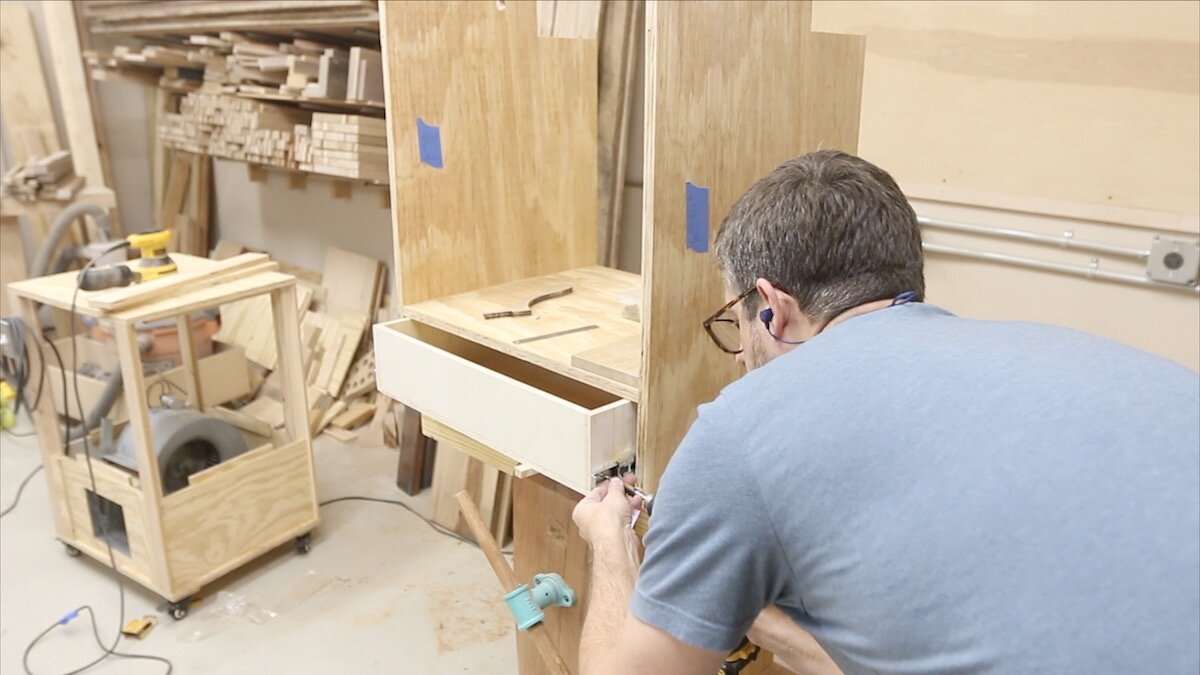
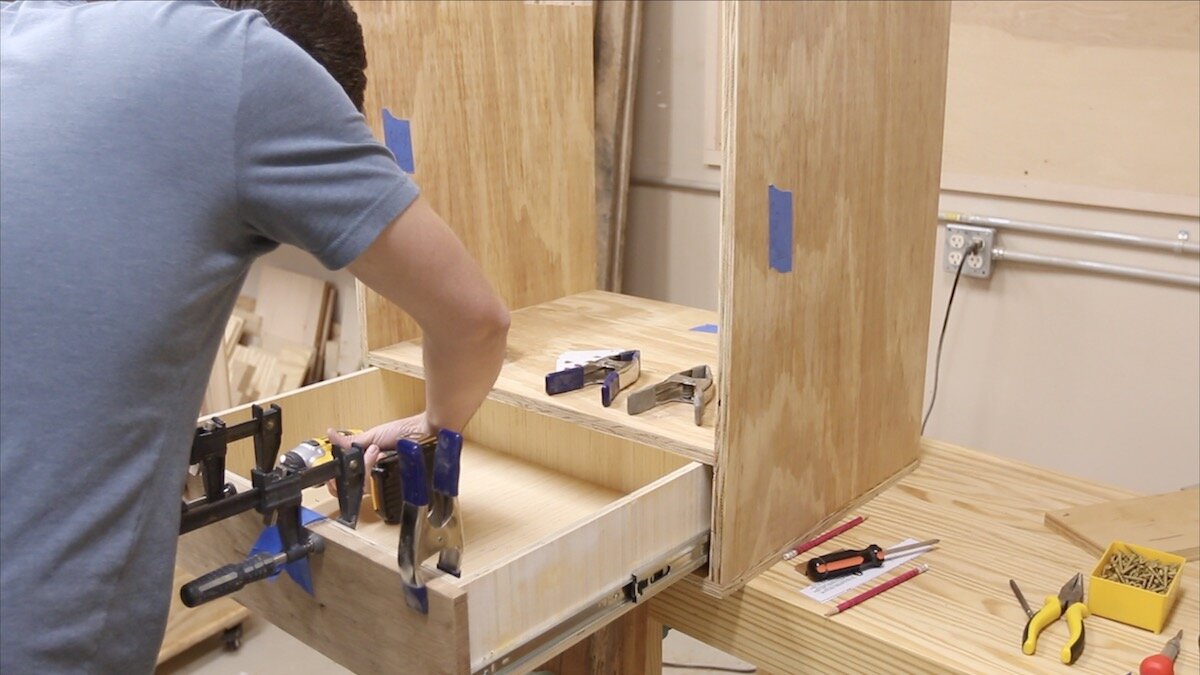
I used a half inch spacer to raise them up a bit, and then secured the drawer to the slides.
INSTALLING THE DRAWER FRONT AND PULL:
Before the final assembly of the drawer front, I sanded it and made sure the edges were not too sharp to the touch. Once I got the drawer front in the right spot, I attached it from the inside with a couple of screws.
Then, I pre drilled the hole in the knob that Davis turned and attached it to the front of the drawer.
ASSEMBLY OF THE FLIPPING PART:
I laid out where the pieces needed to go to make up the flipping part, and glued them to the bottom of the flip top.
I needed to cut some slots for wires in the 2x4's so I just took them to my cross cut sled on the table saw and did them both at the same time. Then, I glued them in and secured them with some screws.
MAKING A DRAWER PULL:
Next, I'm making a quick pull for the upper front that is removable to get to the surge protector. I'm doing a bit of an experiment with a bowl bit to cut a profile in the underside of the pull. This is really just a proof of concept for an upcoming build that I'll be using it on. I think it worked pretty well, but when I do it on the next project, I'll make sure the piece is a little thicker so it is easier to get my fingers behind there. I like the look of the rounded edge from the bowl bit though.
Off camera, I trimmed the pull to its final size.
CUTTING THE IRON PIPE:
Next I needed to cut the iron pipe in half. Drew's plan's call for two lengths of pipe, but it was cheaper to just buy one with a threaded part on both ends. Well, I needed to cut them to final size later, so I figured it was not a big deal to just cut this one in half to start with.
ADDING CASTERS:
I added some double locking casters to the bottom and took it for a quick spin.
FINAL ASSEMBLY:
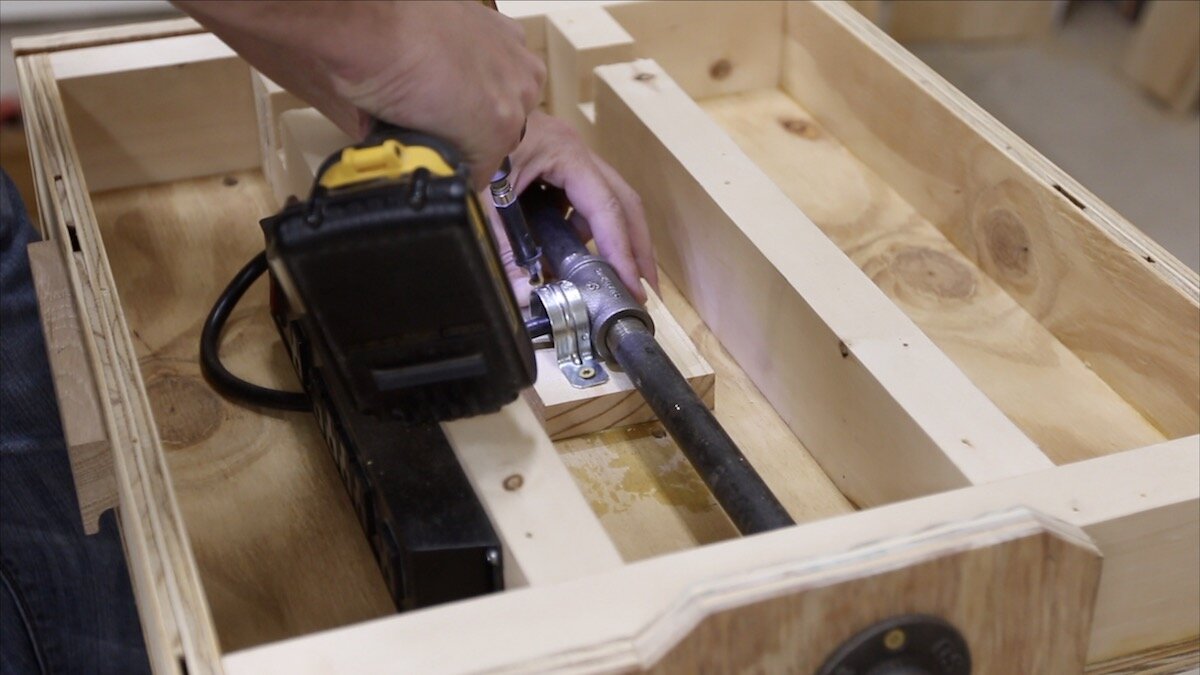
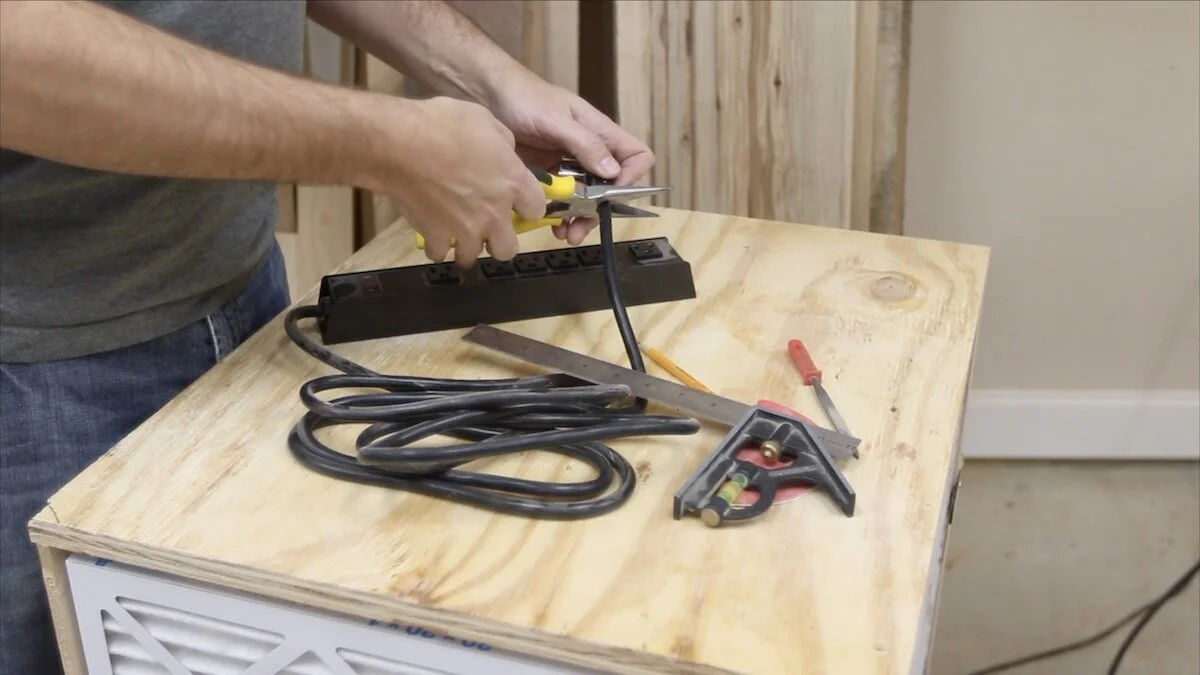
Now, it was time to start some of the final assembly. I added the pipes to the sides so they would suspend the platform. I cut off the plug from a surge protector so I could run the wire through a T connector and then out one of the pipes on the side.
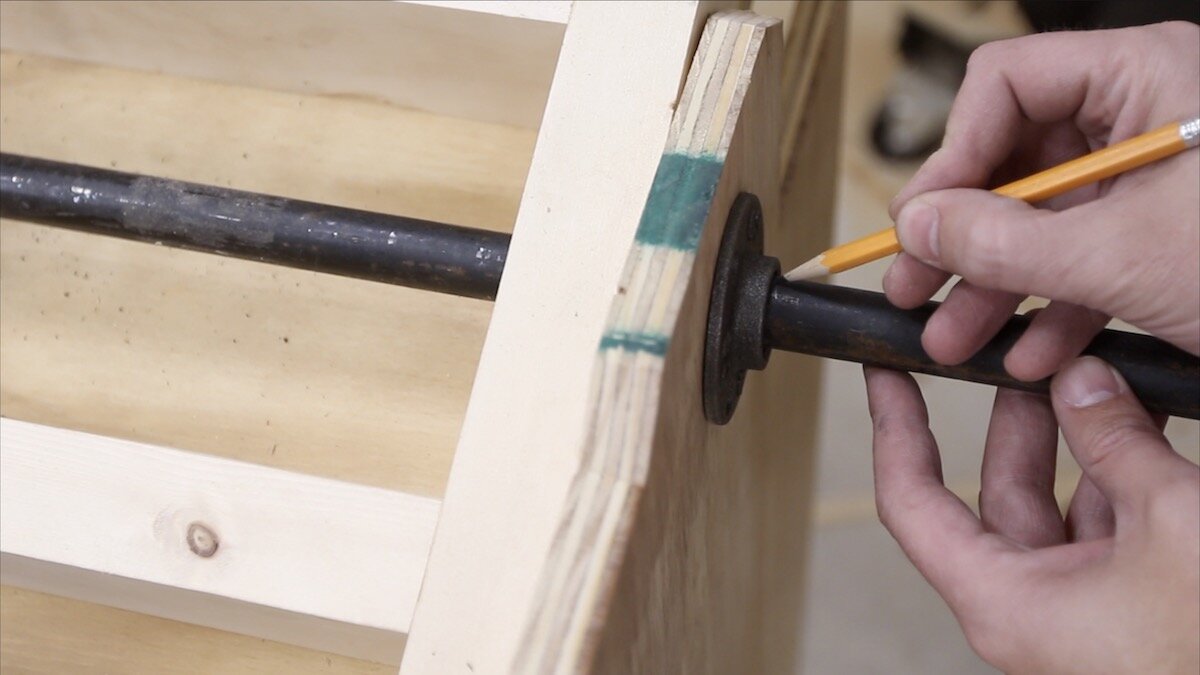
I added some floor flanges to help stabilize the pipes and marked the final size that needed to be cut off. Be sure to remove the burr on the inside of the pipe so it doesn't grab you or the wire.
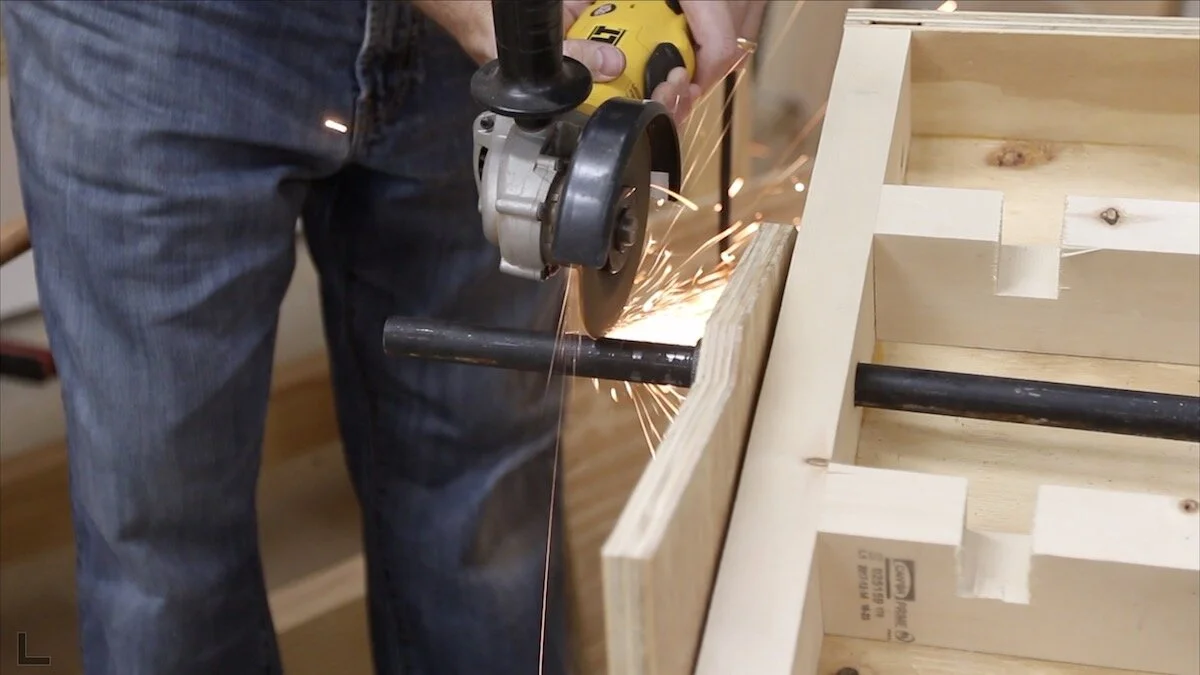
The shortest screws that would work to secure the flanges were too long and poked through just a little bit. Not a problem. I just took the cutoff wheel and nipped them right off!
After I put it all back together and got both pipes threaded into the T connector, I secured the T connected to a support block with one of these tie down straps.
WIRING A NEW PLUG:
Now, it was time to wire another plug onto the wire. I picked up one from the store and not being very familiar with how to wire it, I watched Drew's video again and did some more research. Then, I discovered that the way it needed to be wired was printed right inside the plug.
The black wire goes to the black screw.
And the white wire goes to the silver screw. And the green ground wire connects to the green screw.
If you don't feel comfortable doing this, don't.
ADDING TOOLS AND FINAL STEPS:
I secured top of the flip top so I could get the latches attached.
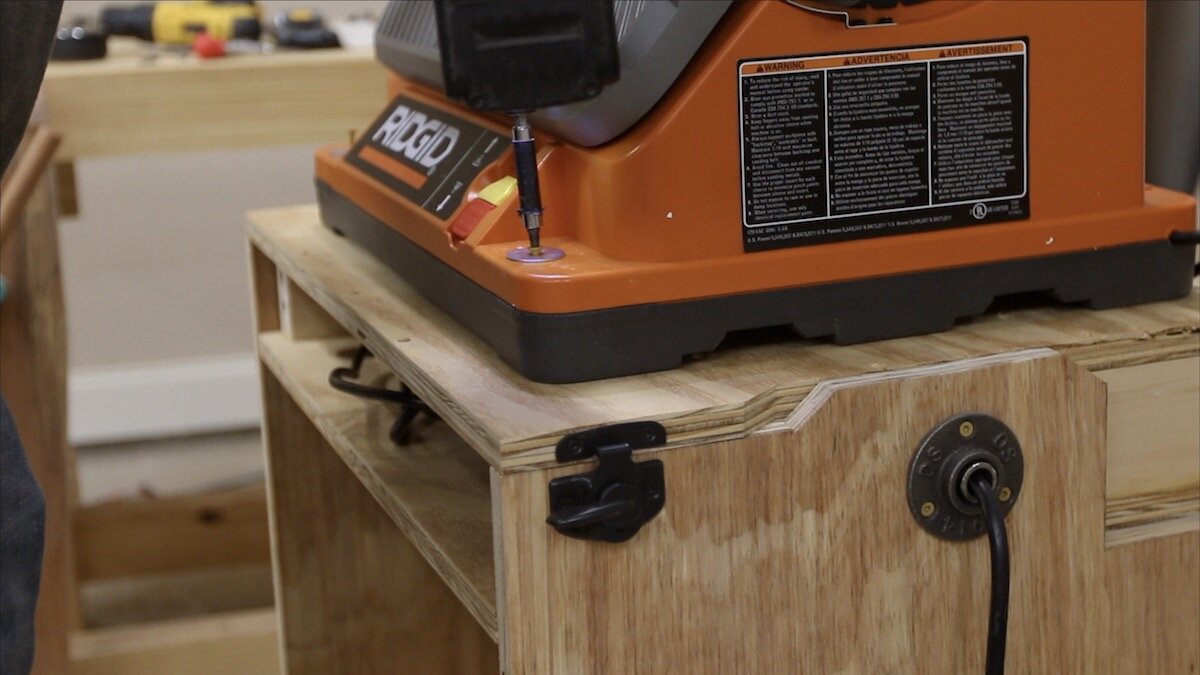
Then, it was time to mark out for the tool that will live on the bottom. I'm putting my slow speed grinder on that side. I just drilled some holes and attached it using some bolts and washers.
On the top side, I'm putting this new oscillating belt sander. This is going to be a big help in the shop for me and I'm looking to putting it to work. I drilled out a couple of holes, one on each side, so the cords from each tool could go into the center and be captured. Then, I would not have wires in the way all of the time. After I got both machines plugged in and secured, I reattached the top.
Oh, and I thought I'd add a Diresta style tag to the side of it.
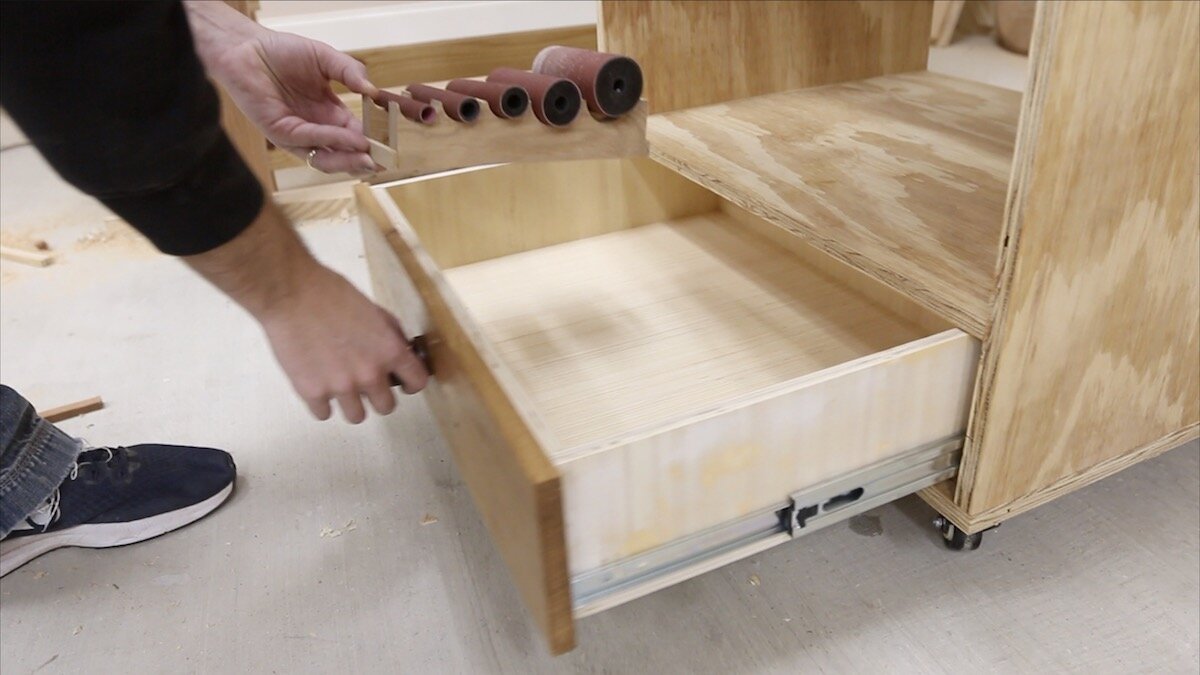
I oiled the hardwood drawer face and pulls, added the extra parts to the drawer with a few quick holders I made, and then tested everything out again. This project was done!
CONCLUSION:
I’ve already found this flip top tool cart to be very handy in my shop. I’m liking the new sander and I’ve already gone over to it multiple times recently to use it.
Thanks so much for following along with this project! Take a look at a few more of the finished photos below, and I’ll be back very soon with another post!


