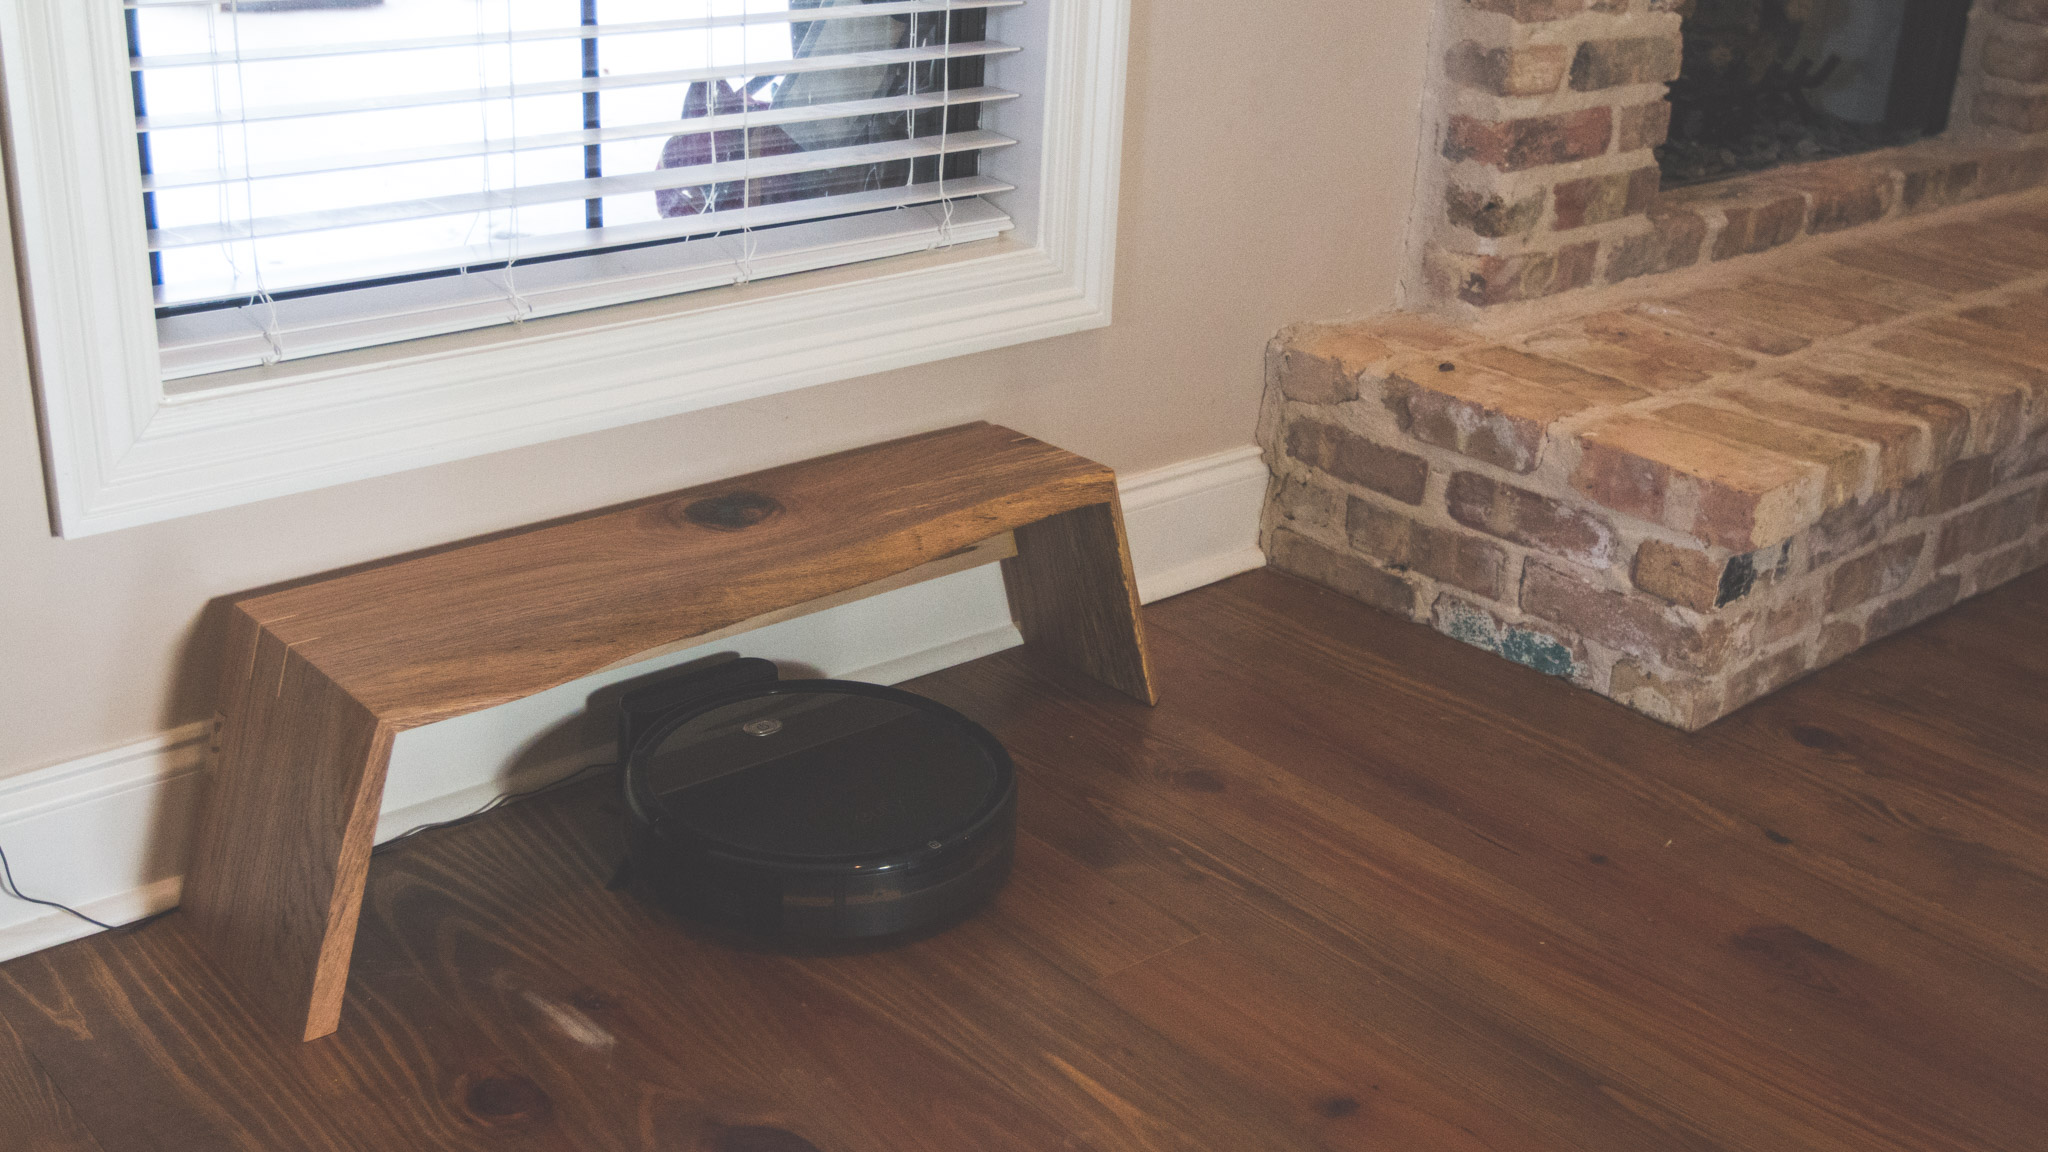
Modern Live Edge House for a Robovac
VIDEO
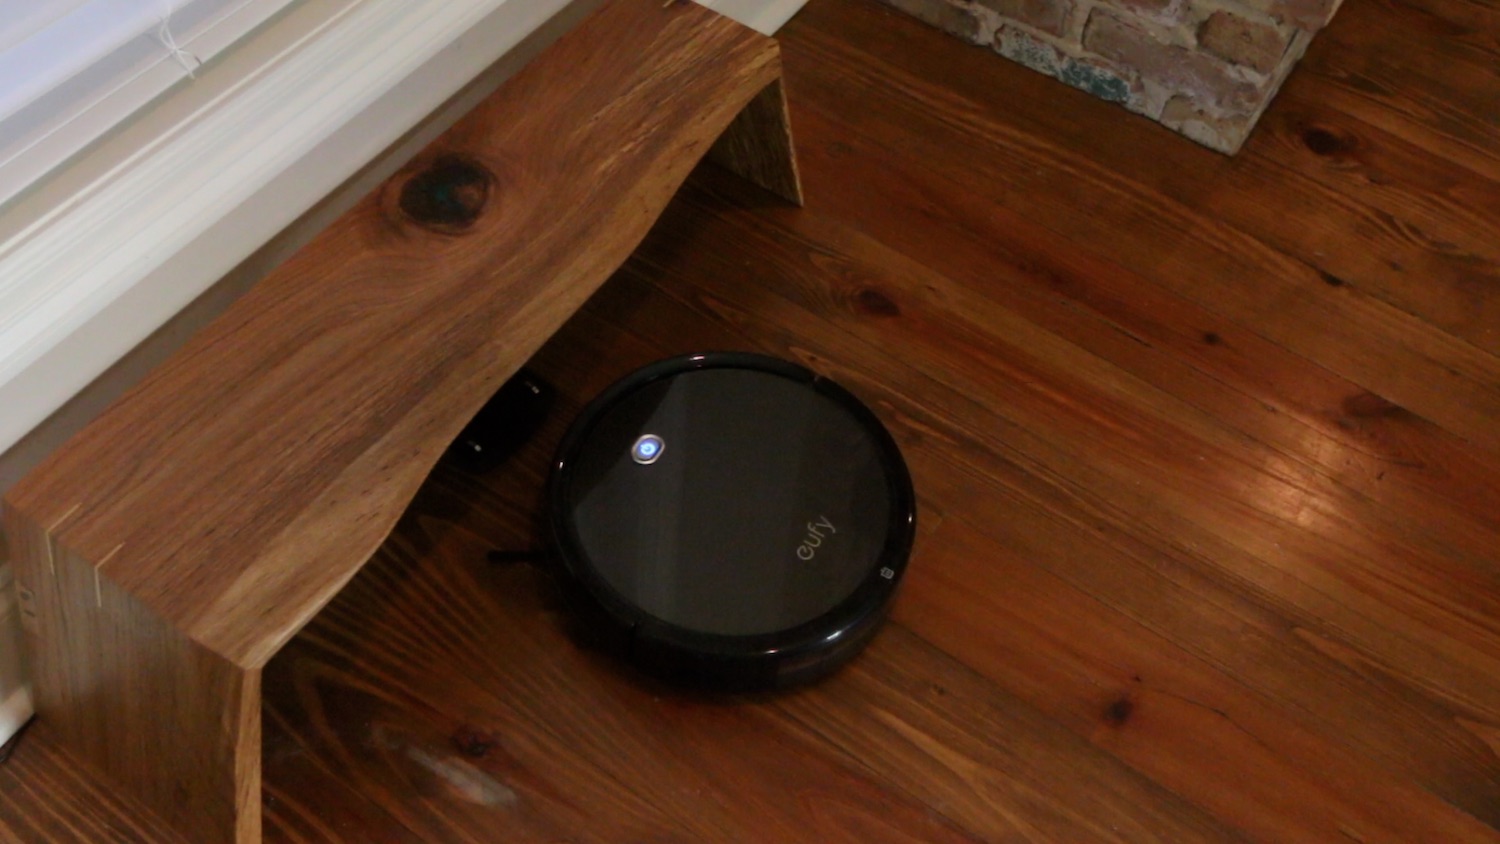
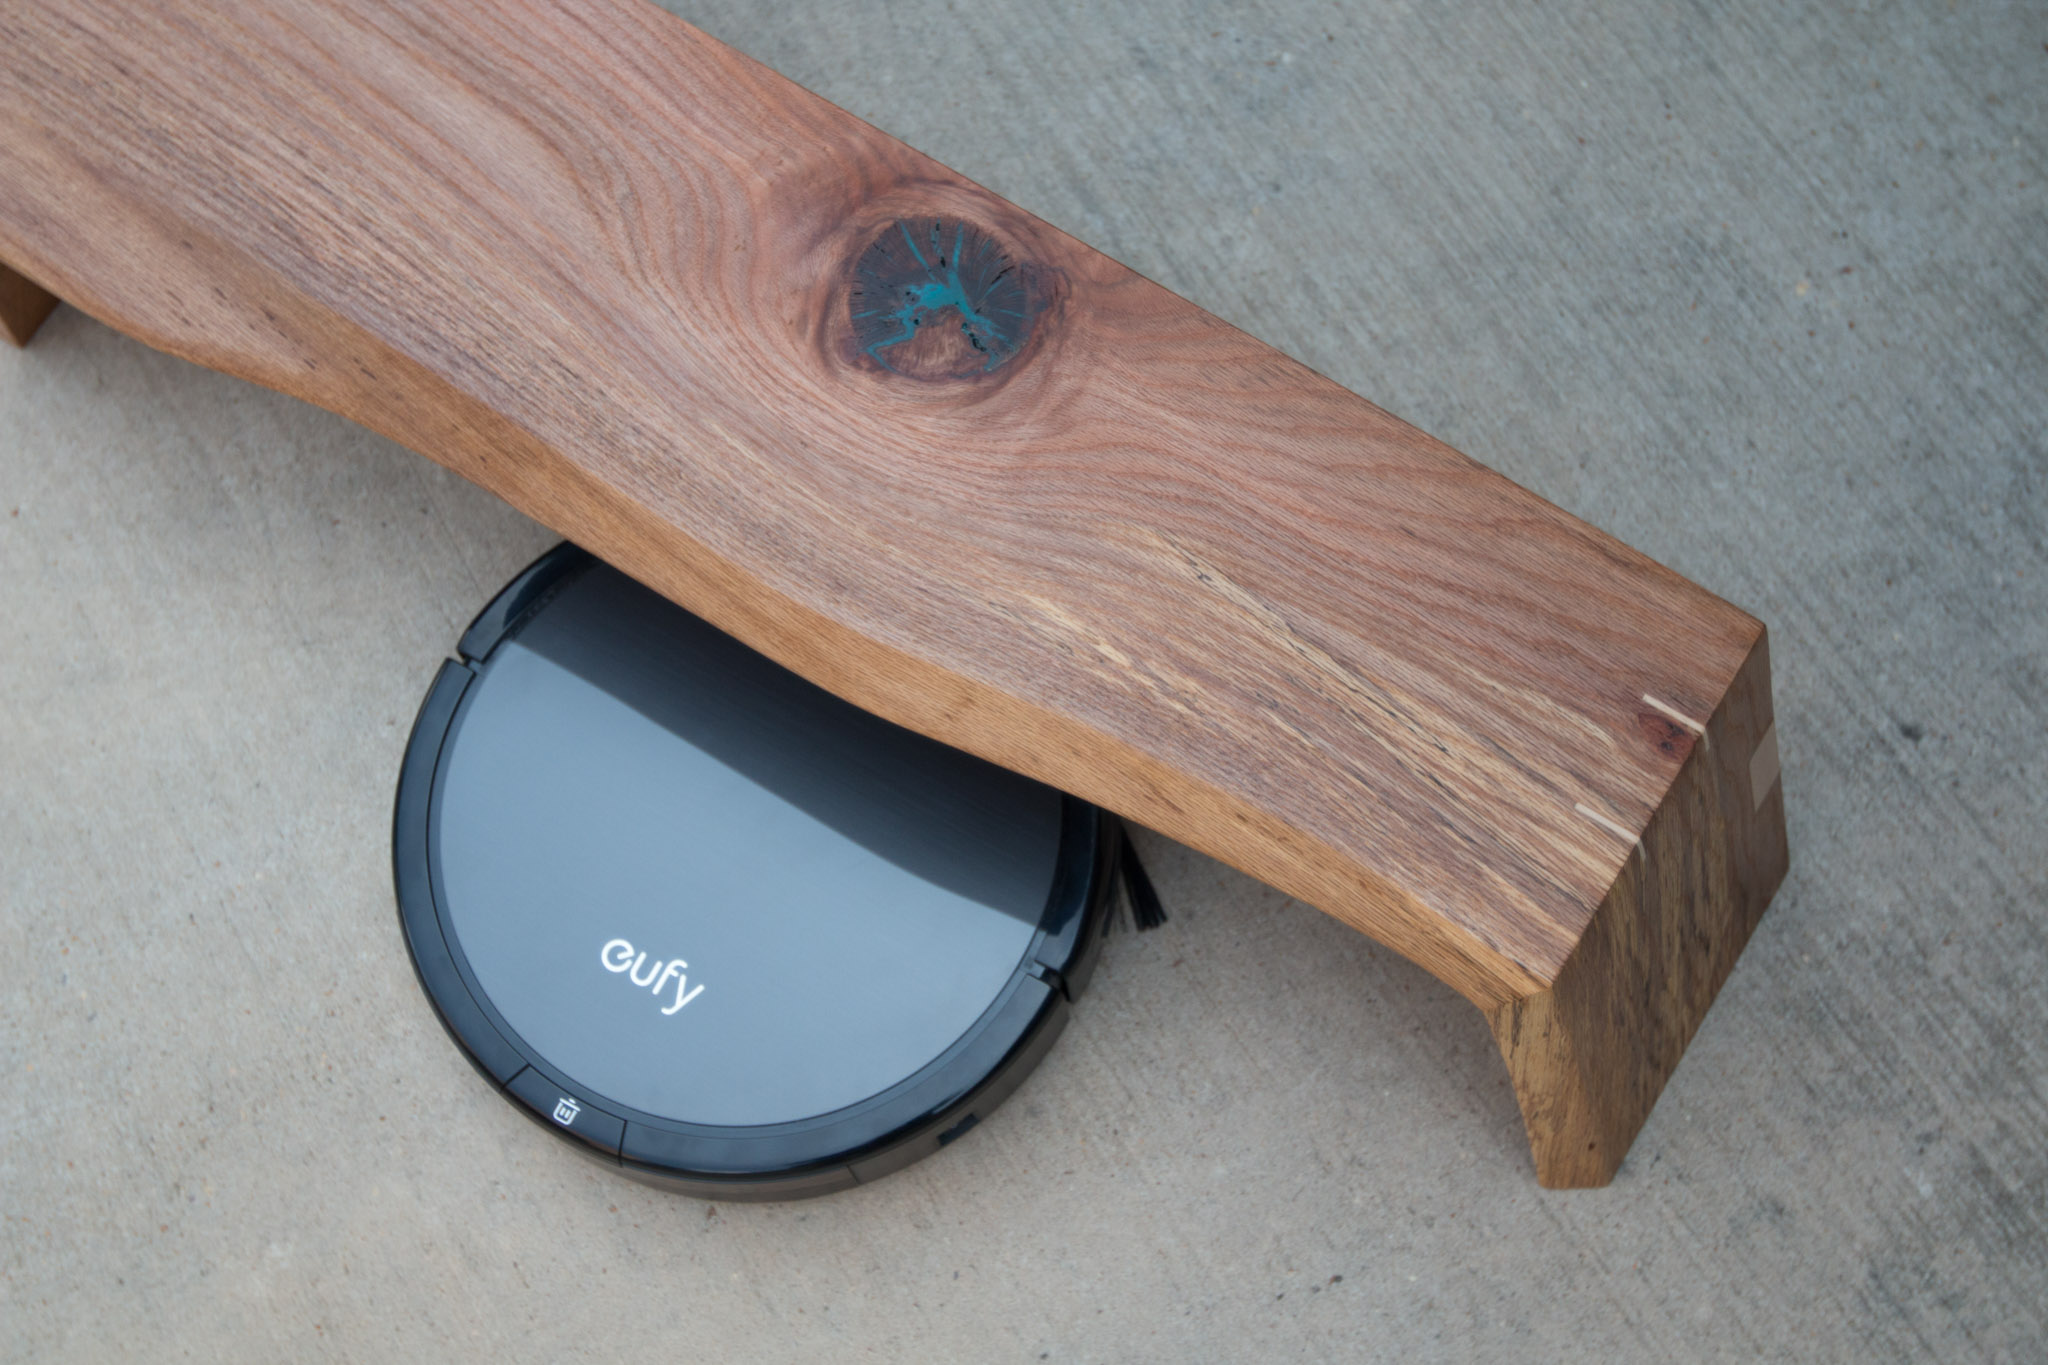
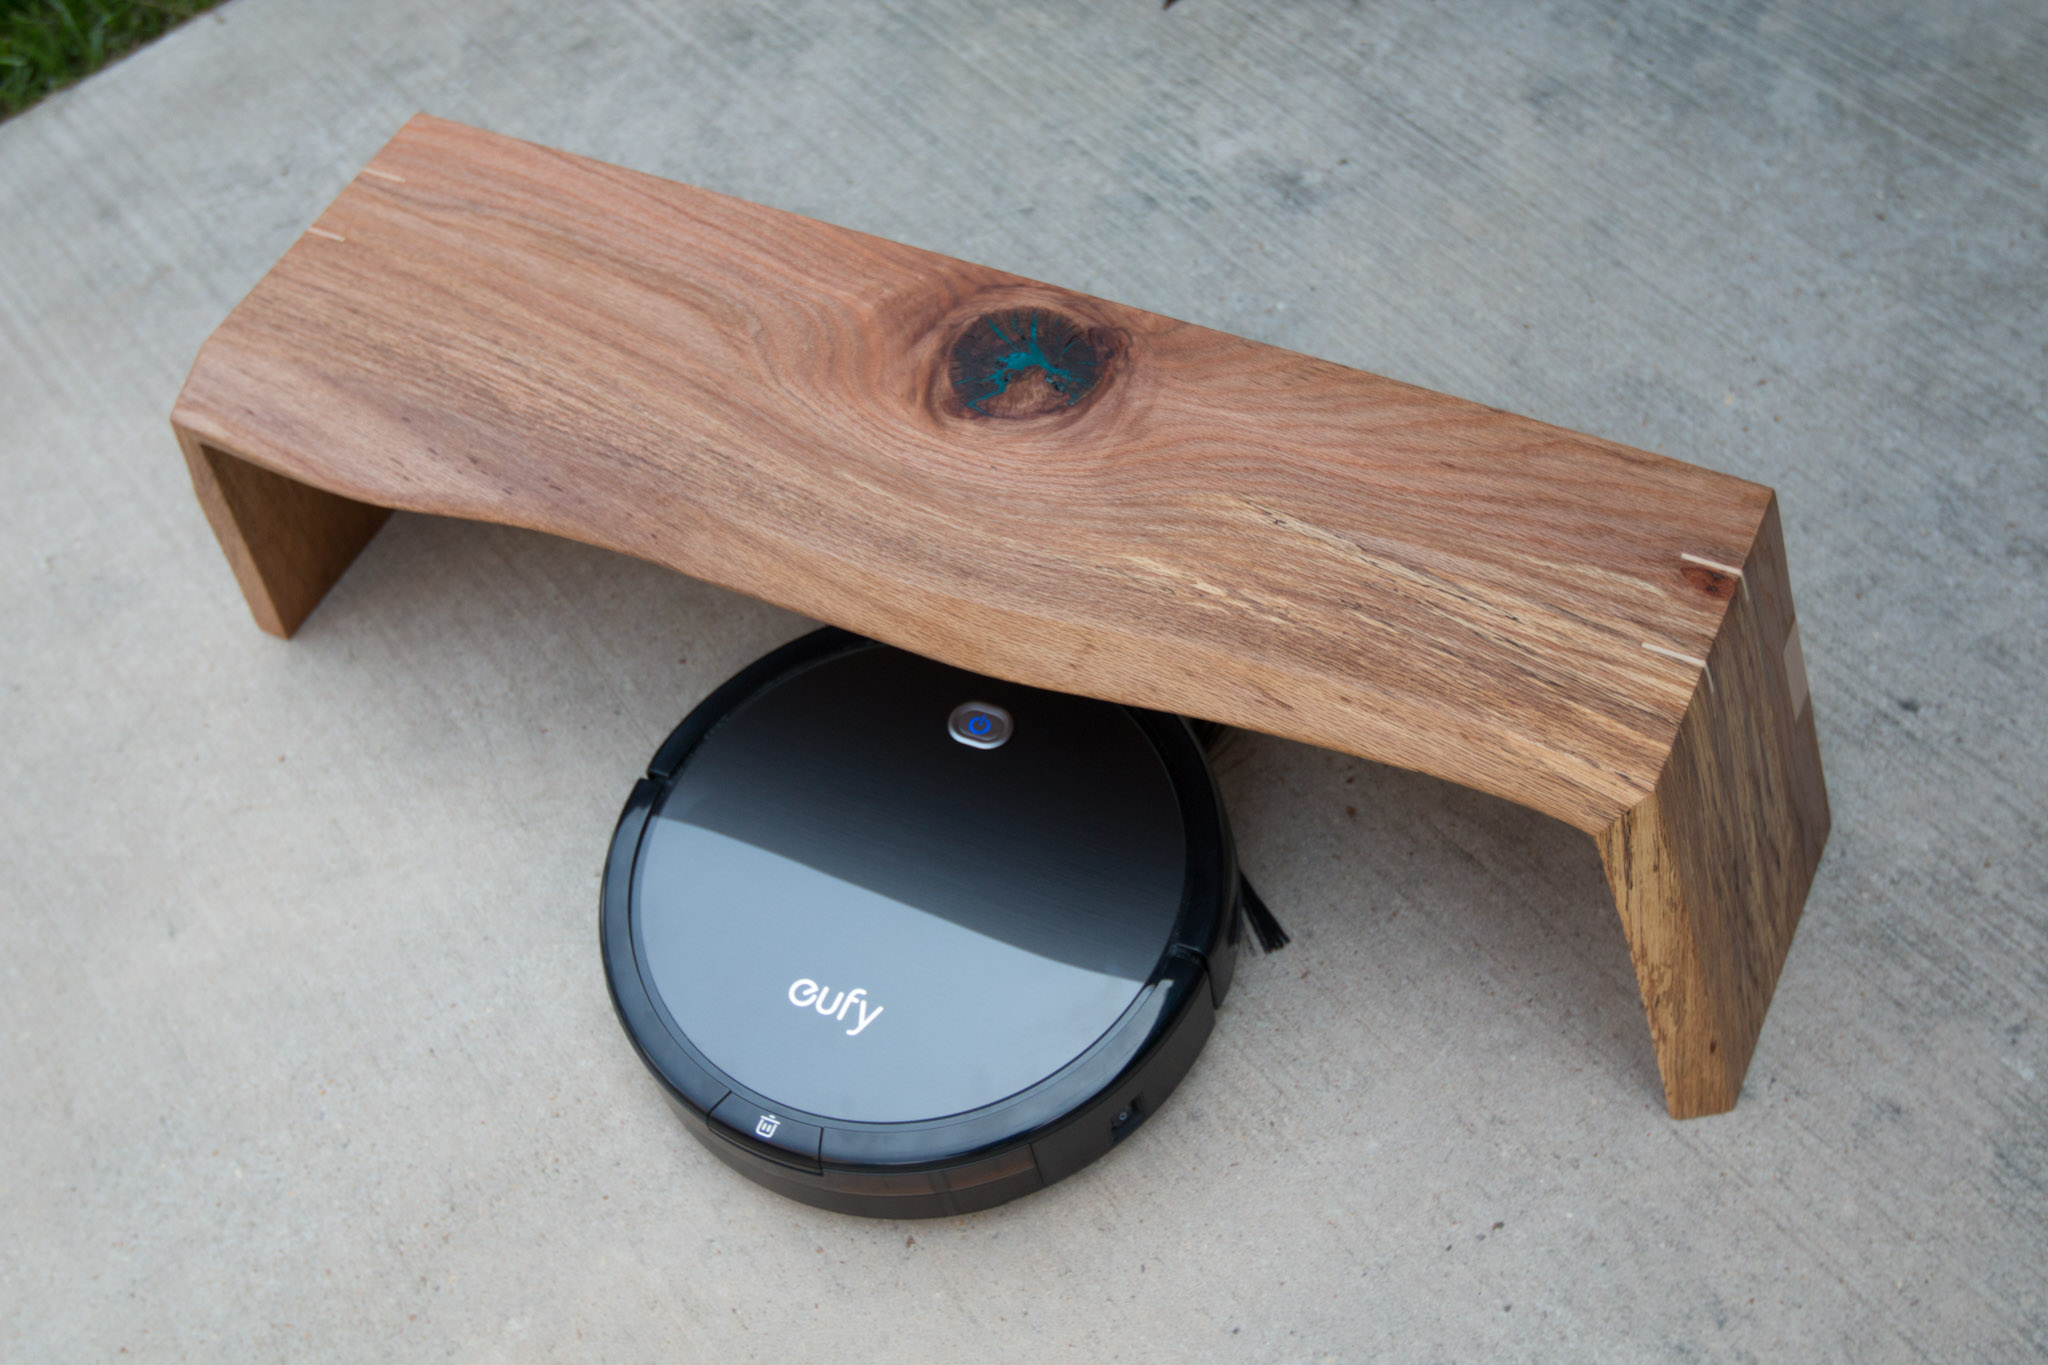
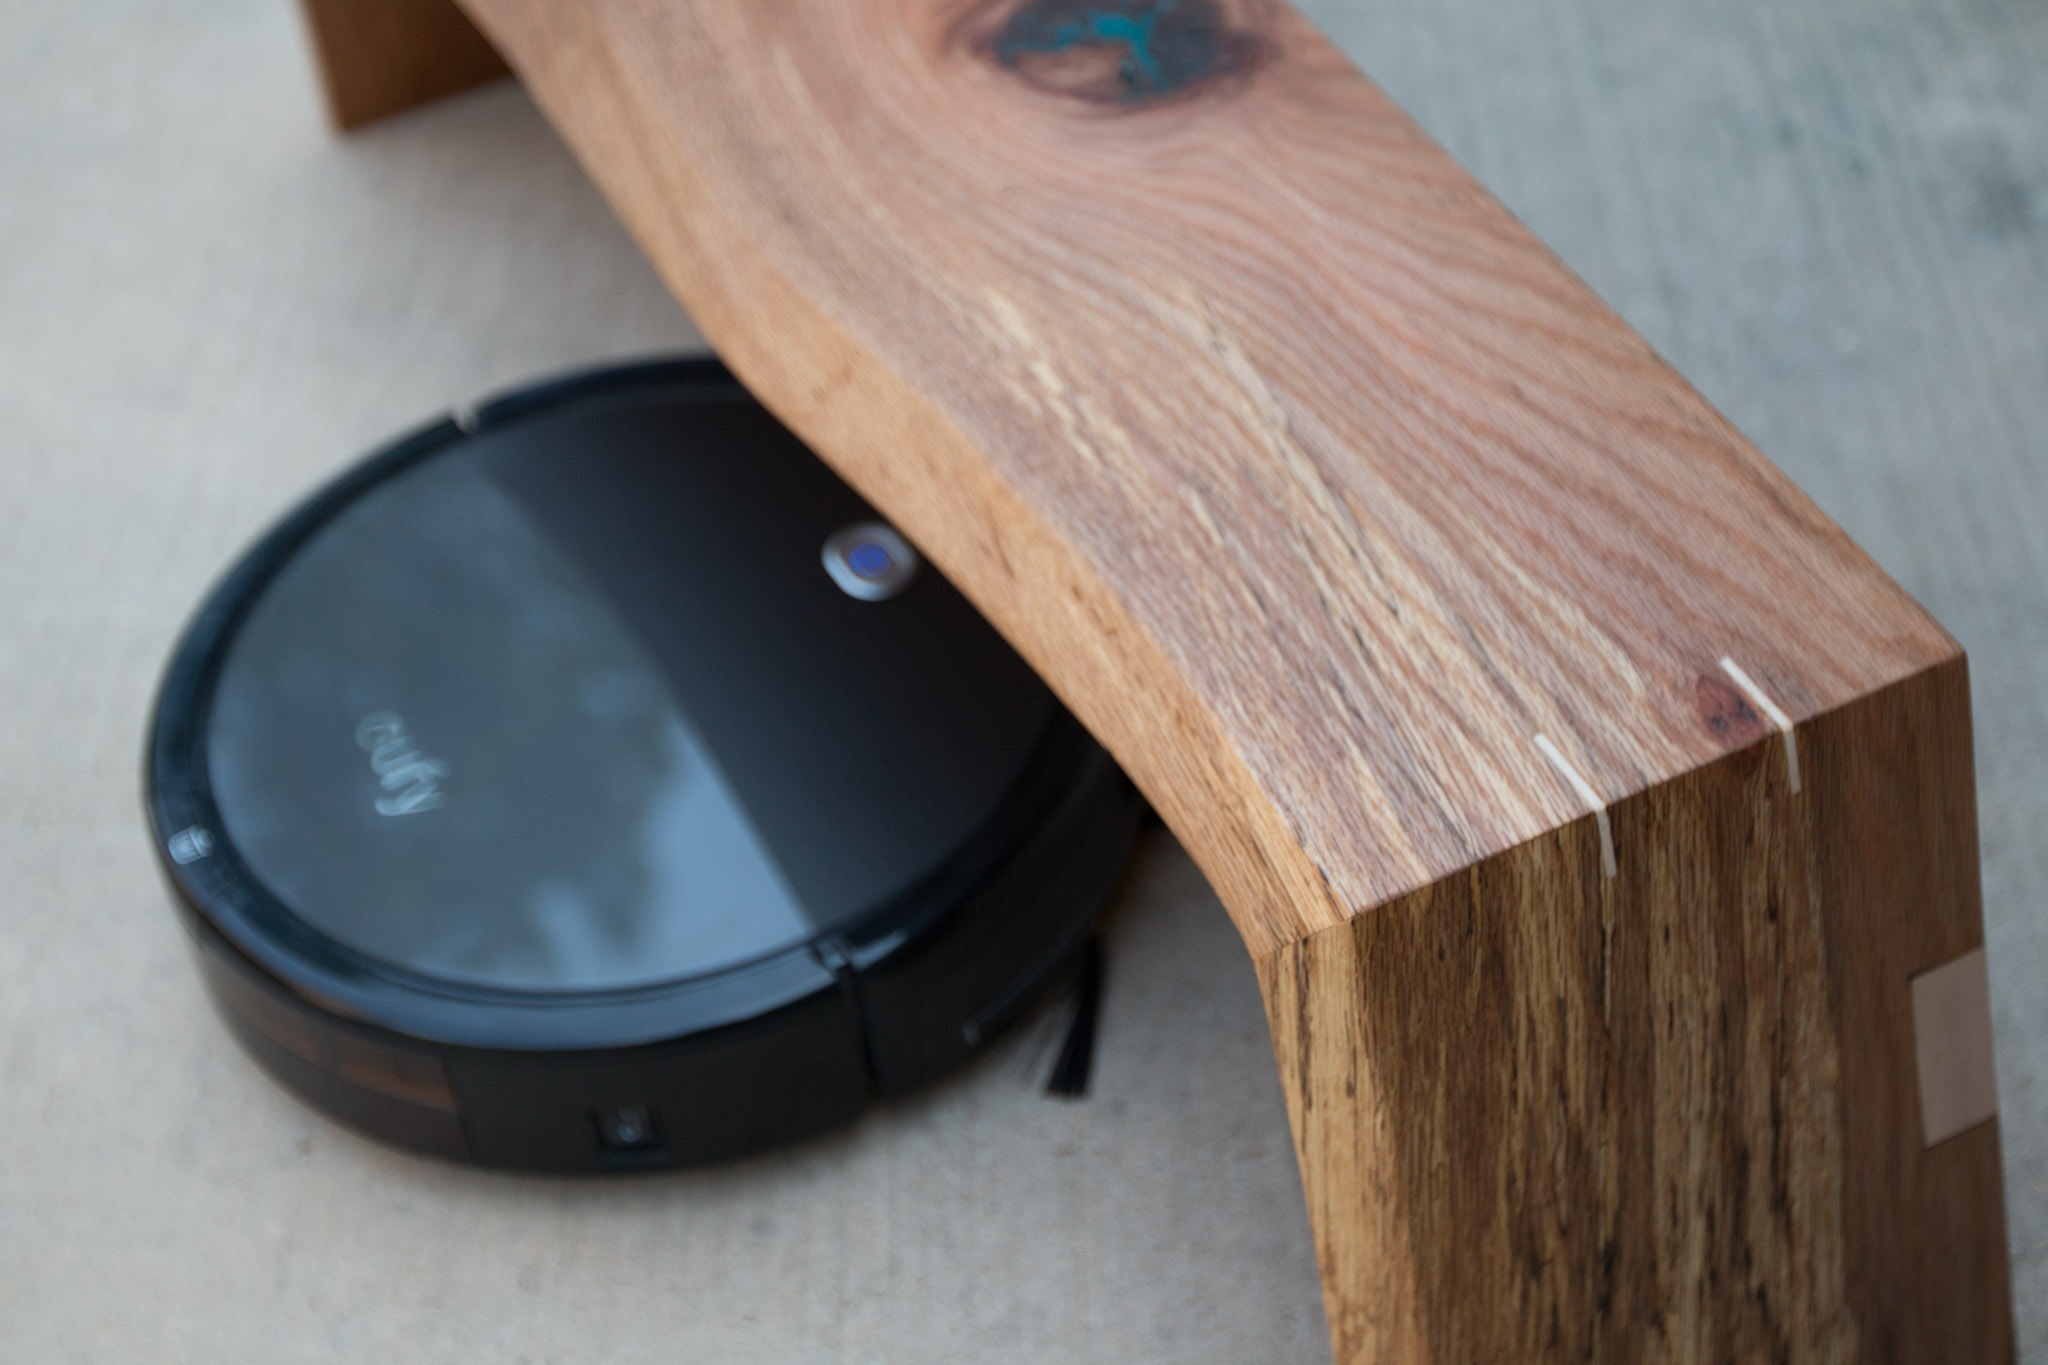
I built a modern, live edge house for our EUFY robovac recently. I mean, we couldn't just let him have his charger alone on a wall, could we? Is that any way to treat a member of the family? Take a look at the video of how I made it here:
BACKGROUND
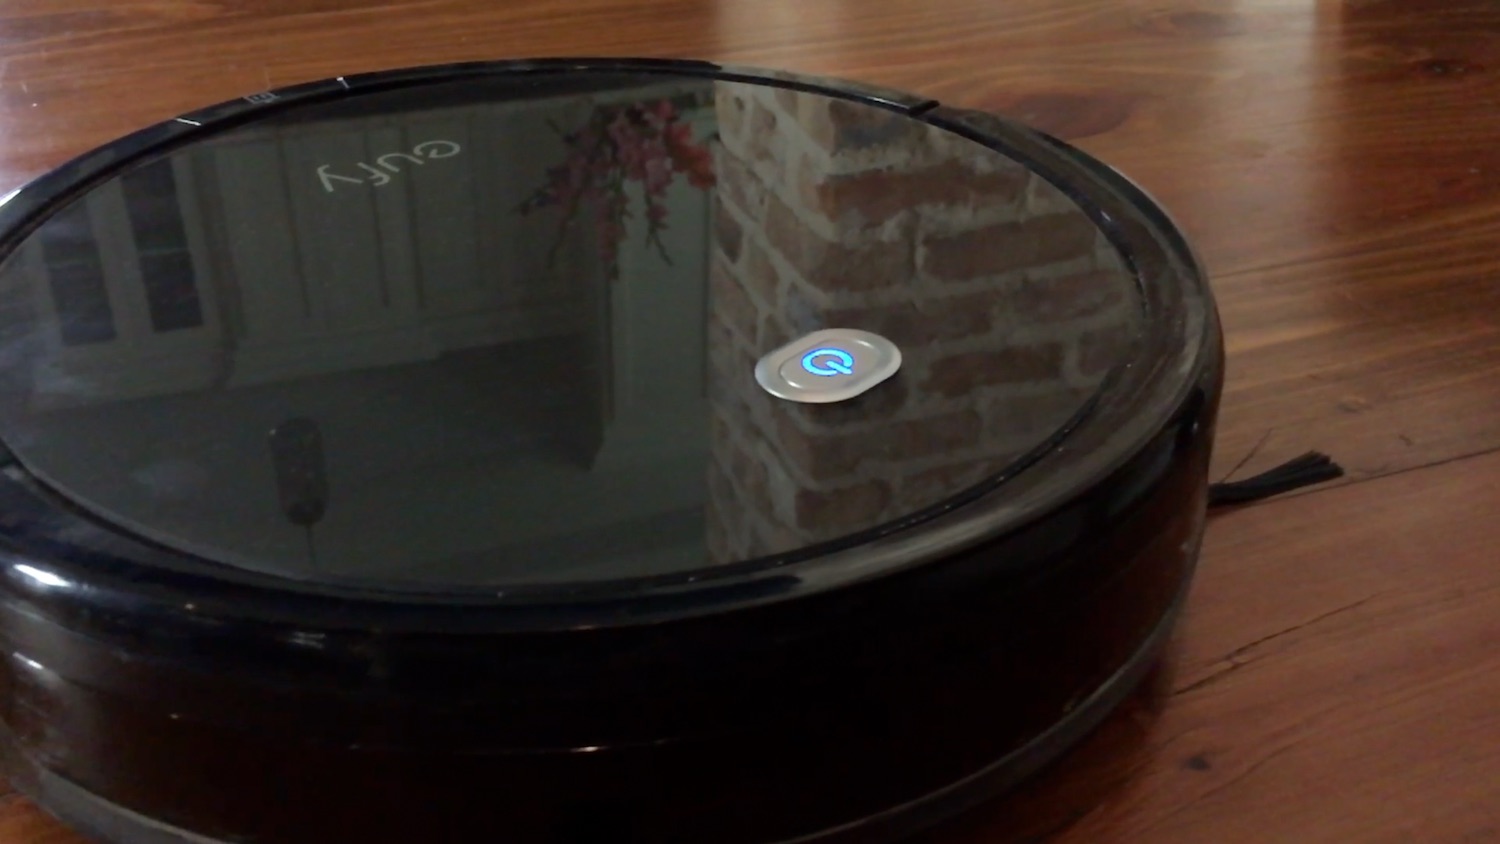
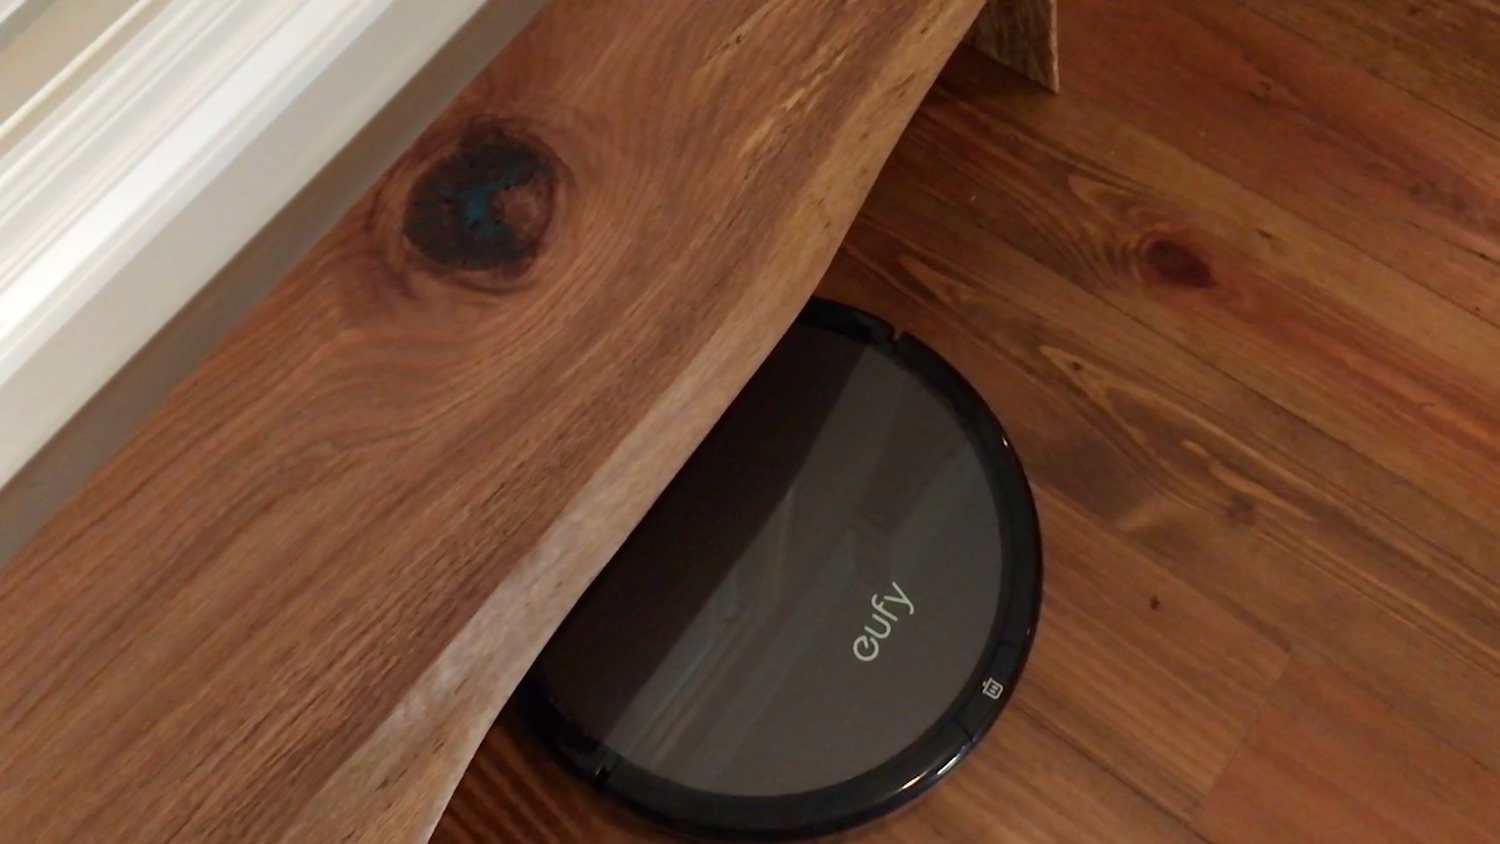
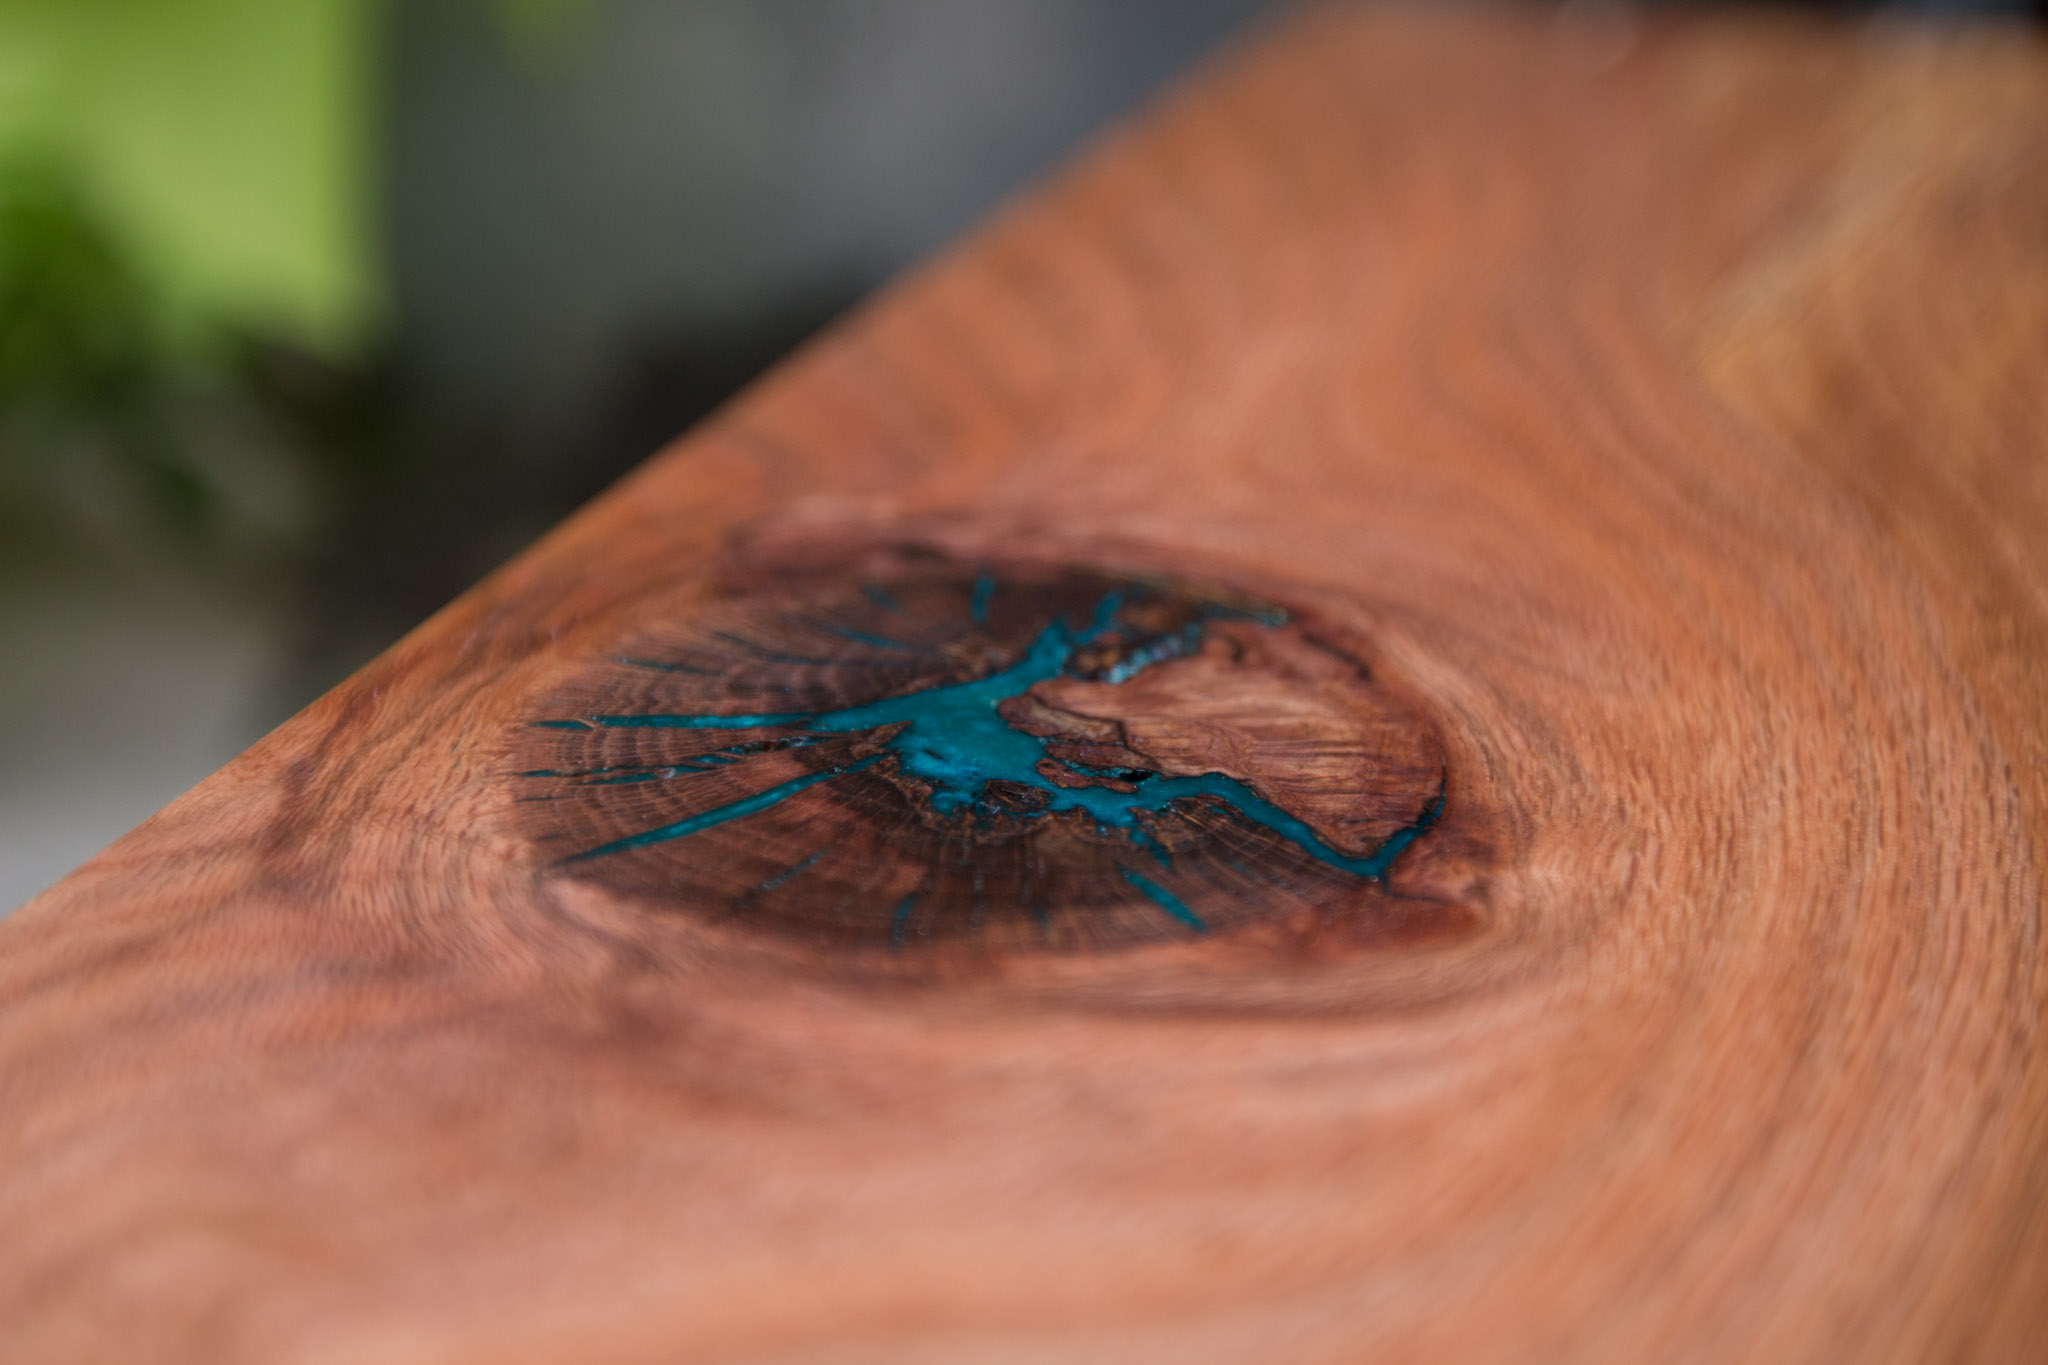
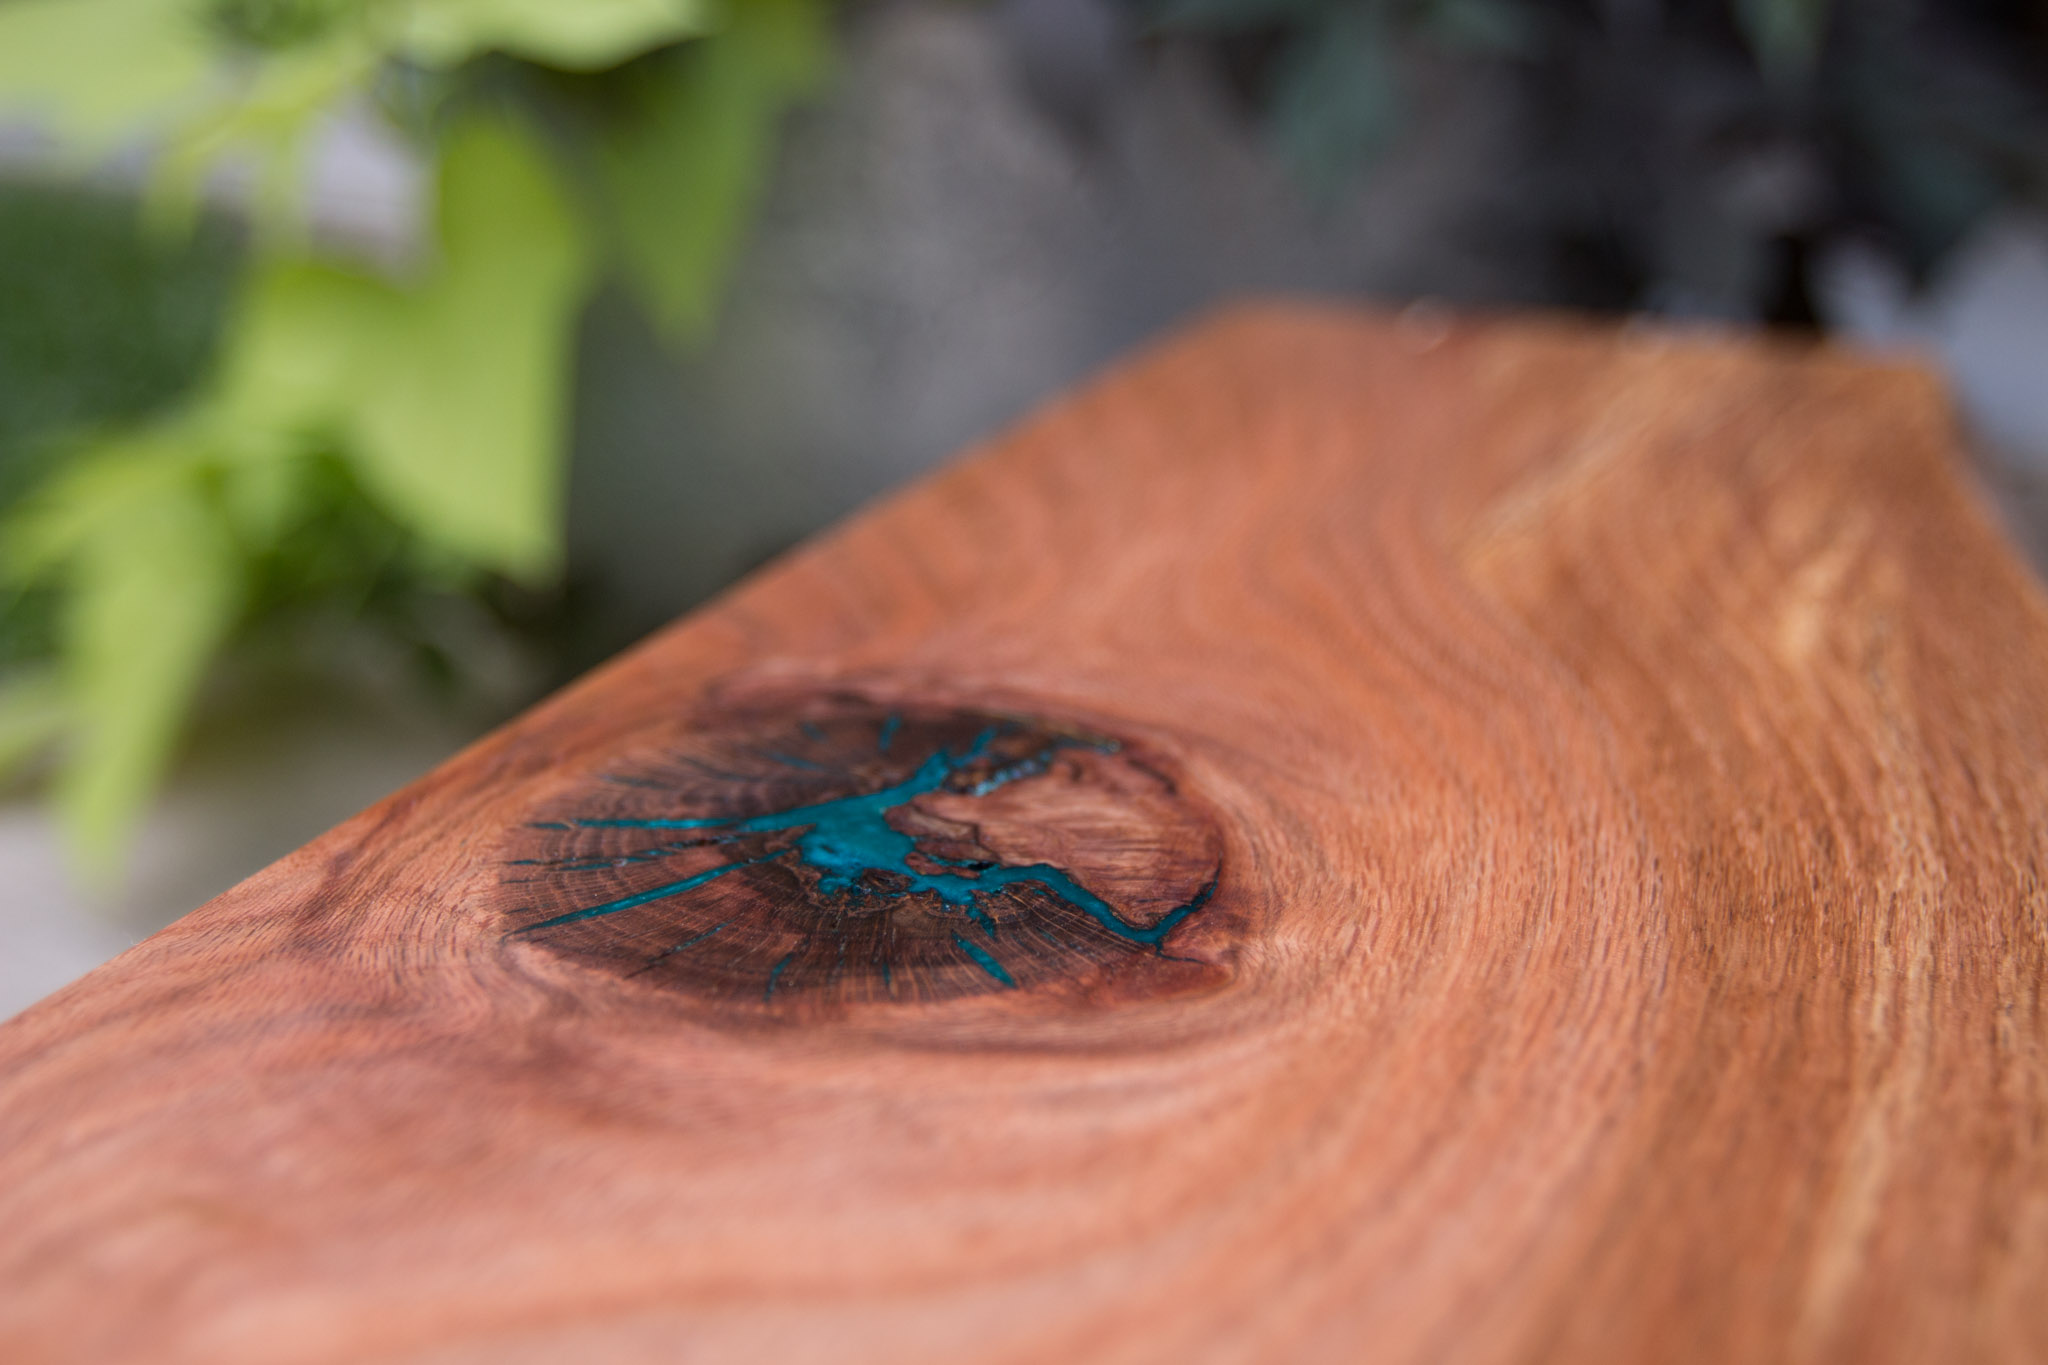
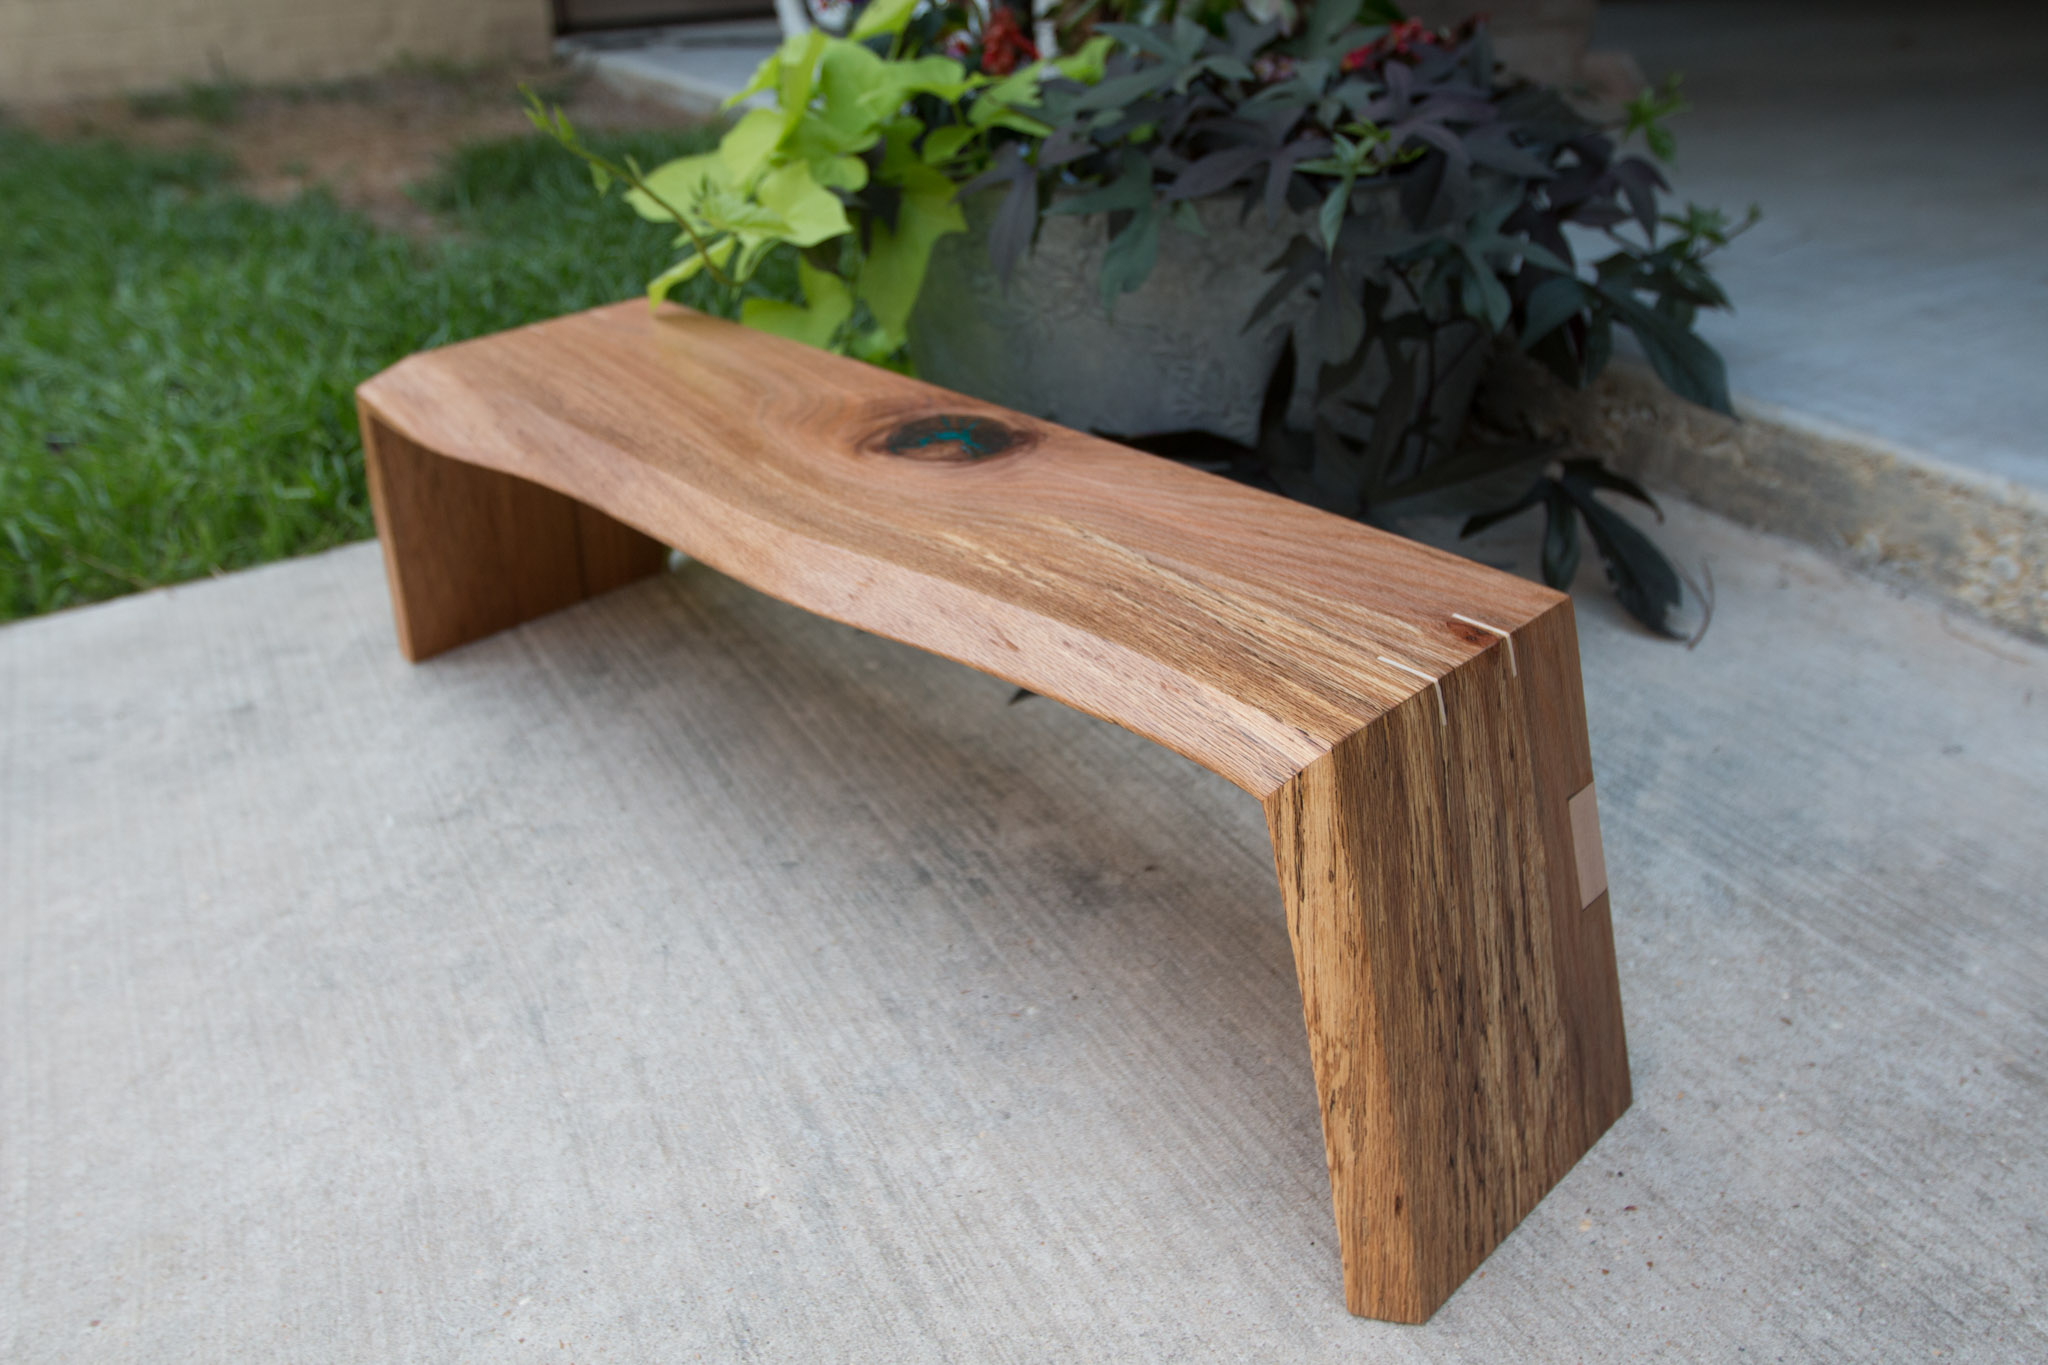
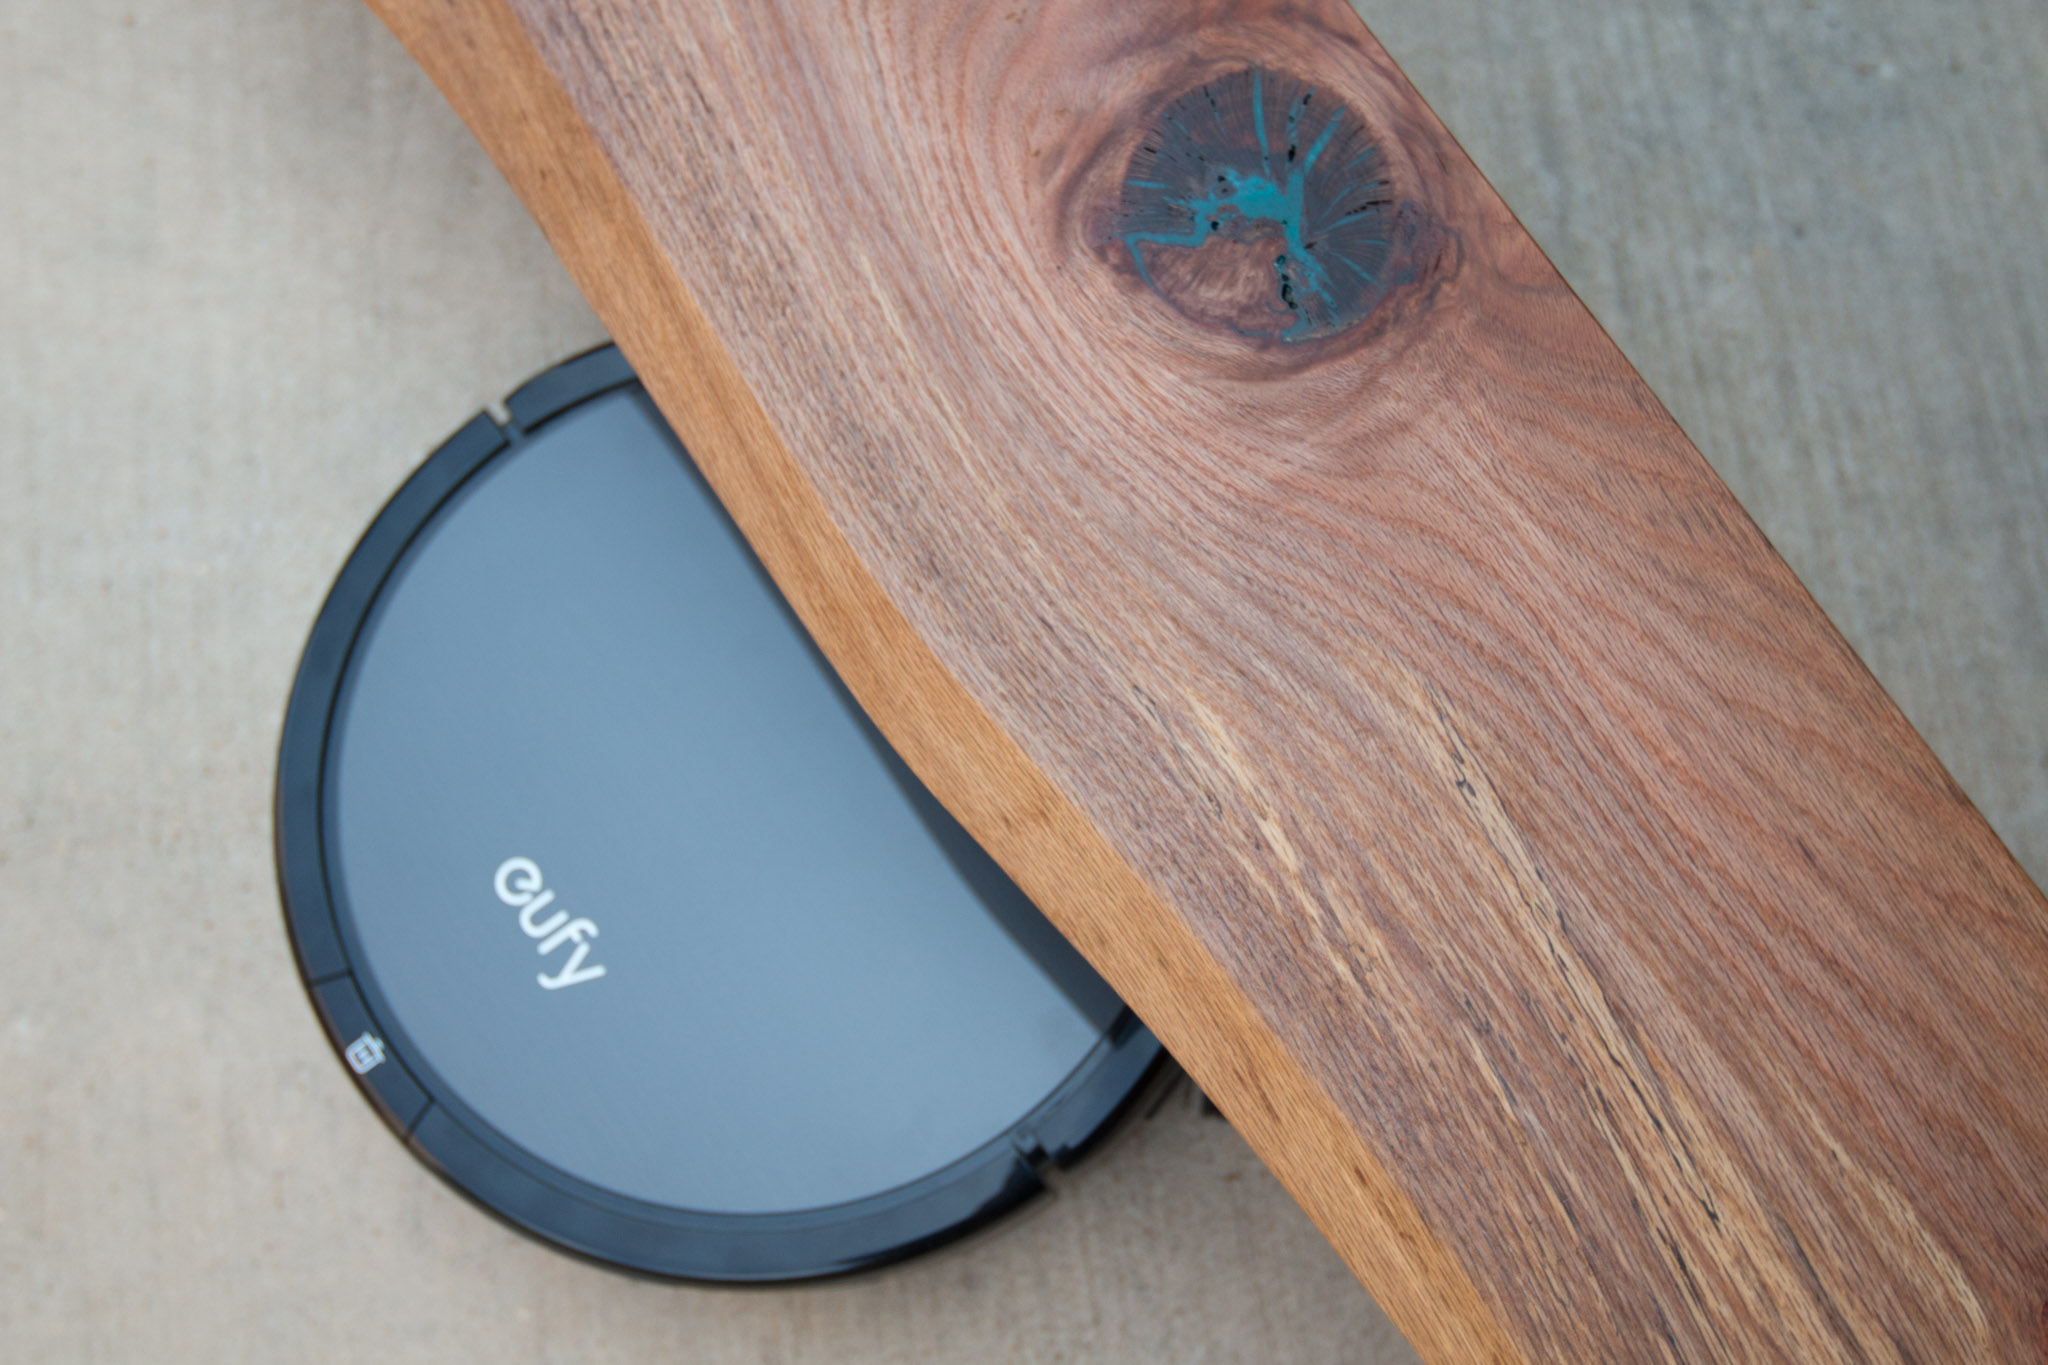
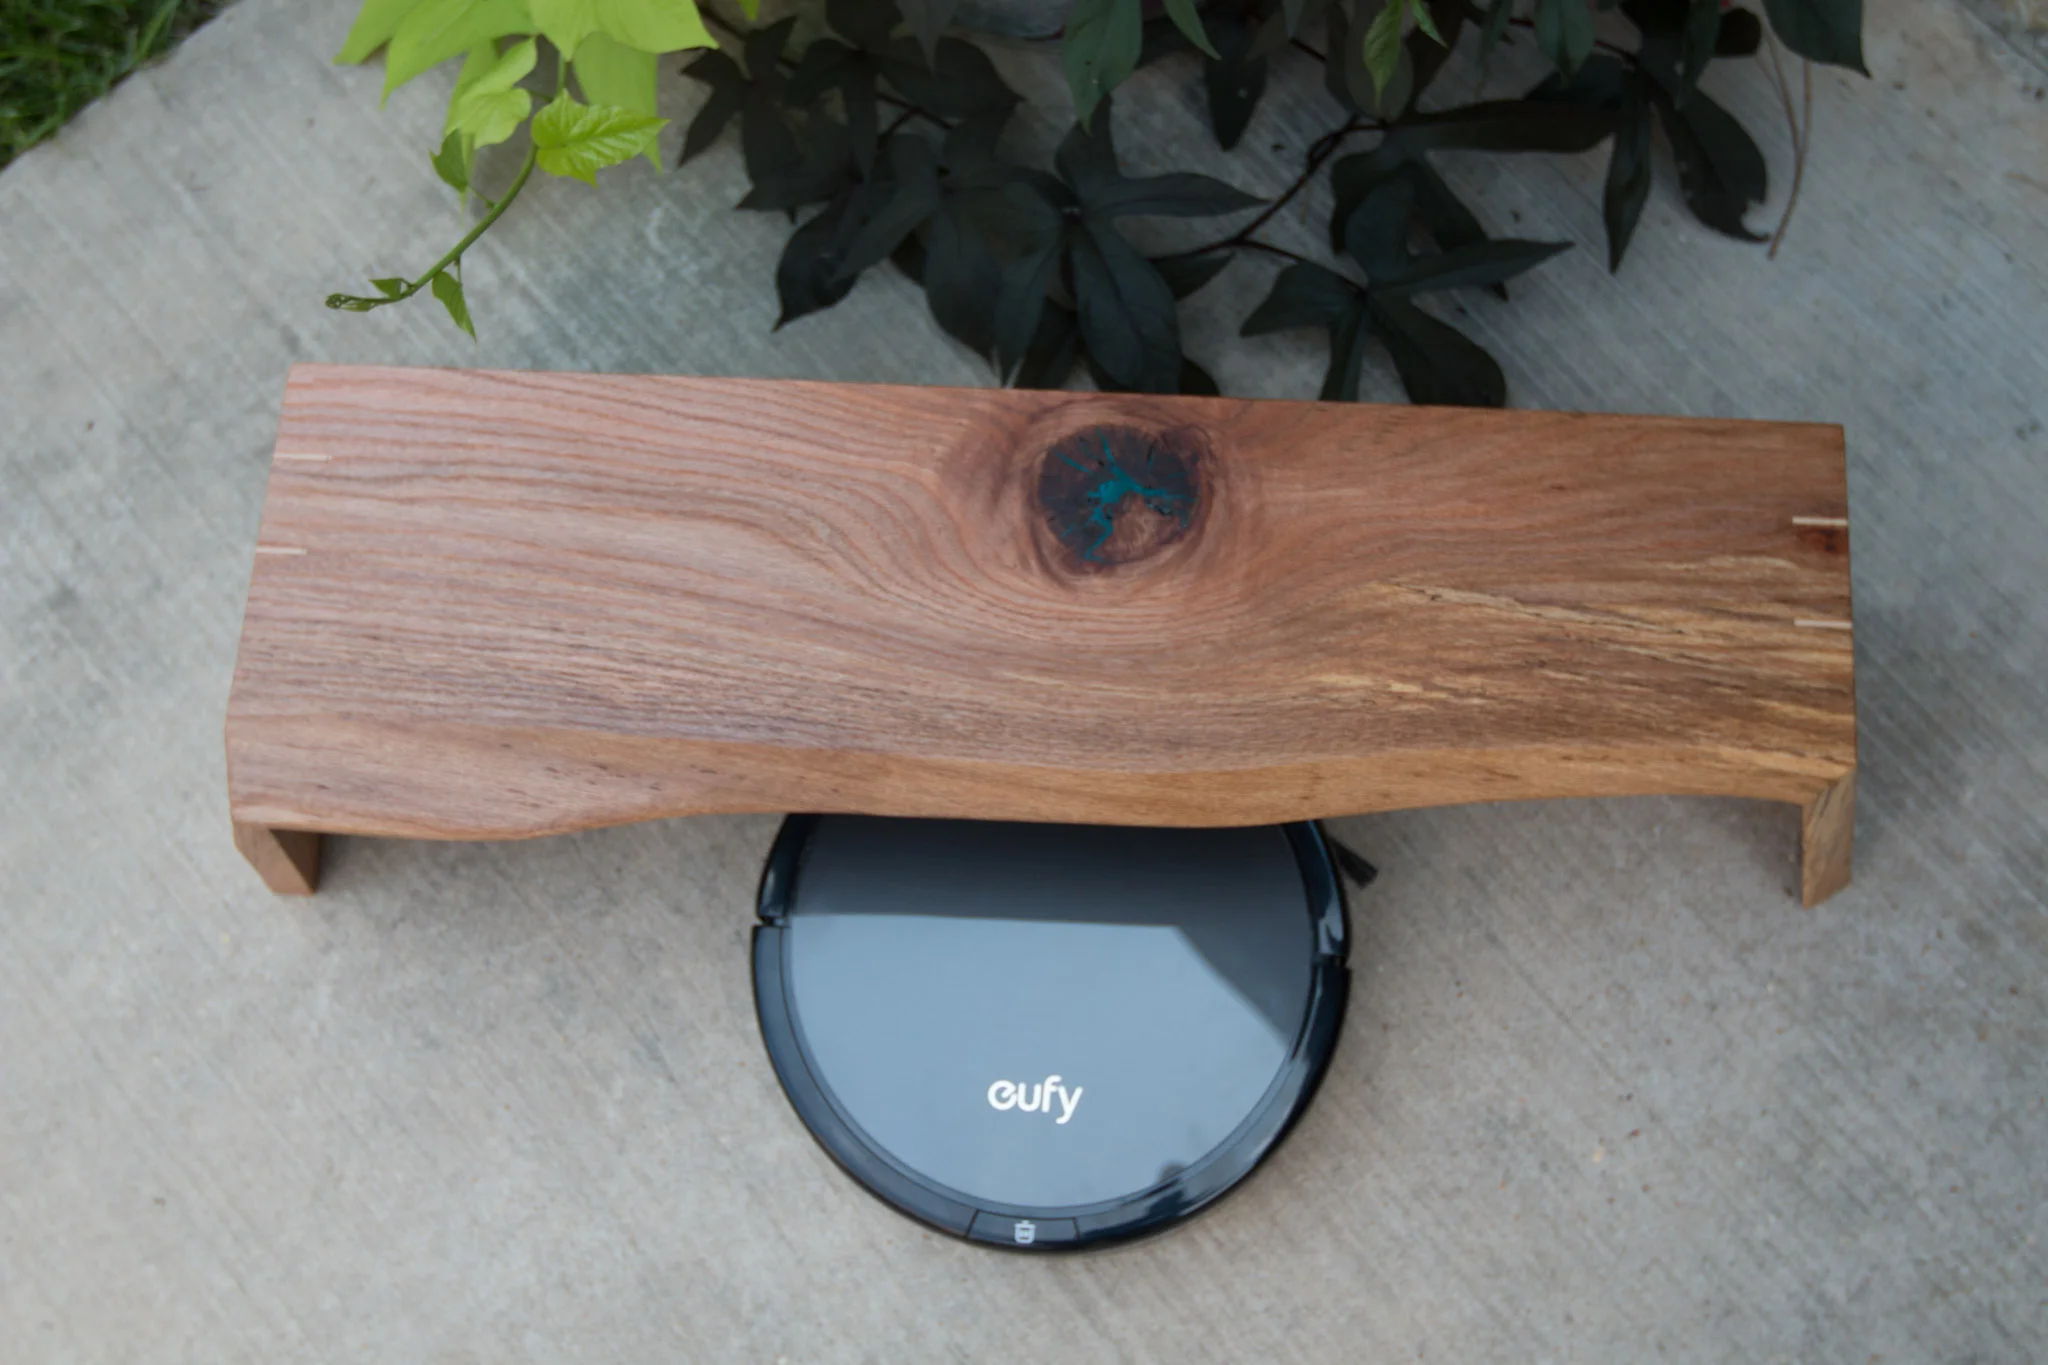
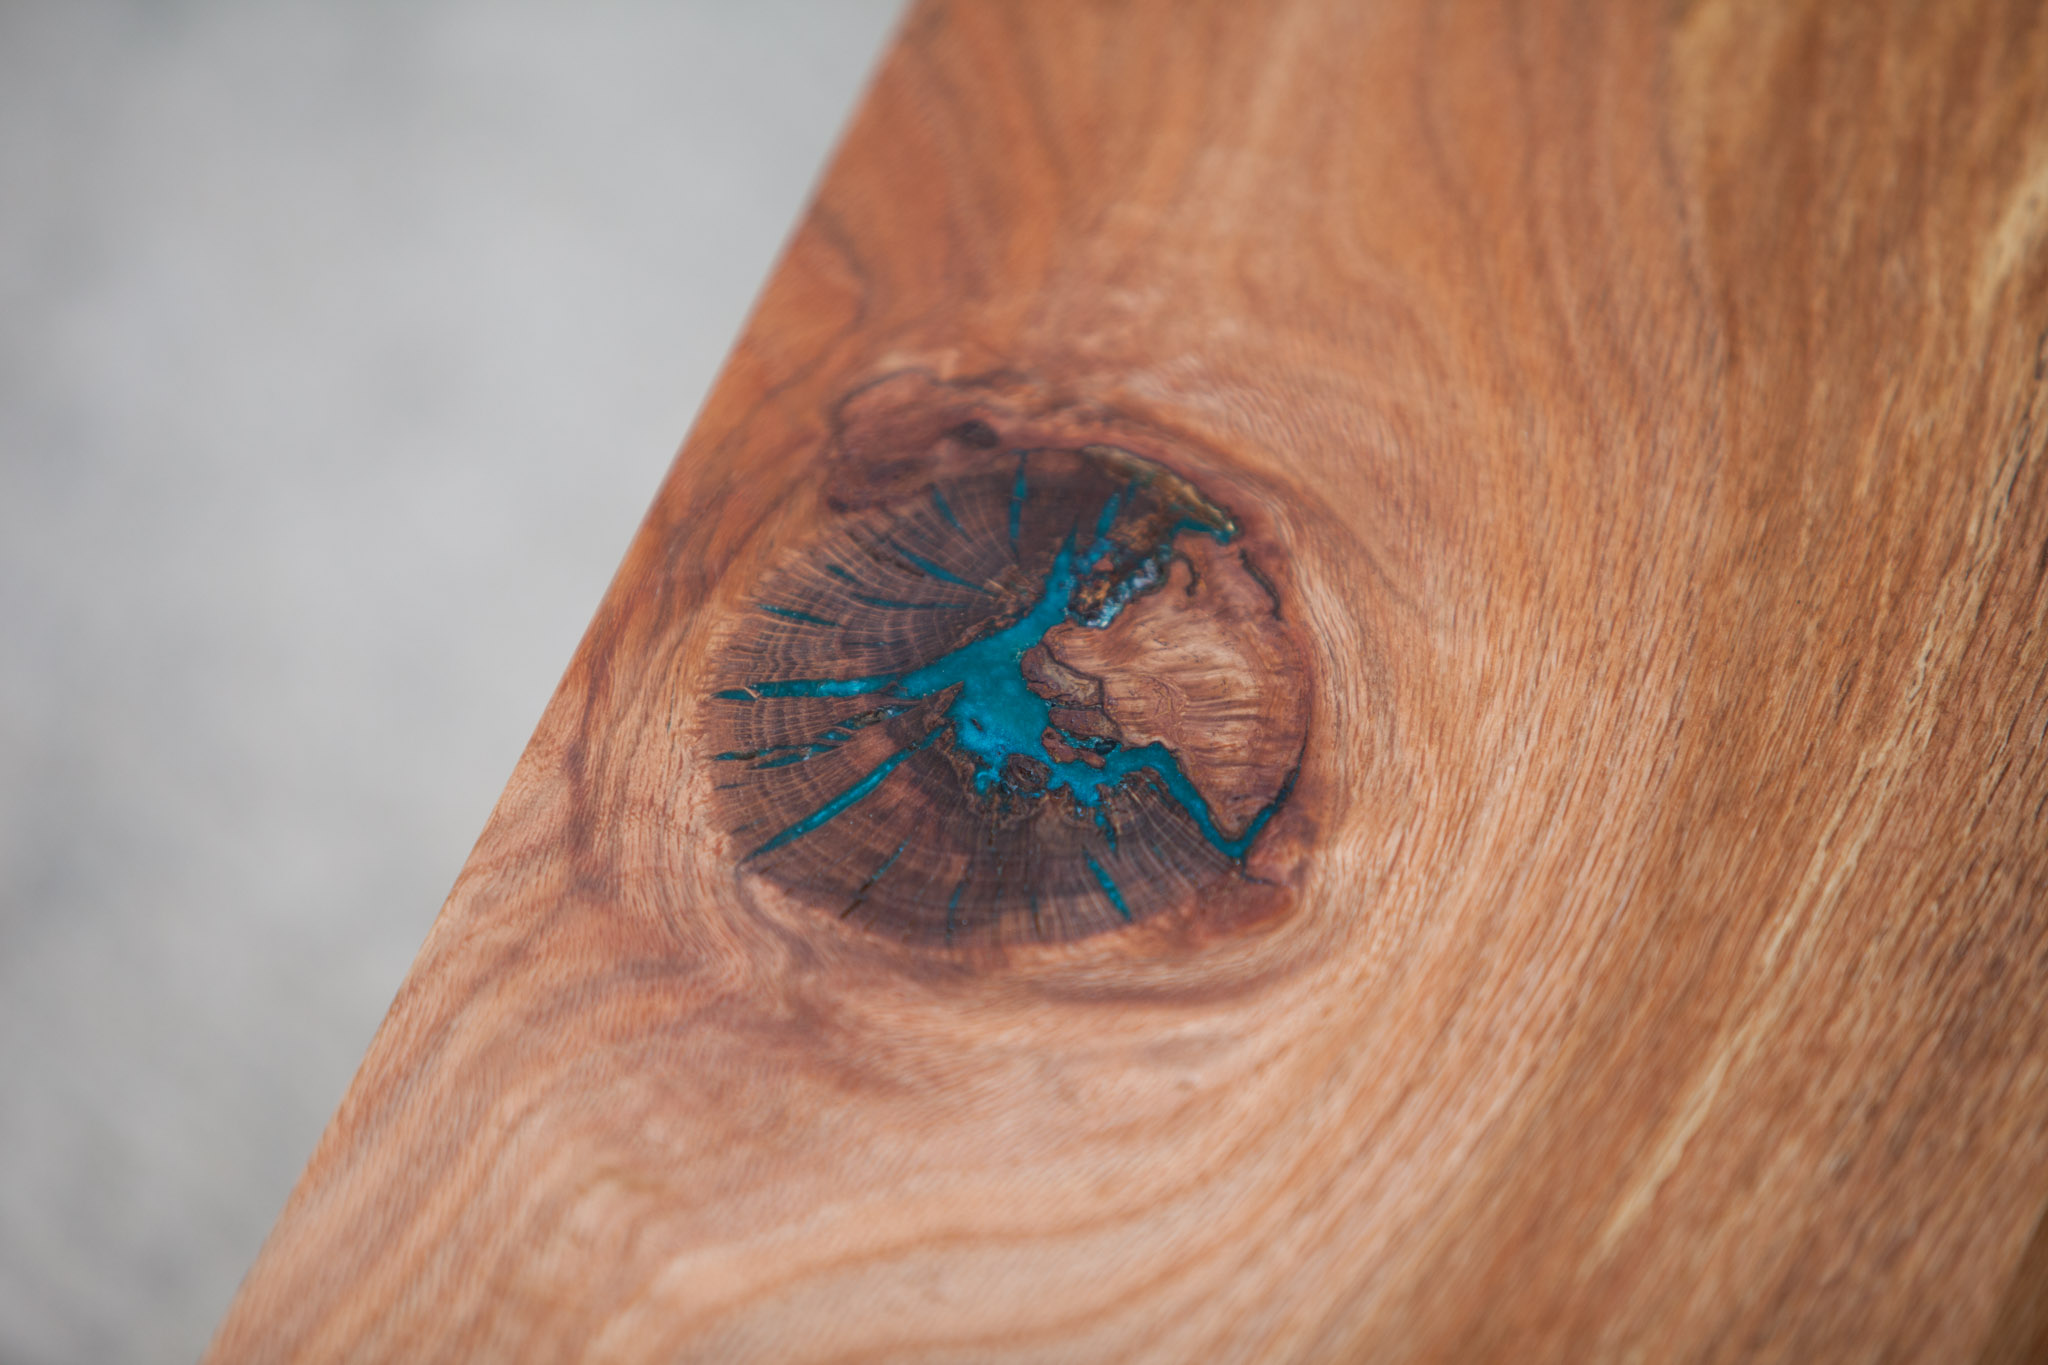
A few weeks back, Anker reached out to me about some new products that they have. They sent me the EUFY Robovac 11+ to try out, and I wanted to make this cool, modern house for it to rest in while it is recharging. I used a piece of life edge, spalted oak that my dad gave me from a tree he had milled up after it was knocked down by Hurricane Katrina back in 2005. It has just been sitting in his barn this whole time. I also added a piece of ambrosia maple to the back, as well as some maple splines.
TOOLS & MATERIALS
(These are affiliate links. Clicking on them and buying anything on amazon helps support me, at no extra cost to you.)
EUFY Robovac 11+ - https://amzn.to/2IZUjR9
Table saw - https://amzn.to/2xLsZla
Miter Saw - https://amzn.to/2JjiTcQ
Router - https://amzn.to/2JpPjSL
1/8" router bit - https://amzn.to/2JdRo8h
Painter's tape - https://amzn.to/2M6JCLc
Wood Glue - https://amzn.to/2M5diIQ
Angle grinder - https://amzn.to/2kUurJ0
Flap disc - https://amzn.to/2Lq8RXS
STEPS
This project started in my dad's barn built pre-1950. And what a cool barn it is! There's all kinds of stuff in there, probably including some critters. When Hurricane Katrina hit the Mississippi Gulf Coast in August of 2005, the devastation reached 3 hours inland to Jackson, Mississippi and beyond. My parents have about 13 acres with some really beautiful, old trees. They lost over 25 significantly sized hardwoods during that storm, and this tree was one of the larger ones. This red oak was probably about 50" in diameter, and well over 100 feet tall. It was sad to see it fall, but luckily, nobody was hurt when it tumbled to the ground.
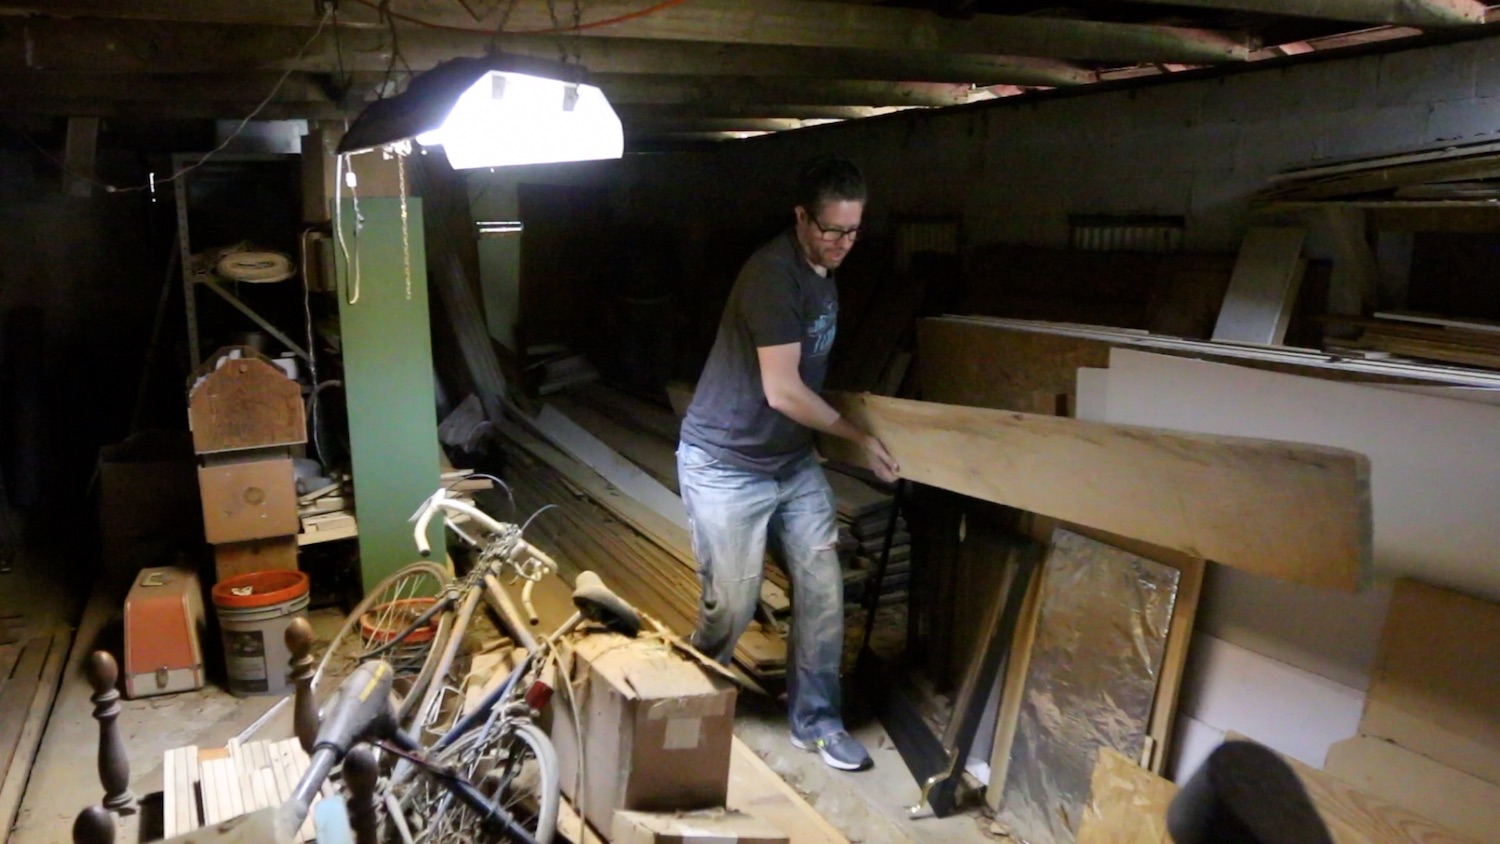
One of my dad's friends had a portable saw mill at the time and agreed to come out and slab up a couple of trees. There was also a really large pecan tree that bit the dust that day. It was probably even larger than the oak that fell. My dad told his friend that if he would come and cut them up, he could keep one of the trees.
I was not really into woodworking then, but there were many more trees that would have been great to use for lumber, had I only had the foresight. Alas, we only kept the large oak and the other gentleman kept the pecan. All else was made into firewood.
Once back in my shop, I saw that the board I was going to use for this project had a huge lump in it. It looked like when it was being milled, the bandsaw blade kind of moved up around a knot, causing this huge lump to be left in the board. I didn't know a really good way to get rid of it, so I sharpened up my Stanley No. 4 hand plane, and started flattening. I had not done this in a while, and I forgot what a serious workout it can be. I'm sure if this is something you do often, you get used to it, but I was definitely not used to it. I had to bring this lump down probably about an inch overall, so it was closer to the thickness of the rest of the board.

Next, I bought a small piece of melamine so I could use it as a jig for the planer. I have to say, I am really disappointed with the quality of this melamine. I used it one time, and some of the plastic coating was already chipping off. It just seemed really flimsy.
I used the melamine, shims and hot glue to secure the slab down where it would not rock. Then, I passed it through the planer a few times to get one flat side. Next, I removed it from the melamine, flipped it over and ran it back through the planer. This gave me two flat and parallel faces.. Many times, I don't do this with the full width of the board, because it can wast more of the board than I want, just trying to get it flat. However, I am doing a waterfall look with the grain continuing all the way across this piece, so it was necessary.


I took it over to the jointer to get one flat edge after the faces were flat and parallel. This would help as a reference surface later on in the build.


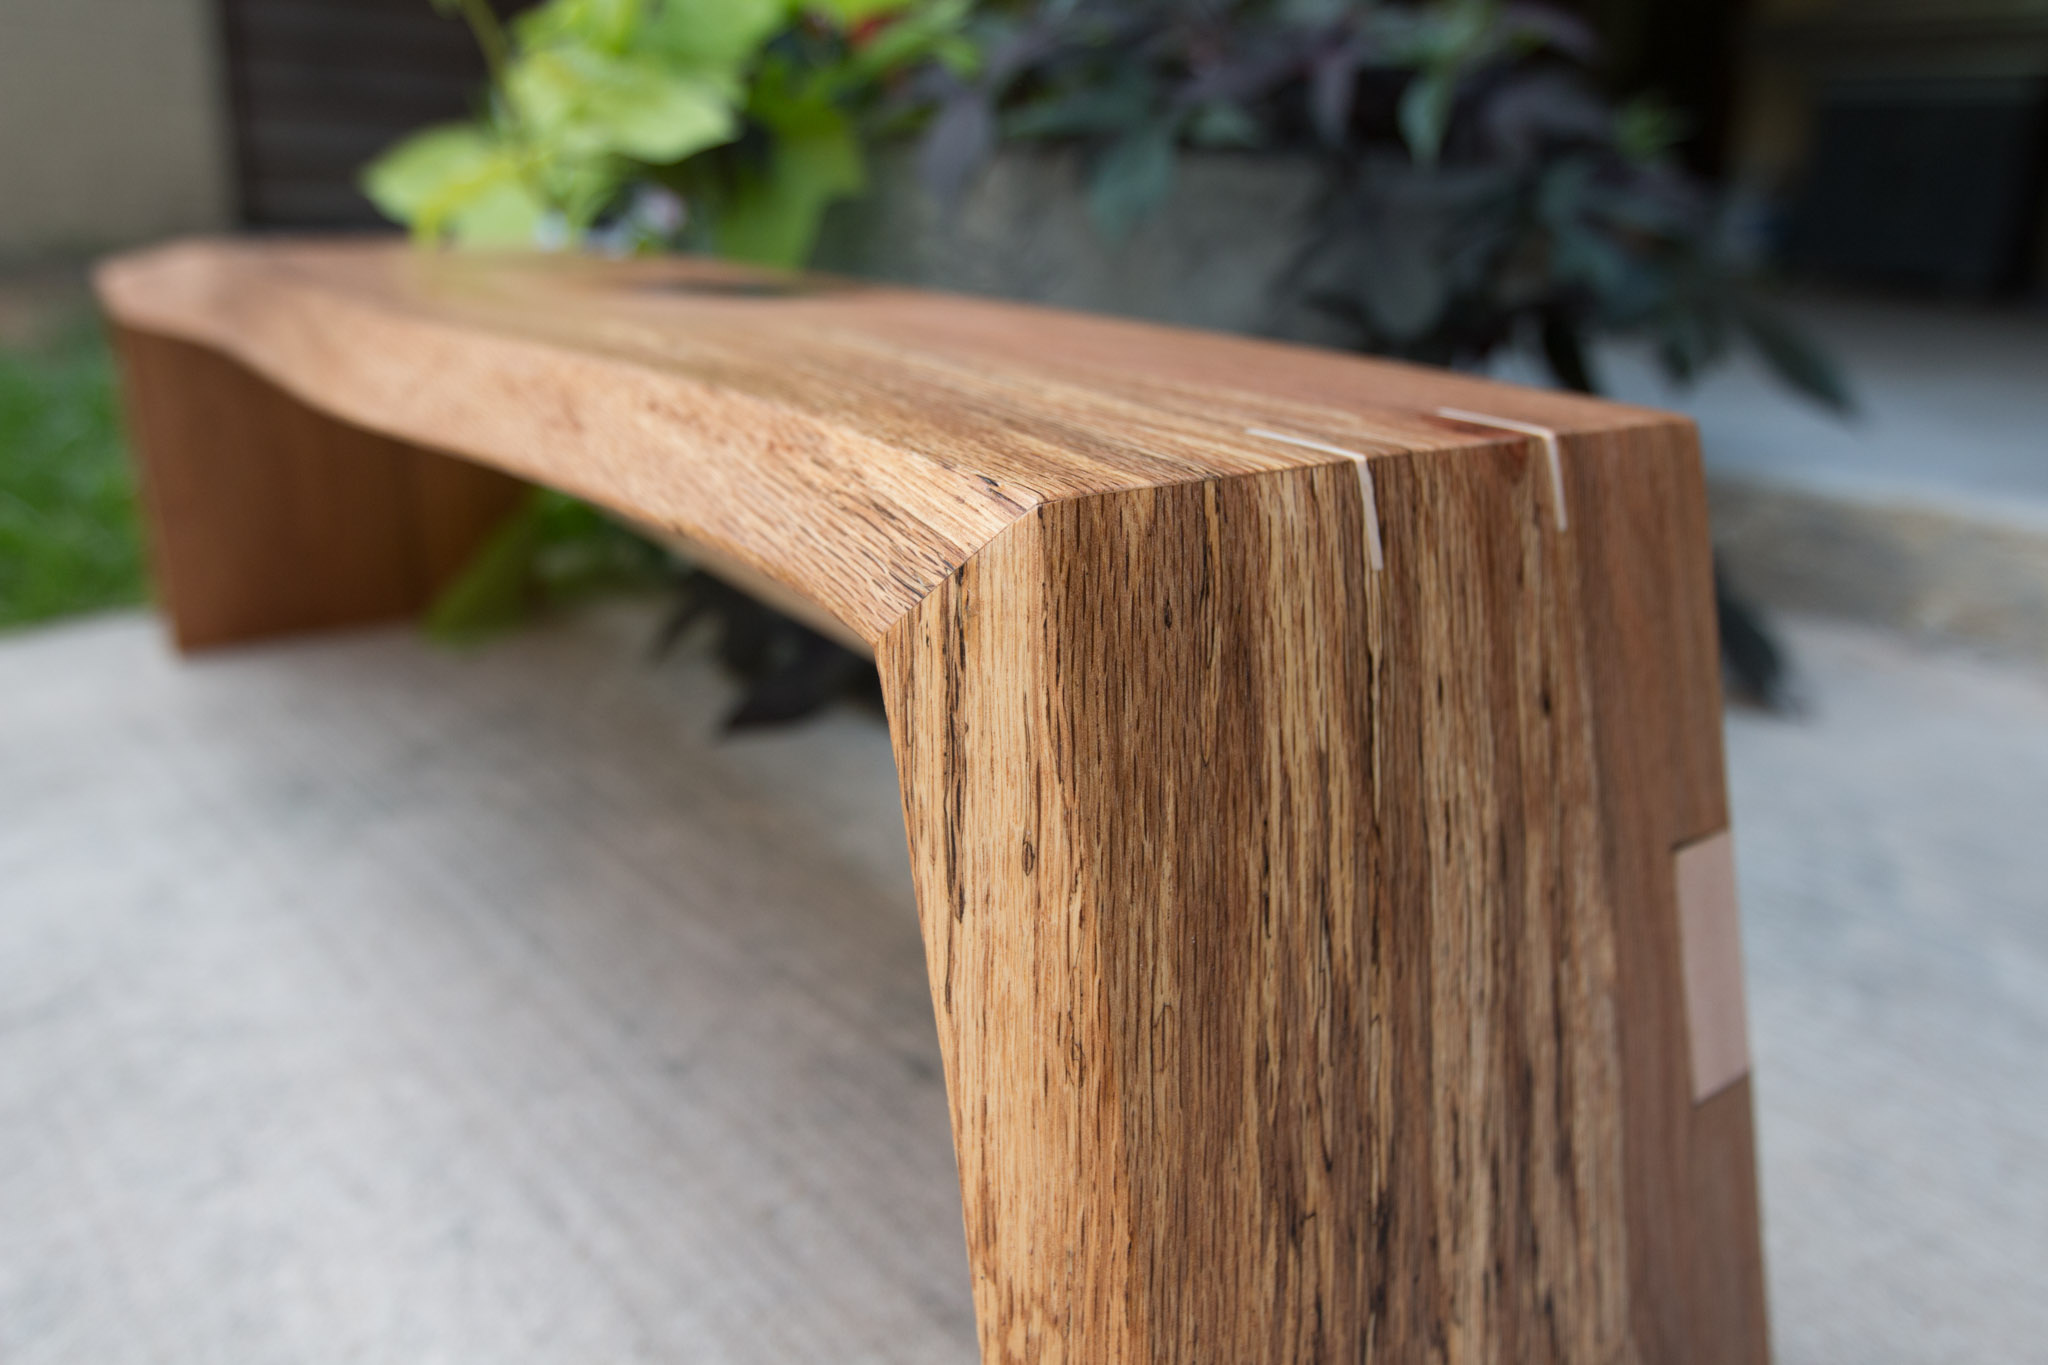
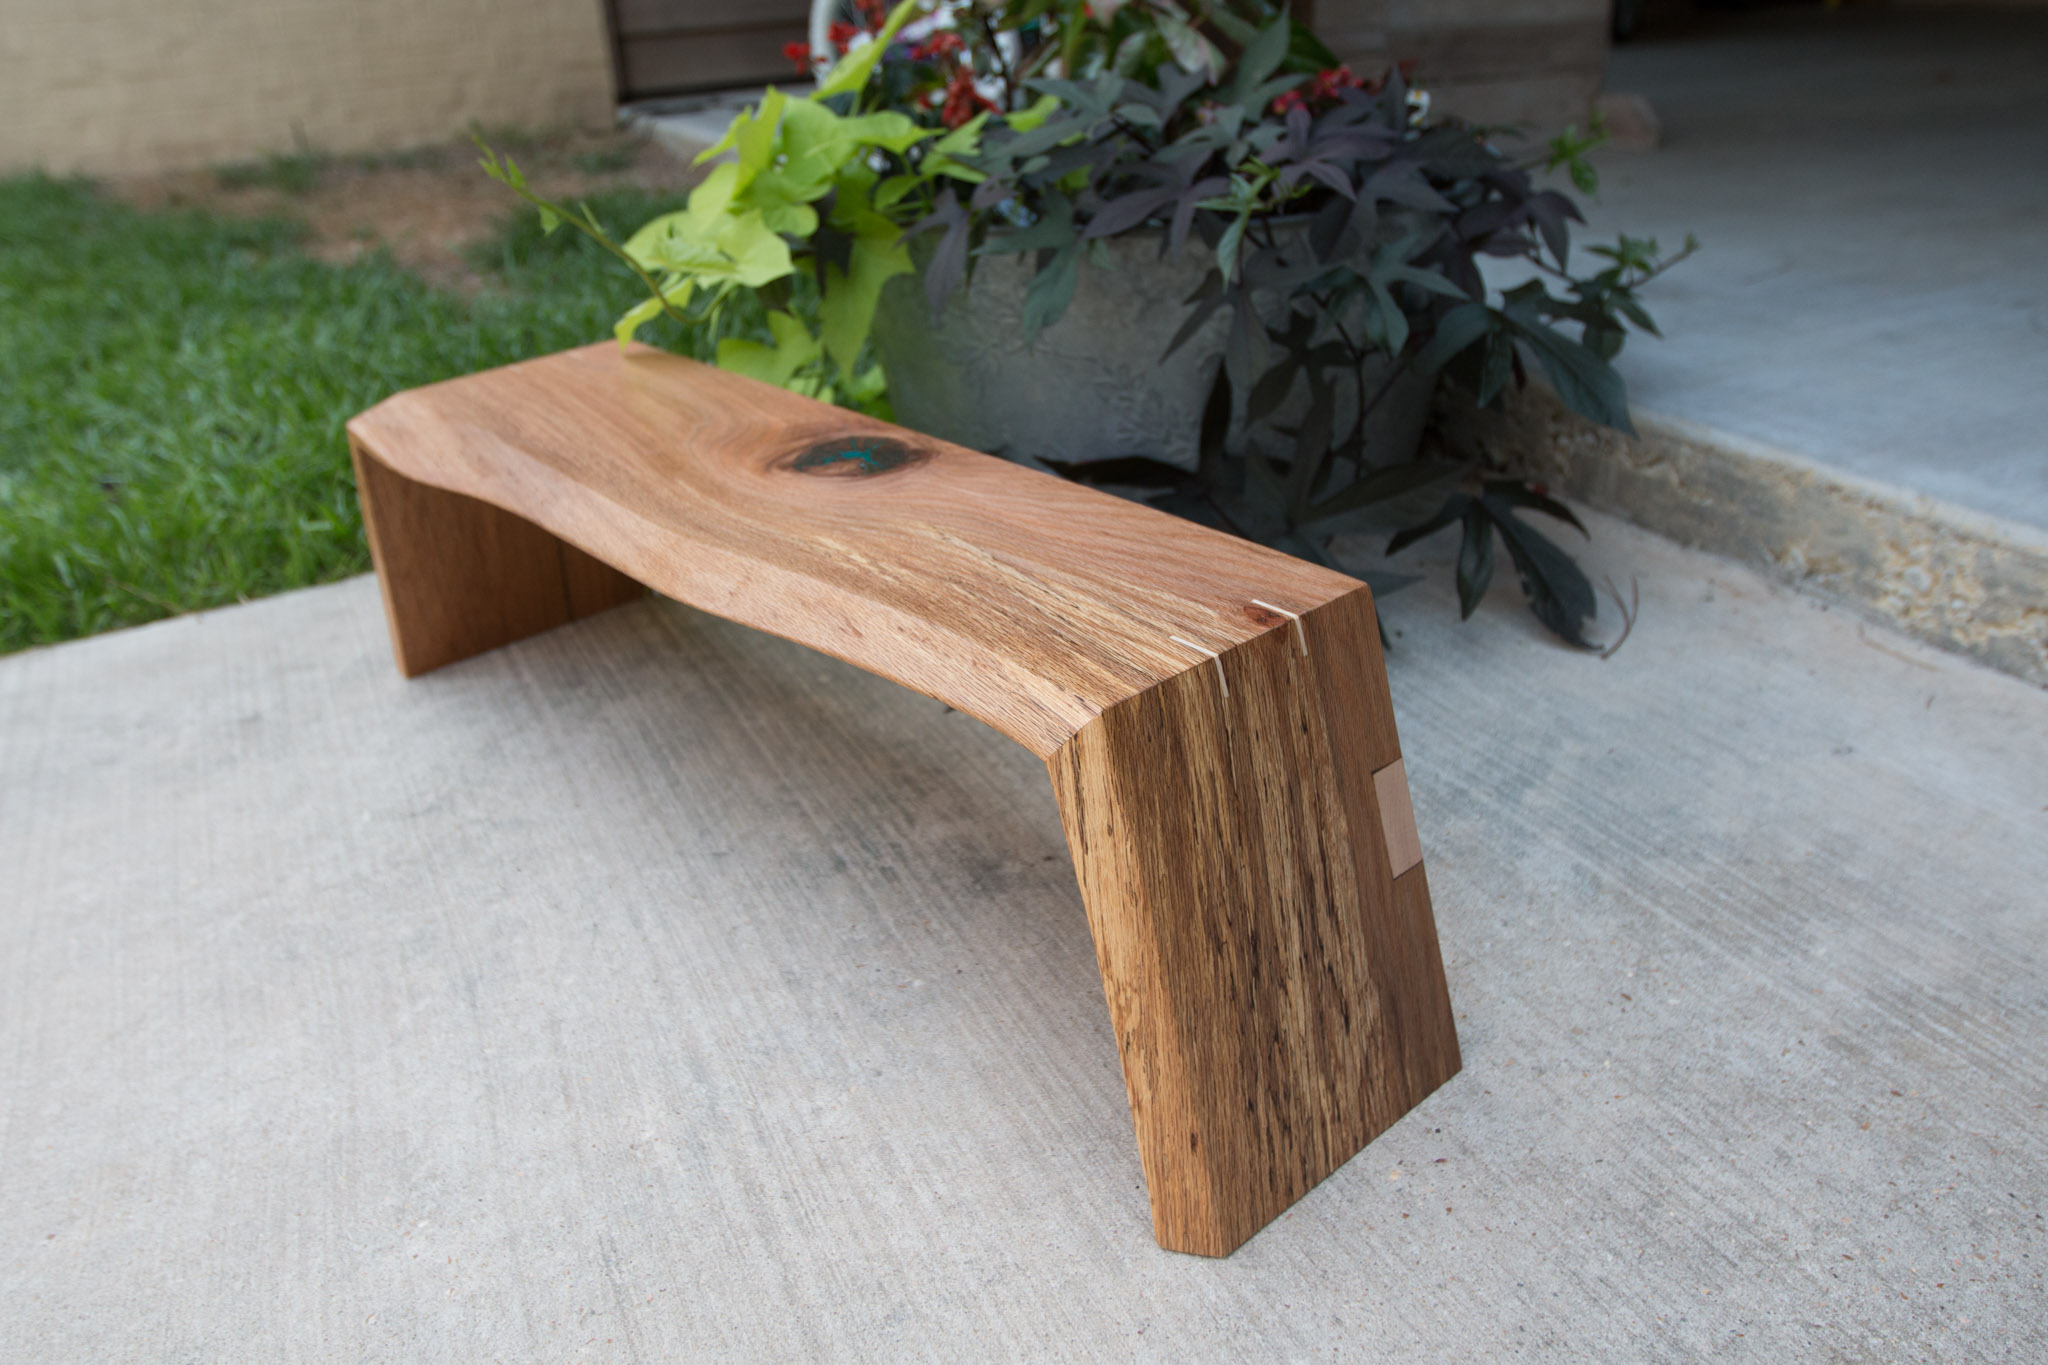
Next, I cut the piece. I wanted the legs to have a 15 degree splay, so I had to do a bit of figuring to get all of the correct angles cut.

In order for the legs to splay at 15 degrees, I had to cut the part that would sit on the ground at 15 degrees. That's easy. I started on the right side of the board, and I would work my way around. I used my double bevel miter saw for this since the board was over 8 inches wide in some places, and there was a live edge on the front. I could have used the table saw, and just flipped the board over and over, but with that live edge, there was not a flat reference face on one side. To the miter saw it is!
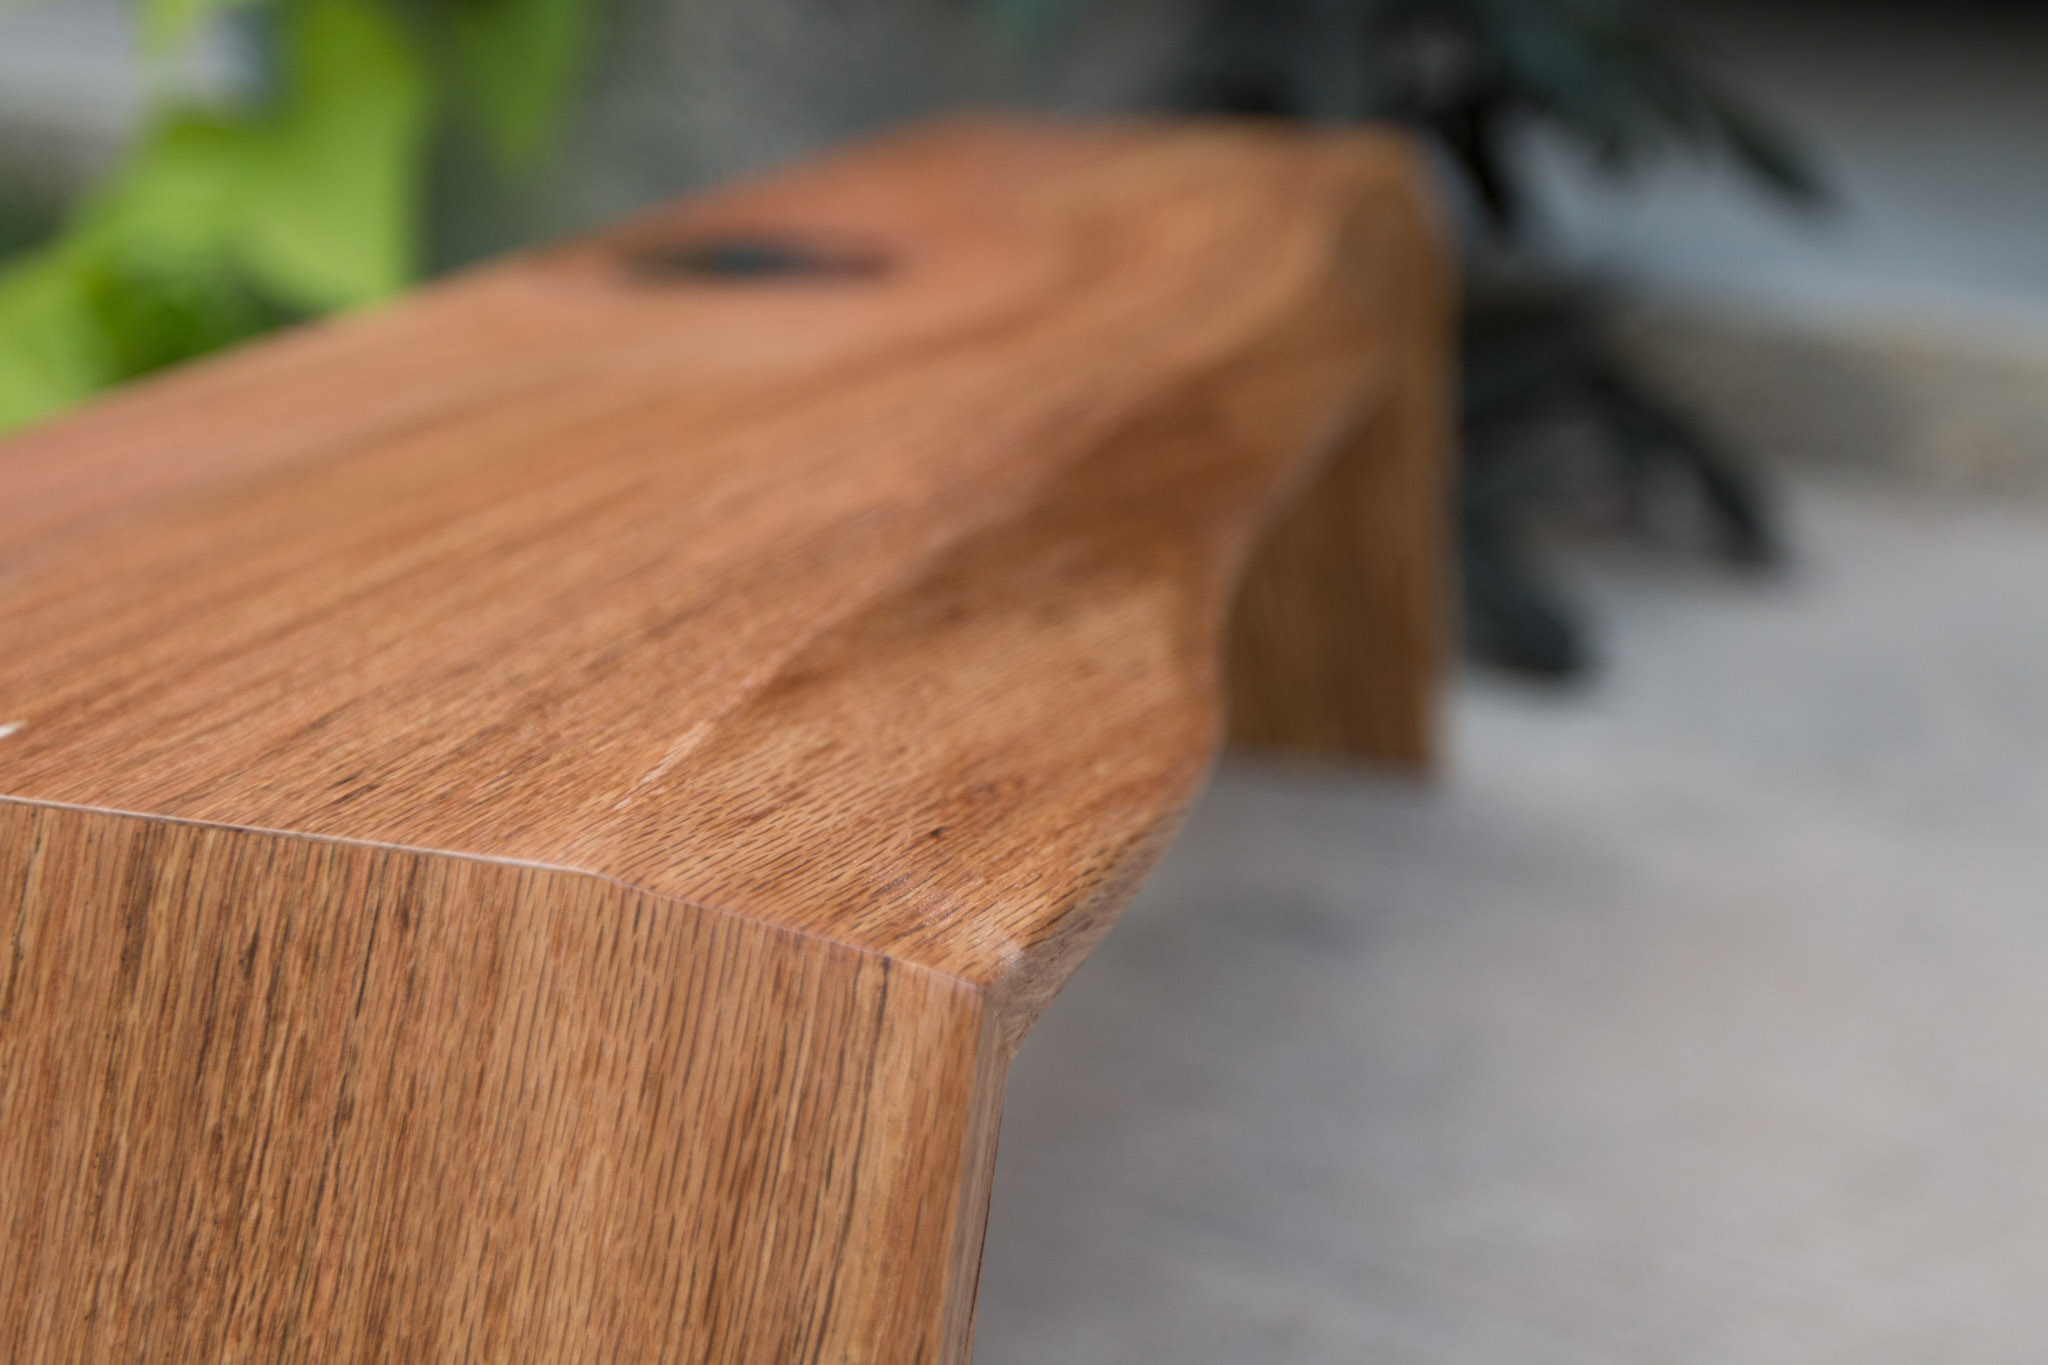
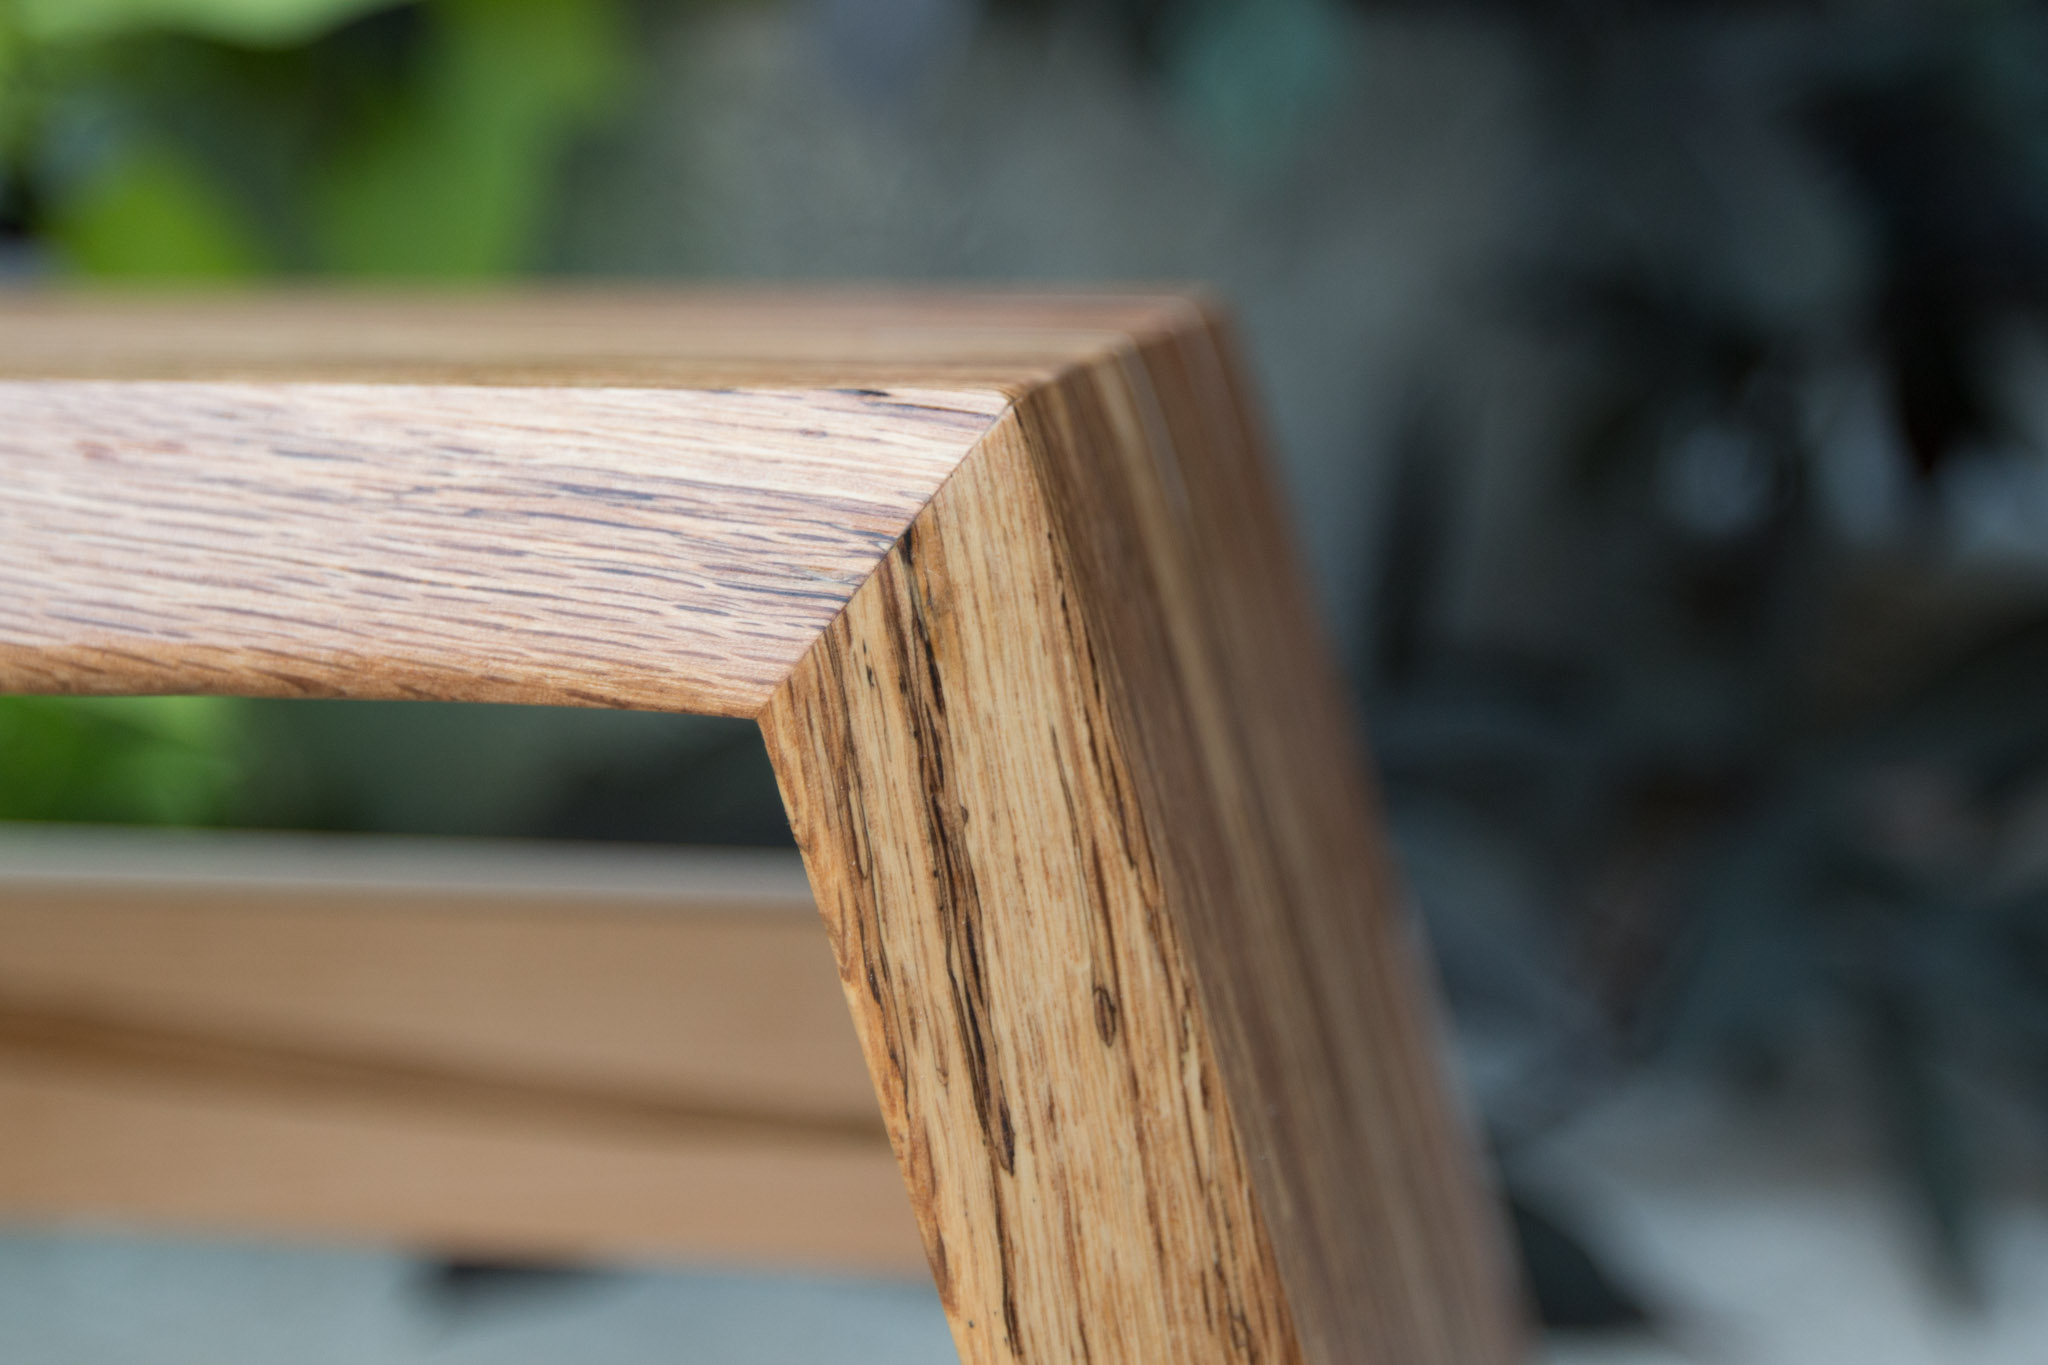
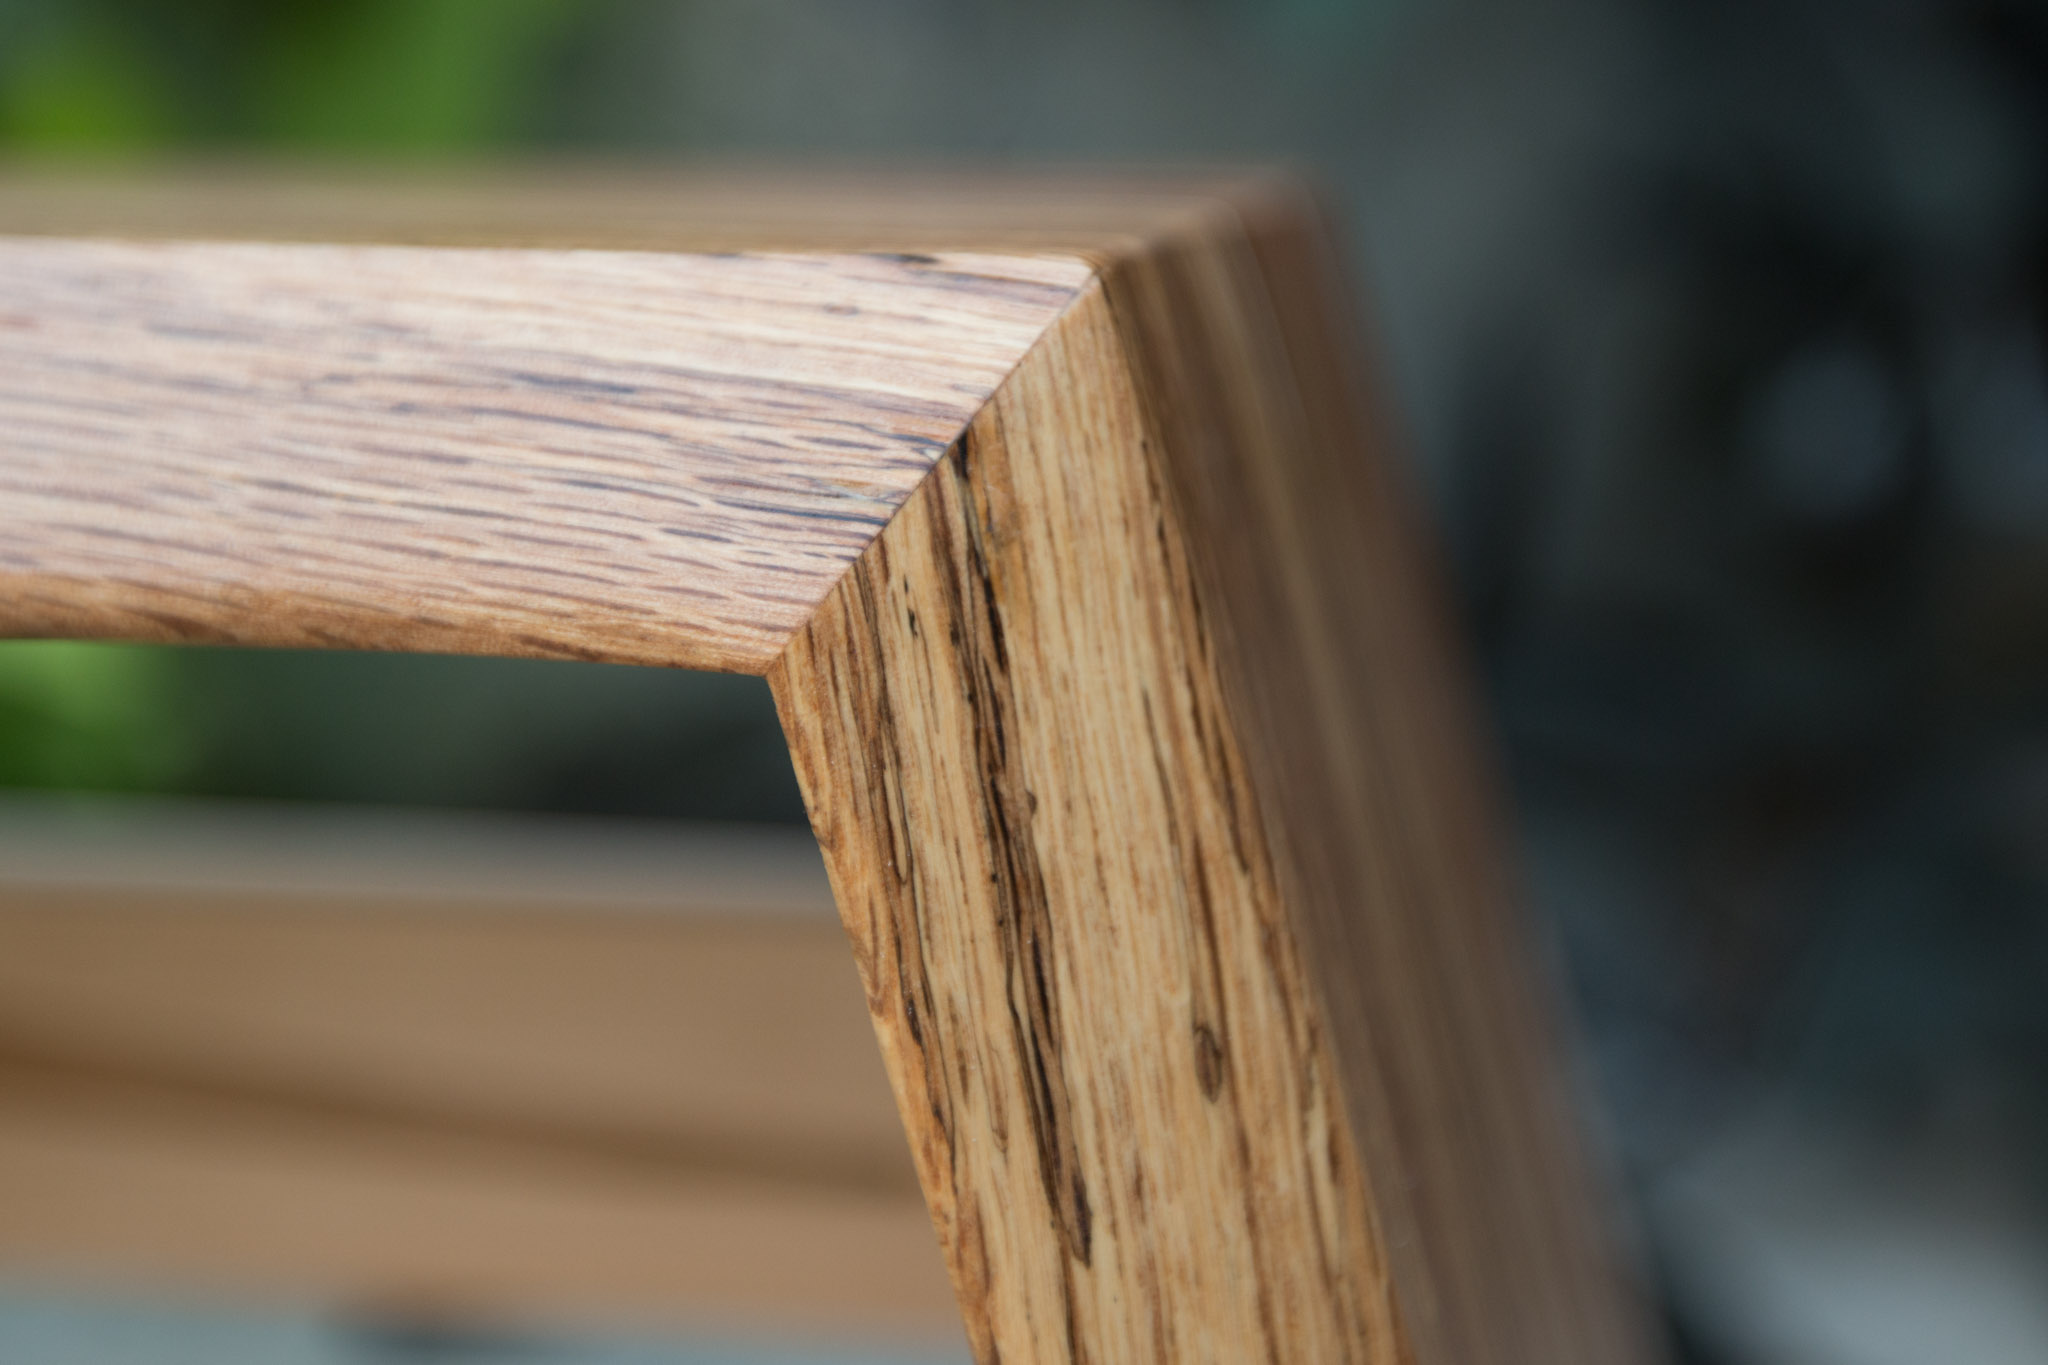
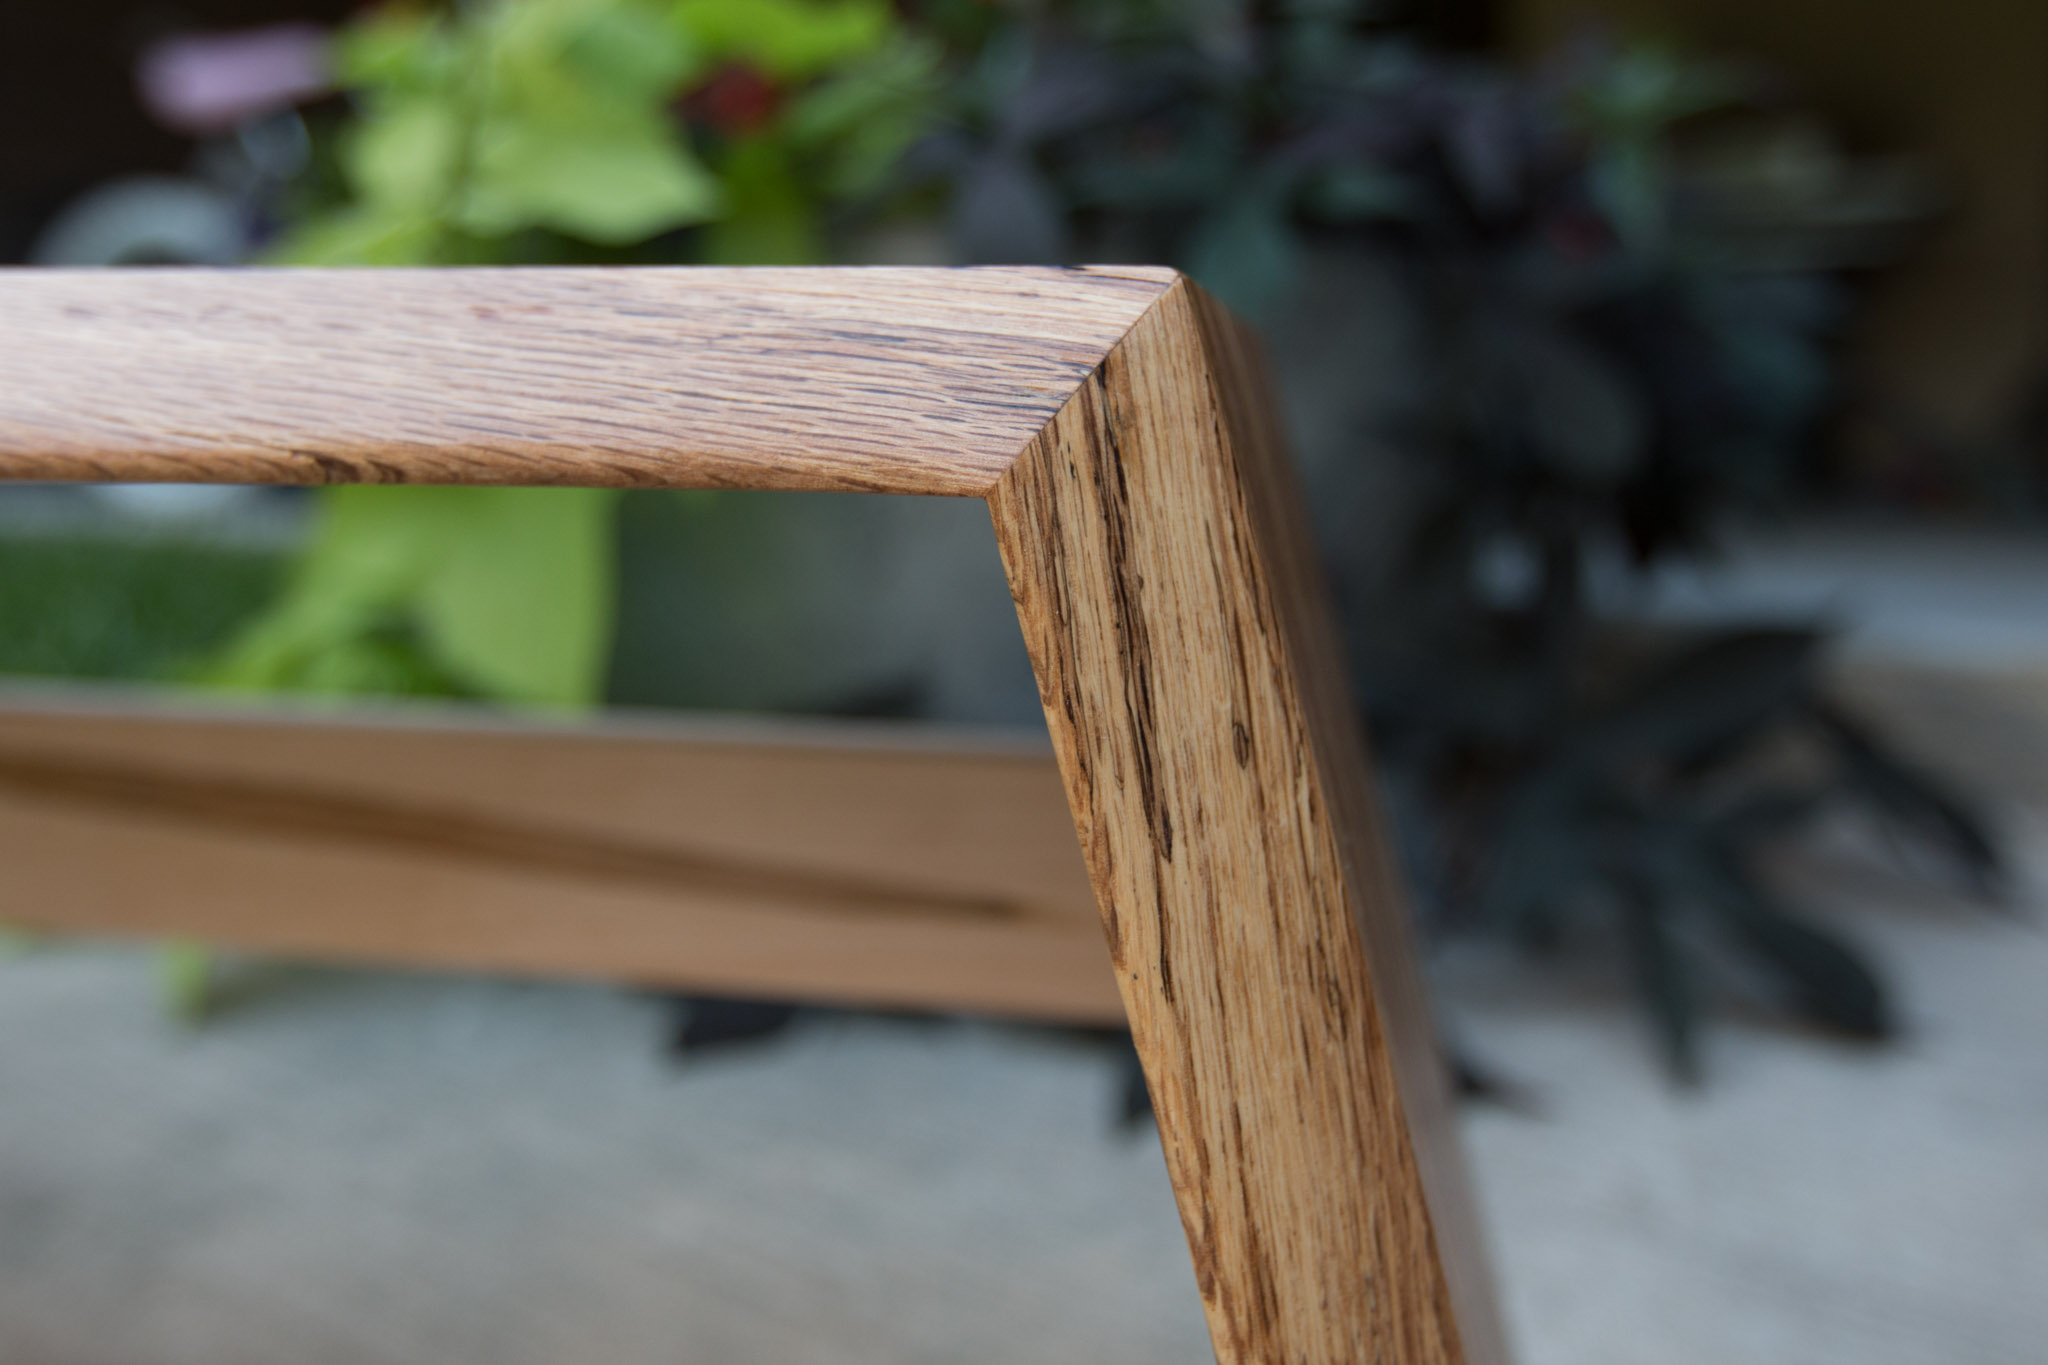
So, for the miter that would be where the top and the legs connect, I had to figure out what angle to cut. If I was adding 15 degrees to a 90 degree cut (what most saws are setup to do), that made the inside angle 75 degrees. In order to get the miter, I had to cut that in half, so I set my saw to 37.5 degrees and made a cut. I was sure to make that cut in the proper orientation, so that it would pair up with the other side of the miter. Than, I swung the saw the opposite way and made another 37.5 degree cut. It was a little tedious to move the saw so much, but I had to in order to get the waterfall look I referenced earlier.
I just worked my way around, measuring as I went, until I had all of the pieces cut.
Before gluing the pieces together, I did a quick sanding. Some of these places would be difficult to reach later once everything was assembled, so it was just a good idea to do it now.

Next up...gluing them together. I wasn't quite sure how I would glue these up. I thought I would try the tape method. I flipped the pieces over and lined them up how they would ultimately be once glued. I added a lot of tape right at that joint, and then flipped all of the pieces over. Then, I added glue to the joint (enough, but not so much that it was just spilling out everywhere), and used some long strips of painter's tape to wrap around and stick down to the base of it. So long as it closed up the gap and held it long enough for the glue to dry, I was happy. I would be going back later and adding some splines to the miter joints.
The glue trick worked, and it seemed that it would hold well, so I left it to dry overnight.


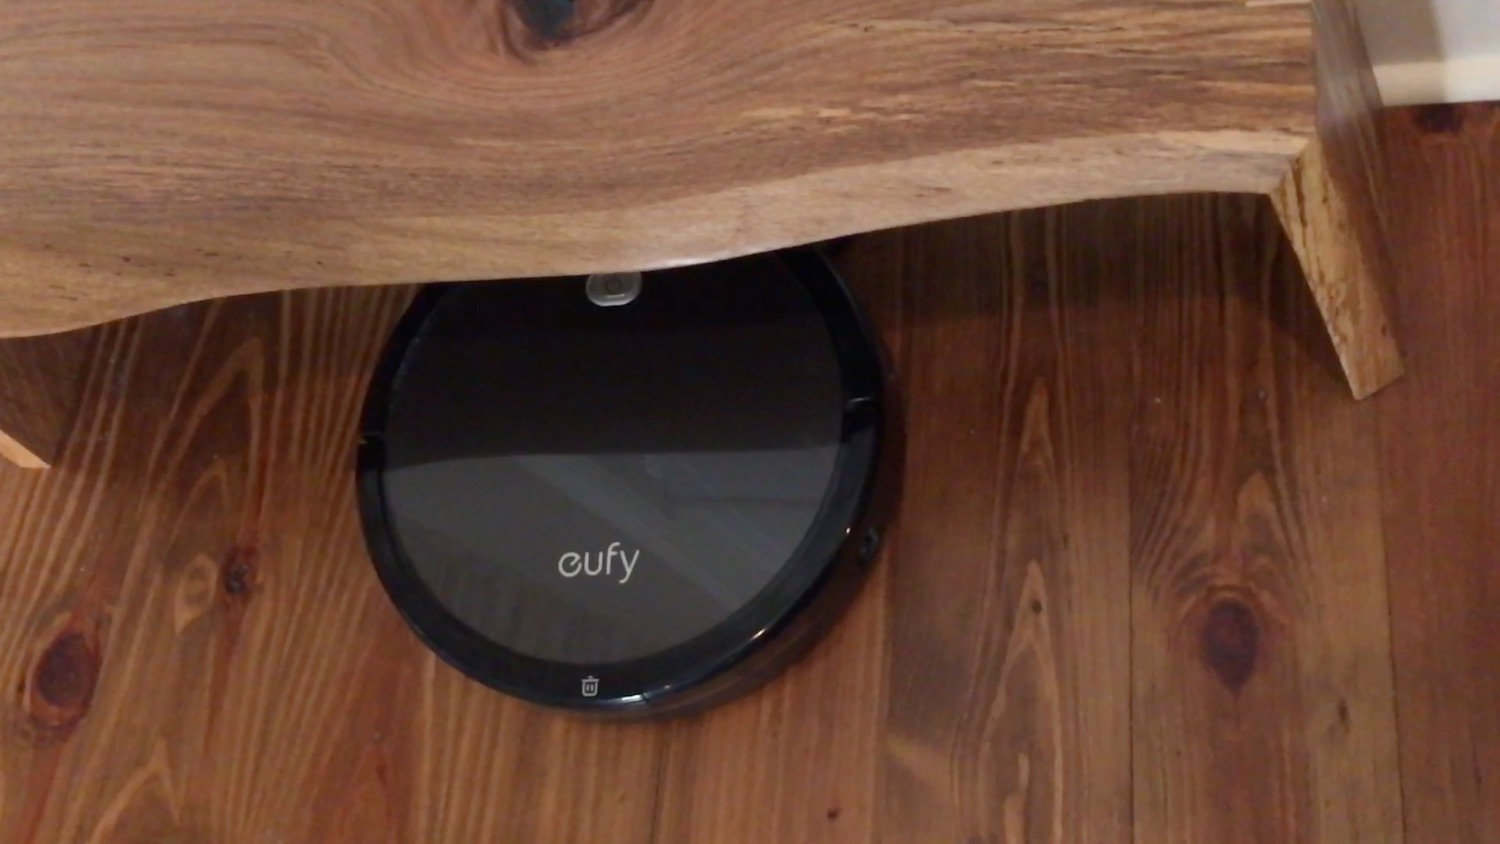
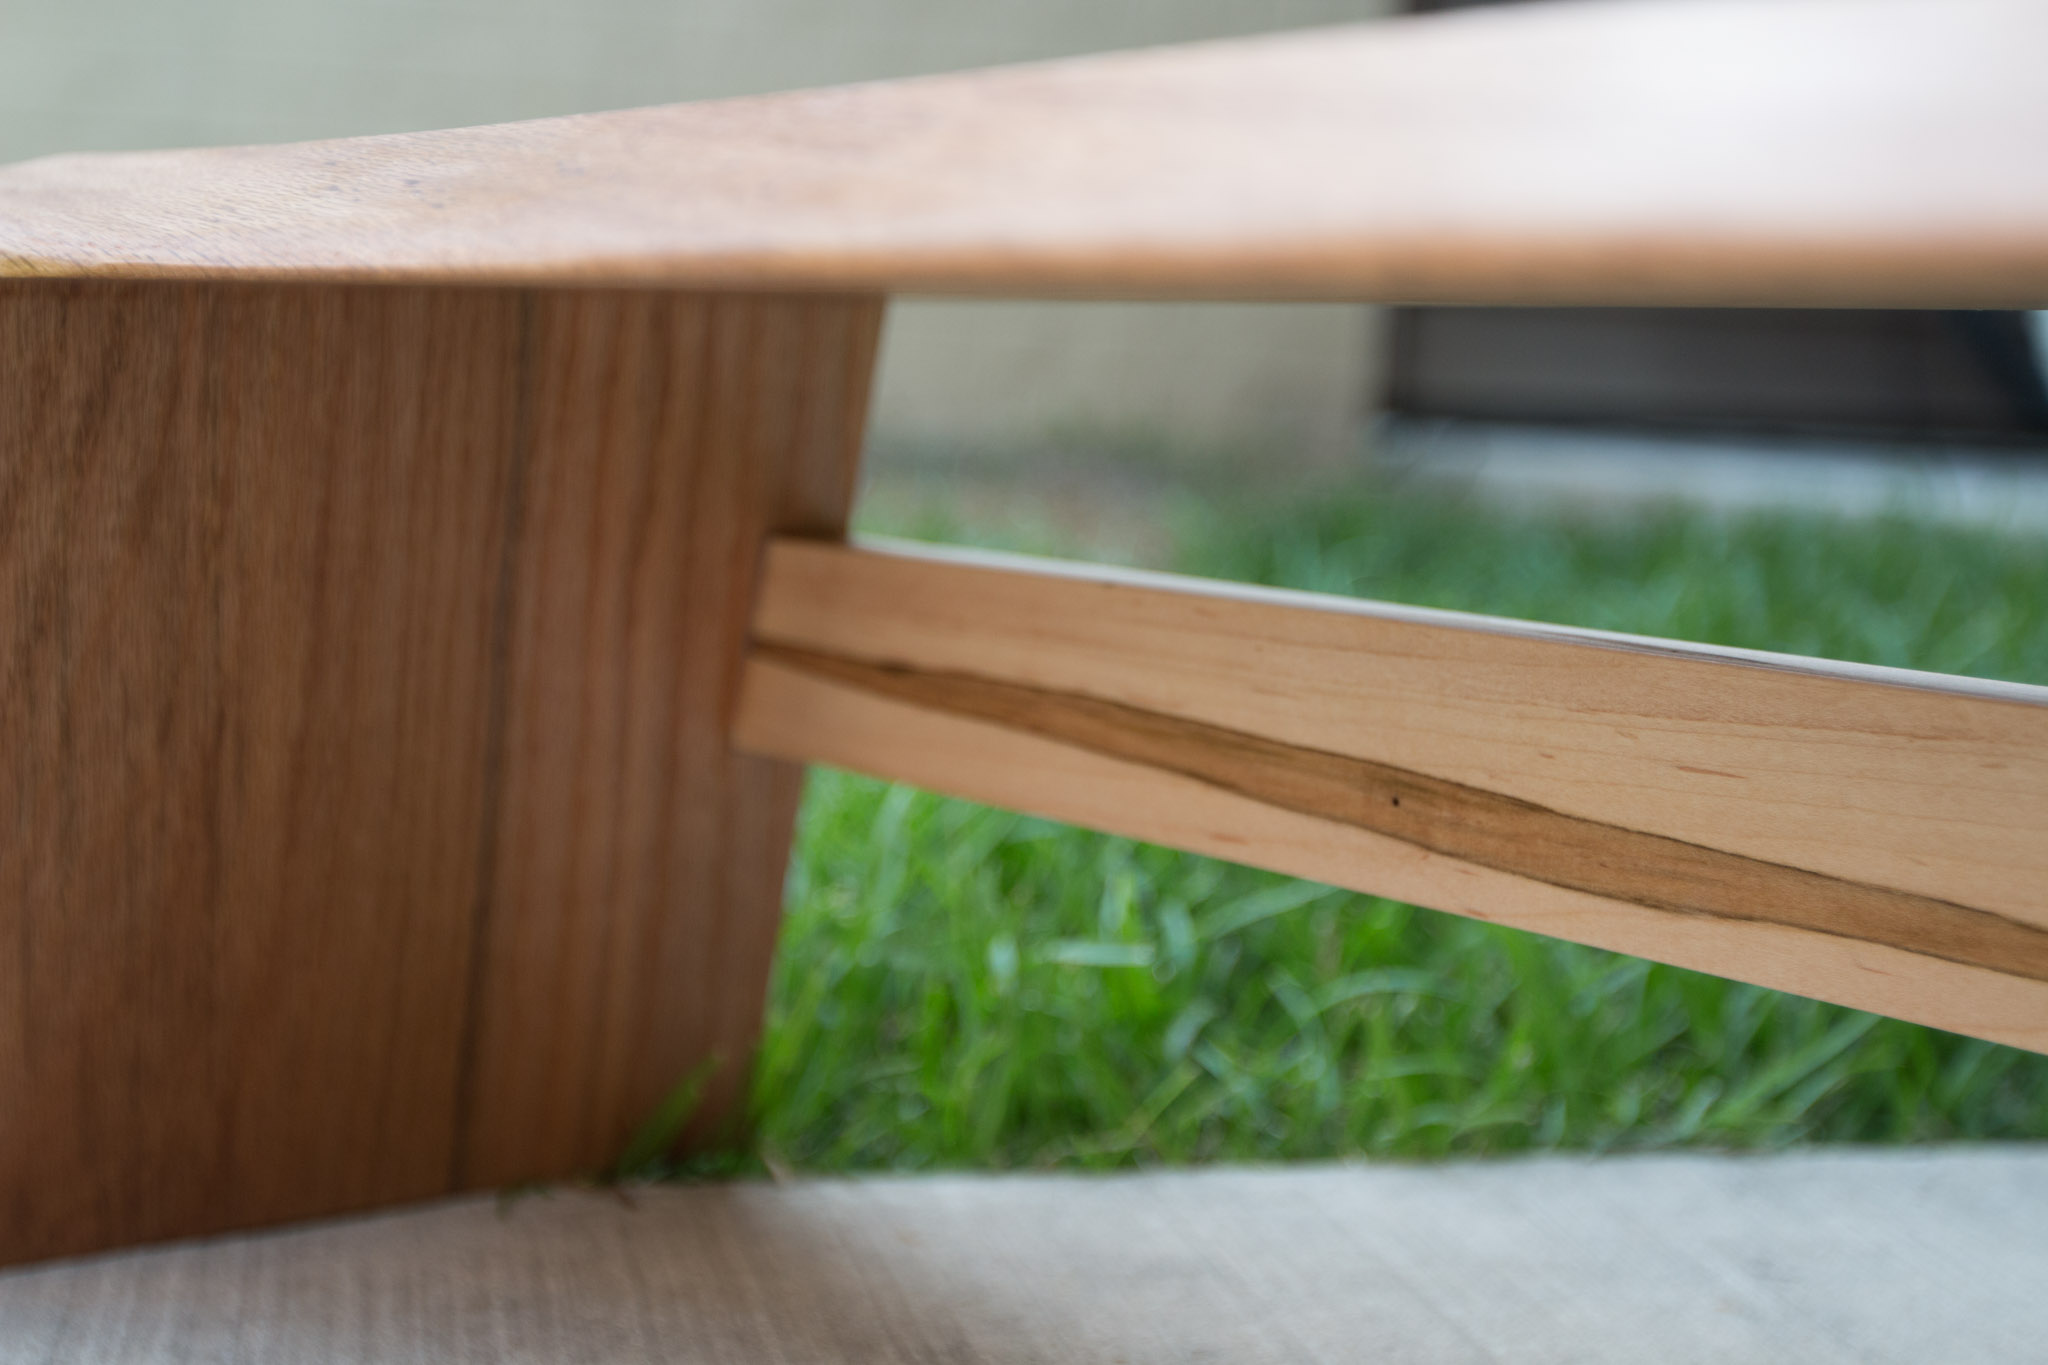
Next up was adding a stretcher to the back for a little added strength and visual interest. I had some ambrosia maple, so I decided to use that for the stretcher. I ripped a piece of the maple down to 2" and laid it out where I wanted the stretcher to be. All I had to be sure of is that I was not putting it too low to get in the way of the robovac charger. In case it is unclear what I mean by stretcher, it is just a piece that will go along the back side and kind of connect the two side pieces. This will add a lot of strength to the piece, but not really take away from the look of it.

Once I had the piece of maple where I wanted it, I used a marking knife to mark lined where I needed to remove material from the side pieces. This would allow the maple piece to recess into the side pieces, sitting flush on the sides and on the back.
Because of the 15 degree slant of the side pieces, I had to cut the final length of the stretcher to have the same 15 degree angles on either side.
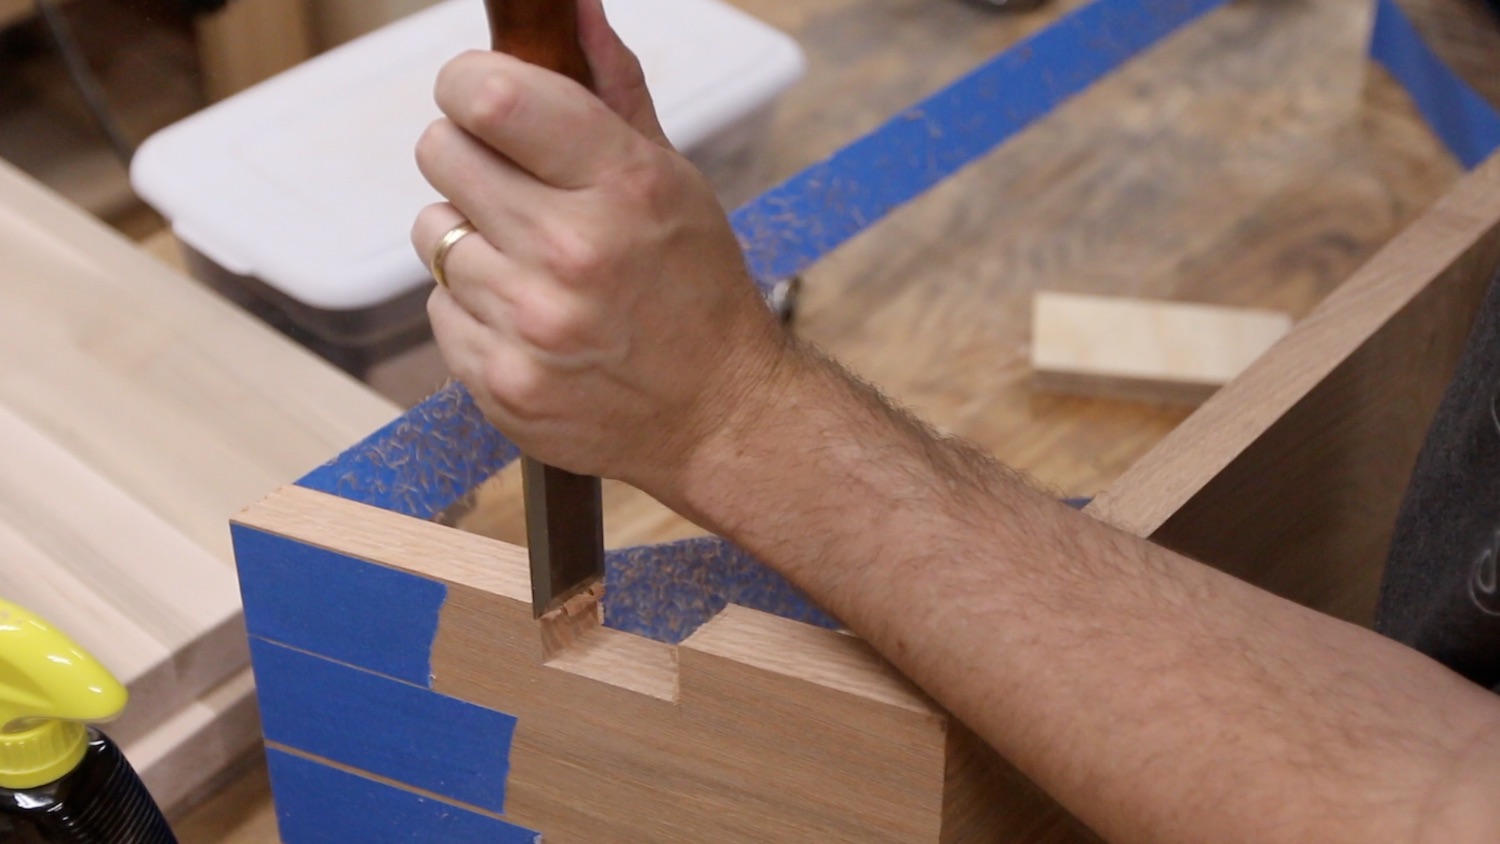
This next part was a little frustrating.
I want to be better at using hand tools, but I expect it when I don't use them very often. That's unreasonable for me to expect to be good at something that I never do. I used a 1/8" bit in my router to remove the bulk of the material


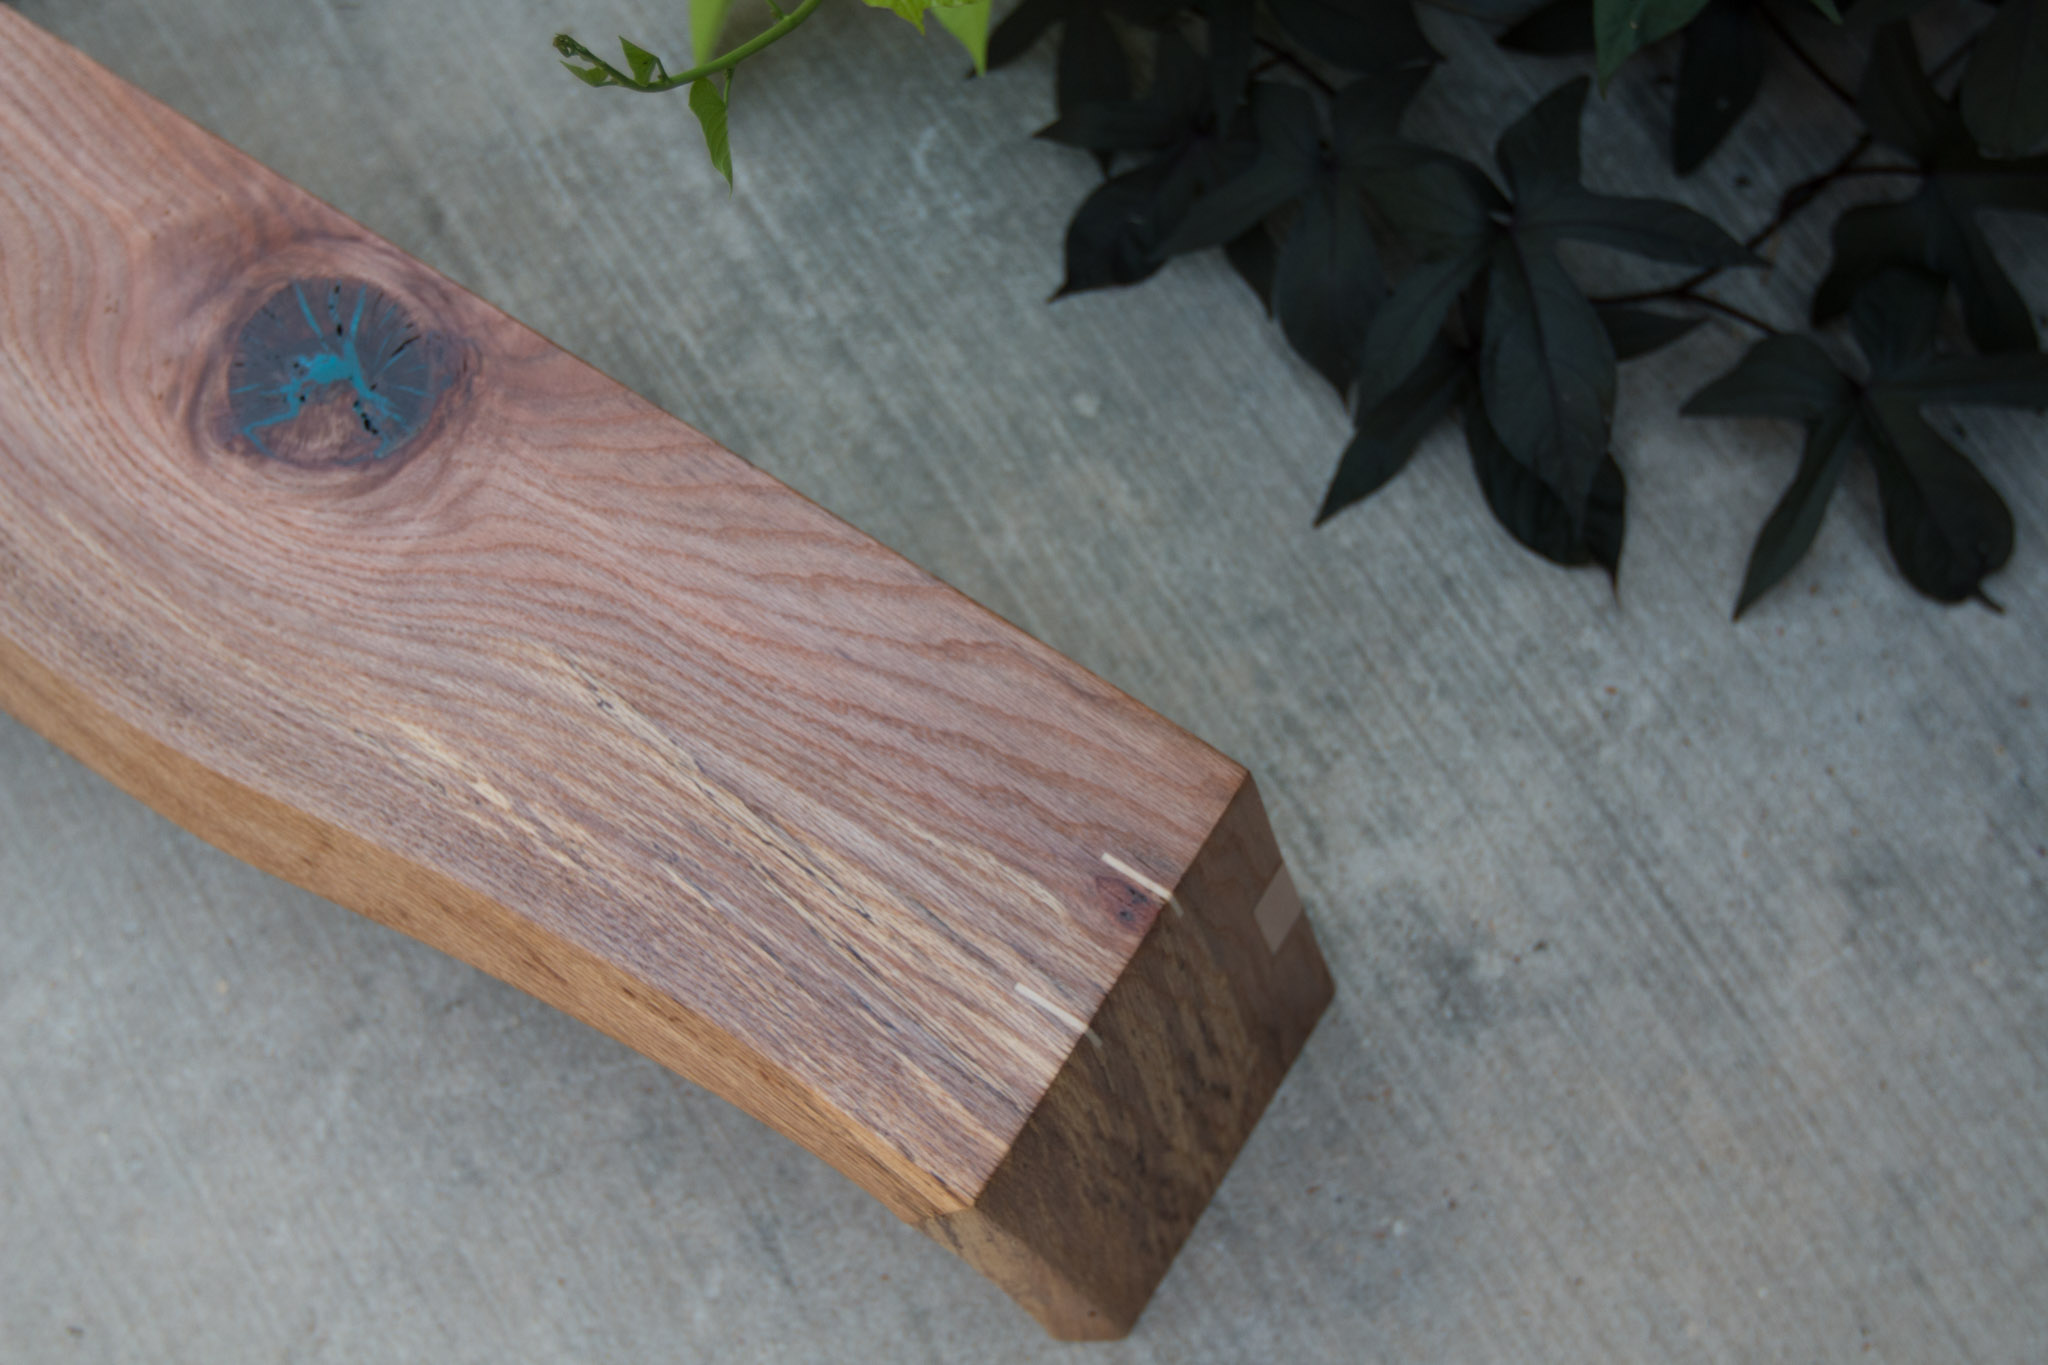
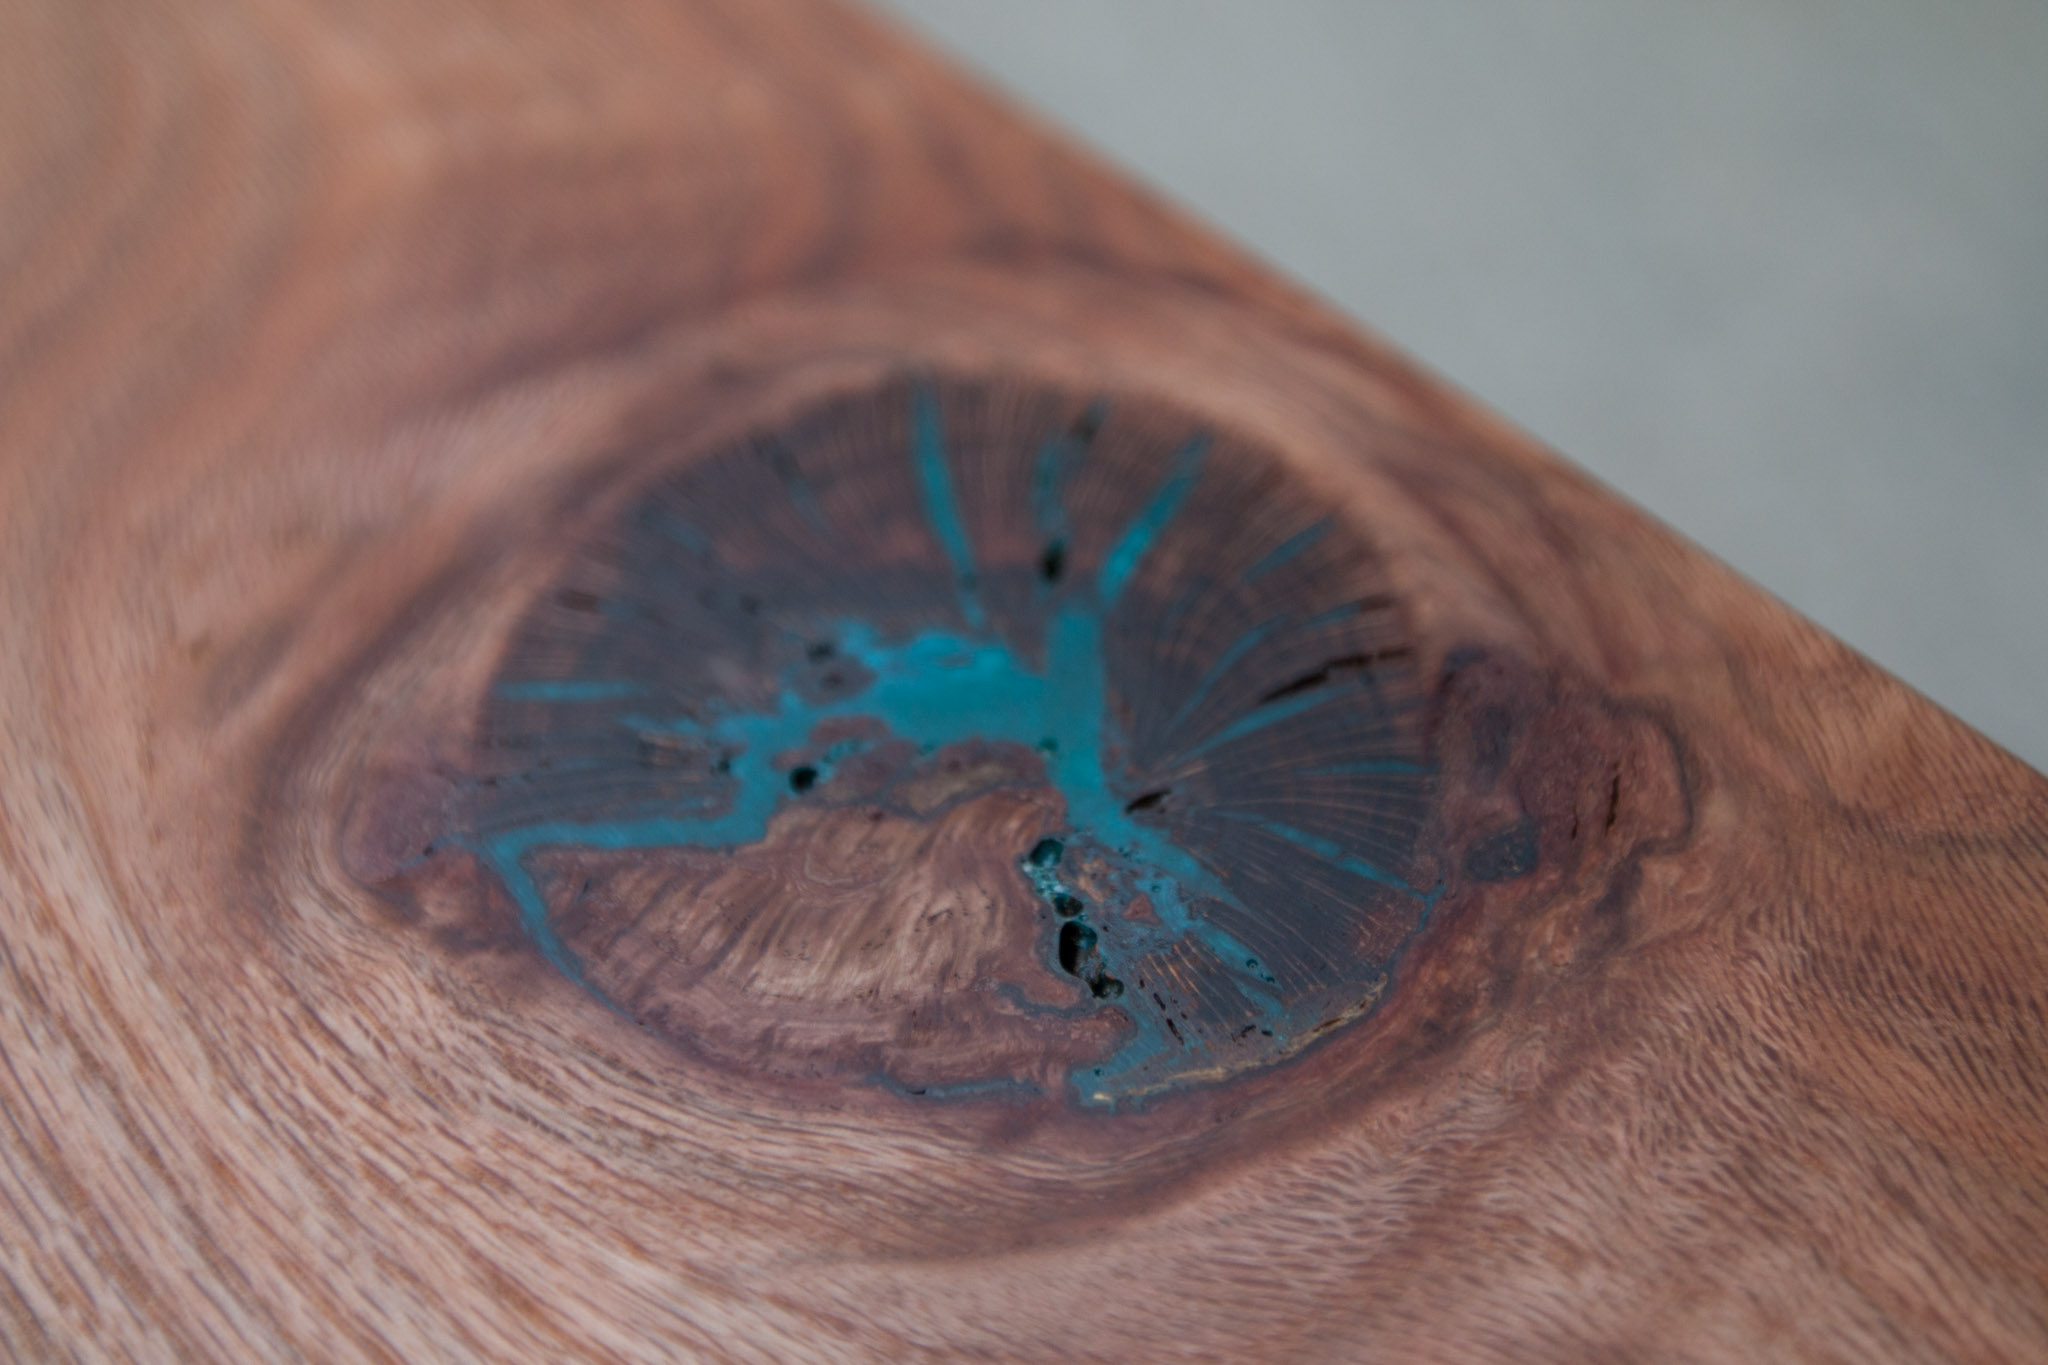
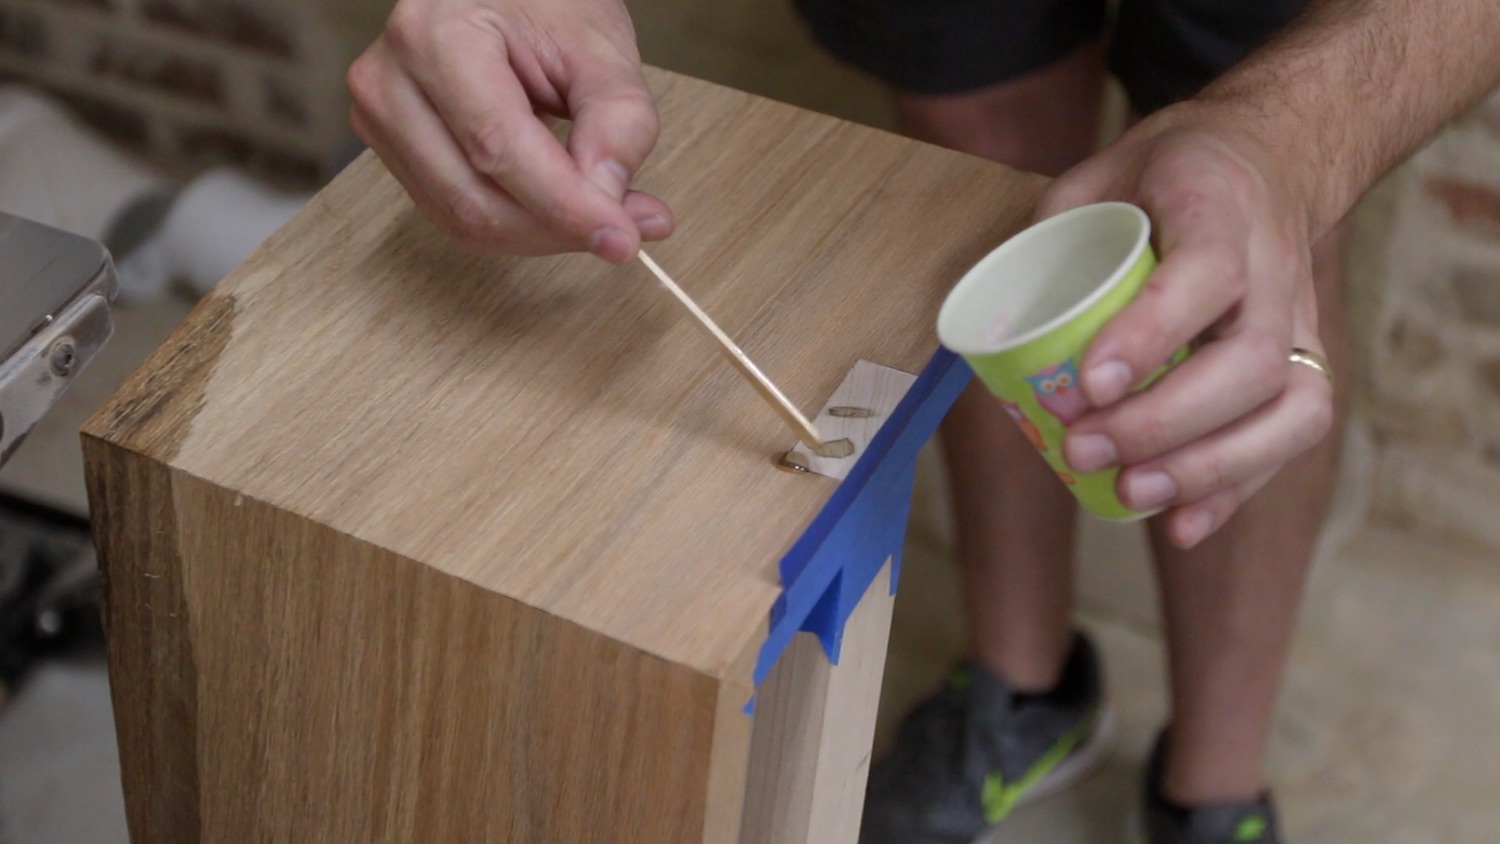
In order to fill some of the gaps left by my stellar chisel work, I decided to sand the ends flush (where the maple joined with the oak), so that I could add some tape. Then, I mixed up some epoxy and, one side at a time, poured some of it around and down into all of those cavities. This caused a two-day delay on the project, but I'm glad I did it. I would not have been happy with the way it looked otherwise.
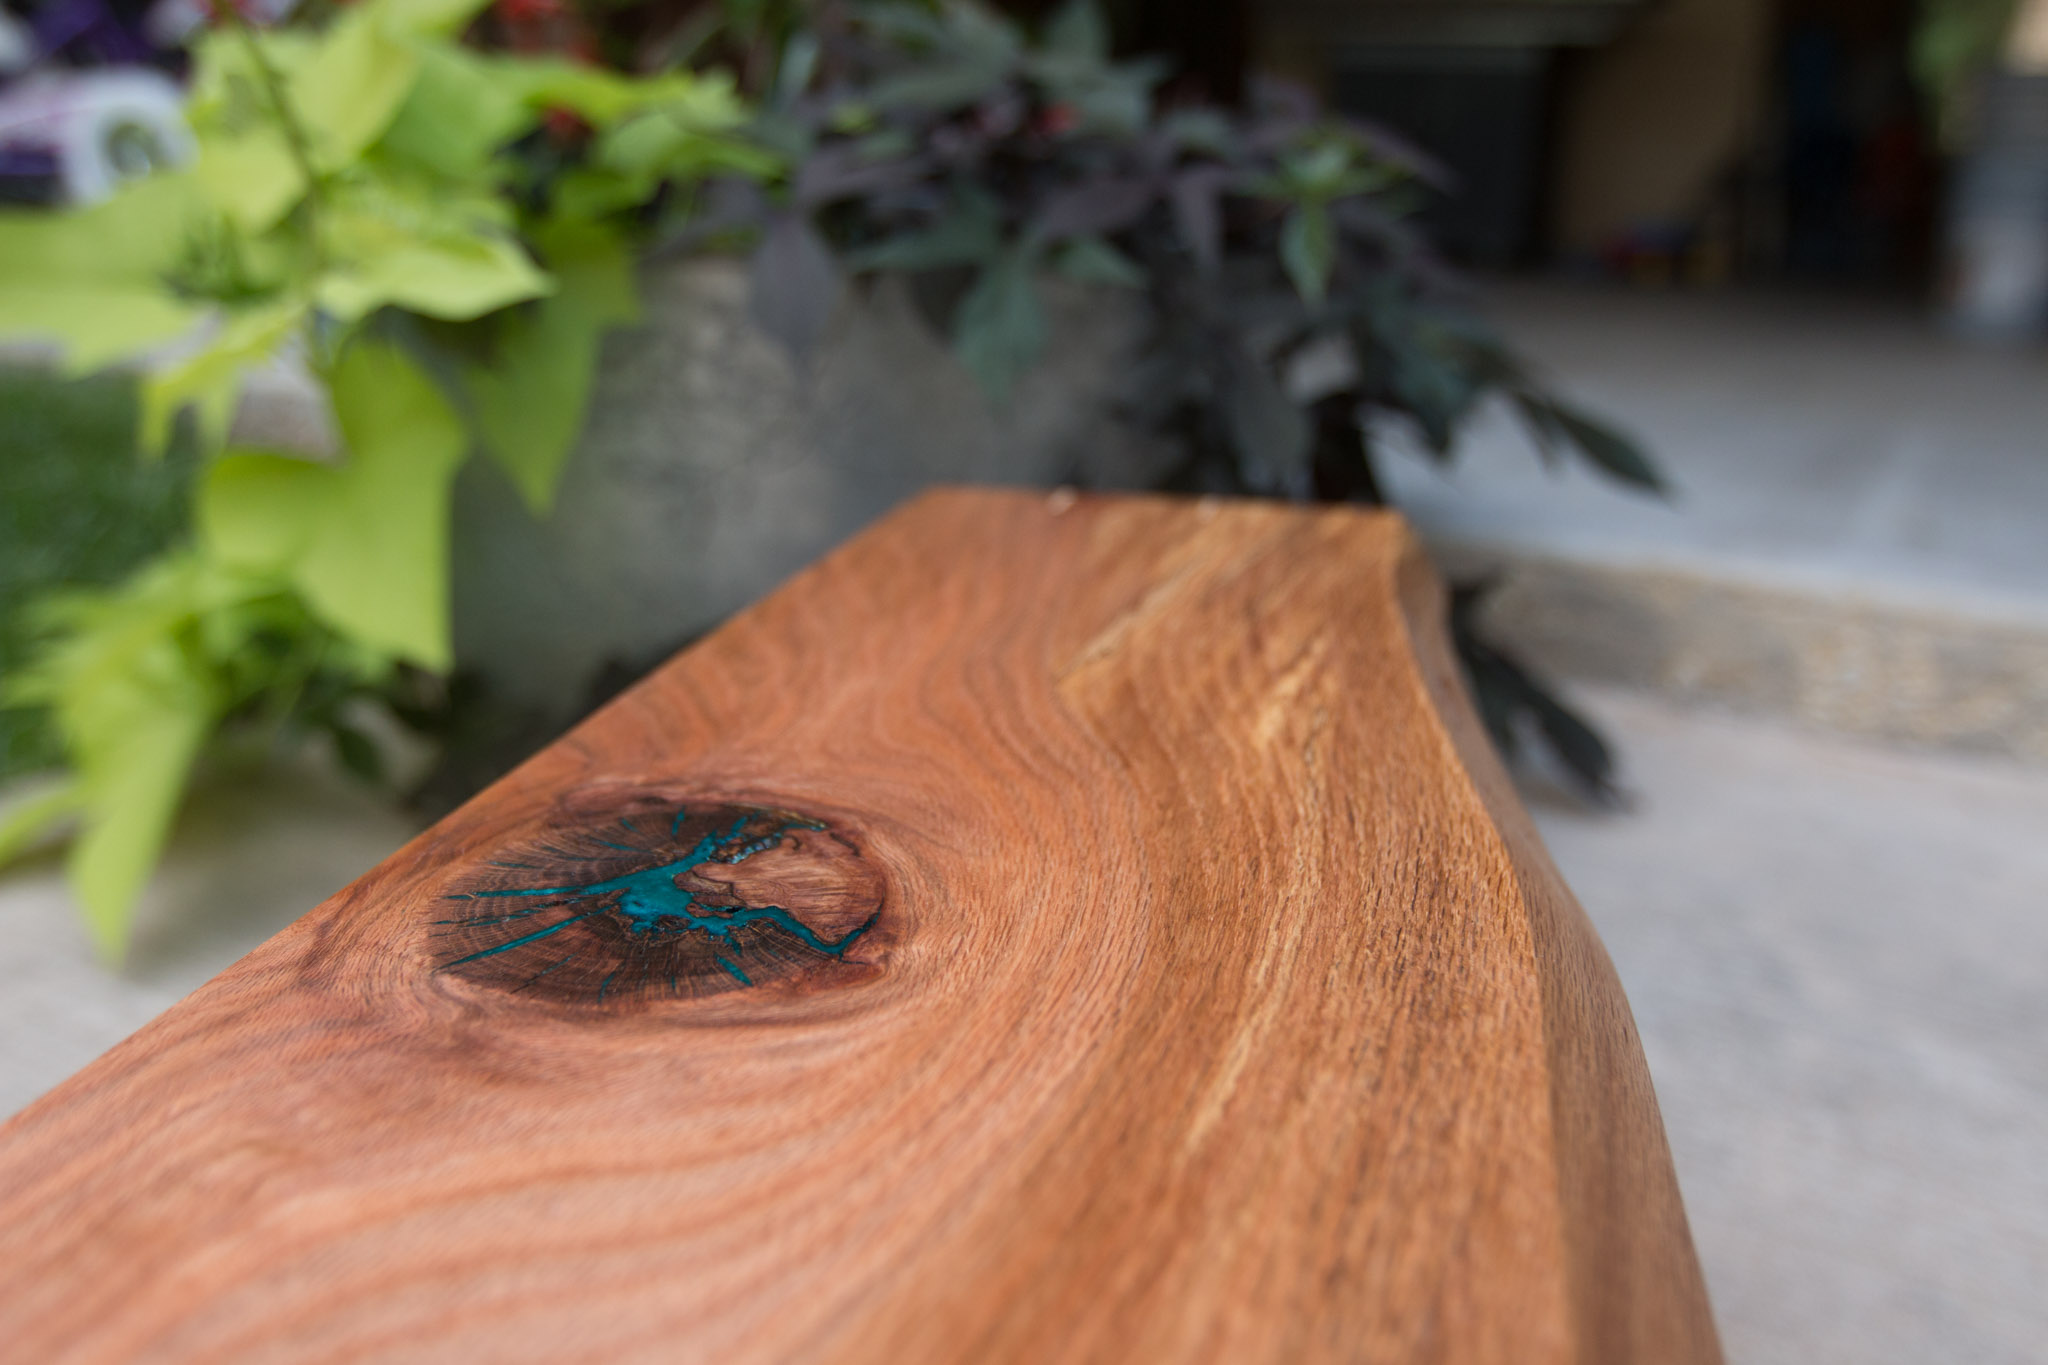
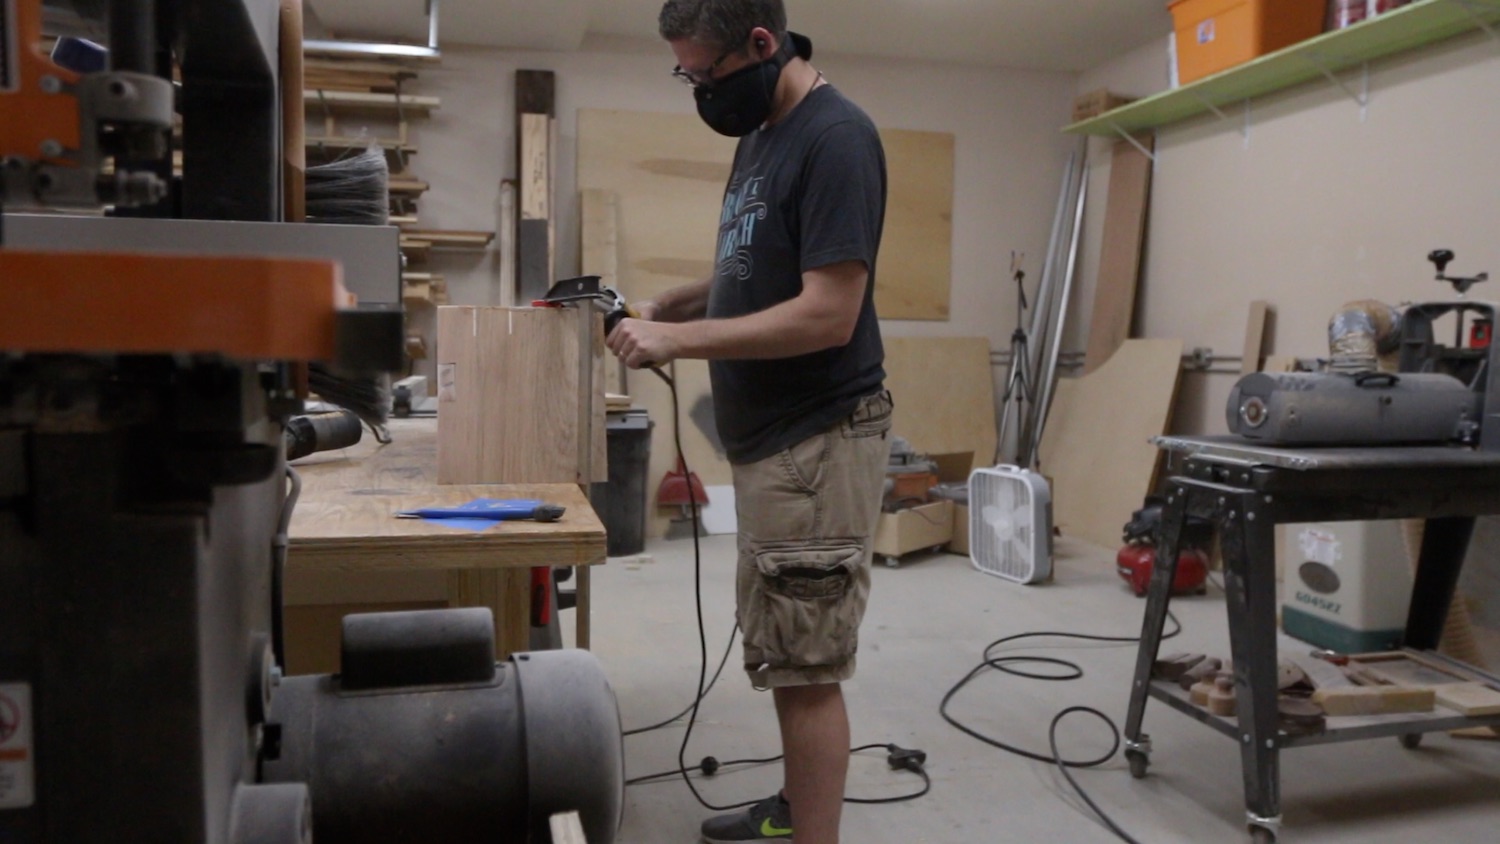
Next, I put a flap disc on my angle grinder with a very aggressive grit and went to town on the live edge of this piece. The live edge section was really sharp, so I rounded that over a bit. I didn't want someone getting hurt on that sharp edge. I also sanded off some of the fuzzy stuff left from the inside of the bark. I didn't want the organic shape of the live edge to go away, but I wanted al of the bark gone.


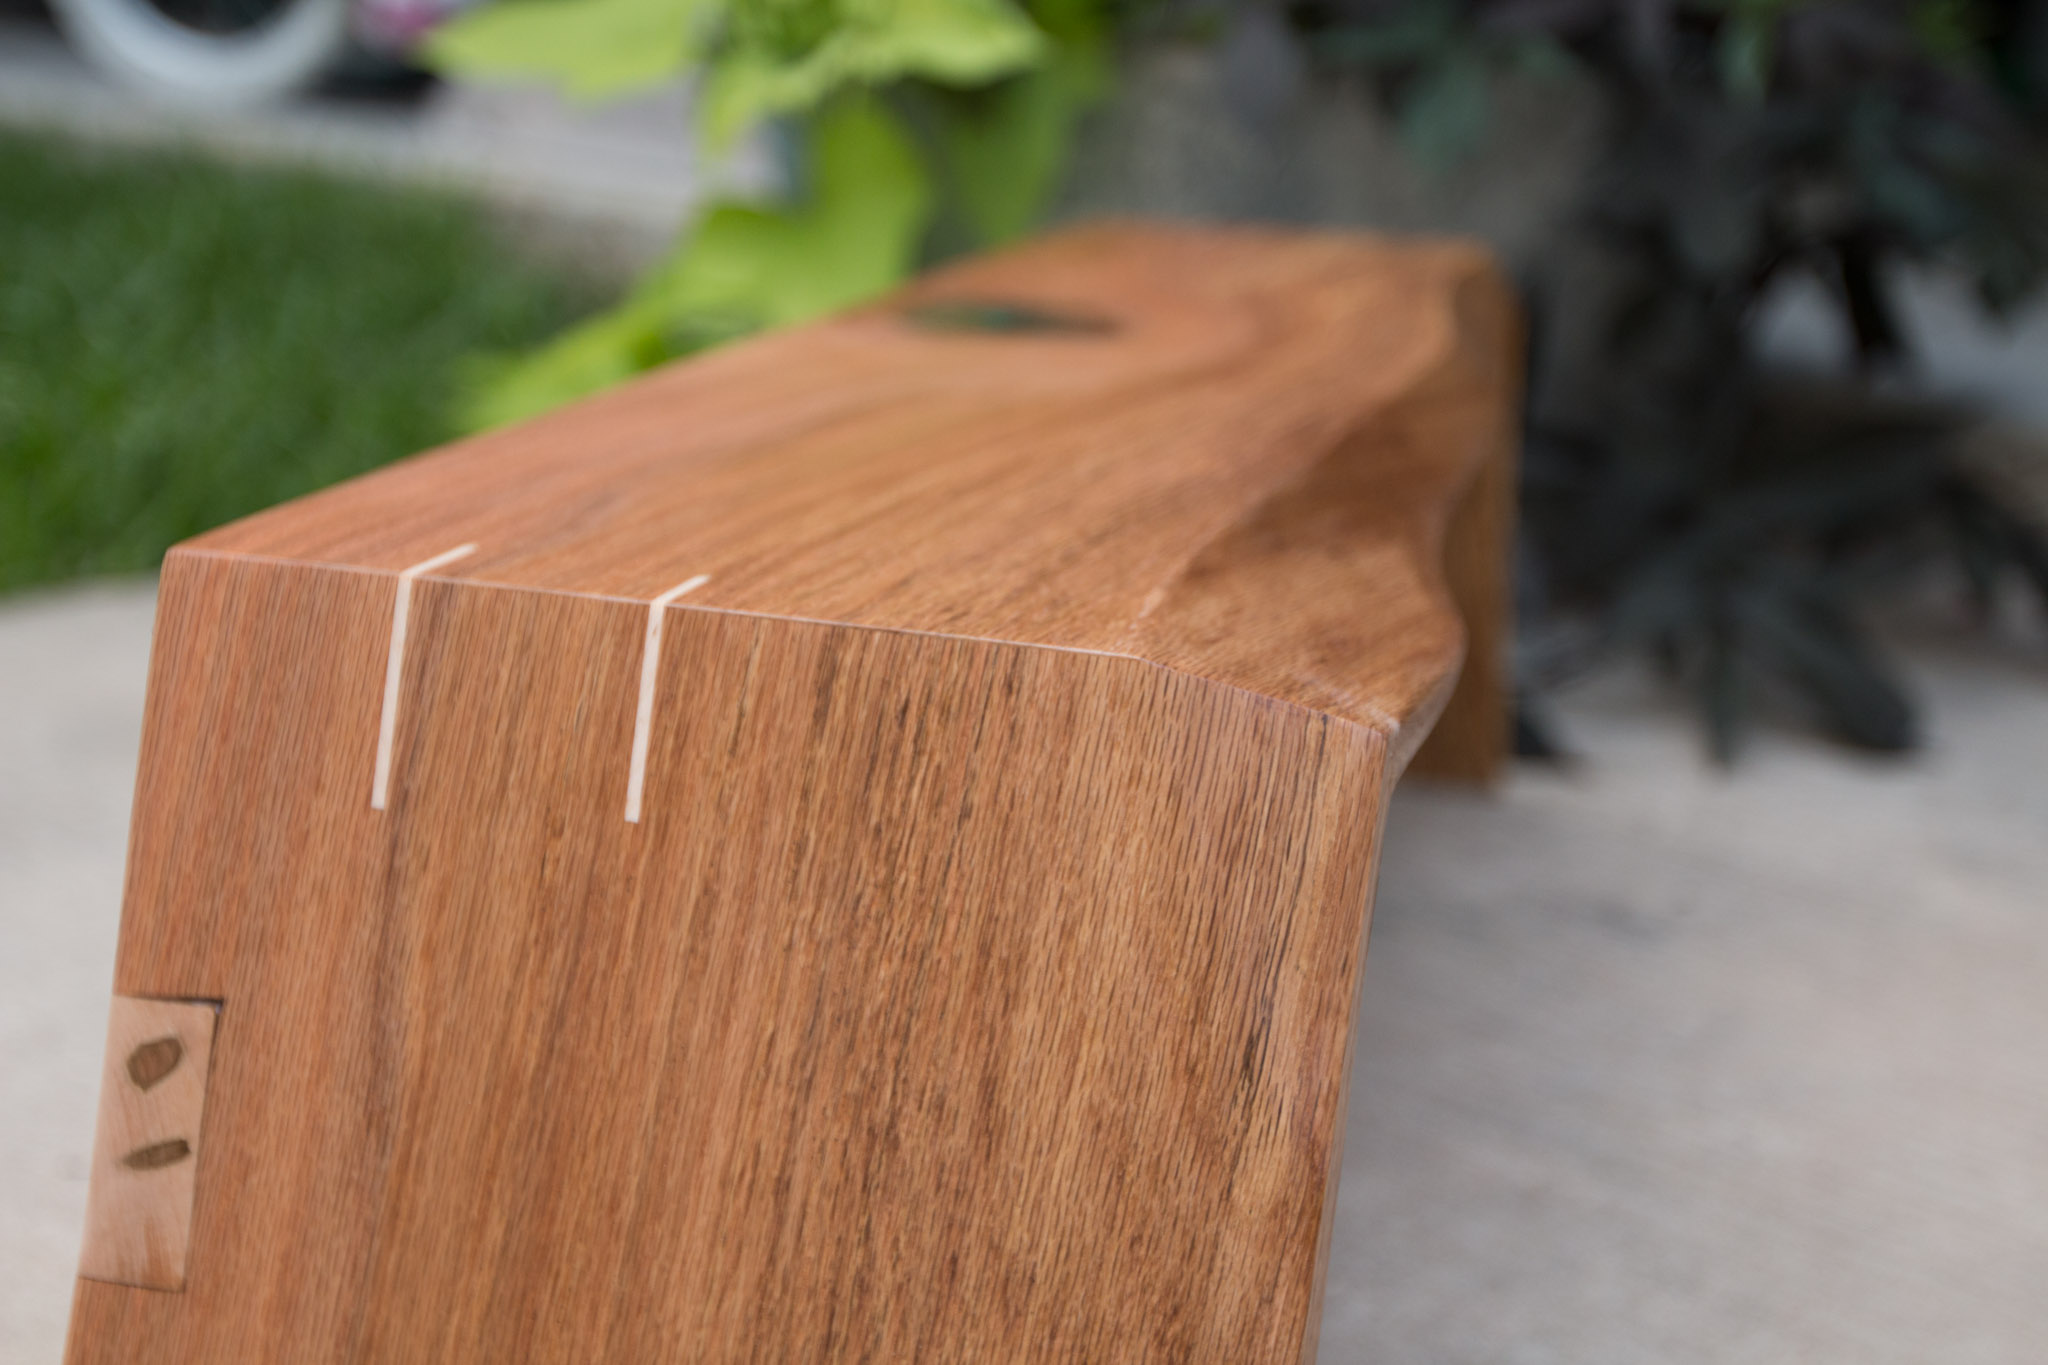
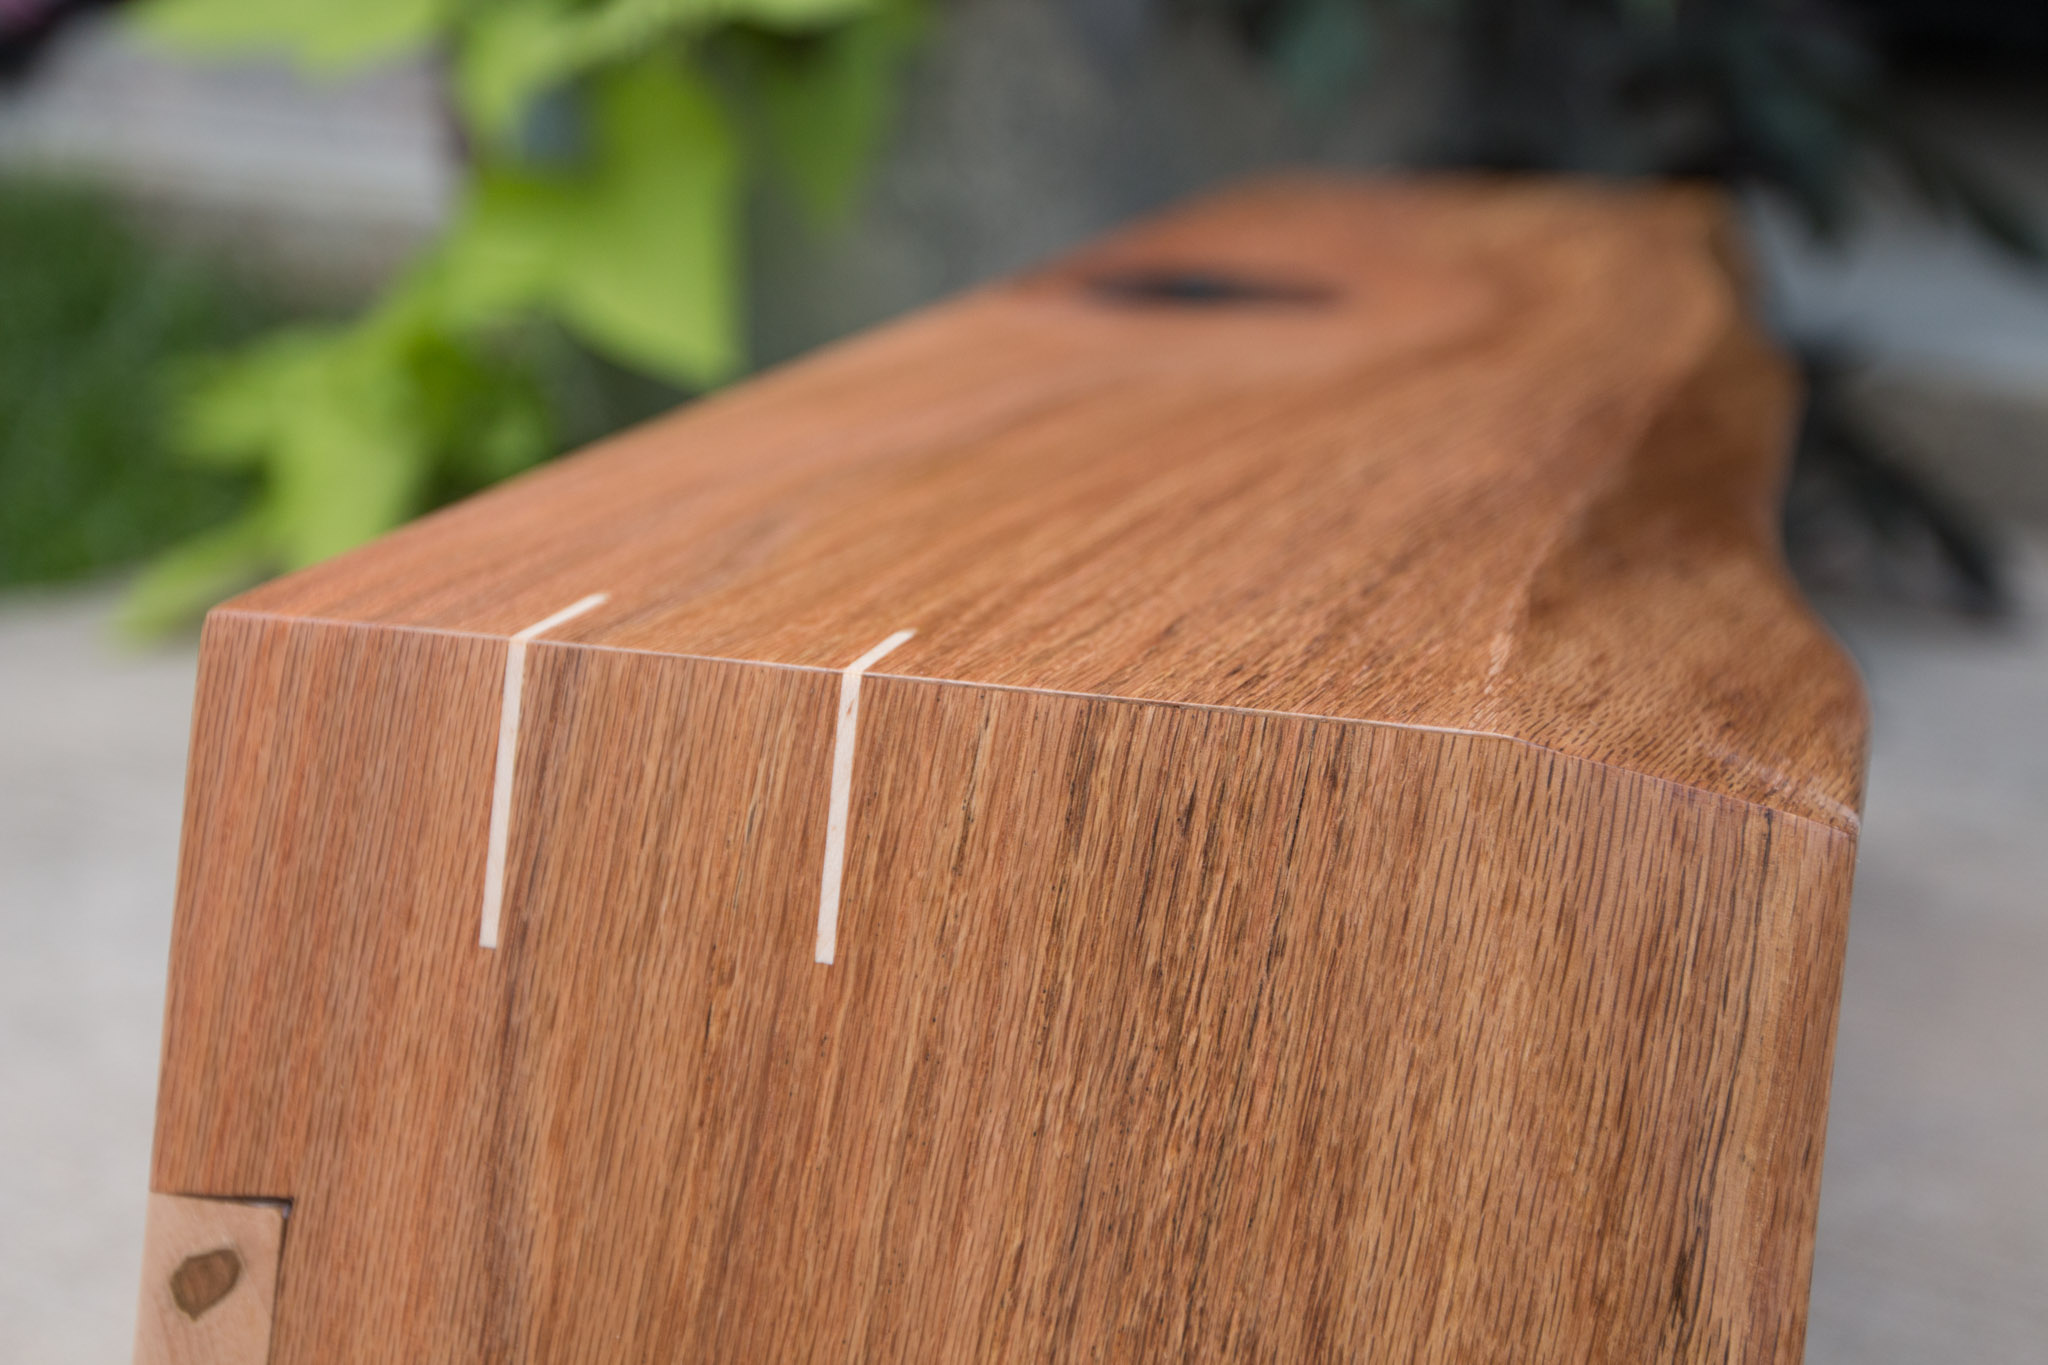
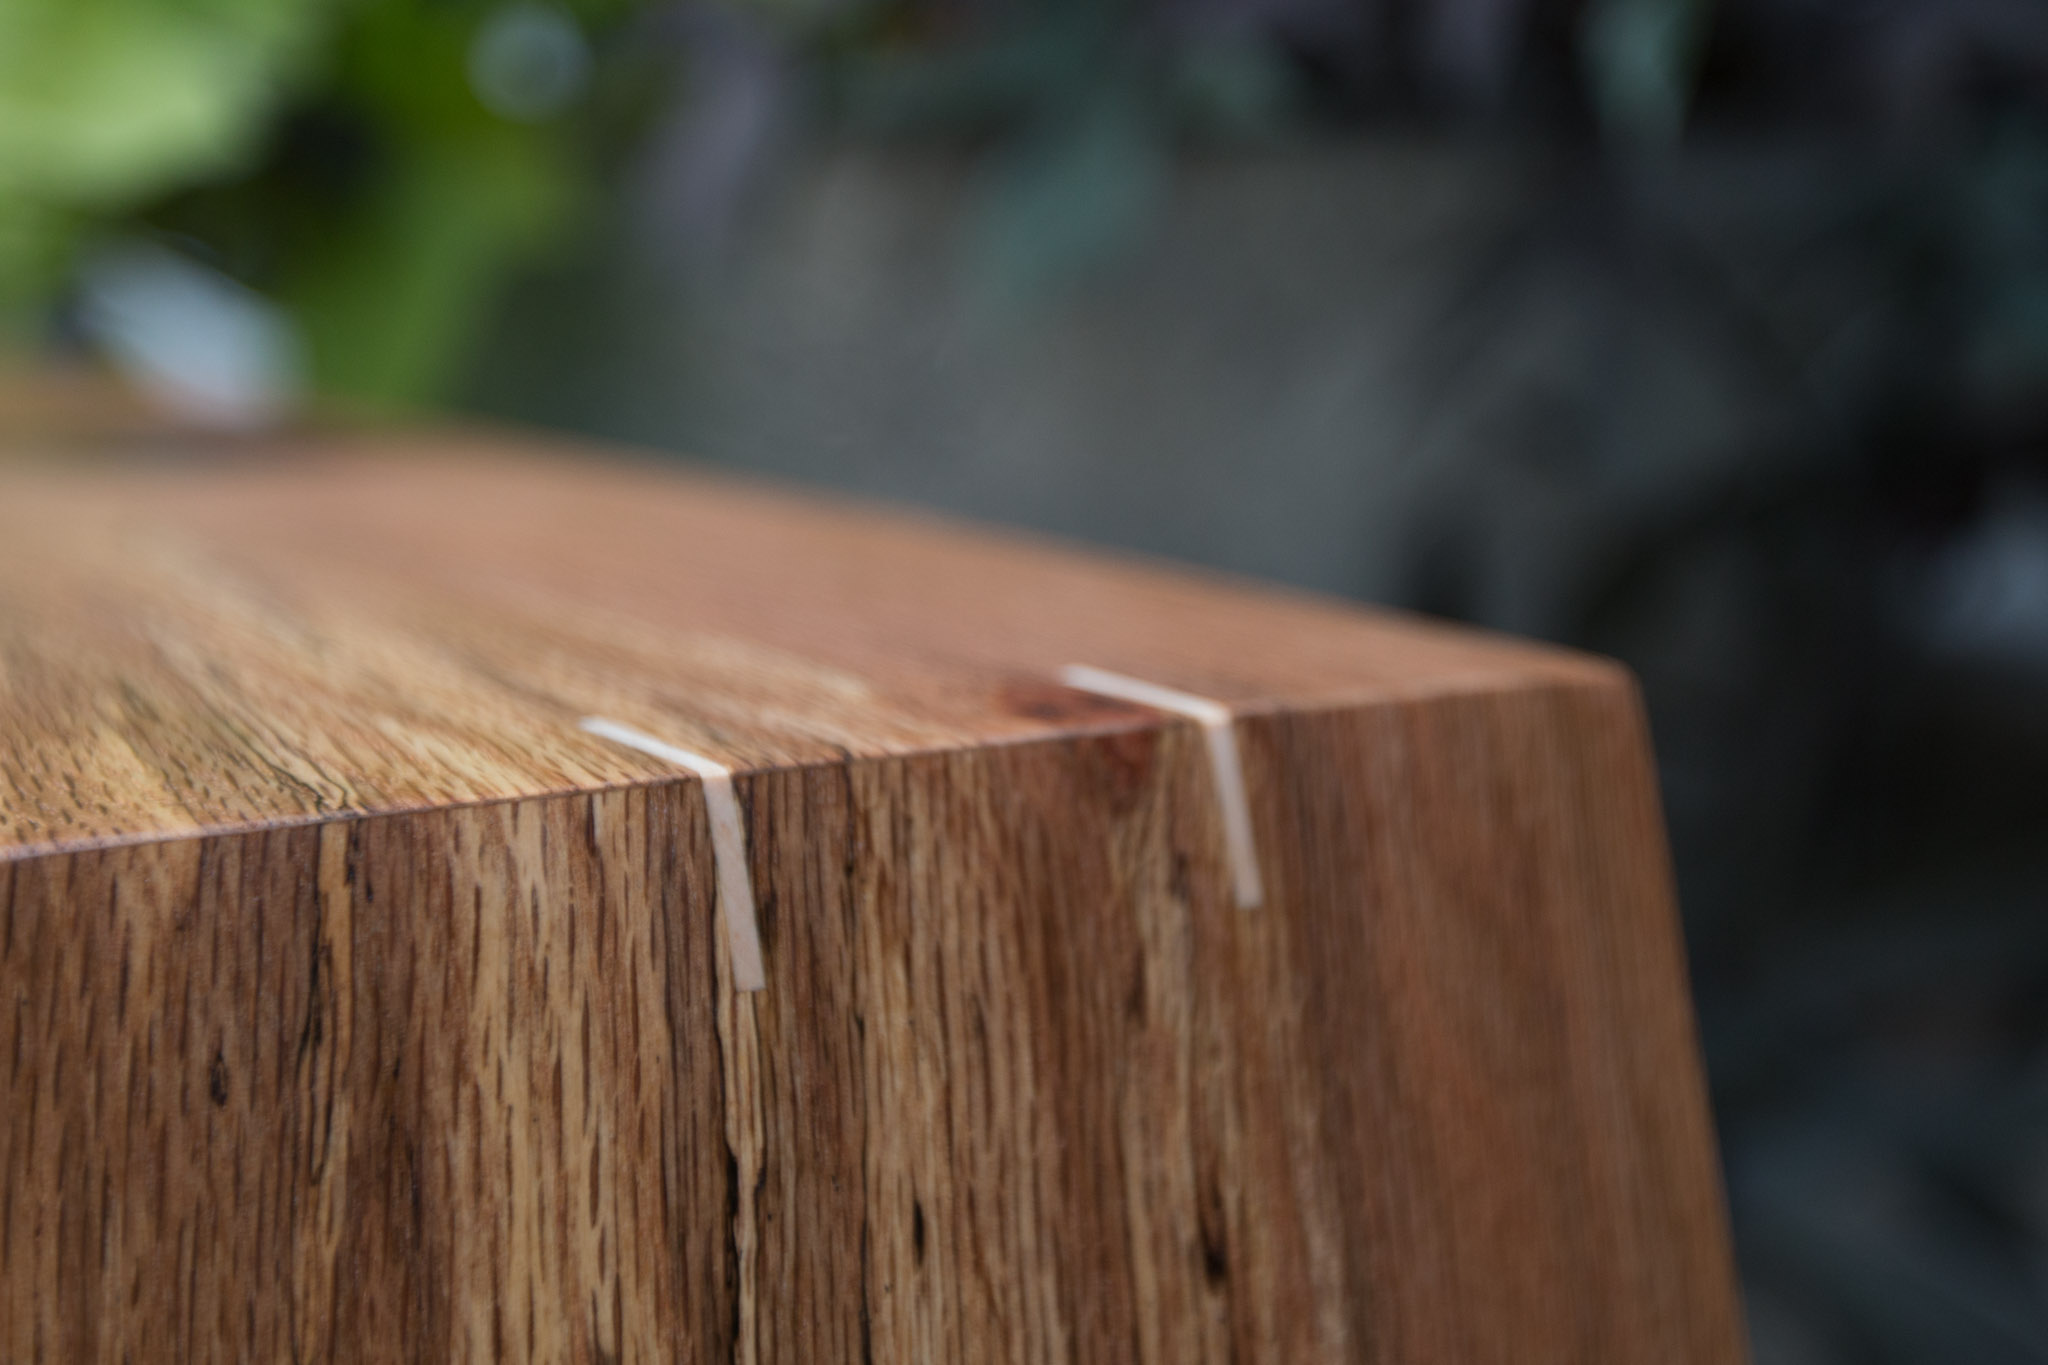
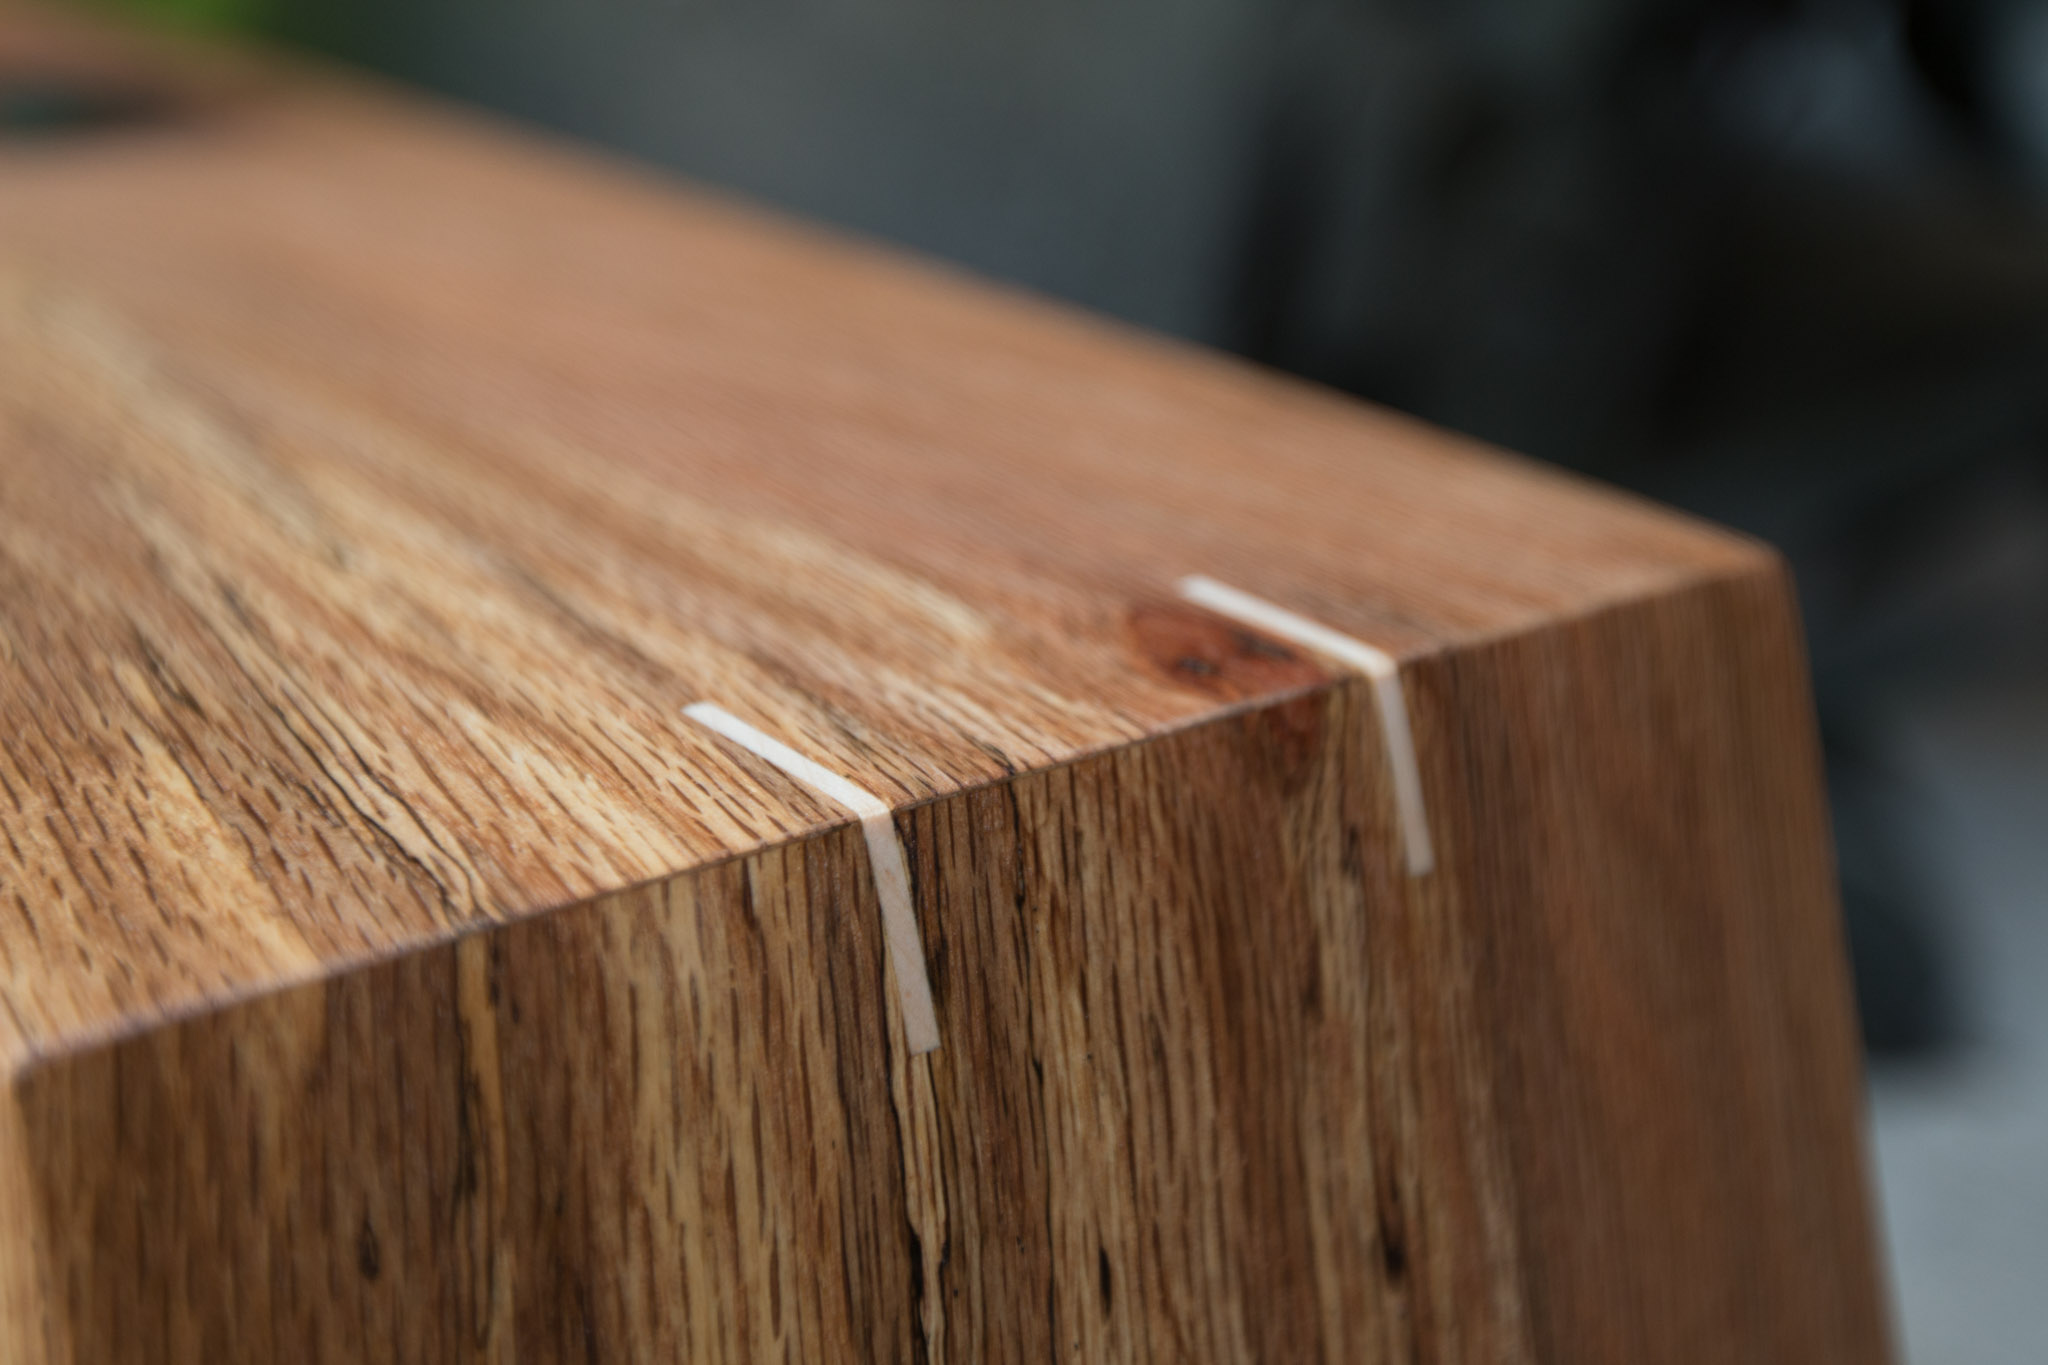
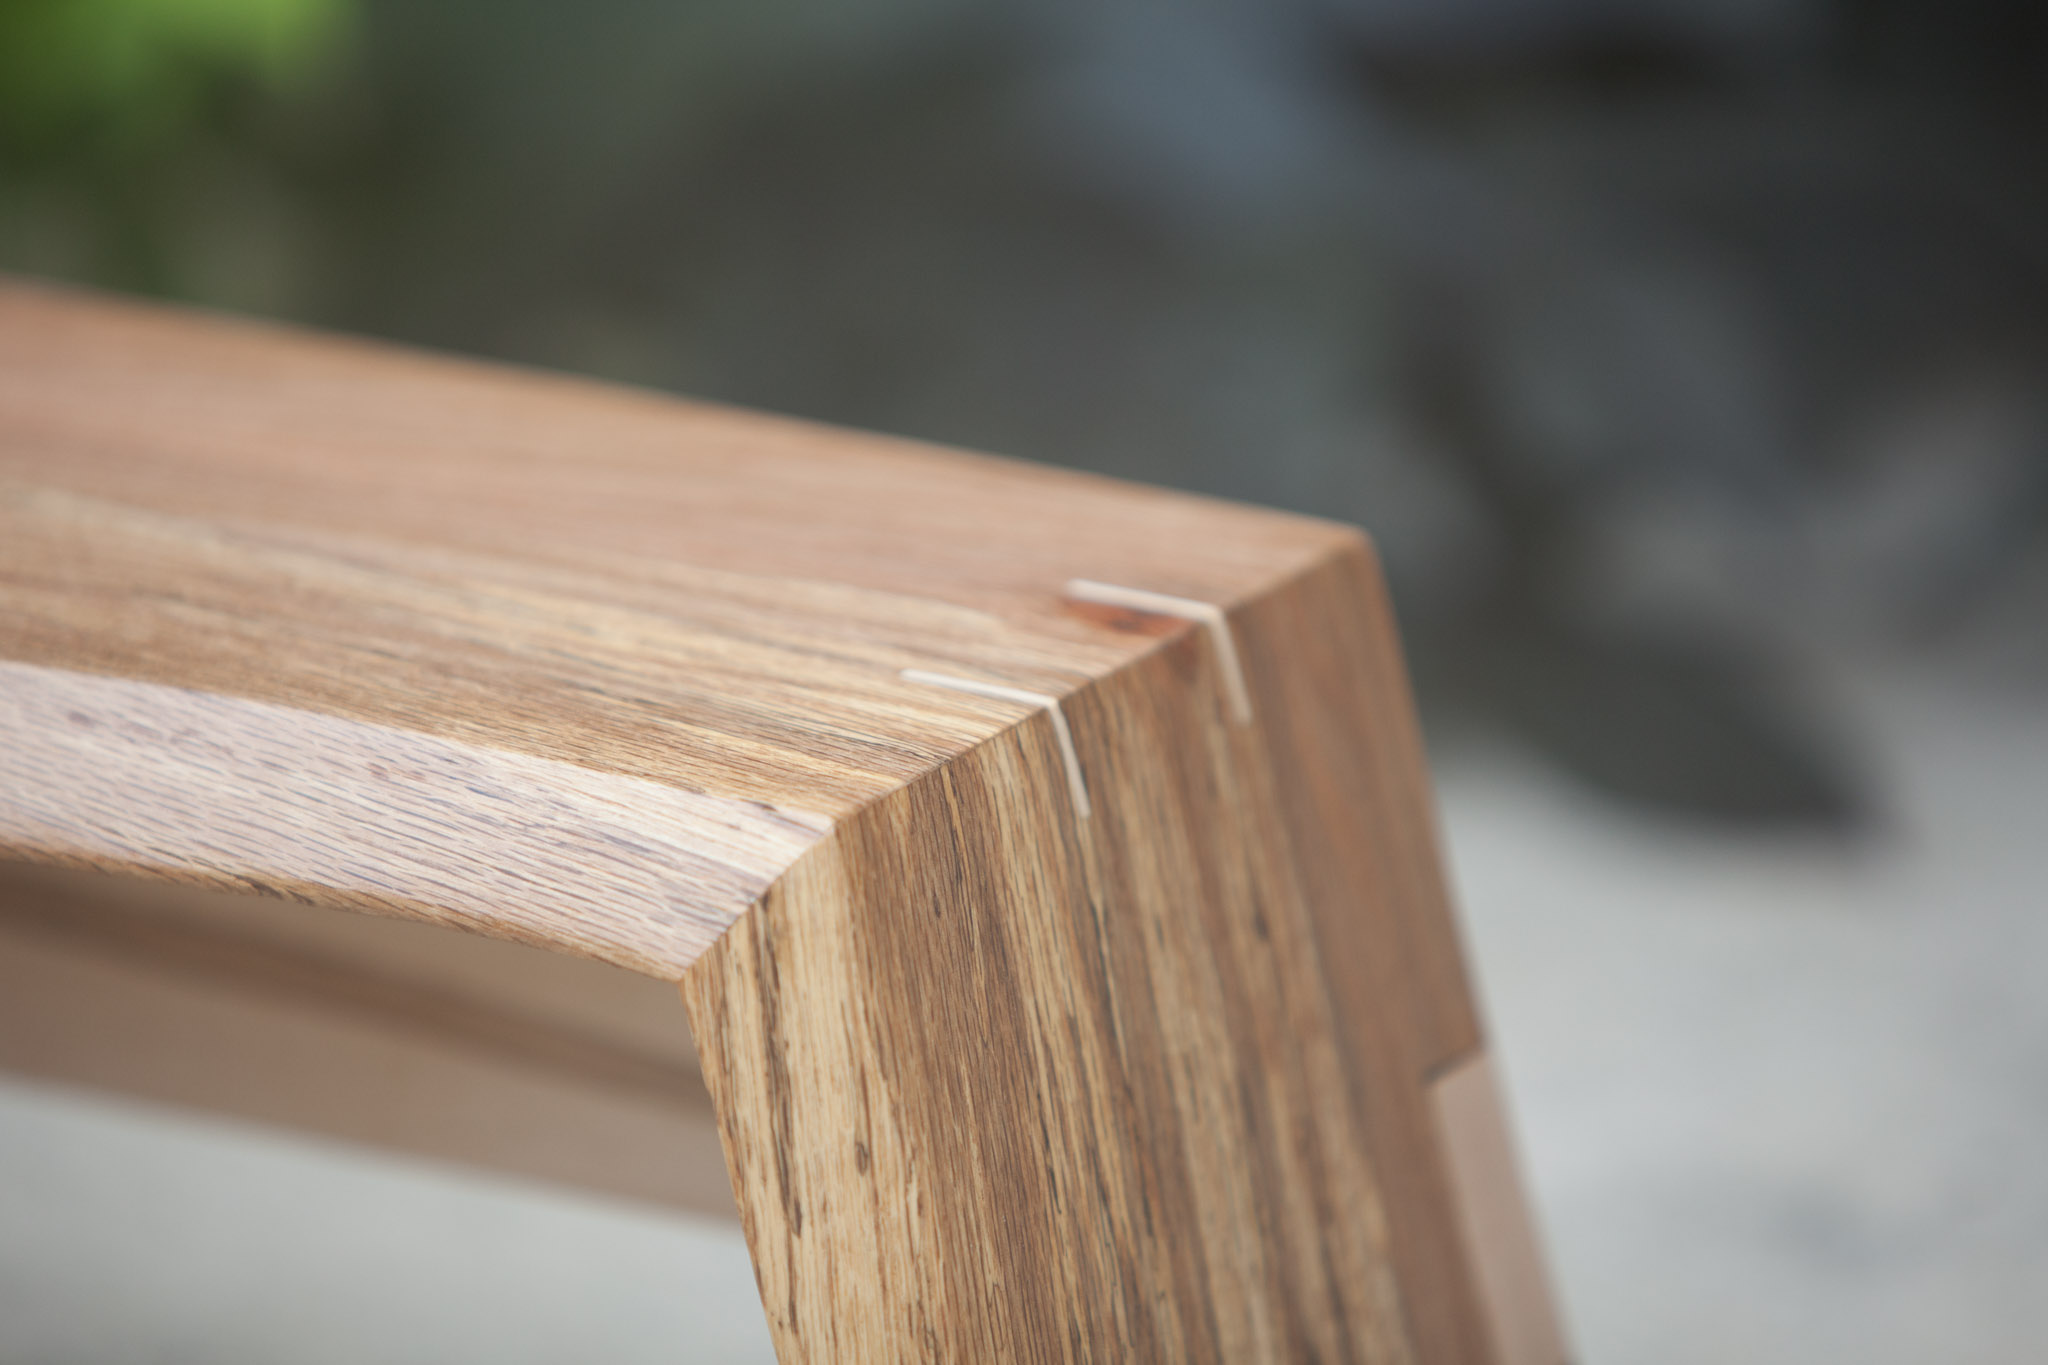
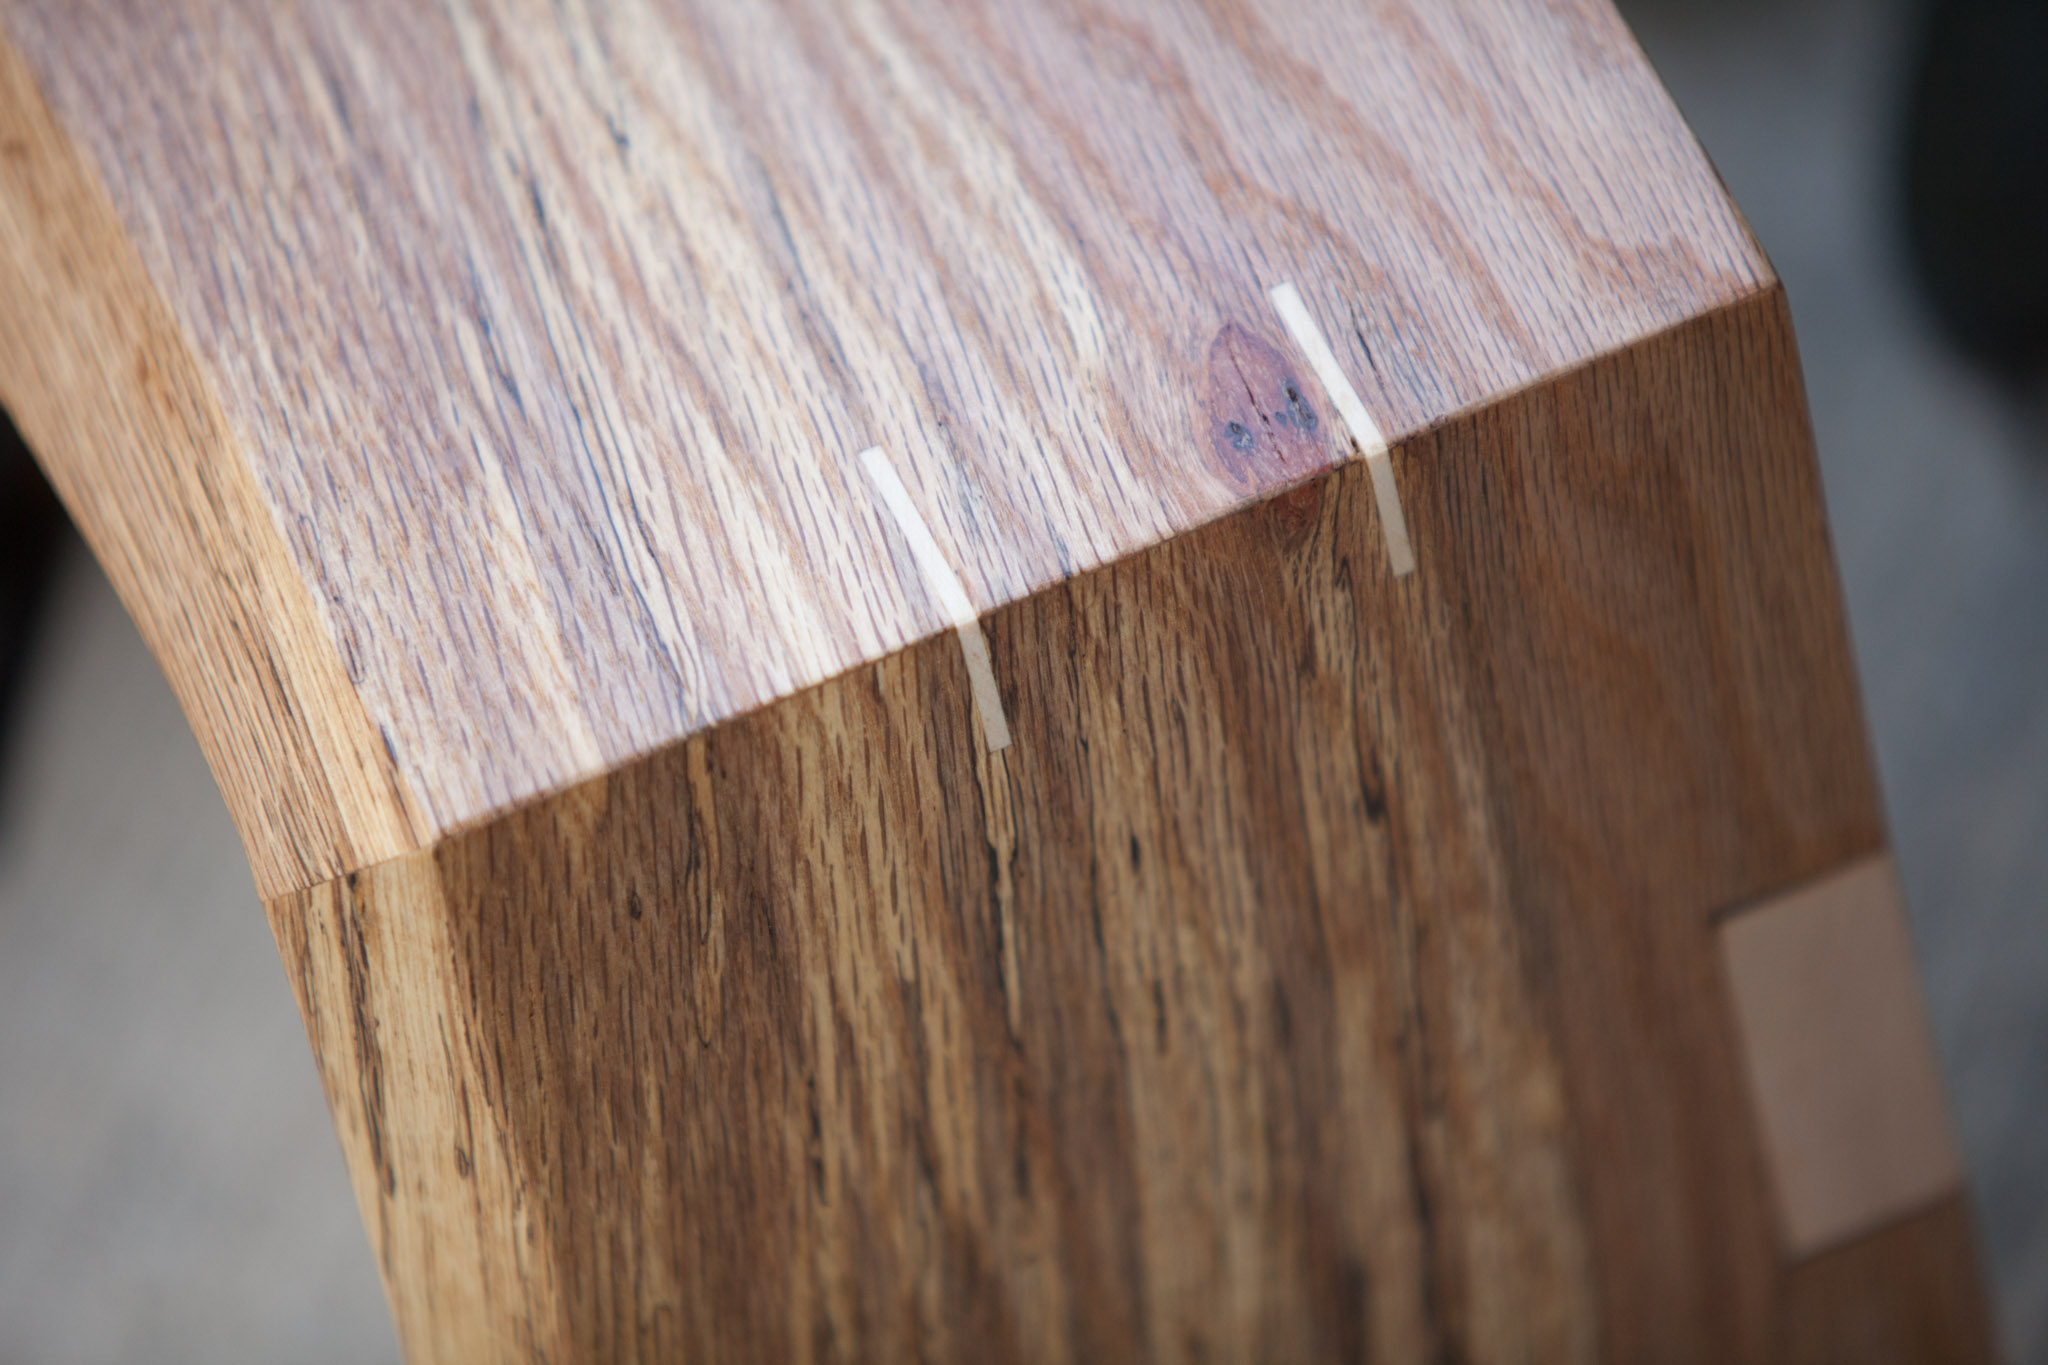
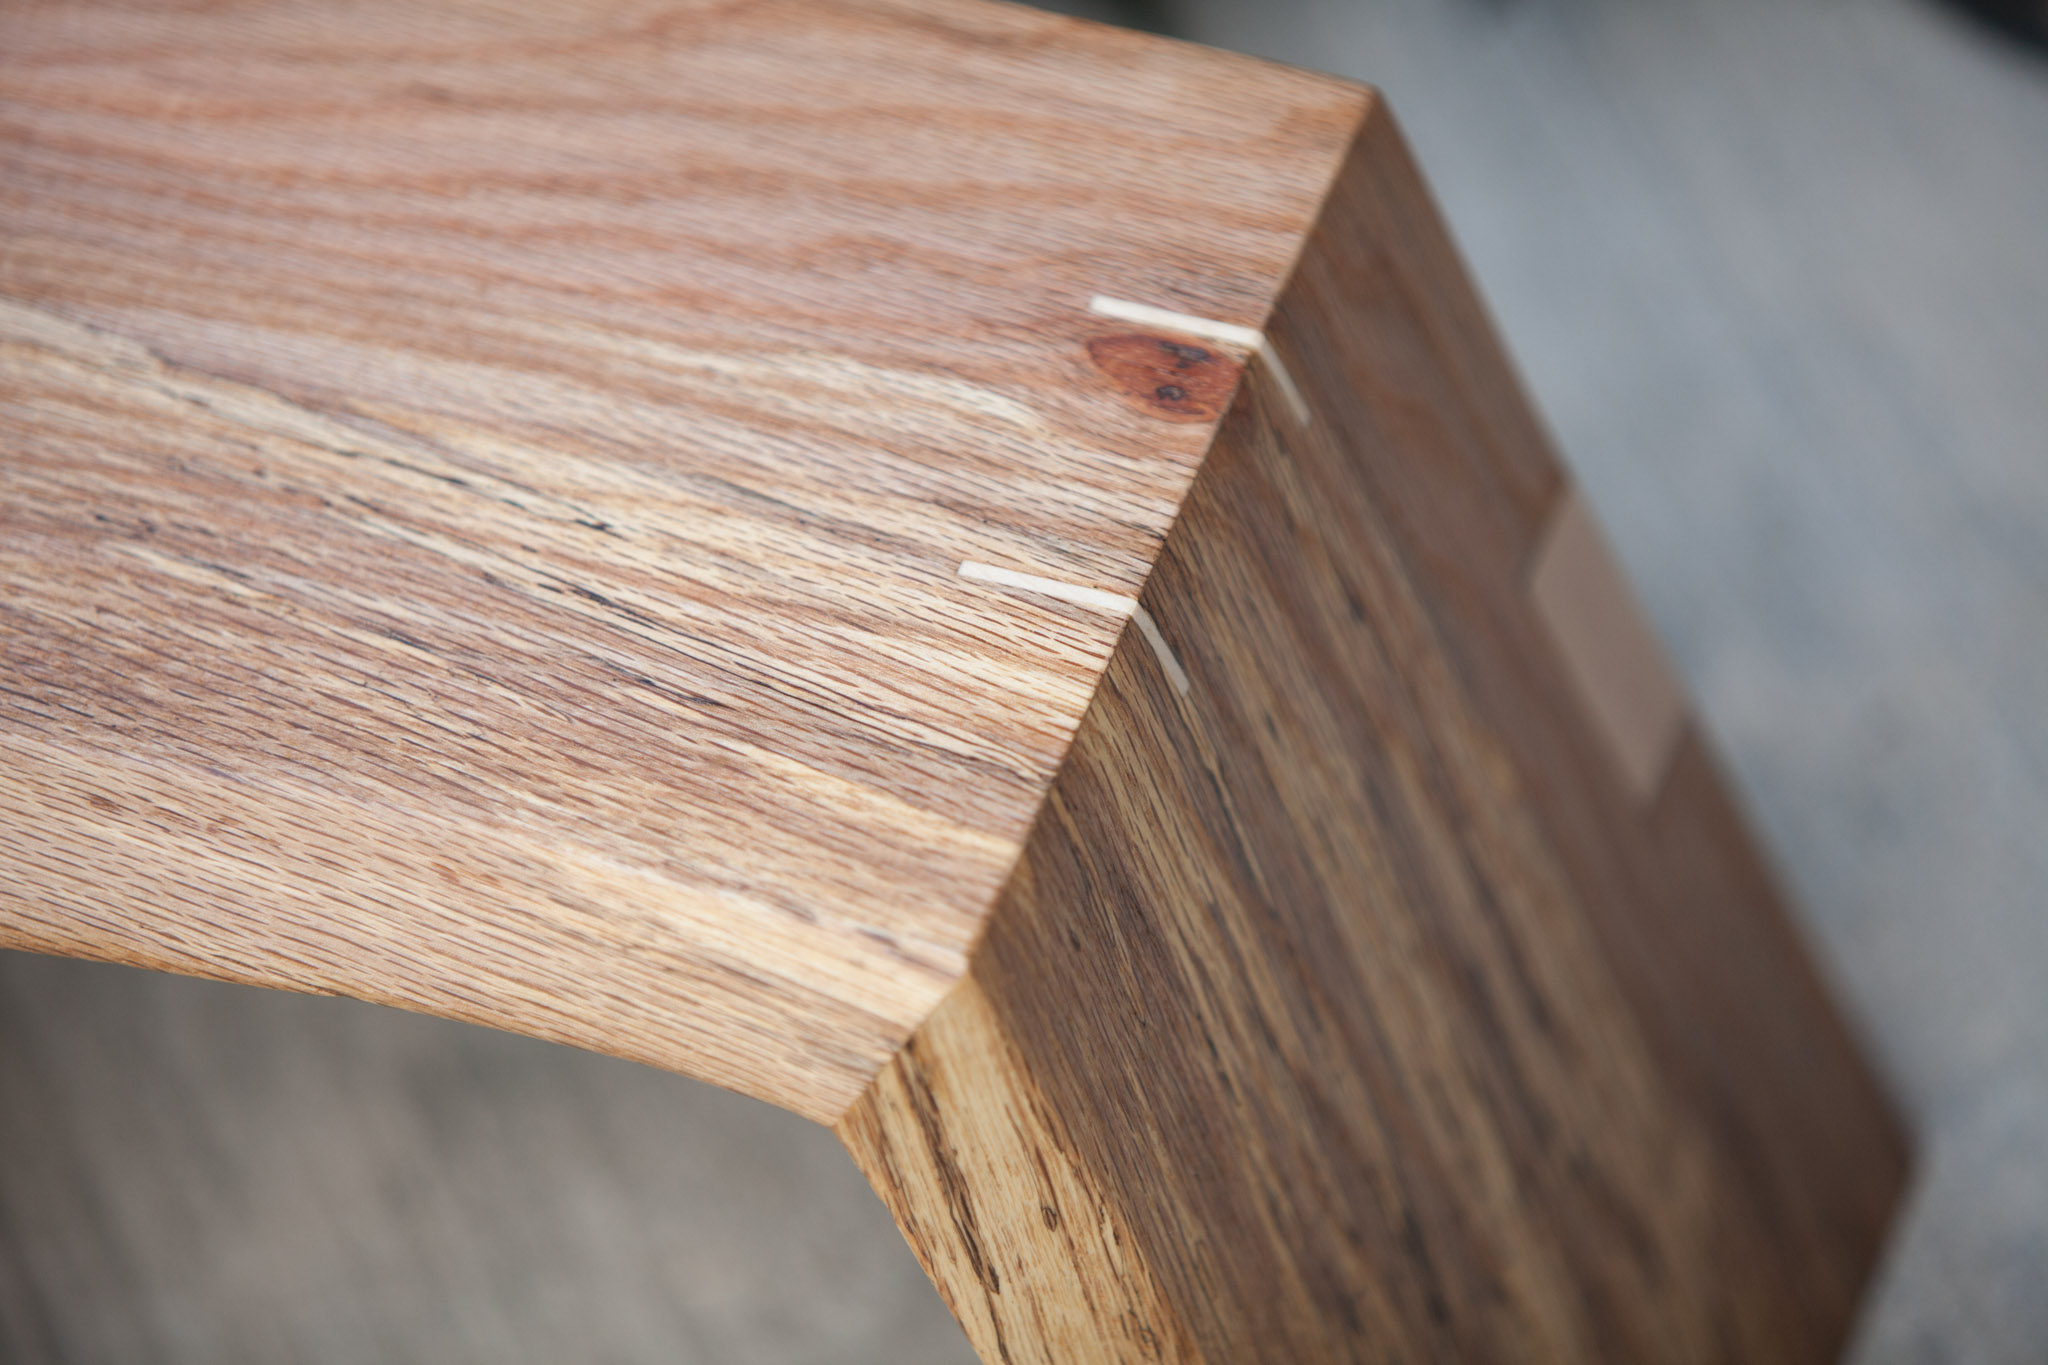
Then, it was time to cut some splines and glue them in. I used the spline jig I made a while back, and I followed David Picciuto's instruction from makesomething.tv. The was only one problem: this bench was not a box or frame with 90 degree sides. The sides were splayed out at 15 degrees, so it made it tricky to use my existing spline jig.
I still made it work though. After the splines were cut into the large piece, I sanded down some small maple pieces to fit in the slots and glued them in. There were a couple of spots that I didn't get the spline seated into the slot quite deep enough, but I was able to fix it with a couple of tiny wedges and some glue.


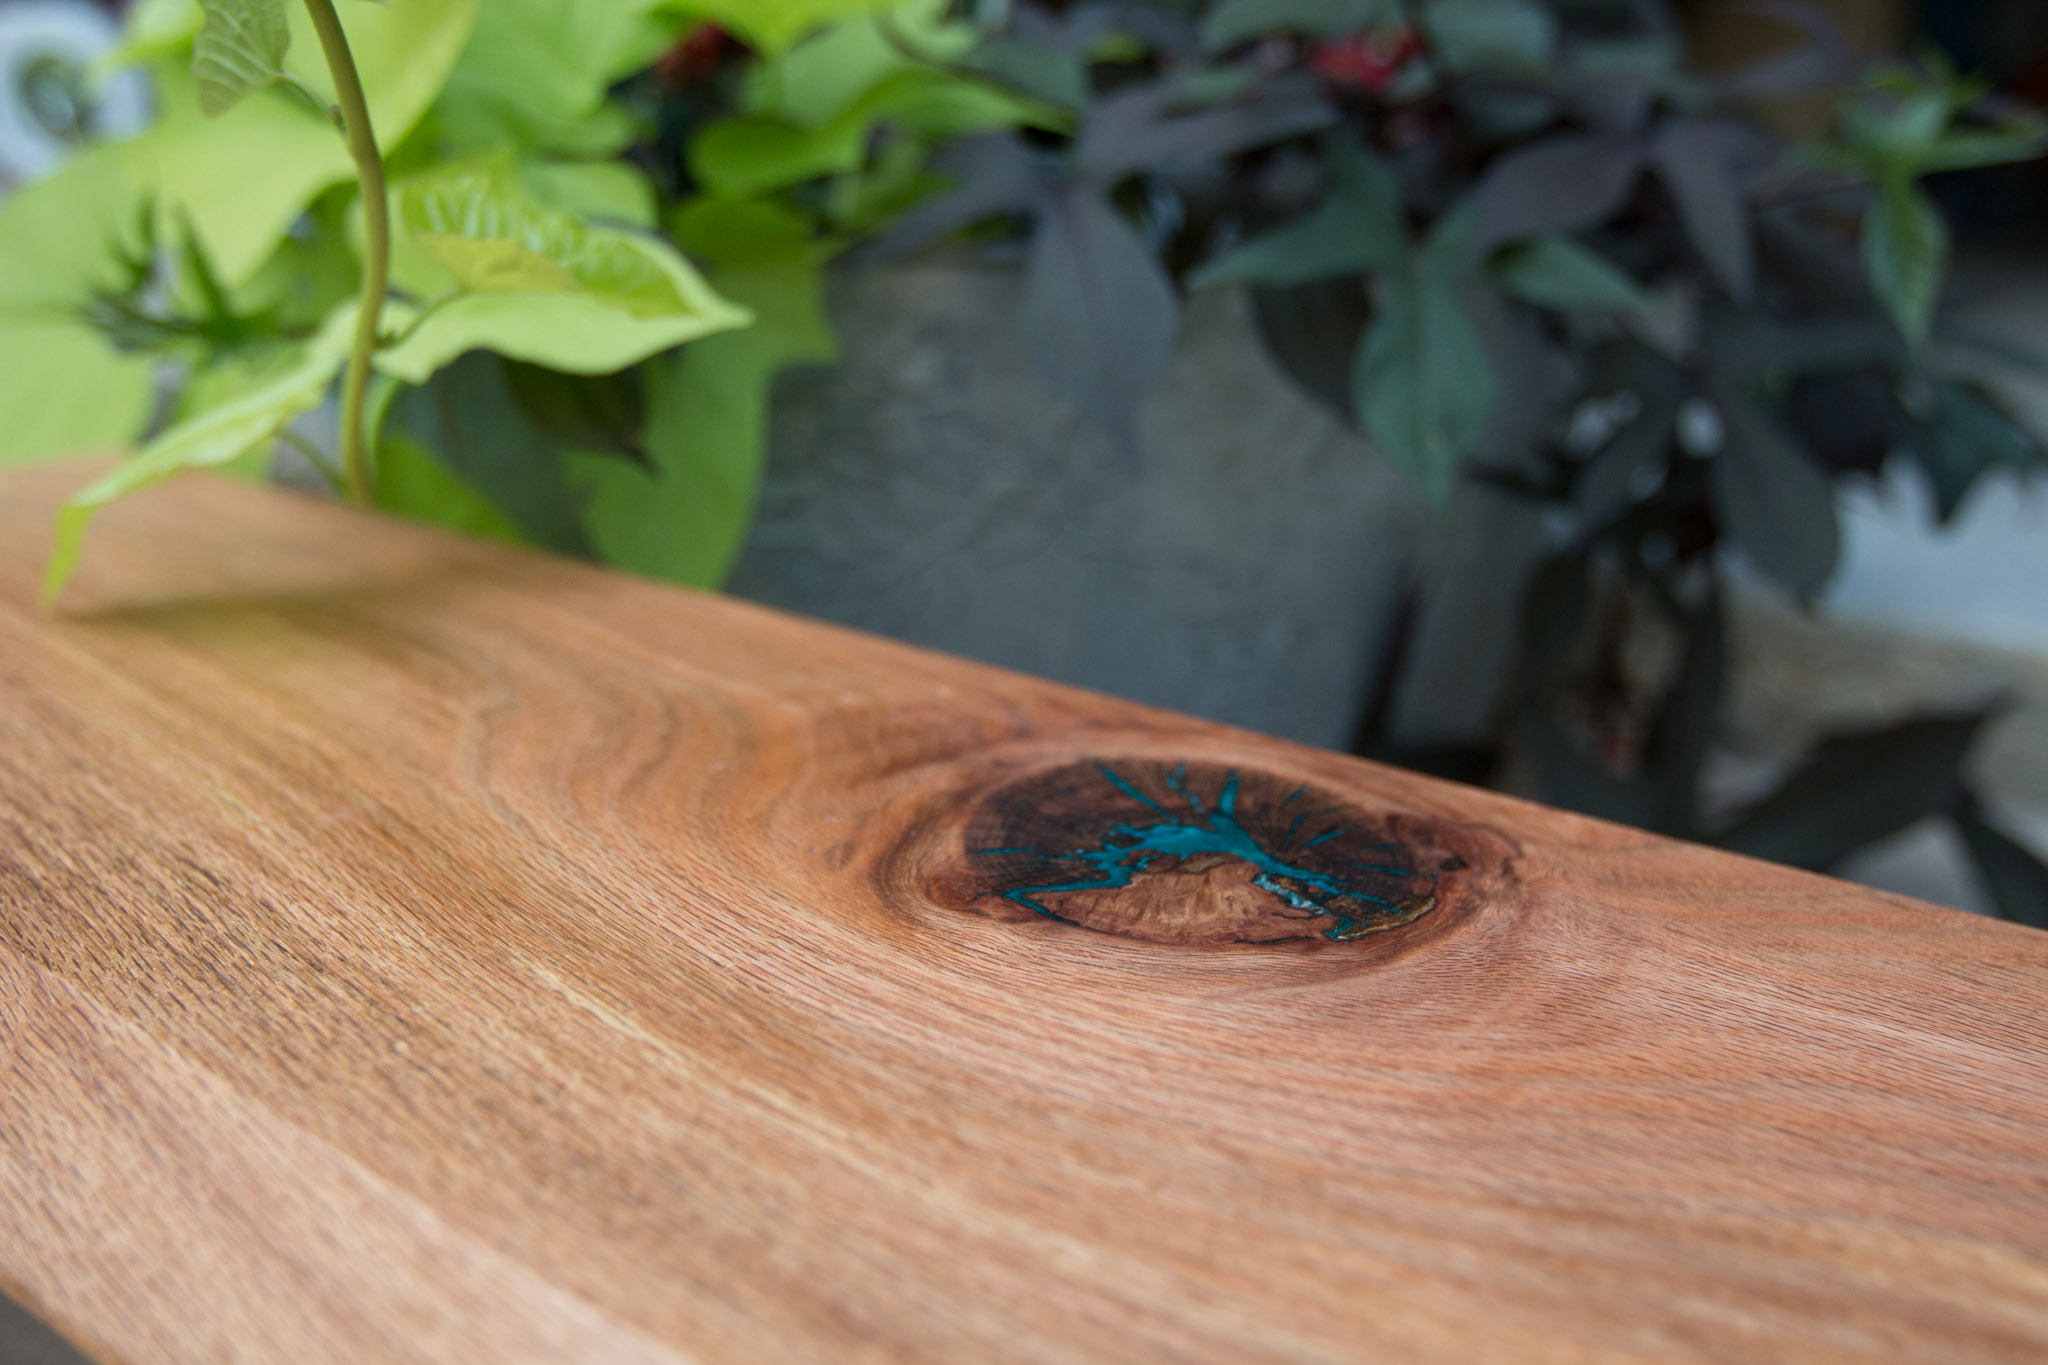
Next, I cut the splines off with my flush trim saw, and sanded them down. Then, I went over the whole piece, sanding it up to 220 grit by hand. In the spot where I poured the epoxy into the knot, I sanded a lot. I started at 150, and worked my way all the way up to 600, then 1500 and finally, 2000. Both of those last two were wet sanding the epoxy and wood. Man, did it feel smooth afterward.

Finally, it was time to add some finish to the piece after hand sanding everything to 220 grit. I used regular polyurethane, but thinned it a bit so it was a wipe-on polyurethane. I've not really ever wiped on this type of finish before, but it worked well. I will definitely be using this finish again.


CONCLUSION
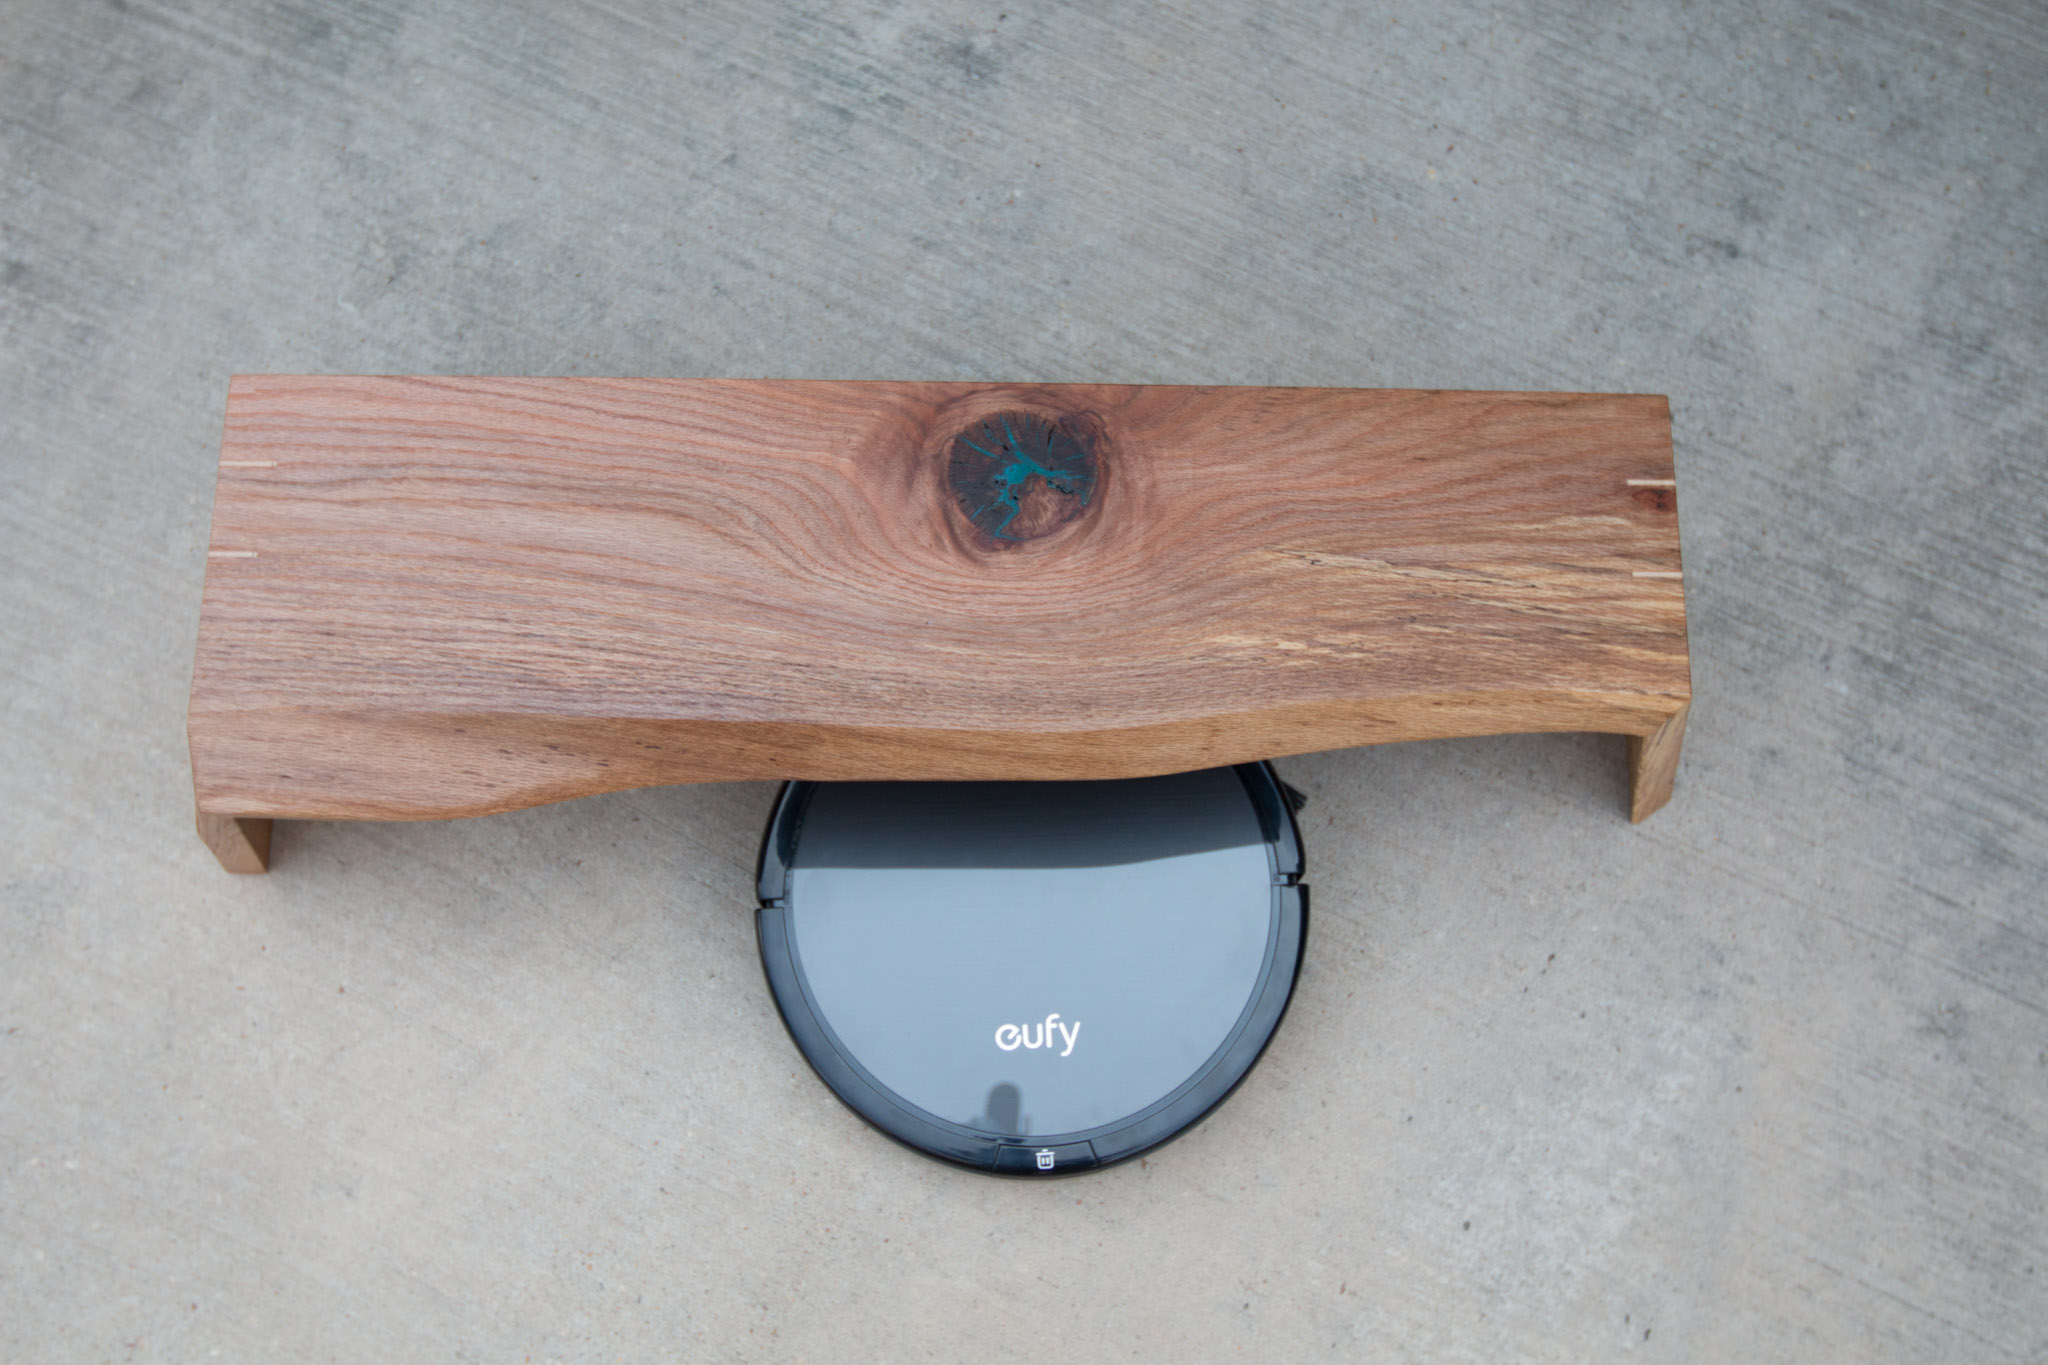
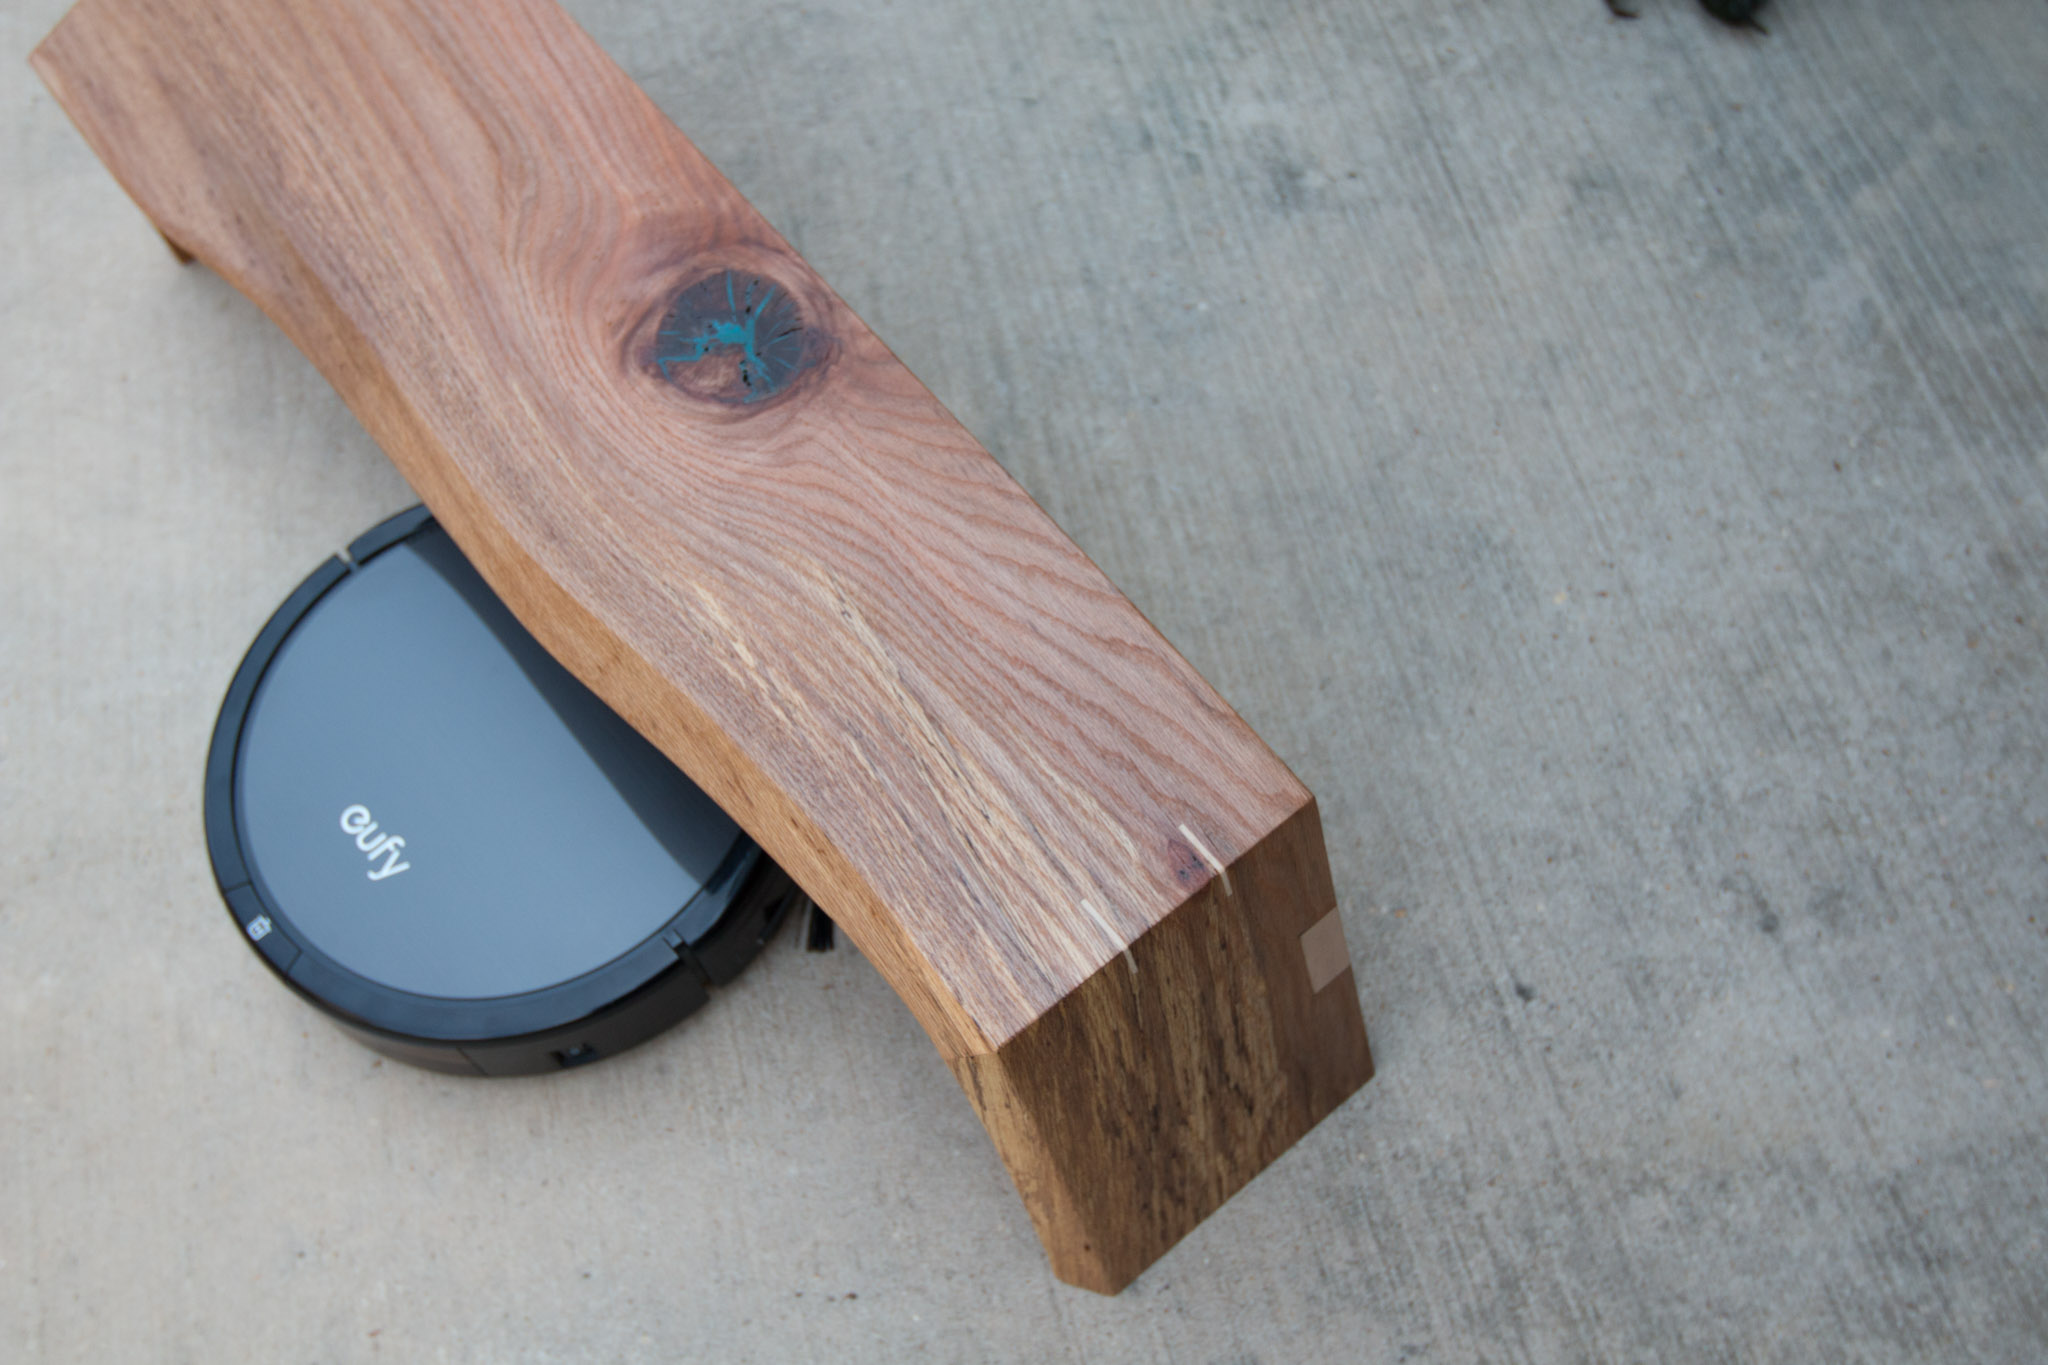
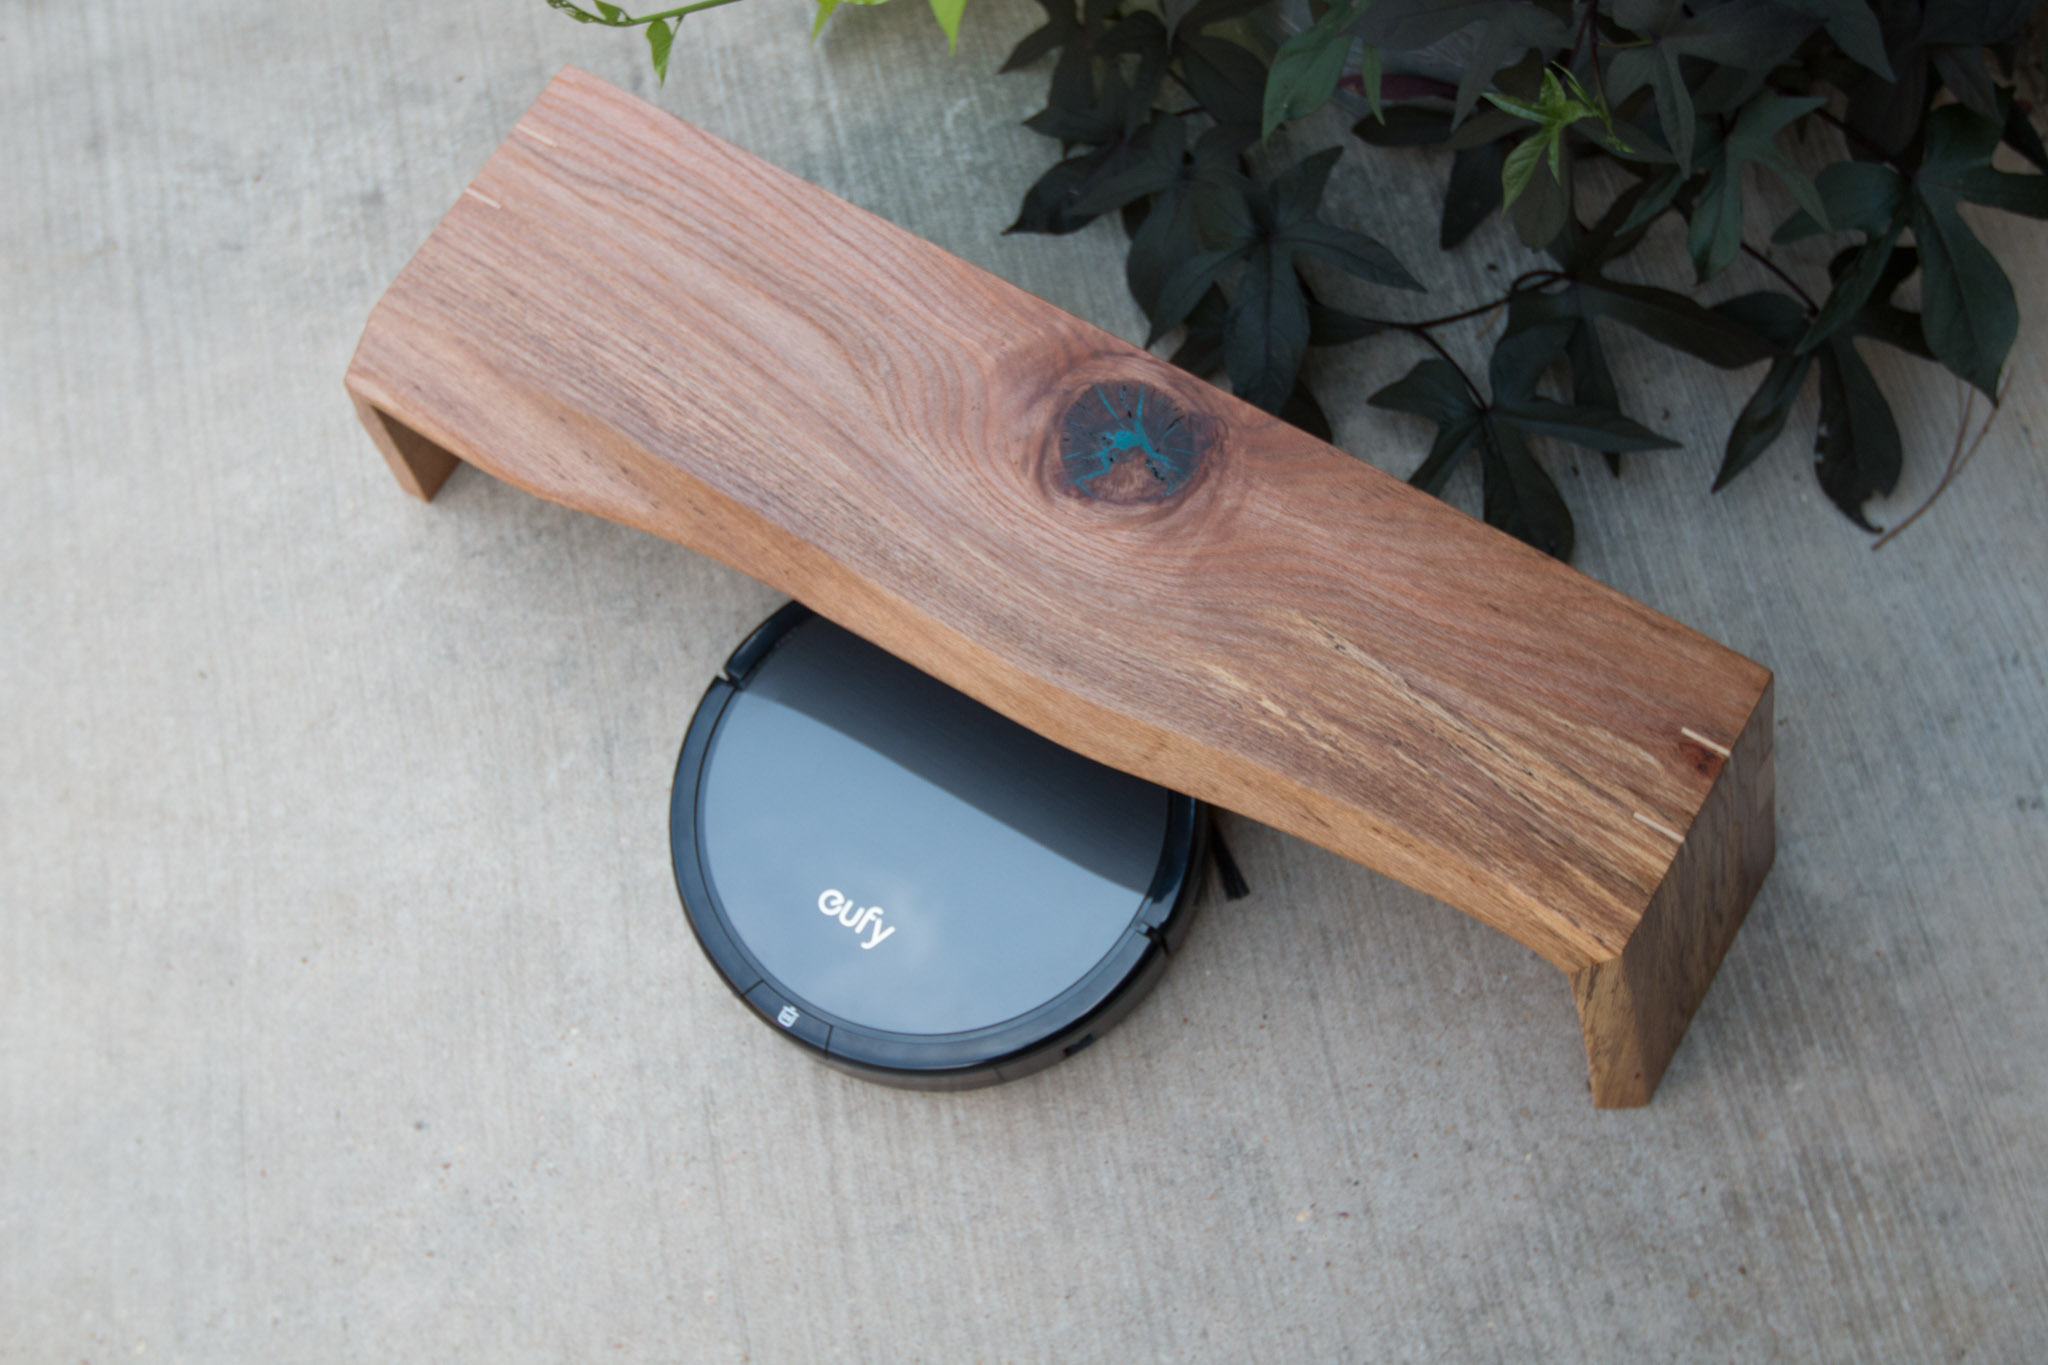
Thank for following along with this project! I really like how it turned out and it looks great in our room. So far, it has caught the attention of a few guests that have come over, and we've enjoyed looking at this robovac house a lot more than just the plastic charger base it came with.
Leave me a comment below and let me know what you think of the project and be sure to watch the video if you have not already. See you on the next one!