OneFinity CNC Unboxing and Setup
VIDEO:
In this project, I’m showing the unboxing of my new OneFinity CNC as well as how to set it up. It’s a pretty simple process, but my hope is I can walk you through it in a way that is clear to understand. I will be giving some opinions on different parts of this process. Also, I am not sponsored by OneFinity. Follow along with the steps below and be sure to watch the video:
BACKGROUND:
I am new to CNC routers. Well, some clarification. I’ve been around them and some of my friends have them and I’ve definitely seen content with them in it, but I have never personally run one. There is a lot that goes into the designing of files and how you setup each carve to go.
Last year, I acquired an XCarve CNC router, after some thought, and knowing how much I lack in technical assembly, I never even assembled it. It was in a million pieces (that’s how that machine comes…every bolt and screw is separate), and it was just not something that I felt like I could tackle.
Enter OneFinity. When I first saw about this machine, I didn’t realize how important the rigidity of the machine is to have accurate cuts. That was kind of something I found out afterward when I started looking into it. It initially caught my eye because of the ease of setup. (see last paragraph)
I’ve got to shoutout my friend, Drew Fisher of Fisher’s Shop, for hopping on a few video calls with me to help me get this set up pretty quickly. I could have figured it out all by myself, but I think he saved me some time, and if you’re reading this, I’m trying to save you some time! Go check out his YouTube channel for some great videos, and our podcast that we do together, We Built A Thing.
TOOLS & MATERIALS: (affiliate links)
Trim Router: https://amzn.to/32D4Km1
Hex Sets: https://amzn.to/3dzuWEm
Gaming Controller: https://amzn.to/2P9ELiZ
30 degree v-groove: https://amzn.to/38kZoiB
1/8" diameter down cut spiral: https://amzn.to/3qvOXz2
1/4" diameter down cut spiral: https://amzn.to/3sYvIja
3/4" bowl bit: https://amzn.to/38dKdHV
60 degree v-groove: https://amzn.to/3qpcmSs
1/16" diameter down cut spiral: https://amzn.to/2O2AqxC
Drill & driver - http://amzn.to/2C0JDfa
Forstner bits - https://amzn.to/2pGFSGn
Zip Ties: https://amzn.to/2Or7H5g
HOW IT SHIPS TO YOU:
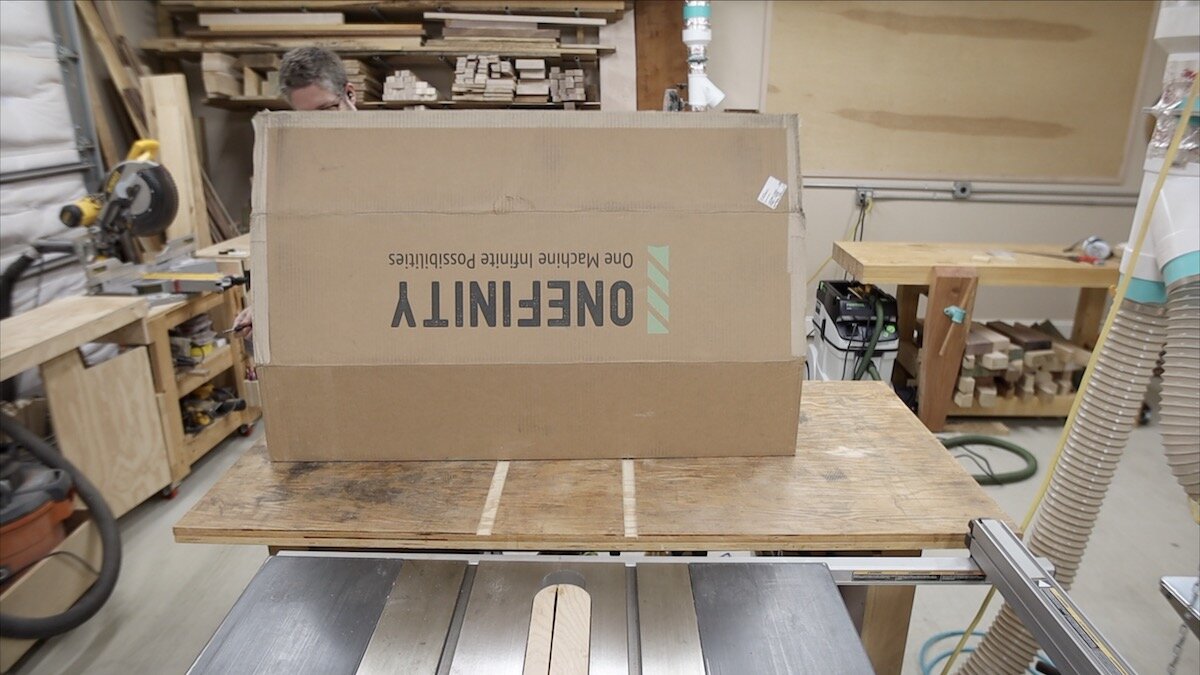
The machine I purchased from OneFinity is what they call the “woodworker.” It is the larger of the two machine options they had at the time I bought t. It has a maximum cutting area of 32 1/2”x 32 1/2” and ships in 3 separate boxes, so it doesn’t have to be shipped by freight. None of the boxes weighs more than 40-50 lbs, if I would have to guess. They have a smaller version called the “machinist” also, and I believe it has a working area of about 16” x 16”.
When mine arrived, I did notice a couple of puncture holes, but upon inspection, everything was packaged really well, so it was not an issue at all.
Then, I promptly set it over to the side for about 3 weeks until I could clear my schedule a bit and get to it. That was torture!
OPENING THE BOXES:
These were packaged VERY well! I was really impressed as I started to cut the tape and open these boxes. Everything was wrapped in a very form-fit, dense foam. And there were some handwritten notes with my first name on some of the boxes inside. I thought that was a pretty nice touch to see.
The hassle factor was pretty minimal with the unboxing of this machine and all of its components. I set everything aside and put all of the foam back inside the boxes.
One thing to note: I would keep the boxes if I were you. I don’t know if you’re like me and keep all large item boxes like this anyway. But there’s a good reason to keep them. What if you had to send it in for a repair or replacement. I know my Glowforge laser engraver has a very specialty box that is designed a specific way, and if you have to send it back to them to repair and you don’t have a box, it’ll cost you another $250 to get one. Yikes! That’s a pretty good reason to find some room for these in your attic or somewhere out of the way!
WHAT WERE MY FIRST IMPRESSIONS?
As soon as I started getting the parts out of the box, I was impressed. Not only wit how they were packaged like I mentioned above, but just at the rigidity of the machine. As I mentioned, I had an XCarve last year and I’ve seen a few other machines in this price range, but this one is way more sturdy than any of them. The rails are so strong and don’t flex at all! The ball screws don’t need adjusting like belts that I’ve seen on other machines, and have less of a chance of messing up your carve.
One small thing that I liked is that they left all of their badging off. It was all in a separate bag, so I could decide to add on the decals or not. I opted not to, since I produce content and would likely have had to cover up some of the logos anyway.
One other small thing I was impressed with was how they included the actual cut they made for the quality control check. They made a little sign with their logo on it and that was the actual quality control check…and it included a handwritten personal note about that, including my name. I thought that was a small thing, but a really nice touch.
EVERYTHING LAID OUT
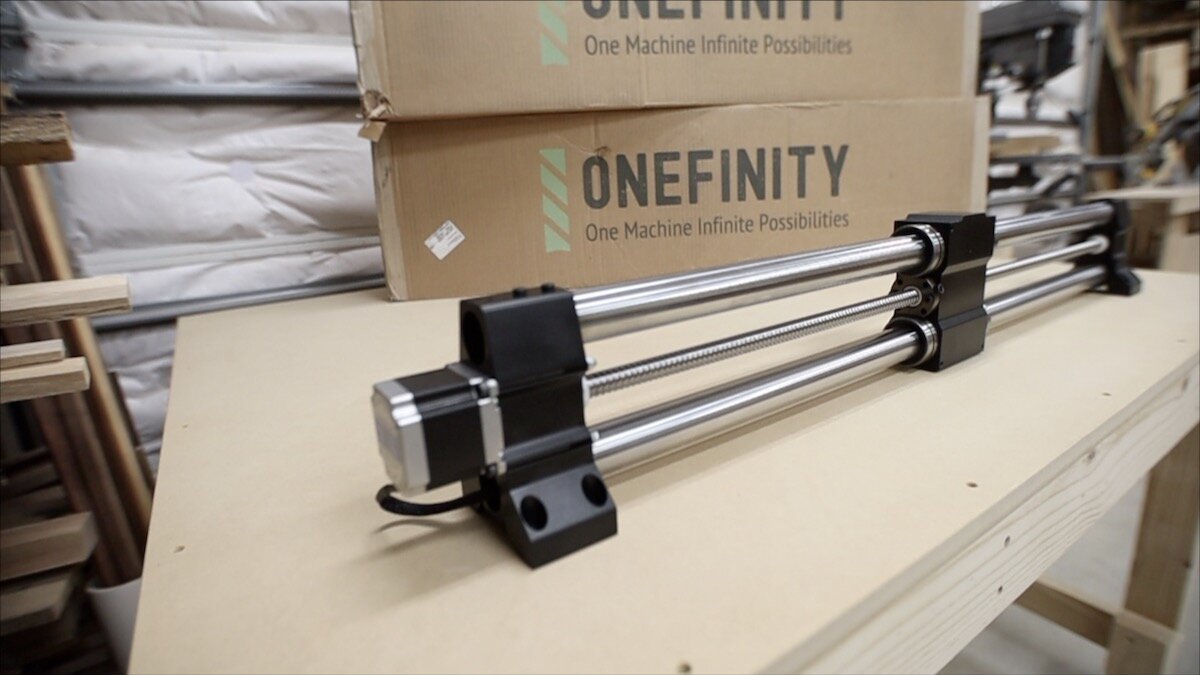
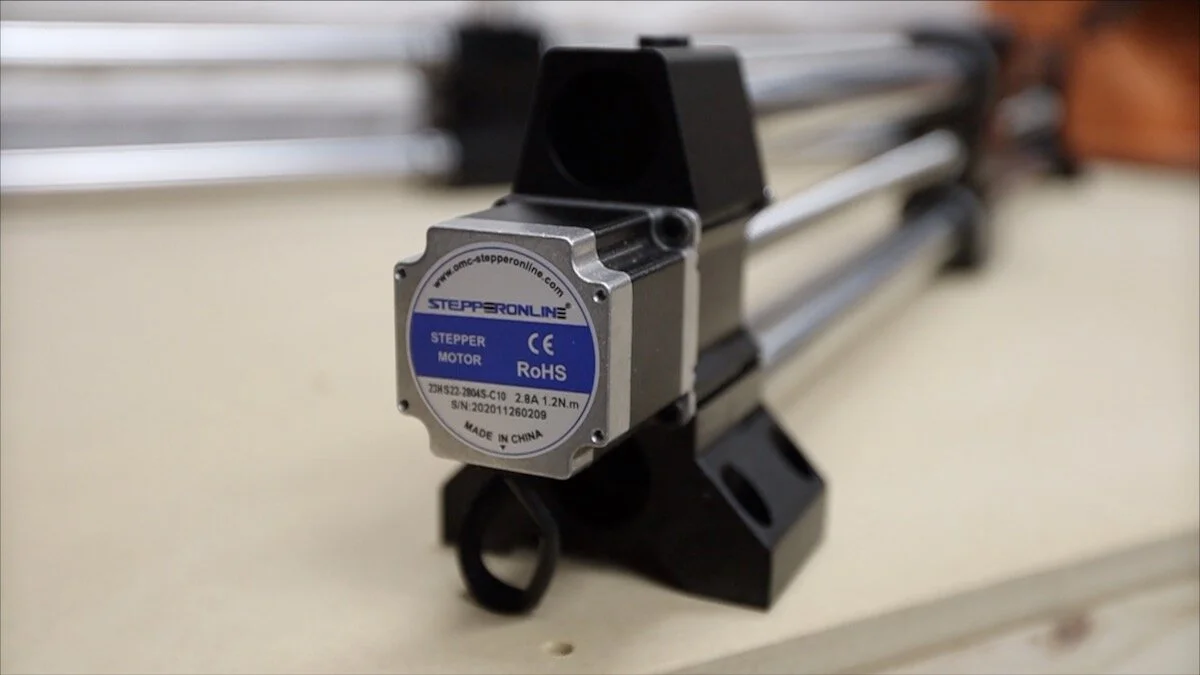
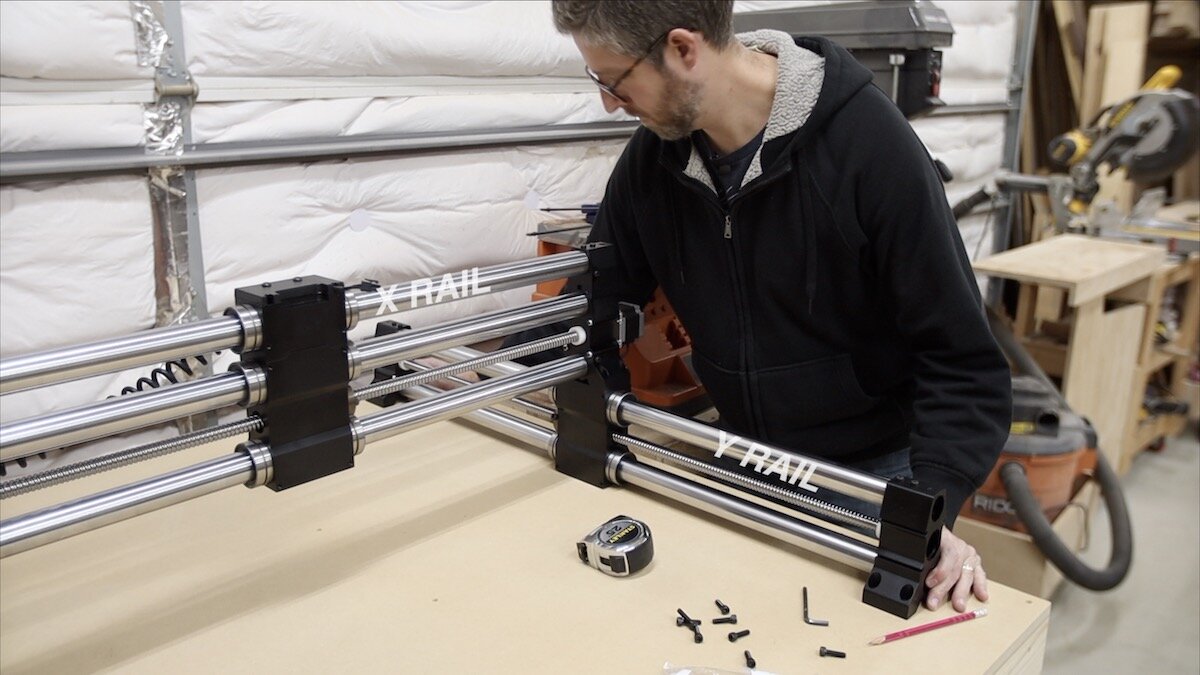
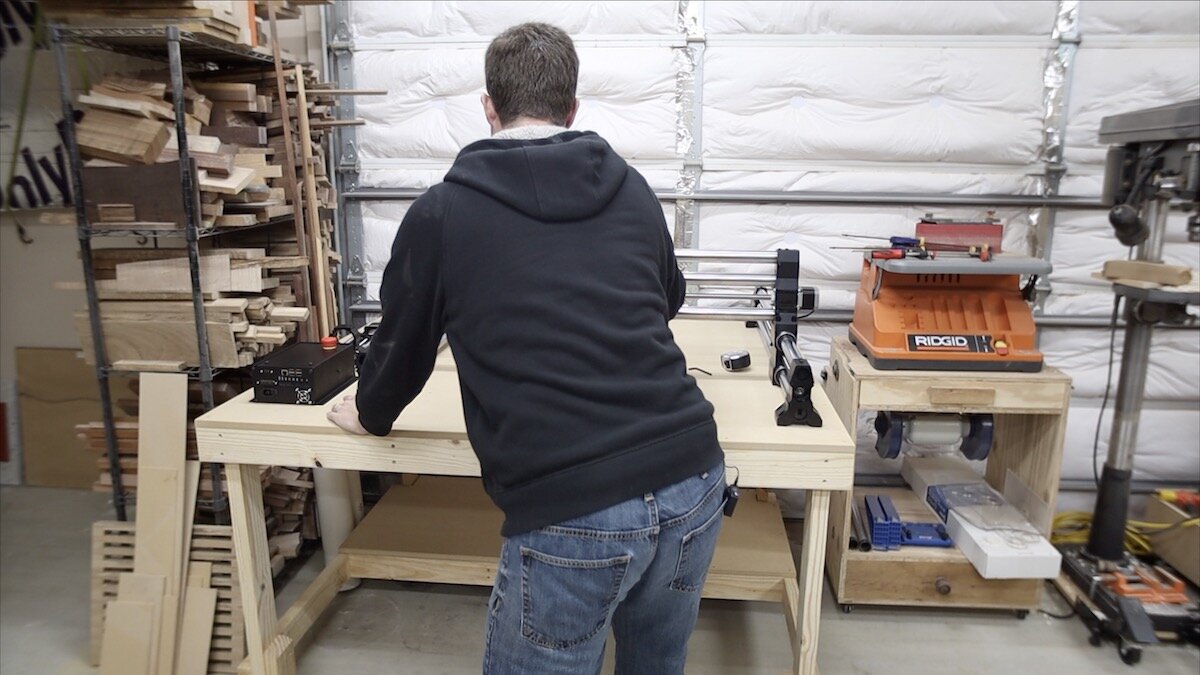
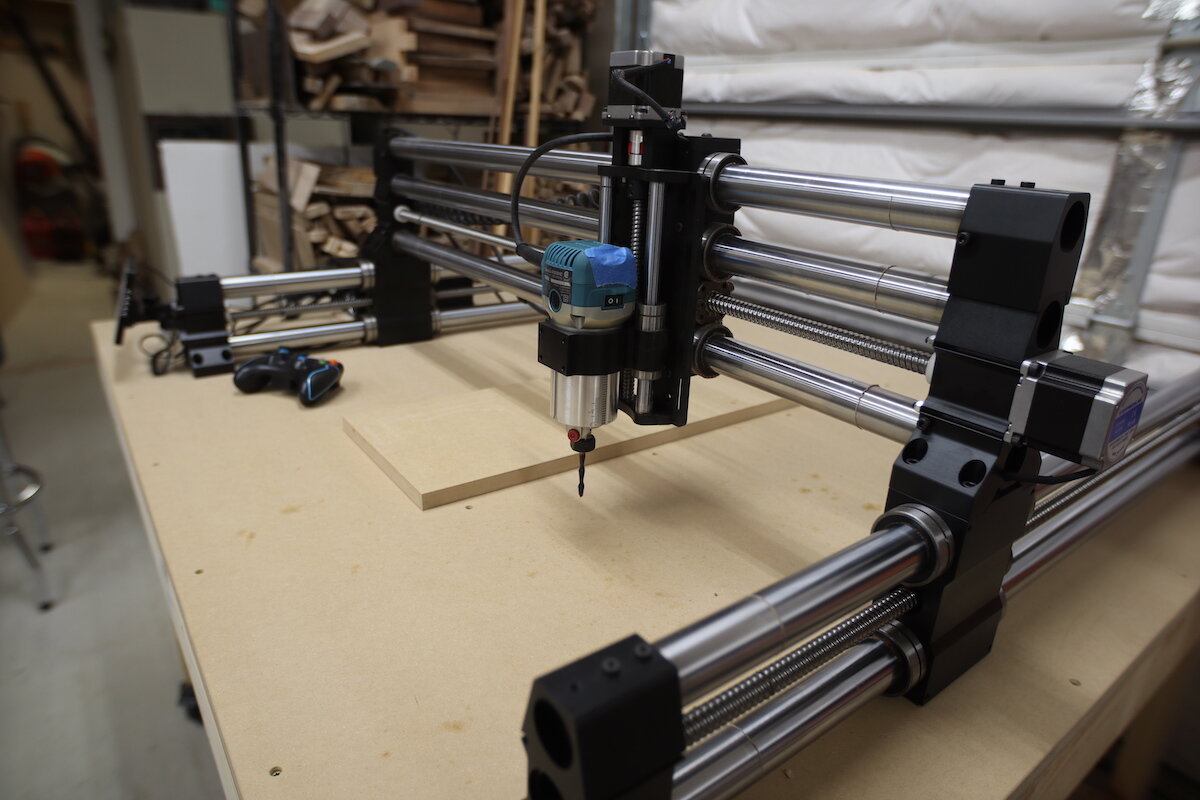
Now that everything is out of the boxes, we can take stock of what all we have and how to proceed. You should have 3 rails, 2 Y rails and one X rail. The X rail is the one with 3 rails stack on it for extra rigidity.
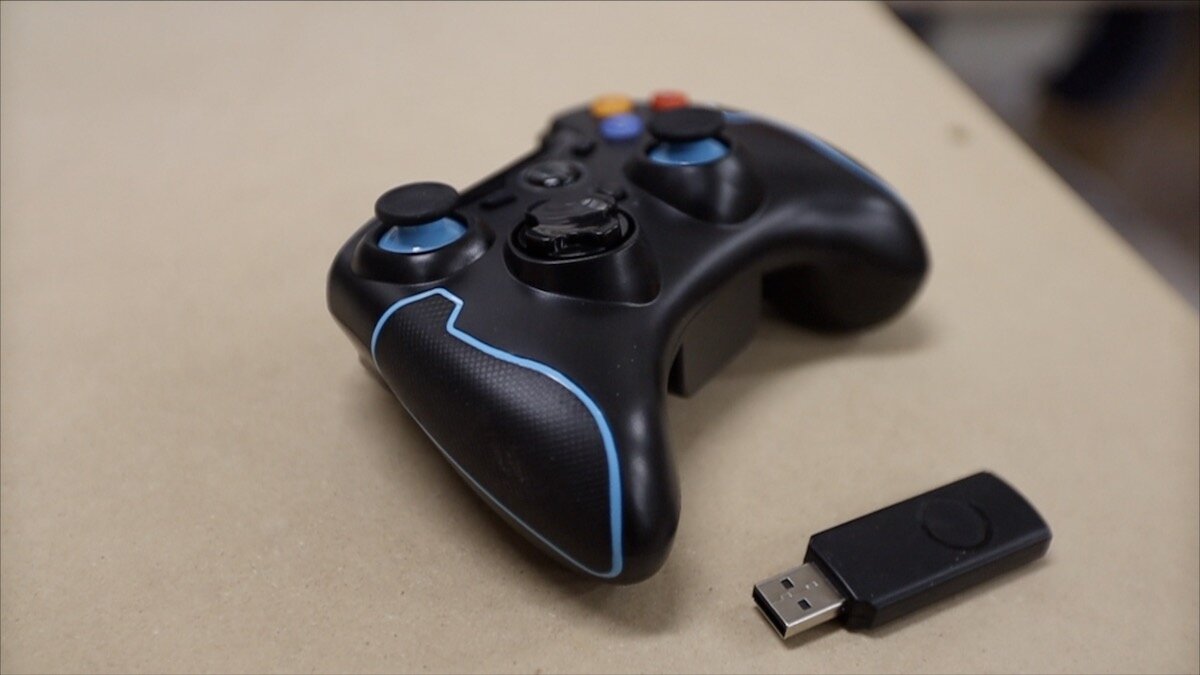
There are also a handful of cables and plugs, a touch screen monitor, a controller (black box with a red button on top), and if you purchased the touch probe, you’ll find it included. I also purchased the auxiliary gaming controller after the fact, so it came in another box.
SQUARING UP THE RAILS
With this machine, it’s pretty easy to square up the rails. You’ll actually use the rails themselves to square everything up. How simple is that?!
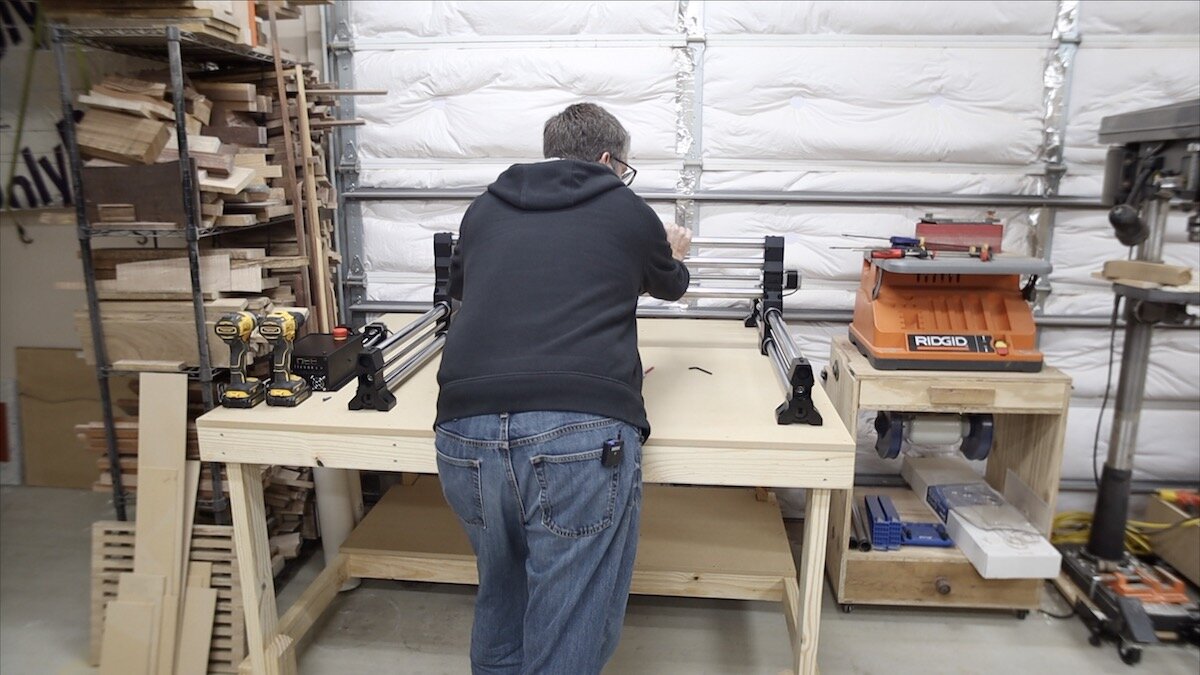
First, start with getting the two Y rails laid out from front to back of where you’re standing in front of the CNC table (hopefully, you built the table I did, because I had FREE plans!). The below photo tells what the different rails are.
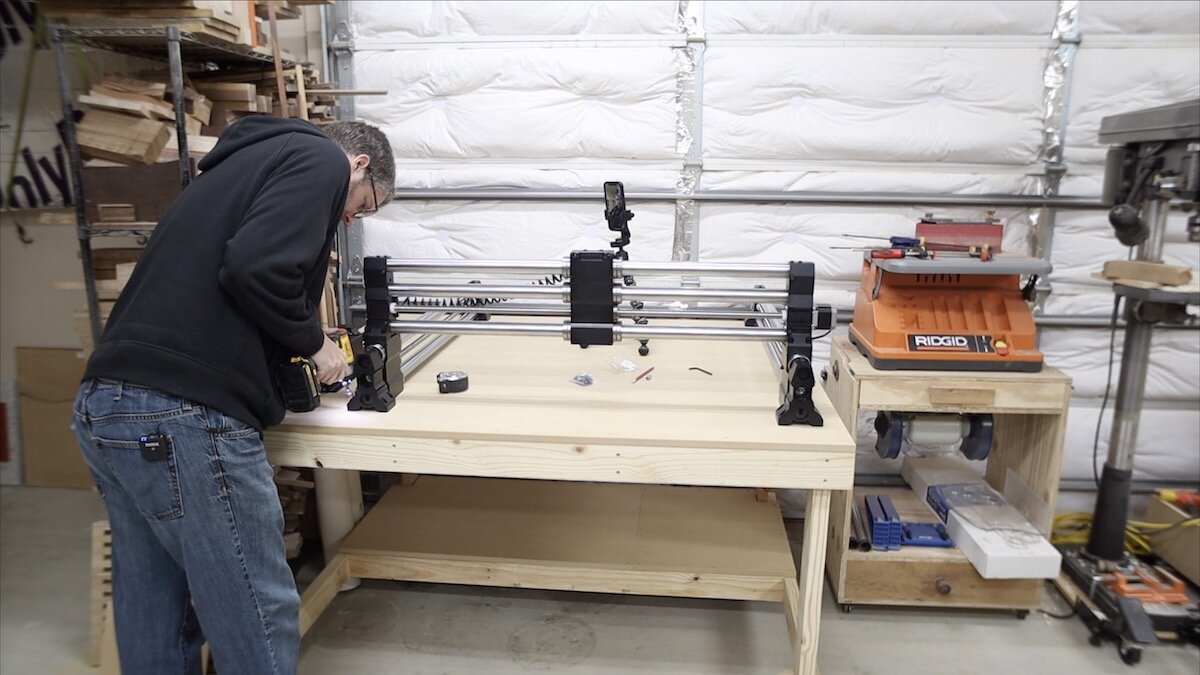
Then, take your X rail and put it on top of the two Y rails. The Y rails have a little detent in each of them so the X rail kind of sits down into them very nicely. Then, once you get the two of them flushed up (X with Y), put in some of the included bolts that are labeled as such.
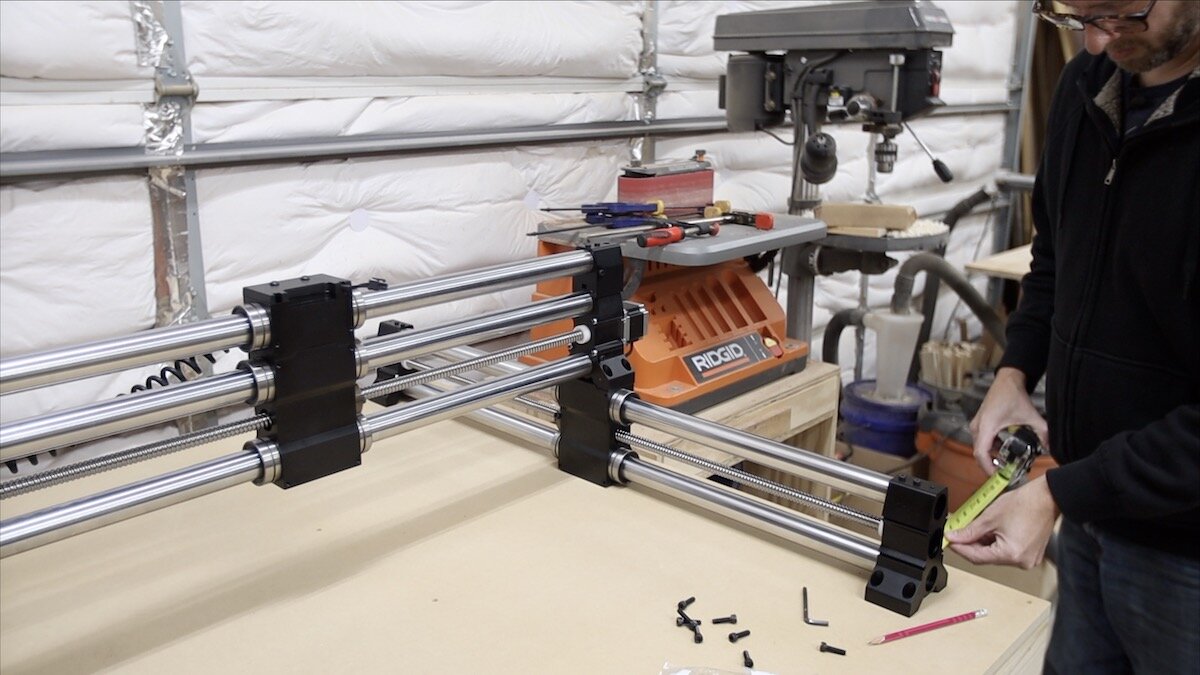
One thing I made sure to do is to measure from the edge of my work table top to the rightmost Y rail. I wanted that to be equal from front to back so it would be as straight on the table as possible.
All of the hardware was labeled really clearly. There is not much hardware required to assemble this thing. 4 small bags of hardware is it!
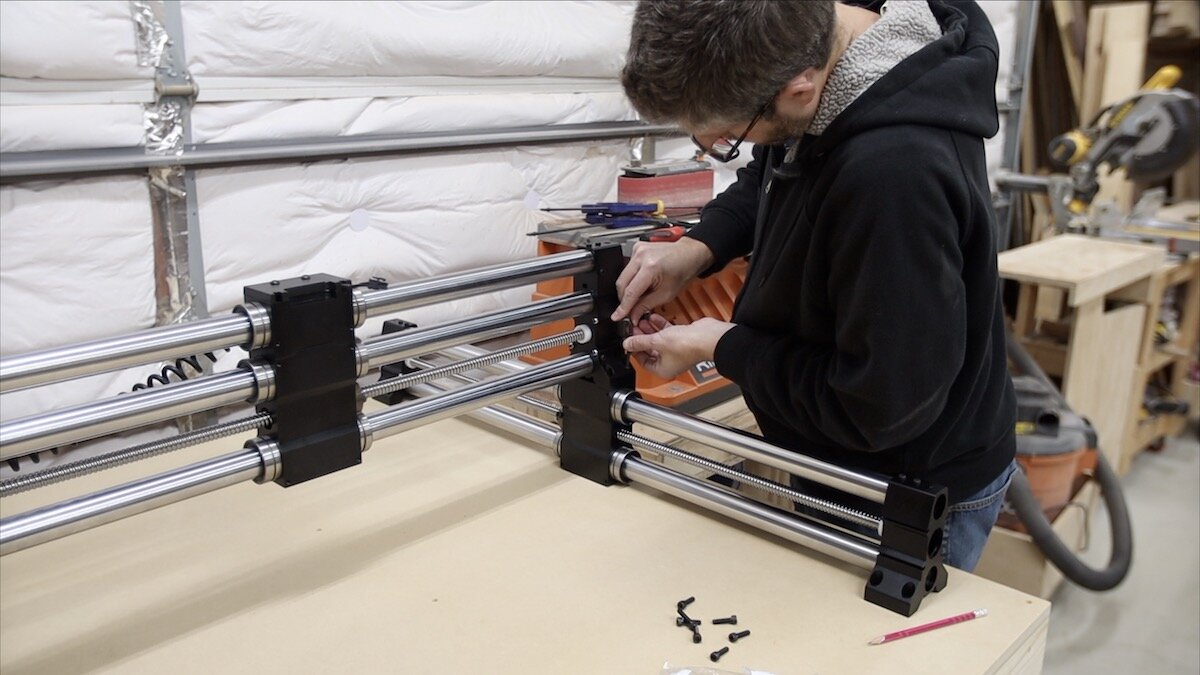
After you have put a couple of bolts in one side to connect the X rail to the right side of the Y rail, move to the left side and do the same.
Then, put a single screw (included) in the front right of your right most Y rail. Secure it down to the table. This will help as a reference point.
Next up is to pull the X rail all the way forward. This has a lot of resistance, so don’t be surprised when it it pretty tough to do. It actually caused my whole unit to kind of shift on the table, so I had to get that sorted back out.
Once you pull the X rail all the way forward (make sure it is touching the front on both sides), put a screw into the front of the left hand Y rail. That will secure the front of the machine quite well.
Then, push the X rail all the way to the back. It doesn’t get any easier…it’ll still have a lot of resistance, but that’s ok. Just go slow and push it all the way to the back. By doing this, you’re actually squaring up the machine by using the X rail as a consistent spacer.
Once you have pushed the X rail all the way to the back, put in the screws into the Y rails on both sides, and then add the rest of the screws to all of the 4 holes at each of the Y rail corners.
ATTACHING THE SPINDLE:
It’s finally time to attach the spindle. This Makita trim router is recommended to be used by OneFinity and it is NOT included with the machine. You have to purchase this one on your own. It’s about $100 pretty much every day on Amazon. You can pick it up from my link here and it’ll help me out a bit, and not even cost you anything extra.
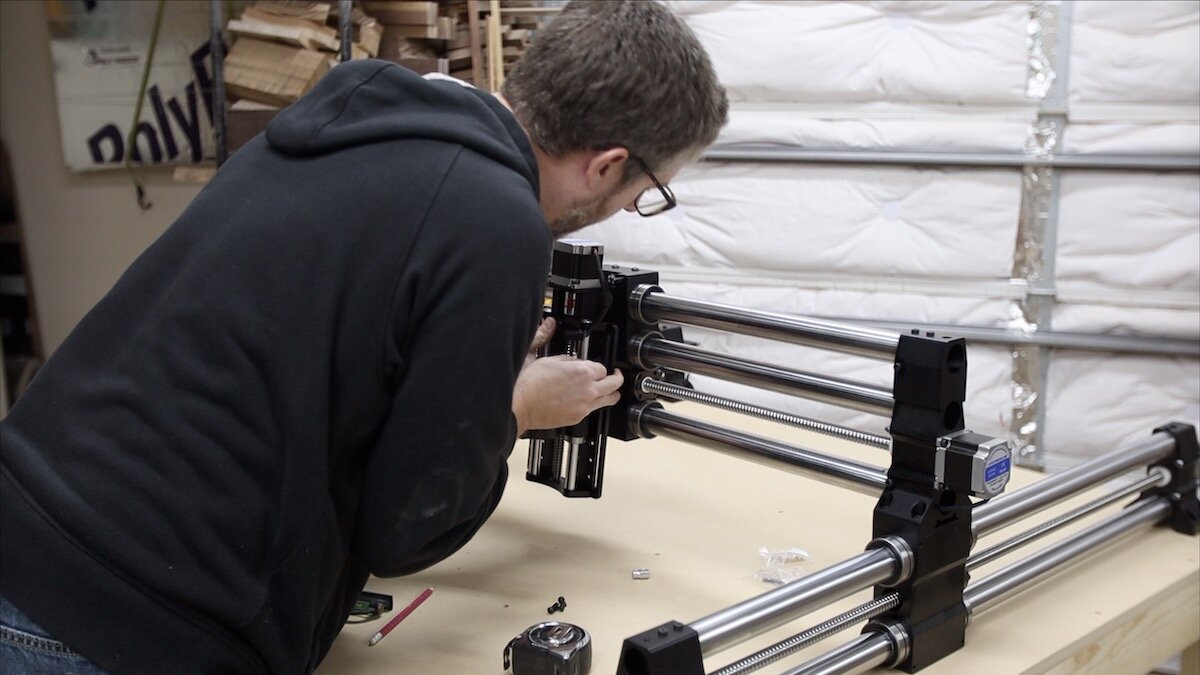
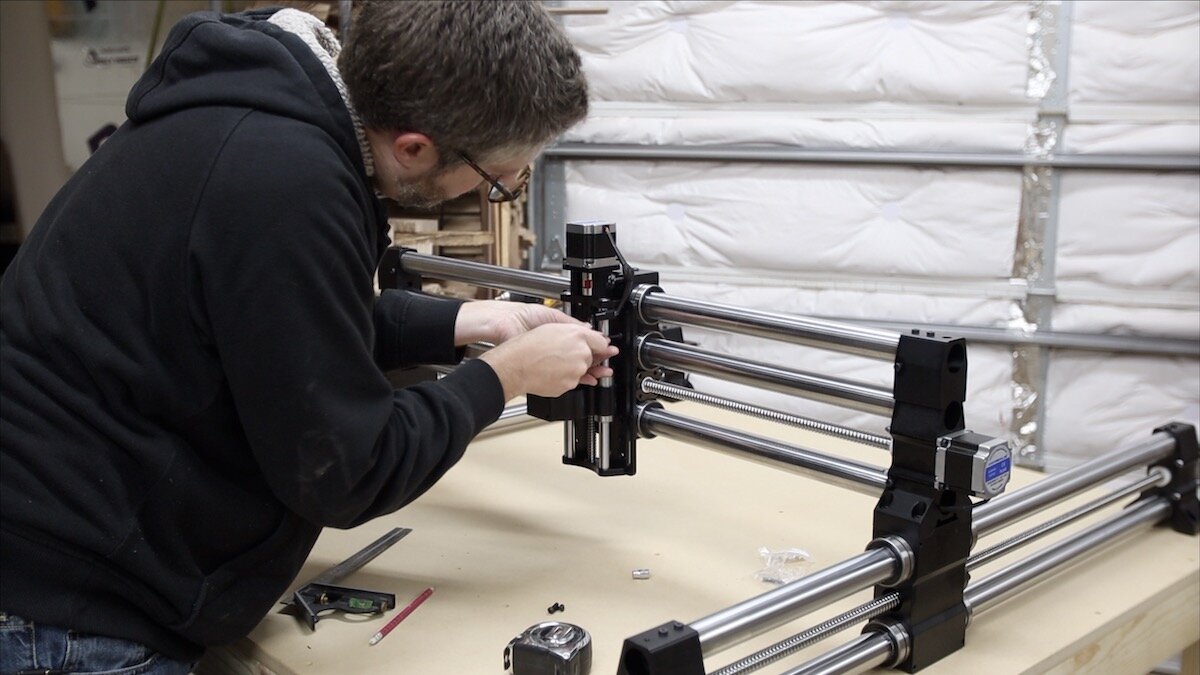
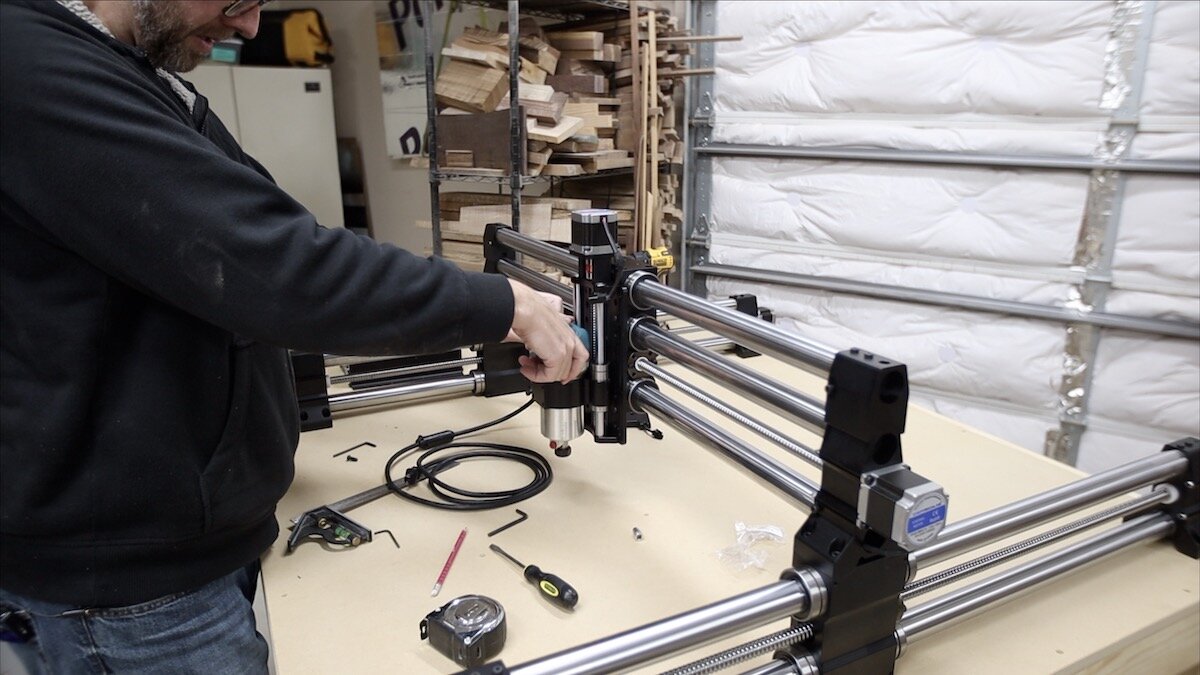
Grab the spindle bracket and use the 4 machine bolts included to attach it to the flat plate on the X rail. There are 3 different positions for you to choose to attach the spindle holder. I chose the middle one.
I had to manually wind down the spindle attachment so I could access the bolt holes. They were a little blocked at first.
Then, in order to add the spindle and get it to fit, I had to manually wind down the spindle holder again, so the router would fit in that space. I also had to use a screwdriver to pry the bracket apart just a little in order for the trim router to fit in there. It was a tight fit, but that’s good.
Make sure that the router is all the way down until it seats on the bracket.
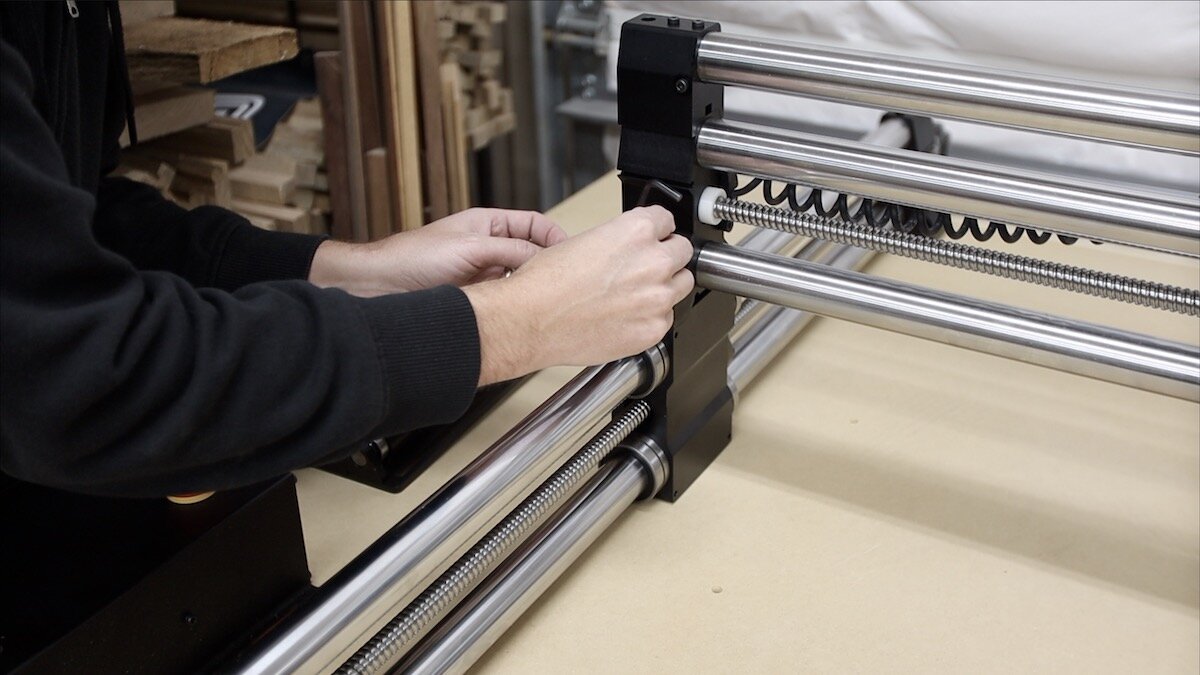
Use a screwdriver to undo the cap at the top of the spindle bracket. You’ll see two grooves under the cap. One of them, you can see is for the wires of the machine. The other groove is for your router power cord. You can route your router’s cord through there and then reattach that cap with the screws. Also, plug in the plug from that cap and the spindle bracket.
THE TOUCH SCREEN:
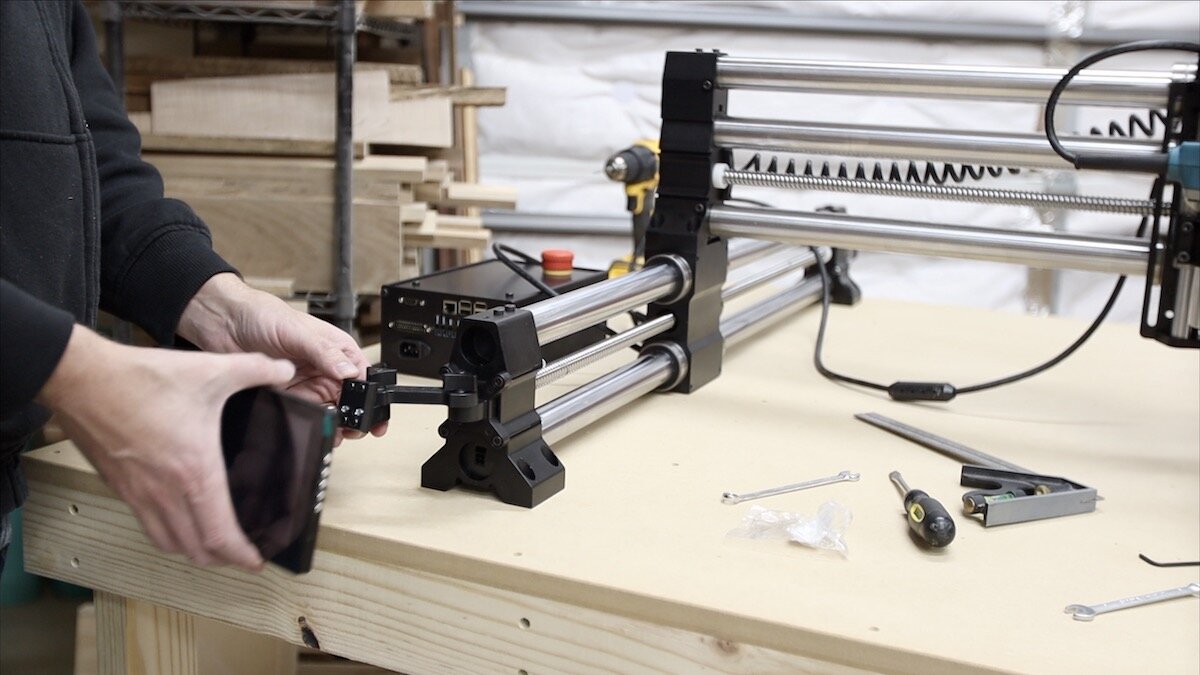
Now, it’s time to attach the touch screen. This attaches to the front of the lefthand Y rail, using 4 long bolts that were included with the machine.
Just take a moment to look at the orientation of the bracket/mount for the screen and make sure you have it in the right orientation.
Then, attach it with the 4 bolts.
The mount for the touch screen is one of the few things that I thought was not quite up to par. It felt a little flimsy and that it might drop the touch screen off at any moment. I’ll be doing something different with the mount for this, since it is flimsy and it is pointed so low. I’m tall, and this thing is basically pointed at my belly button.
CONNECTING THE CABLES:
Now, it’s time to connect all of the cables. This was a really simple process, thanks to how the cables were labeled. There was a cable for the two Y rails, named “Y1” and “Y2” on one end, and “M1” and “M2” on the other end. They just simple plug into the slots on the front of the Y rails.
The same goes for the X cables. There is a cable with two connections that hook to the X rail. And on the other end, it has an “M” connection that goes into the controller, just like the Y cables.
HOMING THE MACHINE:
To home the machine, it’s as simple as turning it on (switch on the back of the controller), and when it prompts you, tell it to home the machine. Note: When you’re turning on the controller and it doesn’t seem to turn on. Be sure that the emergency stop button is not pushed down. It was on my unit, so once I pulled it up, it turned on just fine.
The OneFinity uses stall homing, rather than switches. The stall homing monitors the current and voltage of the stepper motors. Once the set current and voltage is met, the axis will be homed.
This is where my machine ran into some issue, and I’m not the only one this has happened to. My machine wanted to keep coming forward and never seemed to sense the current when it hit the front bearings all the way forward.
It started making a really loud bumping noise and would not stop. (watch the video to hear what actually happened). Even though this is loud, it will NOT damage your machine!
The way to correct for this is to change the sensitivity. Here’s how you do it. Click the menu and adjust for each motor. Here’s a video from OneFinity that explains a bit more. Start by lowing the stall current by 0.1 and try homing again. Be sure to save the new settings in the top left corner by clicking the green “save” button after you make any changes. Continue to lower the stall current by 0.1 until the rail stops properly or until you get to 0.7 amps. Be sure to check out that video for more information.
This method worked for me and after resetting the stall current to 0.7, it worked great on my machine!
SETTING UP WIFI:
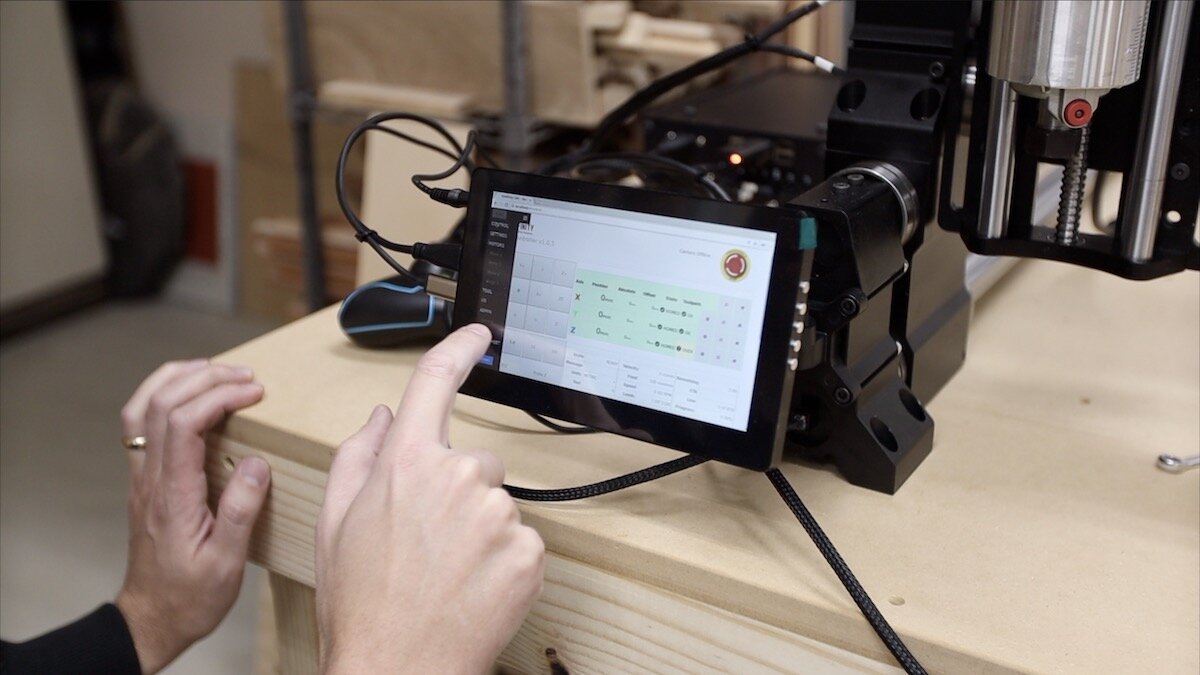
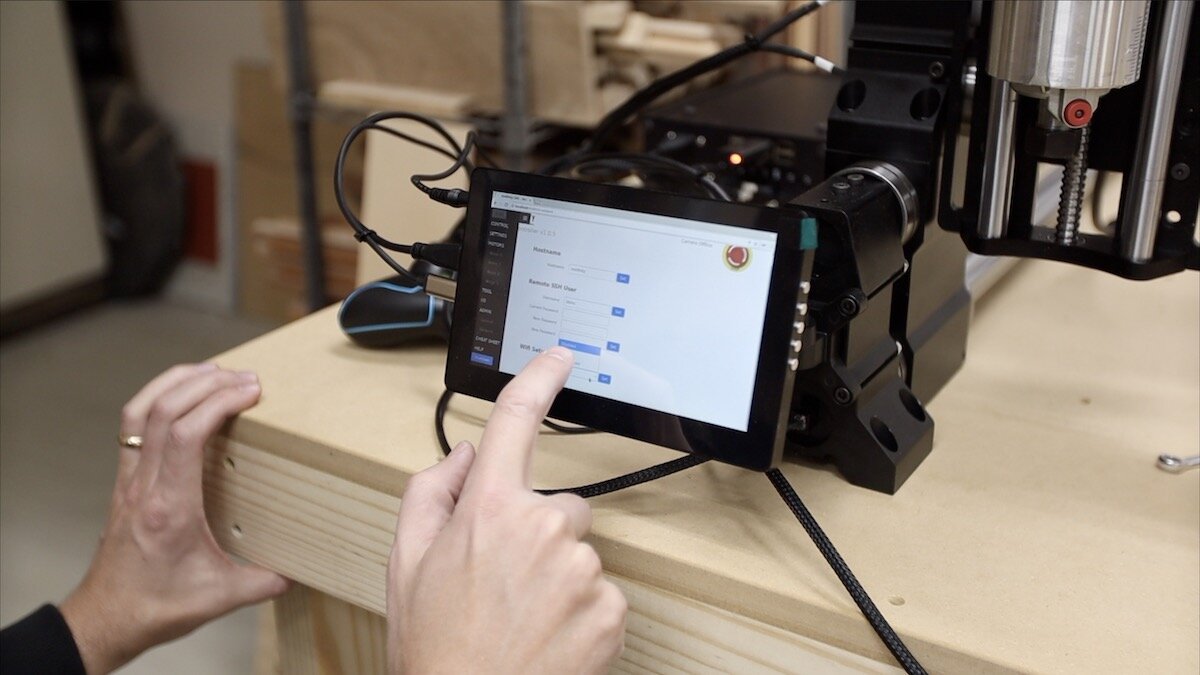
Setting up wifi was pretty easy too. Navigate to the menu. Go to the Admin tab and tap Network. Then, scroll down to the bottom and under Wifi Setup, be sure that it is set to “Client.” Input your SSID there, and when you click to accept it, it will reboot. Once it comes back up, you should see your network ID at the top of the screen, indicating that it is connected.
I’ve seen that some people have issues connecting their OneFinity to wifi, but my friend, Drew, found a pretty simple fix. This little USB extender did the trick for him, and is pretty cheap, so if you’re having issues, maybe pick one up here.
CABLE MANAGEMENT:
Now that everything is setup the way I want it, it is time for a little cable management to make everything look a whole lot nicer.
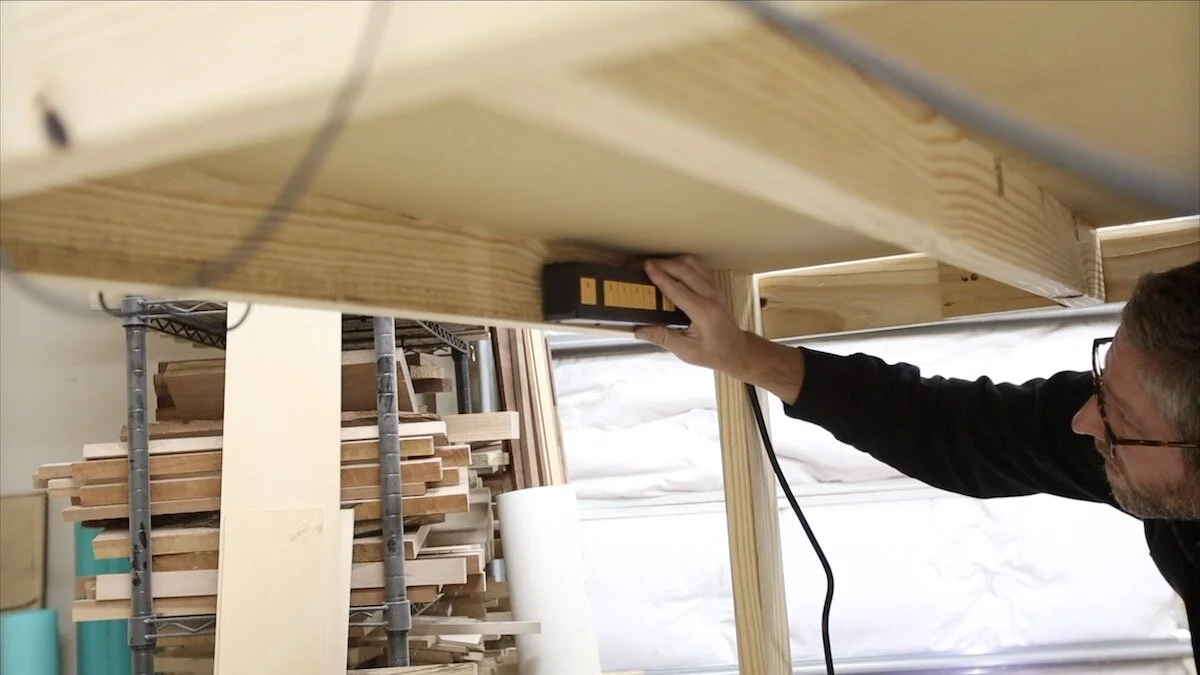
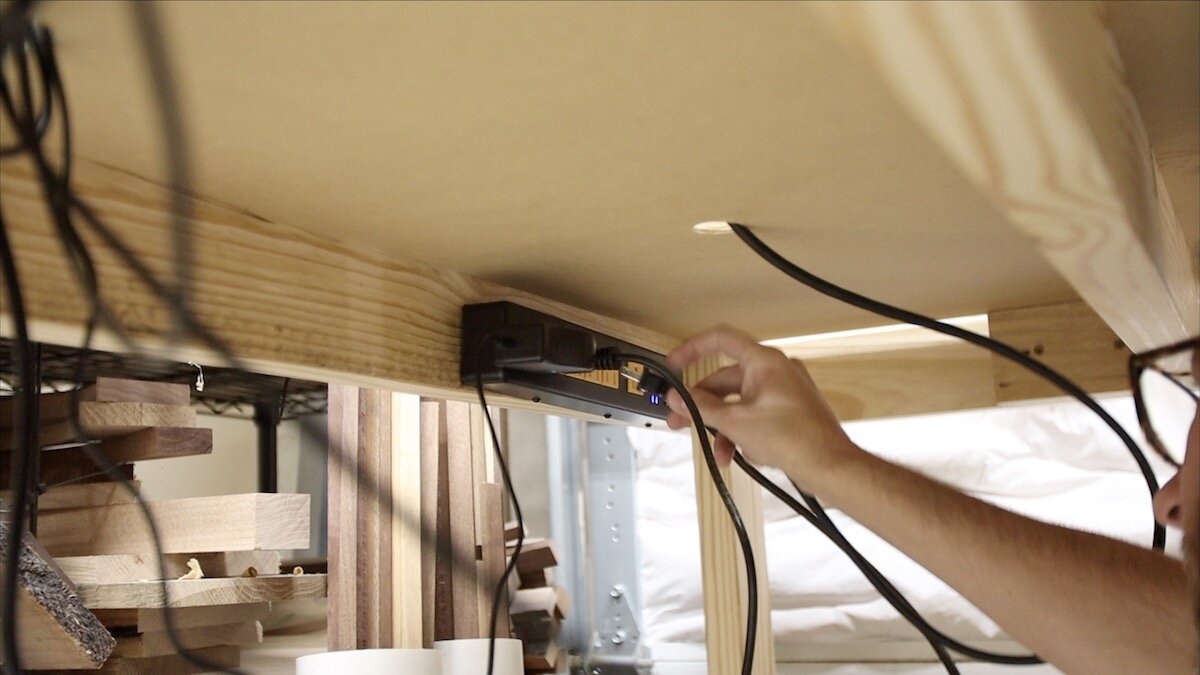
The basic idea is to drill holes in the top of my table and run all of the cables underneath. Some of the power cords were a little short, so I ended up getting a power strip with a 15’ cord on it, and mounted that on the underside of the table top. Then, I could just plug everything for the machine right into that.
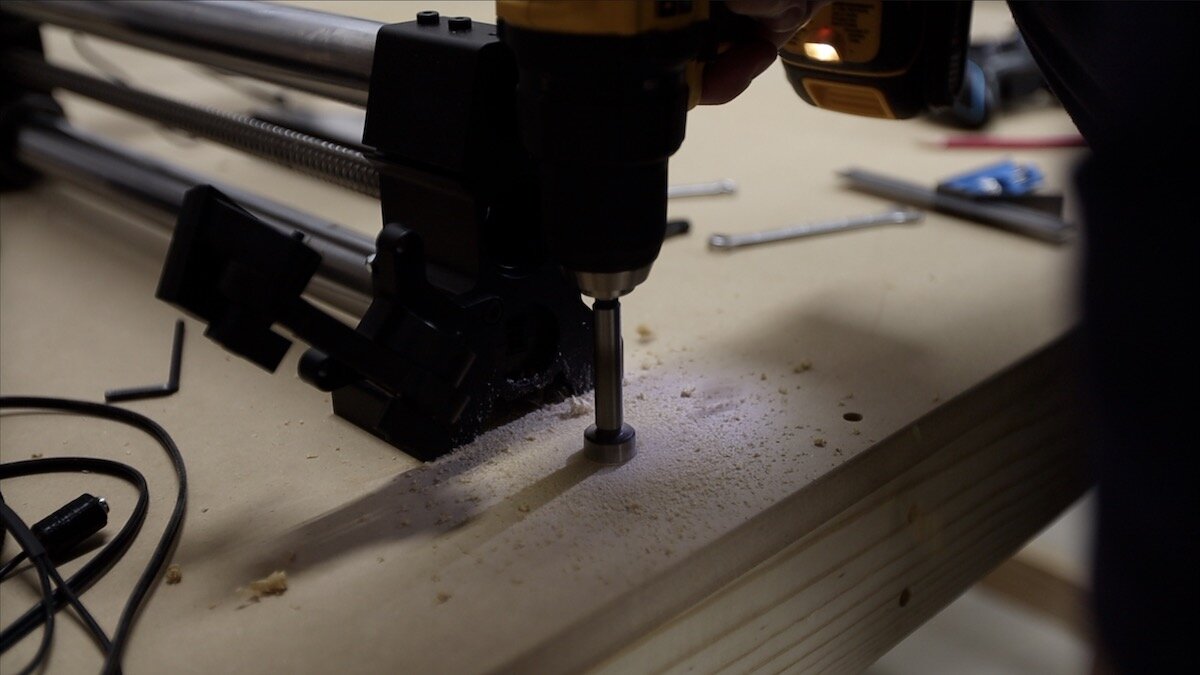
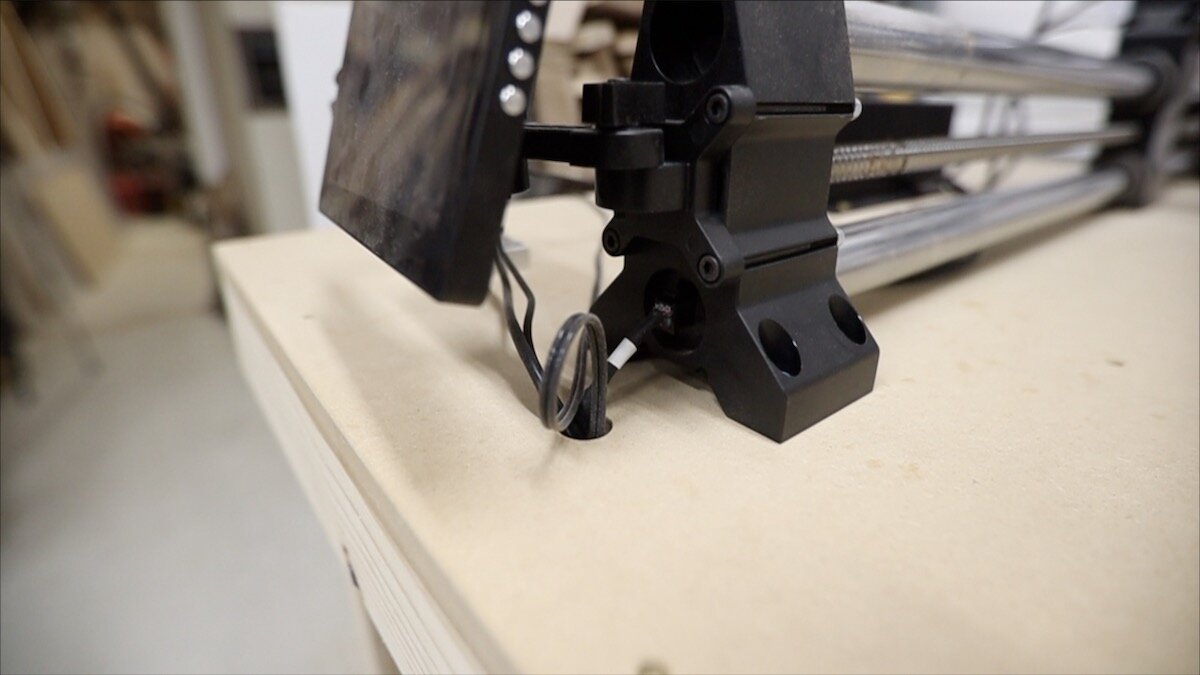
I drilled a small hole that would allow the cable clips to pass through in front of each of the Y rails. Then, I drilled a larger hole in front of the control box, so it could accommodate all of the cables and power cords. I ended up having to drill one more large hole at the back side of the control box for the router power cord, since this cord was not long enough to go through the front hole and still plug into the power strip that I had.
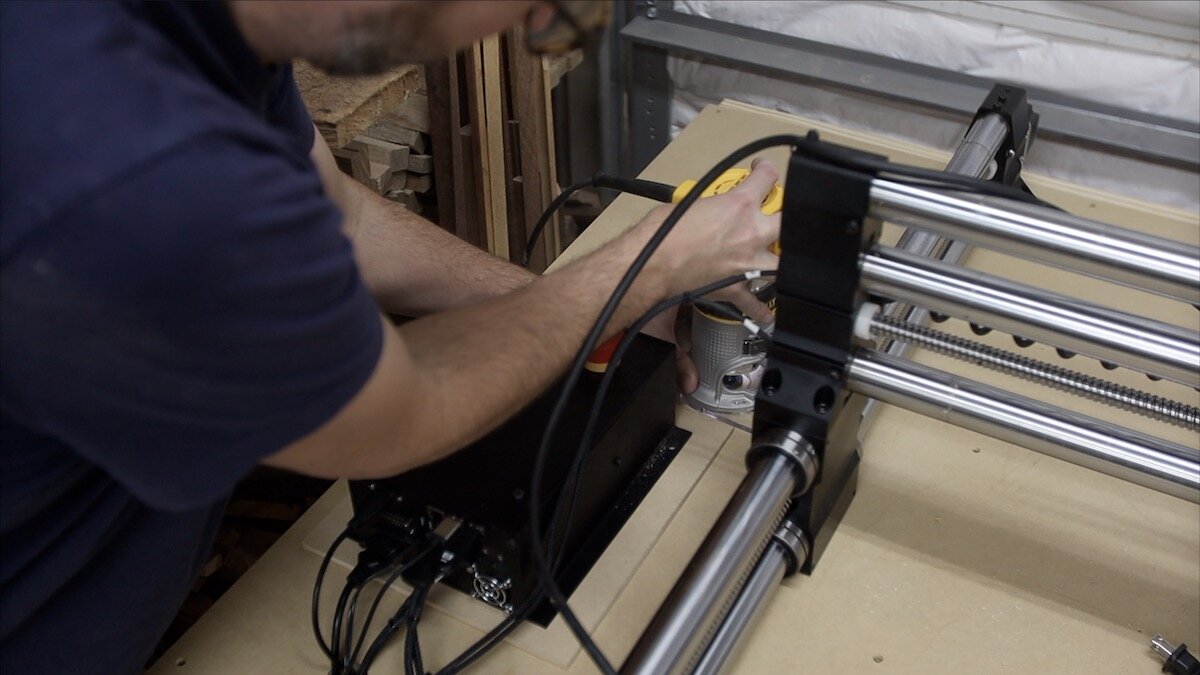
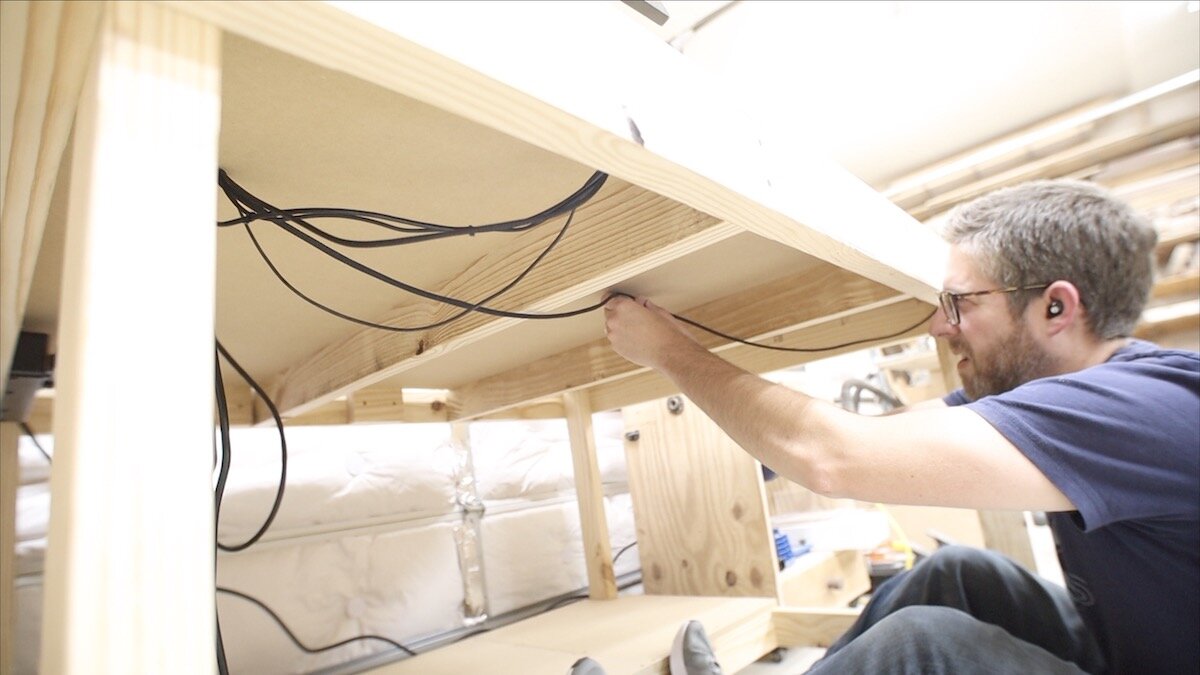
Then, I just routed all of the cables underneath and up through the holes, plugged them all back in and they were ready to go. Oh, and I used a couple of screws and zip ties to hold the cables up to the underside of the table top. that way, you can even really see any of the cables from standing in front of the machine. It looks really clean!
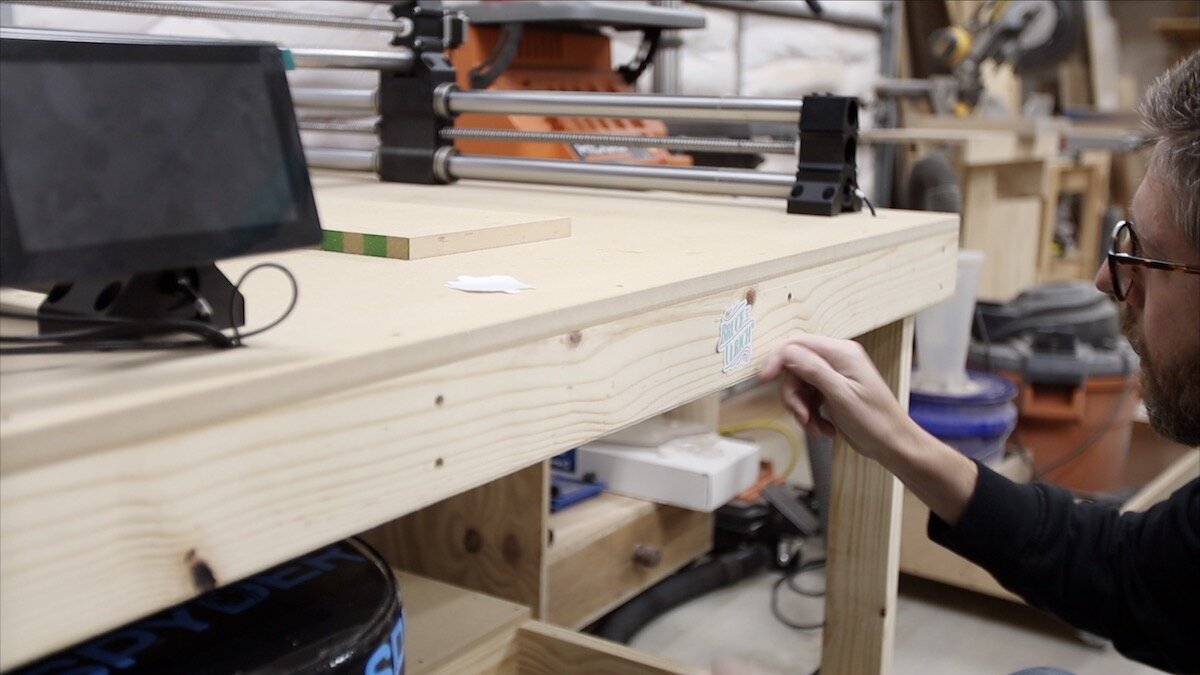
The last thing for me to do before making some of the first cuts was to add my sticker to the front!
MAKING THE FIRST CUTS:
Now, all that was left to do was make some chips! As of writing this, I do not have the dust boot installed. It looks to be a pretty straight-forward process, so I won’t cover that in this article.
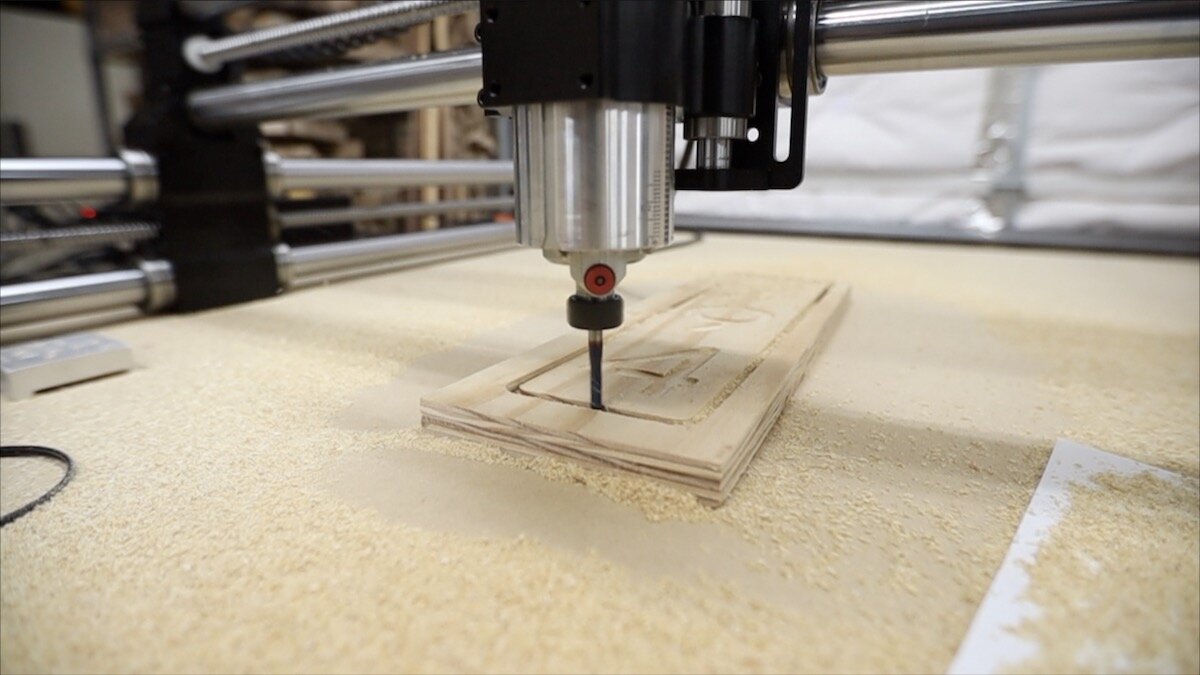
I wanted to make a quick, simple project for my first one, just to get a win with the newly setup machine. I carved out a quick house number sign for us. I painted where I had just carved and then sanded off the excess. This was just a quick experiment, so it went in my daughter’s room. (She really wanted it.)
Here are a few of the bits I’ve picked up and have been using…I’m liking them. Note: these are affiliate links, so it helps me out a little if you click that link and then shop for anything and buy it in the same browsing session on Amazon. Plus, it costs you nothing!)
30 degree v-groove: https://amzn.to/38kZoiB
1/8" diameter down cut spiral: https://amzn.to/3qvOXz2
1/4" diameter down cut spiral: https://amzn.to/3sYvIja
3/4" bowl bit: https://amzn.to/38dKdHV
60 degree v-groove: https://amzn.to/3qpcmSs
1/16" diameter down cut spiral: https://amzn.to/2O2AqxC
CONCLUSION:
That wraps up this one. Thanks so much for following along with this project and if you haven’t already, be sure to go watch the video about this. You might catch something in there that I left out of the written article.
I’ll see you on another project very soon!


