Corn Hole Boards
VIDEO:
In this project and video, I’m making the fanciest corn hole boards ever. However, they’re really simple to make. Watch the video and keep reading below to see how I made them:
BACKGROUND:
I have made a set of these boards in the past, based on a set of plans that Bob from I Like to Make Stuff did years ago. We have used them a lot around the house and at family events. One of the things I didn’t like about the ones I made was how heavy they are. They both latch together which is kind of cool, but they’re kind of a pain to bring with you somewhere.
I was at my friend’s shop over at Lakeside Woodworks KY at the end of last year, and he needed to build some of those. We wanted to kind of dress them up a bit, so we used some nicer woods to accomplish that. I really like how they turned out!
TOOLS & MATERIALS: (affiliate links)
https://www.amazon.com/shop/bruceaulrich
Brad Nailer: https://amzn.to/3lv8rCE
1 1/4” Brad Nails: https://amzn.to/3cnkz5N
1” Brad Nails: https://amzn.to/3w2hQGU
Miter Saw: https://amzn.to/38WPrYK
Wood Glue: https://amzn.to/3d9L6mn
Danish Oil: https://amzn.to/3m1jyDN
BREAKING DOWN MATERIAL:
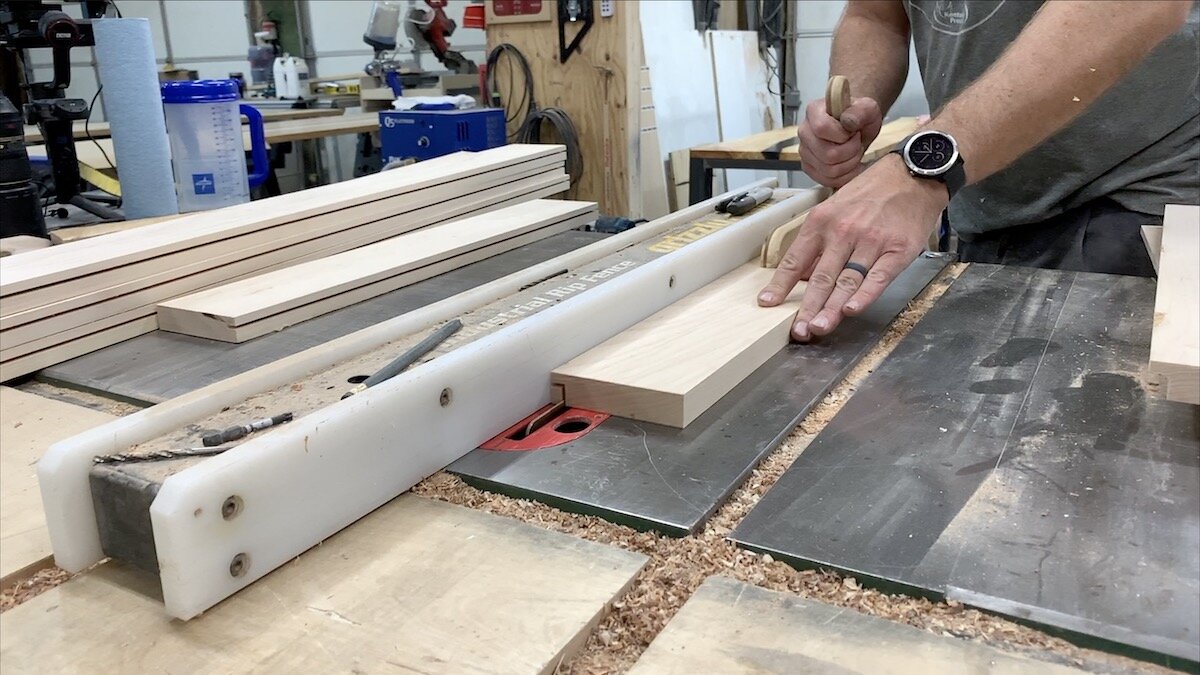
I started at the miter saw, cutting the maple pieces down to rough length. Then, I took them over to the jointer to establish a flat face. Then, I ran them all through the planer to make the other face flat and parallel to the first face. Finally, I ripped them to the final width at the table saw. You can choose a size that you want for these, but just remember to leave a little extra room in them to cut the rabbets in there. (I’ll tell more about that later in the next step.)
CUTTING THE RABBETS:
For these corn hole boards, I’m using rabbets (or a small little part of the board cut out) to hole the top piece in place. That’s the joinery method.
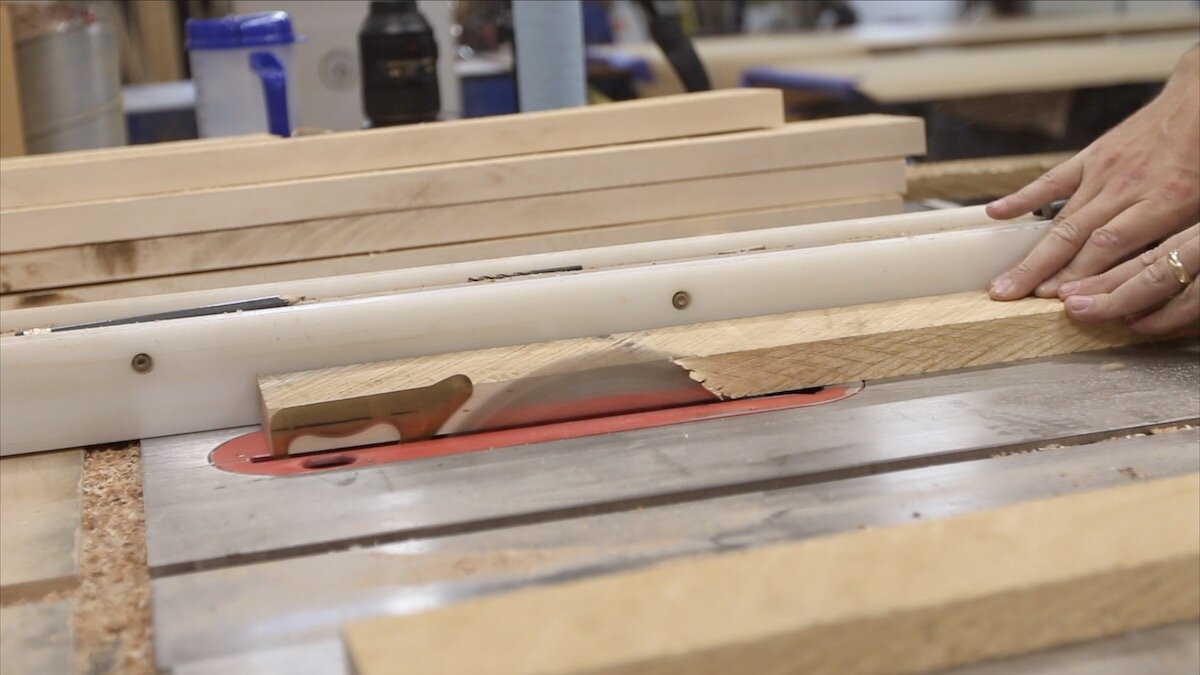
Rabbets are pretty simple to cut. Simple use the table saw to rip one corner out of all of the boards. Remember to keep the piece that will be cut free to the outside of the fence so it won’t want to come launching back at you. We didn’t experience that, but I’ve heard of it happening, and it doesn’t sound fun.
Also, be sure to make all of your rips on all of the boards in one direction before you move your fence. That way, they’ll all be consistent. Then, turn the boards 90 degrees, set the correct height, and rip them all again, making that groove down the length of all of the pieces. For the depth of the rabbet, I used 3/8” because that was the thickness of the plywood I was using for the top piece, and I wanted the top to sit flush with the sides.
Here’s what your finished rabbets should look like:
CUTTING THE MITERS:
Now, it’s time to make a box out of these pieces we’ve been working on. The way I did that is to cut miters at 45 degrees on all of the corners. And since these pieces were pretty long, I wanted to do it on the table saw. Plus, I felt it would be the most accurate solution available at the time.
Making the initial miter cut in each piece was simple, just tilt the blade on the table saw and make the cut. Then, I had to flip the piece over, and run it on the other side of the blade. That way, all of the miters would fit together like a box. To get the right spacing, I used a small scrap clamped to the table saw fence so I could reference off of that. I was sure to have it back from the blade, so by the time my work piece started getting cut by the blade, it was not being pinched by the piece on the blade.
Obviously, you’ll have two longer pieces and 2 shorter pieces for each of the corn hole board boxes. Be sure to do all of the same length at once before changing where your table saw fence is set.
ASSEMBLE THE PIECES INTO A BOX:
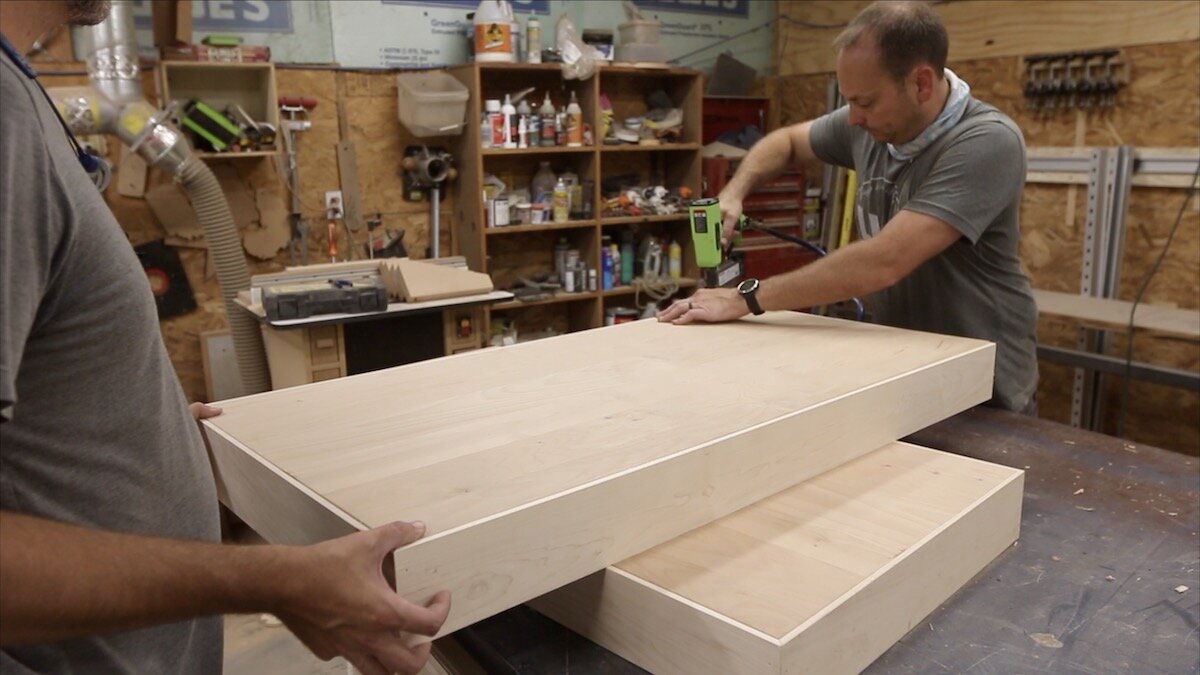
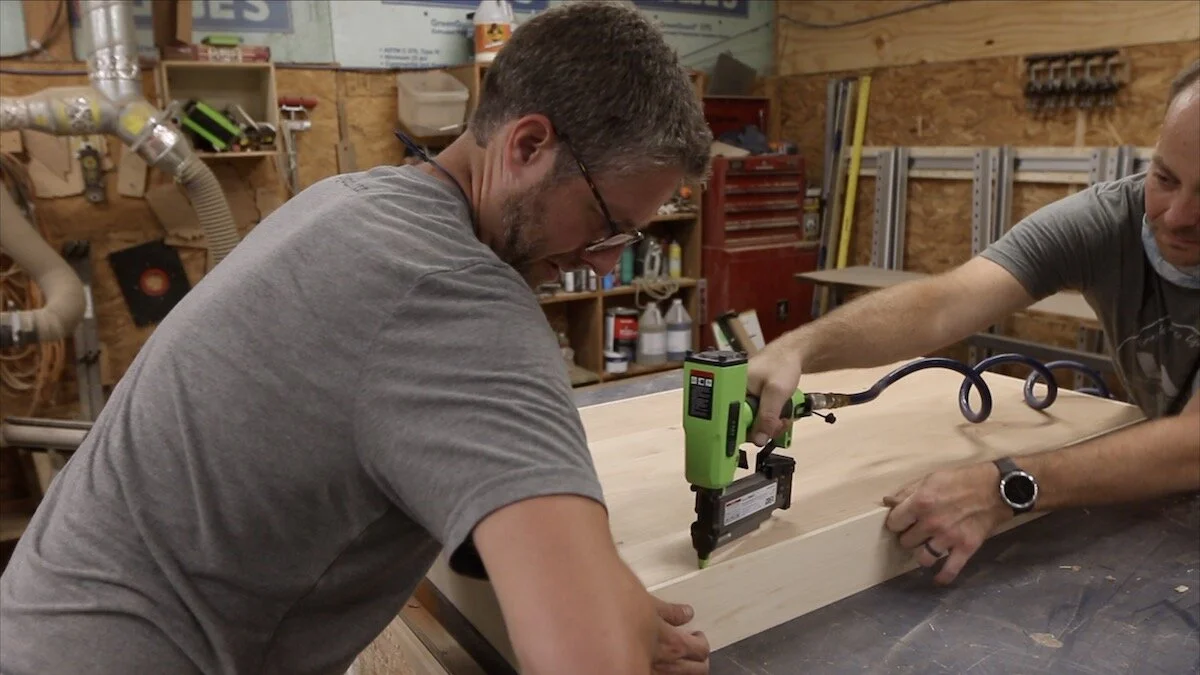
Next, I took all of the pieces of maple and made boxes out of them, putting the miters together. For this, I just used some wood glue and then an 18ga brad nail gun. I would just shoot a few nails in both directions, and move on to the next joint. Pretty simple.
This is just a little bit flimsy at this point, but when we add the plywood in the next step, it really makes them solid.
ADDING THE TOPS:
For the top, I’m using 3/8” alder plywood. This was some stuff Nick had laying around the shop and was perfect for this. I really like how it gave some contrast to the lighter-colored maple that we used for the aprons.
It was important to wait until this step to cut the plywood, so we could get the right size. I just measured inside the rabbets of the assembled boxes and then we cut out some plywood that would fit in those slots.
Then, some more glue and shorter brad nails secured the tops down. It looked really sharp with the top being flush to the sides, having that light little maple band around the top.
EDGE TREATMENTS & SANDING:
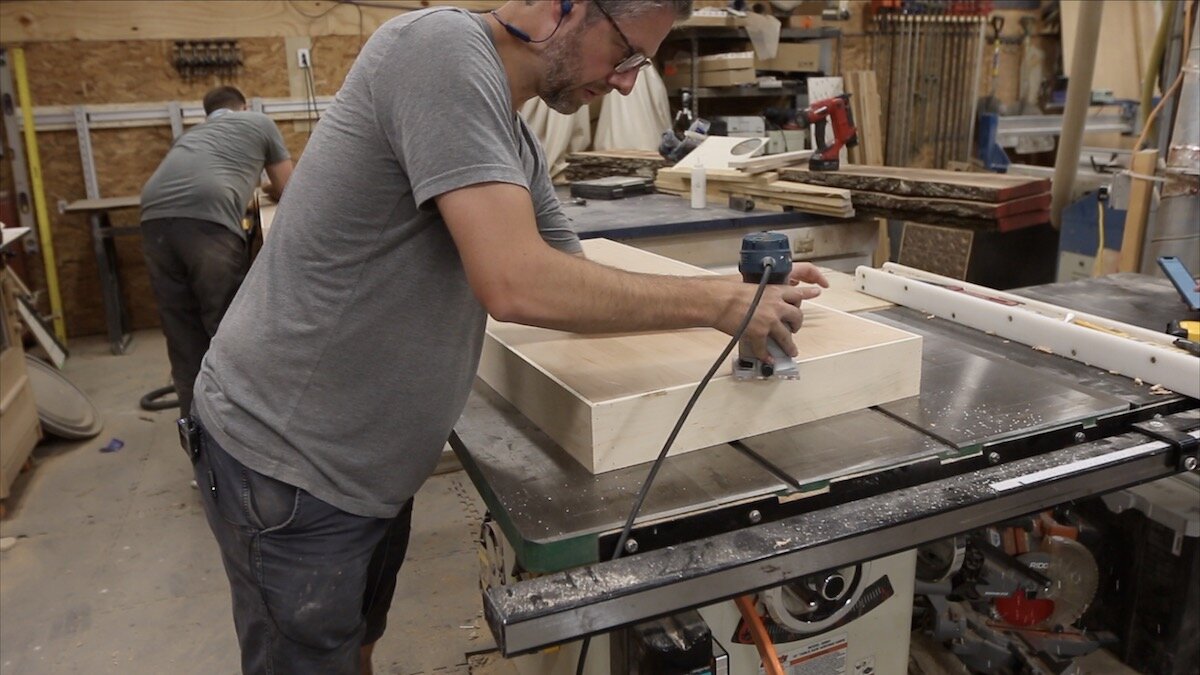
While Nick worked on sanding some of the sides (maple pieces), I added a small roundover to all of the pieces. I did the top as well as underneath, since I didn’t want sharp edges anywhere when carrying these.
CUTTING THE HOLES:
We didn’t have a 6” hole saw handy (that’s the regulation size of the hole for this game), so we had to get creative with how to do this. Nick has a laser cutter, so he went up there, cut out a 6” hole in some scrap plywood, and we made a template.
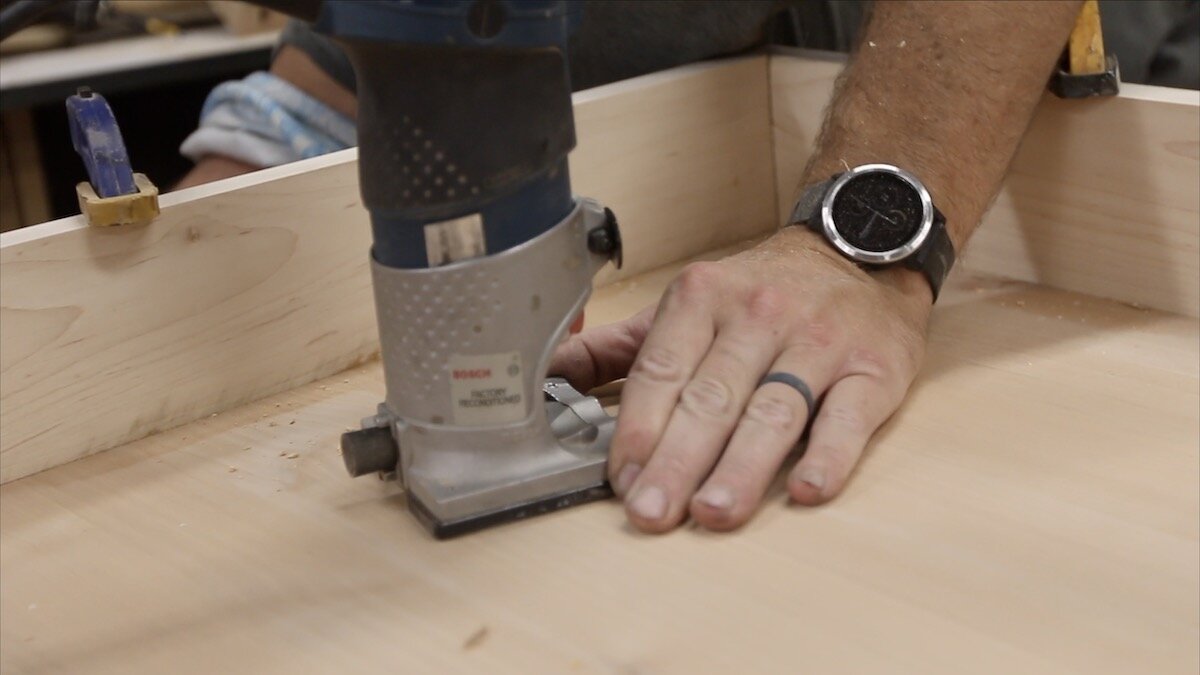
Then, we clamped the template to the corn hole board, drilled a starter hole and then used a router with a flush trim bit to reference off of the template. It worked really well! Then, we just added a small roundover to the hole, so it would not be sharp.
ATTACHING LEGS & HARDWARE:
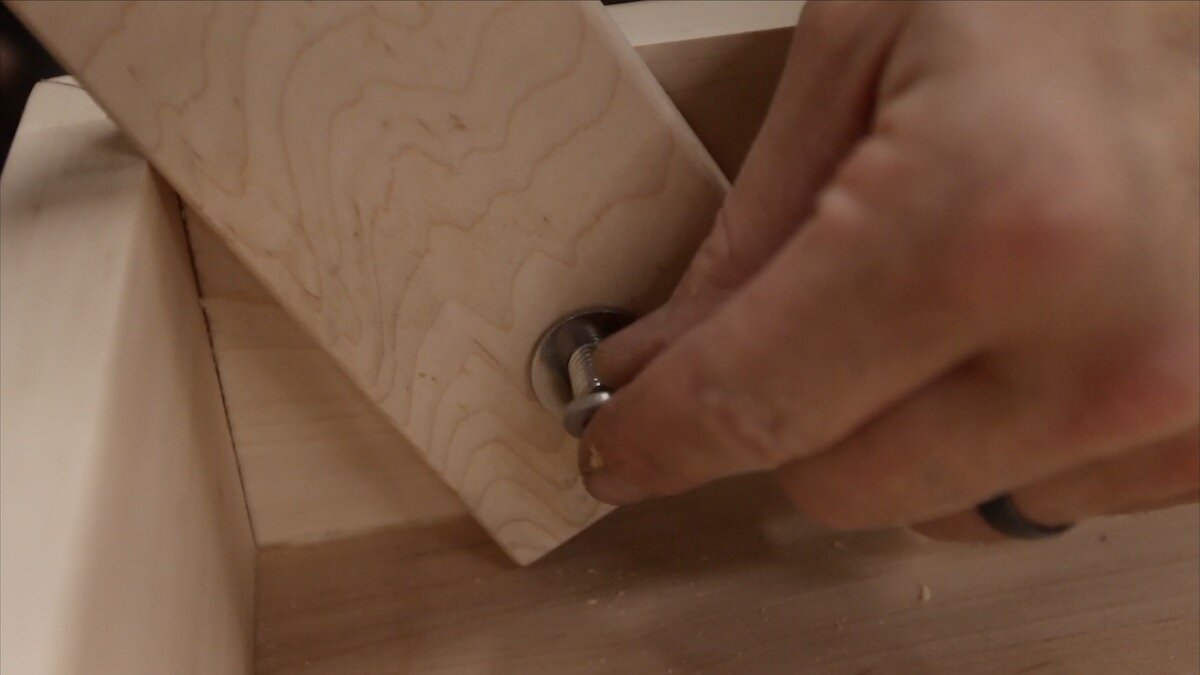
For hardware, we used stainless steel bolts and washers, since these will be outside some. Regulation size corn hole boards can have sides that are between 2 1/2” and 4” and the top to be made from 1/2” plywood (Whoops…we kind of substituted on this one, since we had that piece of 3/8” plywood that we used). The overall height of the top near the hole should be 12” off of the ground.
This is not very hard to achieve. We did it by simply putting some things under the boards to space them up off of the surface enough, and then drilled holes in the sizes allowing for that height to be achieved. We used a split washer so it would not back out as easily…we didn’t want that constantly getting loose.
FINISHING TOUCHES:
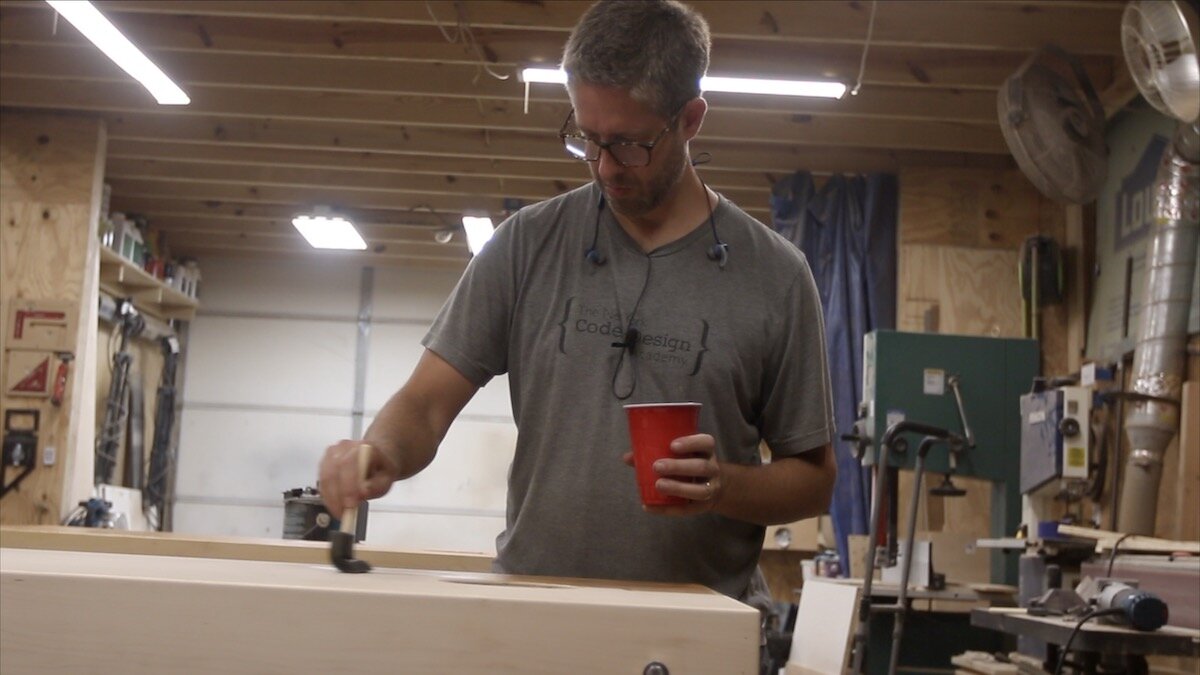
For the finish, I used a Danish oil and just painted it on with a foam brush. This gave all of the wood a nice color, and some light protection. These boards would be used outside, but they’re not going to be left out all of the time, so they didn’t need to be bullet proof.
TIME TO PLAY SOME CORN HOLE!
That’s it! Now, it’s time to play with some friends and family. This was a really quick and fun project. It’s always fun to make a project using up some scraps, and making it look nice, but still having a simple project that can be completed in an afternoon.
Take a look at the finished photos below, and be sure to watch the video about this if you haven’t already. I’d appreciate if you’d subscribe to my YouTube channel and drop my a comment on there. It really helps me a ton!
Special thanks to Nick and Jessica for letting me borrow their boys for some photos and video, and to Jeremy and Caleb for helping film and helping in the shop!
I’ll see you back here for another project very soon!


