Multi-Function Jointing Jig
VIDEO:
In this project and video, I’m making a multi-function jointing jig to use in the table saw AND the planer. It’s really helpful to be able to get flat lumber on long and wide boards sometimes, and this jig helps you do that without some really large equipment. Watch the video below and follow along with the project steps:
BACKGROUND:
The need for this multi-function jointing jig came up because I have an upcoming bed and headboard build that I wanted to use some wide and long boards for, but my jointer is only 6”. That’s a problem. I didn’t really want to rip these all down to fit on there and then have to make panels again out of the narrower boards, so I went a different router.
And I was only going to use the plywood part of this sled at first, but with it being 8 feet long, it was just too floppy to work well.
TOOLS & MATERIALS: (affiliate links)
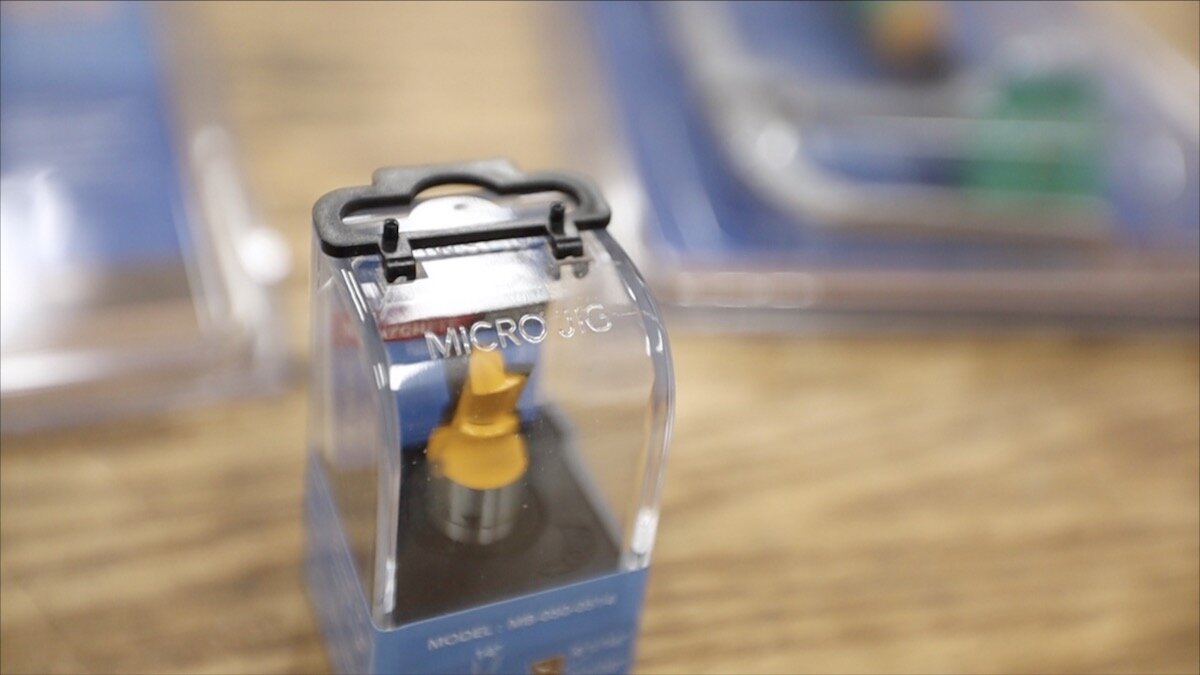
Microjig Matchfit clamps: https://amzn.to/3w7mVhc
Matchfit Dovetail Bit: https://amzn.to/39mGSa7
Dovetail Bit Alternatives: https://amzn.to/3m5tZ9x
Roller Stand: https://amzn.to/3rz9GCv
Deep Reach Clamps: https://amzn.to/3debdsz
Quick Setting Wood Glue: https://amzn.to/3w4VnJg
Trim Router: https://amzn.to/3foOg8C
1/4" Router Bit: https://amzn.to/39nFB2w
Plunge Router: https://amzn.to/3u7XU3C
PREPARING THE PLYWOOD:
For sheet goods (plywood), I like to start off using the track saw. I can make really safe cuts with that, without having to take the whole sheet to my table saw and try to wrestle that heavy thing around.
I made one rip cut, making the overall width just less than what would fit through my planer, which is 13”. You’ll see later that I had to trim this down a bit more.
Then, I took the plywood over to the table saw just to make sure the edges were straight and clean on both sides, since I had used one of the factory sides.


CUTTING DOVETAIL SLOTS:
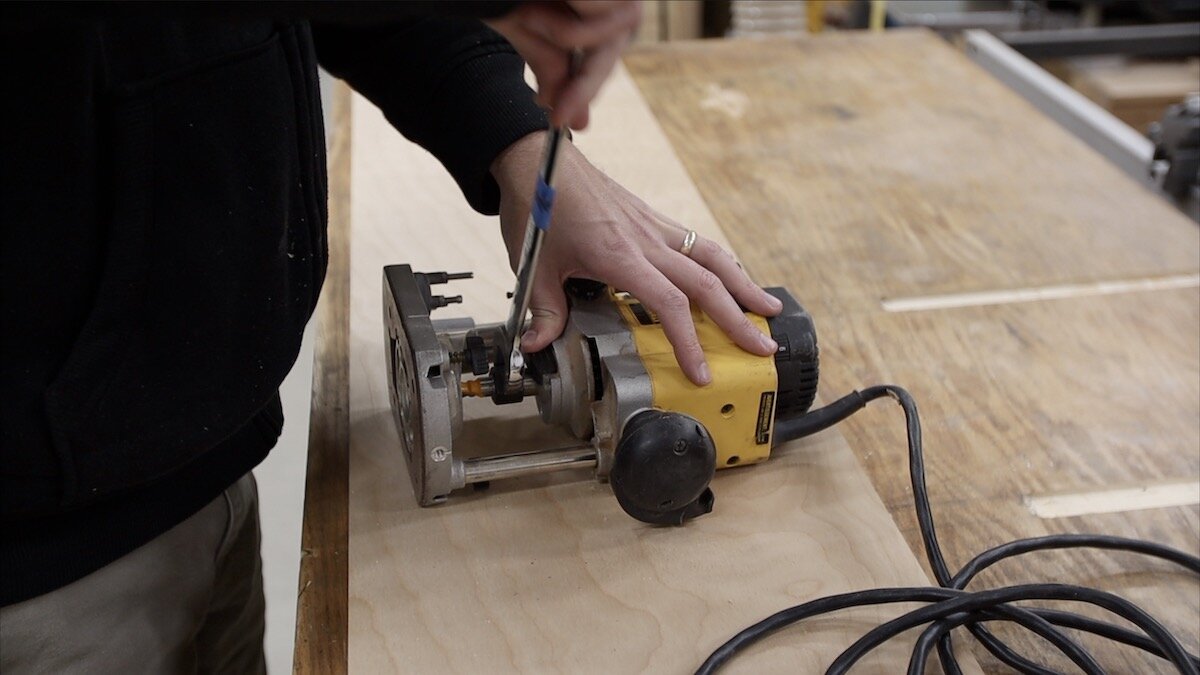
Next up was cutting the dovetail slots. Microjig recommends to clear out some of the waste with a 1/4 straight bit before using their dovetail bit in the router. This makes the dovetail bit work less hard and also not want to wander.
I don’t have a router table yet (hope to be building one soon), so I didn’t have a good way to just set a fence and make both slots without moving it, so I just clamped down a straight edge for each slot, ran the 1/4” straight bit in my trim router, and then came back to each slot with a straight edge, clamped it down again with the dovetail bit in my larger plunge router to cut the final slot.
When lining the straight edge back up to the initial slot, as long as I was using a square to make sure the slot ran at 90 degrees to that front edge, it worked really well to just eyeball it. The reason: the dovetail bit is wider than the 1/4” bit used previously, so it would still cut new wood, even if it was not perfectly centered.


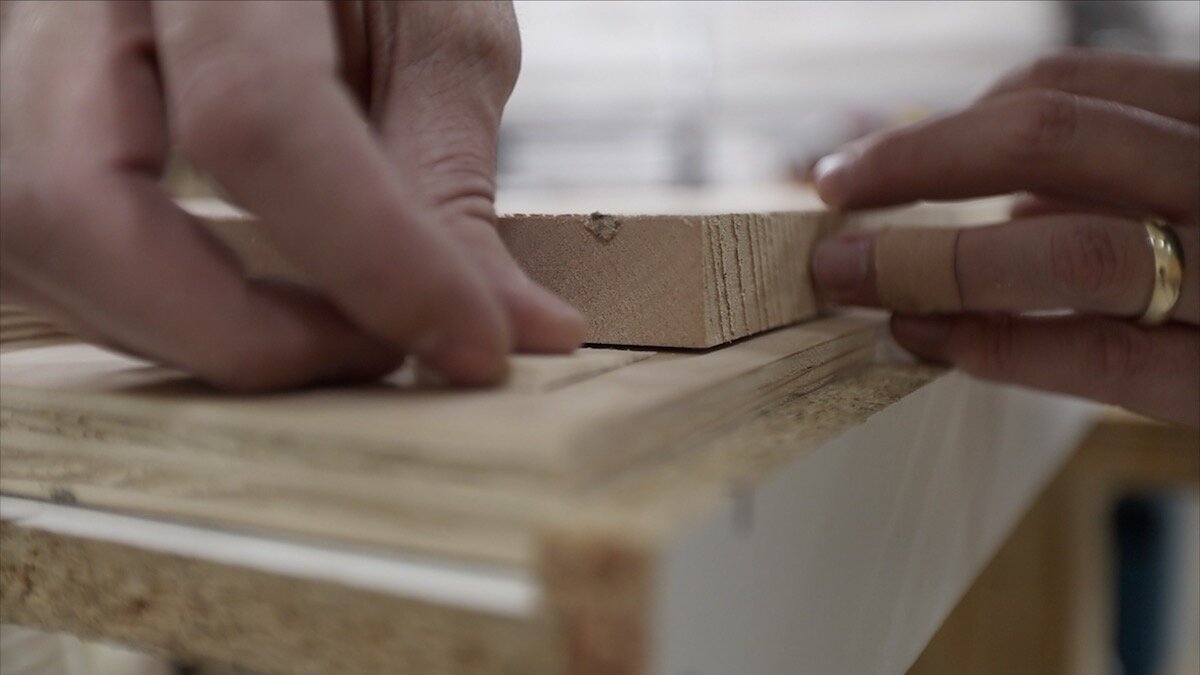
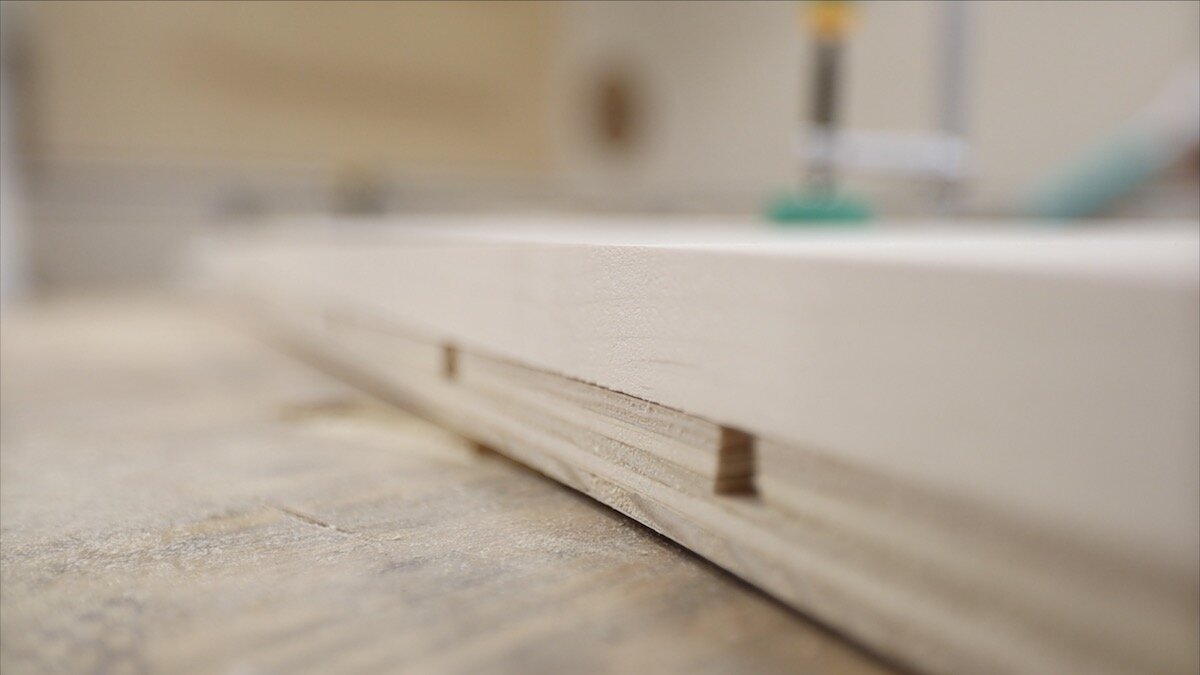
As you can see, the slight roundover that the Microjig dovetail bit has as a part of it leaves a really nice, clean cut. This photo below is with no sanding after doing that final pass. It was really clean!
I just grabbed one of the clamps to make sure it slotted in there well and sure enough, it did!

STOP BLOCKS:
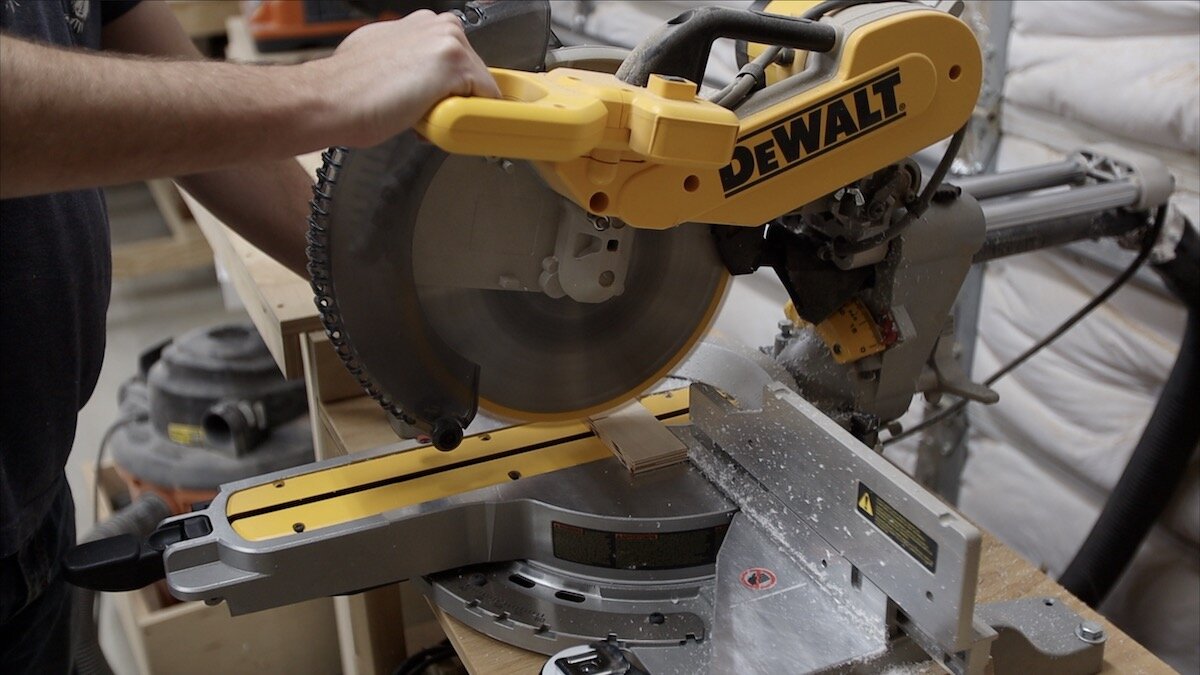
For the planer sled, I couldn’t use the Matchfit clamps. They would not run through that machine, and frankly, I cringe just a little thinking about it. ha. I grabbed a piece of 1/2” plywood I had from another project and ripped a small strip at about 2” wide. Then, I cut a few pieces over at the miter saw.
These will be used to keep the workpiece from slipping front to back while it is running through the planer. I just used a couple of screws to secure them to the sled.

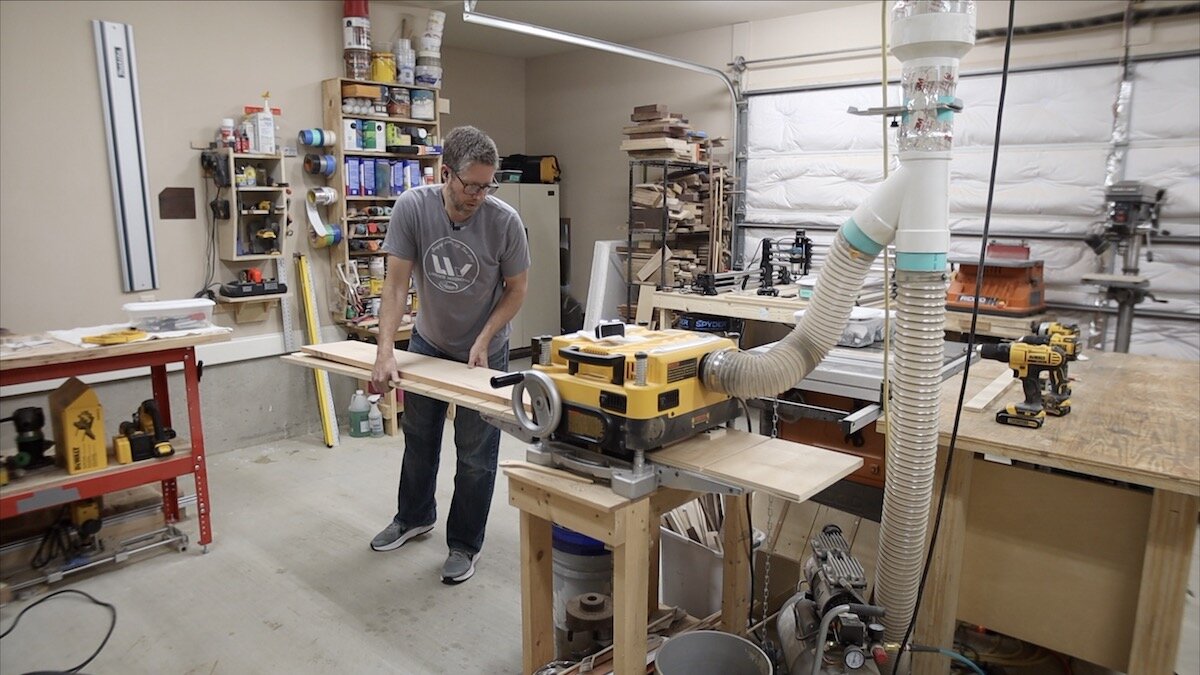
TESTING THE PLANER SLED:
It was time to test the planer sled part of it out. I had originally thought this would be enough for the jig to work in both orientations, but this is where I ran into a snag. Because this piece of plywood, although a good quality plywood, was just over 8’ long, it was just too floppy and bendy to work properly in the planer as a flattening sled.
Here’s why. The concept is that you must first establish a truly flat face on the workpiece. A jointer does this by having the infeed table slightly lower than the outfeed table, and the blades are at the same height as the outfeed table. So, as you pass the board over the blade, it is able to clear the outfeed table exactly, removing any twist or cup or bow, if done right.
To do this in the planer, you need to prevent the board from bowing or twisting under the pressure of the planer rollers. If your work piece has a twist in it and you run it through the planer (thicknesser), it will push that twist out, if possible, flatten it down and then when the board comes out the back side, the twist will come right back. That’s not what you want at all!
To solve it, you must keep the workpiece from moving front to back, and then use some shims throughout to make the workpiece not flex or move. This will allow the planer blades to cut a truly flat side. Then, once you’re done with that side, you can remove from the sled, flip the board over and run it through the planer with that newly flat side down as a reference. And you can have the planer make the other side flat and parallel to that first side.
When the plywood of my sled was flexing, it was causing the shims to move around, and therefore, I could never establish a truly flat side.
MAKING THE I-BEAM:
Time to fix the flex problem of the previous plywood sled. I didn’t have enough of the same plywood left over (I had already cut the rest of it up for another project), so I grabbed some melamine that I had laying around.
I used my track saw to cut a piece off one side. The edge of that side was a little beat up, so I gave it a little extra room to clean that up later.
Then, over at the table saw, I cut it into two small strips that were about 2.5” wide, and one piece that was wider. I should have been a little more careful with this wider piece so I could utilize the full width of my planer. Because of how wide I cut this piece, and then cutting in some dado grooves in the two smaller pieces where this wider one would nest (you’ll see this in an upcoming step), I only have a little over 11” I can do with this sled now, not 13”. That’s still a lot more than the 6” I can do on my jointer!


ADDING DADO GROOVES:
What will make up the I-beam are these dados in the two smaller pieces, and then having the wider piece slot into them. That will create the I-beam and make it very rigid.

GLUING UP THE I-BEAM:
I got all of my clamps ready, added some quick setting glue, and hammered the wider melamine piece into the first small piece’s dado. I made sure before I cut all of these that this would be a nice, tight fit. Then, I added the other thinner strip, and clamped it all together.

TESTING THE I-BEAM:
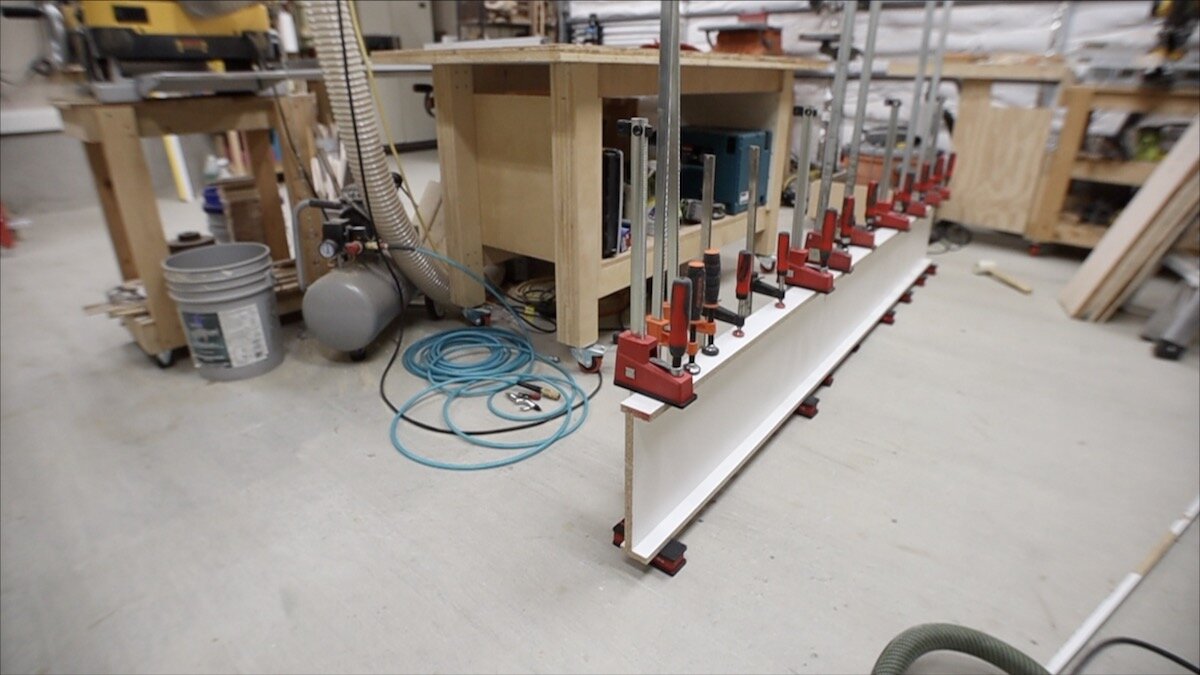
I wanted to test the I-beam to see if it would work like I thought it would. Remember, I’m looking for a very rigid sled, so I can use those shims and get even small twists out of boards I’m trying to flatten.
I used 3 screws to attach the plywood sled to the new I-beam, and then started securing my workpiece.
I put the board up against one of the stop blocks I made toward the end of the board. Then, I put another stop block near the other end of my board. It wasn’t right at the end of it, so I used a couple of small spacers and some wedges made from the same 1/2 plywood to secure it. I wanted to show this so you would not have to adjust the other stop block each time. If you build this, you can just have a few locations that work with most of the wood you’ll use, and use some spacers and wedges to secure it tightly.
Then, I added one small shim at one end to make sure the workpiece would not move. It had just a slight twist in it and this shim supported it like would be required to get this twist out.


It worked great! There was no flex and I was able to get a nice, flat face like this!
I would like to note that this sled is pretty heavy since I used melamine. I do think the melamine helped it to stay more rigid than regular plywood would, but just know to expect that. It’s not unmanageable though. Plus, if you wanted, you could use a roller stand on the infeed or outfeed or both. That would really help. I’ve linked one that looks good above in the tools and materials section.
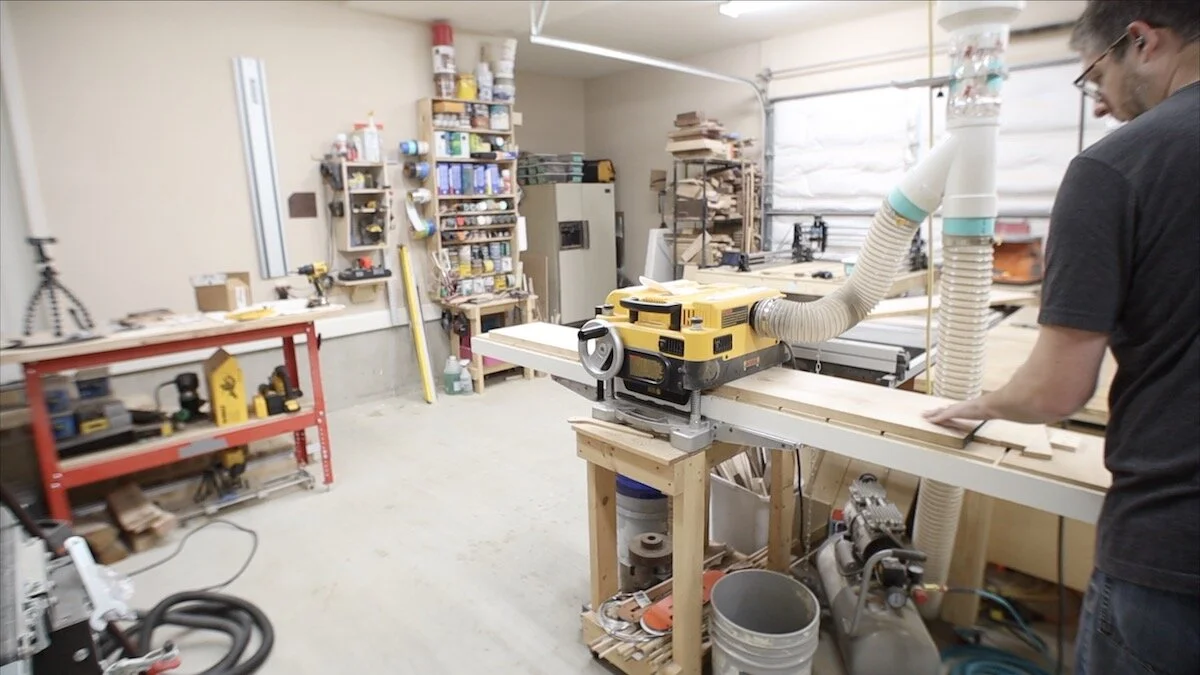
I got a little bit of snipe from the planer at each end, but after I got one flat face, I removed the board from the sled, flipped it over and ran it through the planer on the other side. Then, I could flip it one more time and take a really light pass to remove the snipe. It worked great!

TIME FOR THE TABLE SAW JOINTING:
At this point, I’ve got both wide faces of the workpiece flat and parallel with one another. I just need to get one square and flat side over on the table saw.
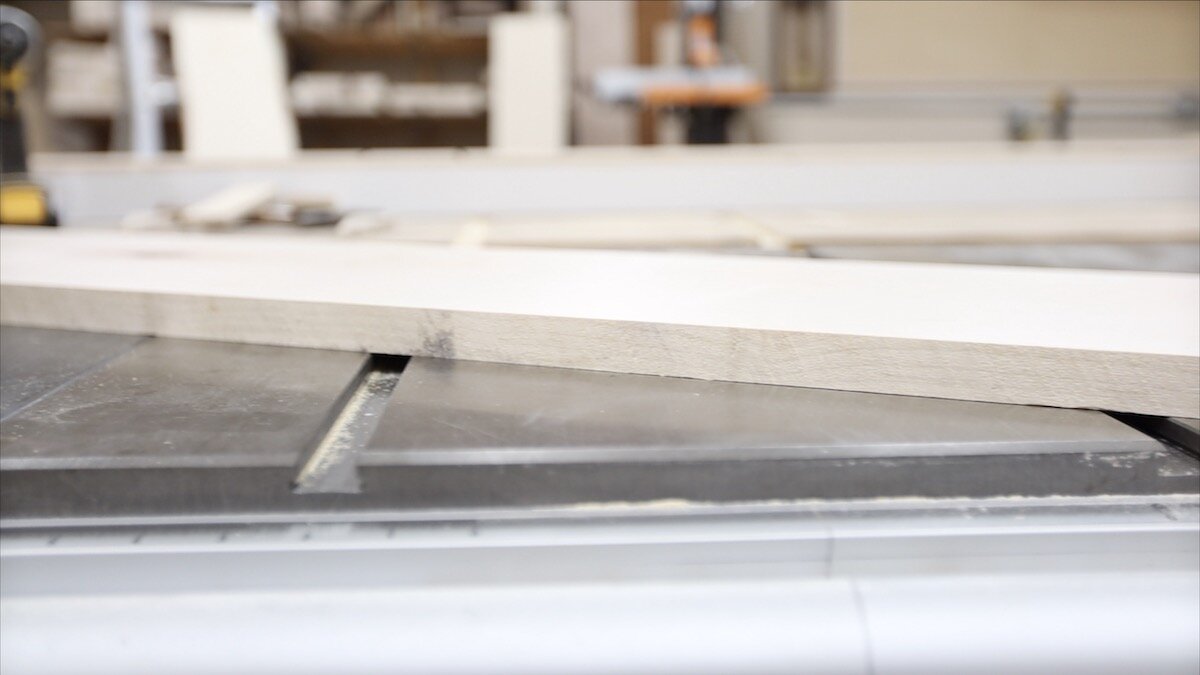
I remove the plywood sled from the I-beam by removing the 3 screws, and use two of the Matchfit clamps to secure the workpiece to the sled, being sure the clamps are not hanging over the side of the sled at all. This is able to be accomplished because of the dovetail slots being cut all the way from side to side of the sled.
I moved my workpiece to hang over the long edge of my sled. That would be the zero clearance edge since I set the table saw to the exact width of the sled. Any part of my board that was over that edge of the sled would be removed.
Be sure to push the sled through very steadily, keeping the sled pushed up against the table saw fence. For my first pass, I must have hesitated because there was a little gouge on the board. I undid the clamps, moved the board a little over the edge again, and made another pass, being sure to push it through very straight and steadily. It worked really well!


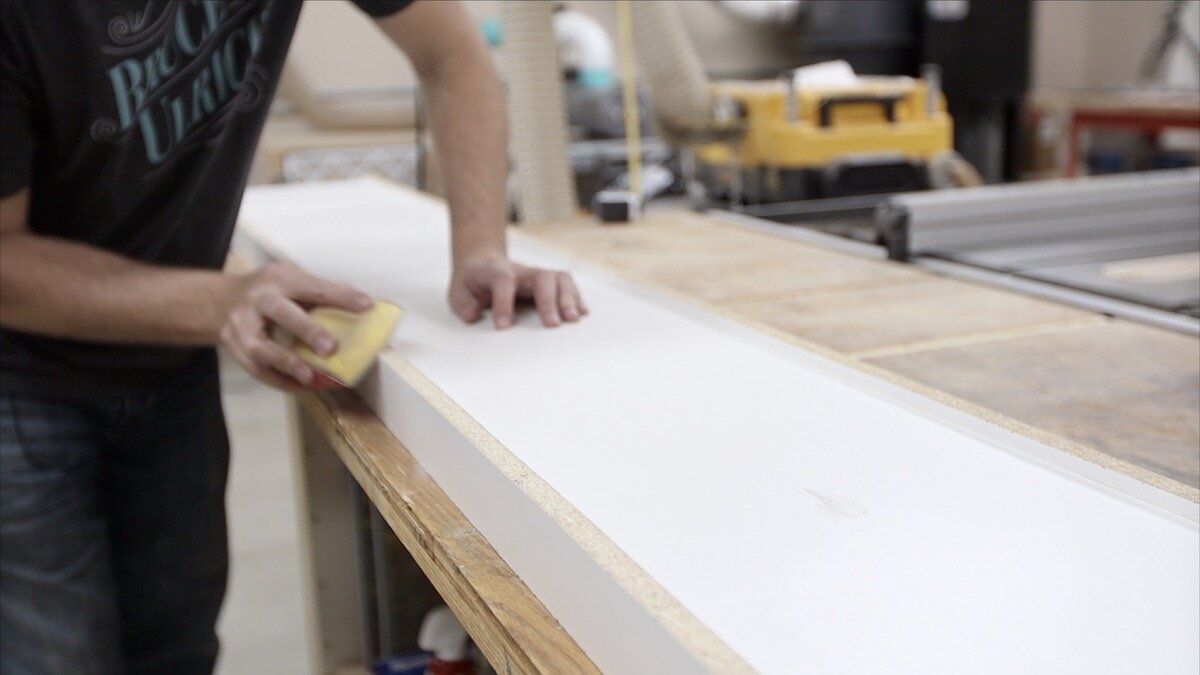
FINAL TOUCHES ON THE JOINTING JIG:
This melamine has an incredibly sharp edge wherever a cut was made. Trust me, it got me once! I sanded the edges with some 220 grit sandpaper briefly to remove the sharpness.
Then, I put on some paste wax on the bottom two skiis of the sled so it would pass through the planer ever more easily.
And that’s it! This jig is done and ready to use!

CONCLUSION:
Thanks so much for following along with this project! I hope you learned something and maybe even build this one for your shop. I’ll be using it more on an upcoming bed build soon, so be sure to stay tuned for that.
If you haven’t watched the video already, be sure to do that and drop me a comment.
Talk soon!


